HP 727pu
HP 727pu 27" Class WQHD LCD Monitor User Manual
Model: 727pu
Introduction
This manual provides detailed instructions for the setup, operation, maintenance, and troubleshooting of your HP 727pu 27" Class WQHD LCD Monitor. Please read this manual thoroughly before using the monitor to ensure proper functionality and to prevent damage.
Safety Information
Always follow basic safety precautions when using this product to reduce the risk of fire, electric shock, and injury to persons. Keep this manual for future reference.
- Do not expose the monitor to rain or moisture.
- Do not block ventilation openings.
- Use only the power adapter supplied with the monitor.
- Do not attempt to service this product yourself. Refer all servicing to qualified service personnel.
Package Contents
Verify that all components are present in the package:
- HP 727pu 27" WQHD LCD Monitor
- Power Cable
- HDMI Cable
- DisplayPort Cable
- USB-C Cable
- Quick Setup Guide
Setup
1. Assembling the Stand
Carefully remove the monitor and stand components from the packaging. Attach the stand base to the stand neck, then secure the assembled stand to the back of the monitor. Ensure all screws are tightened securely.
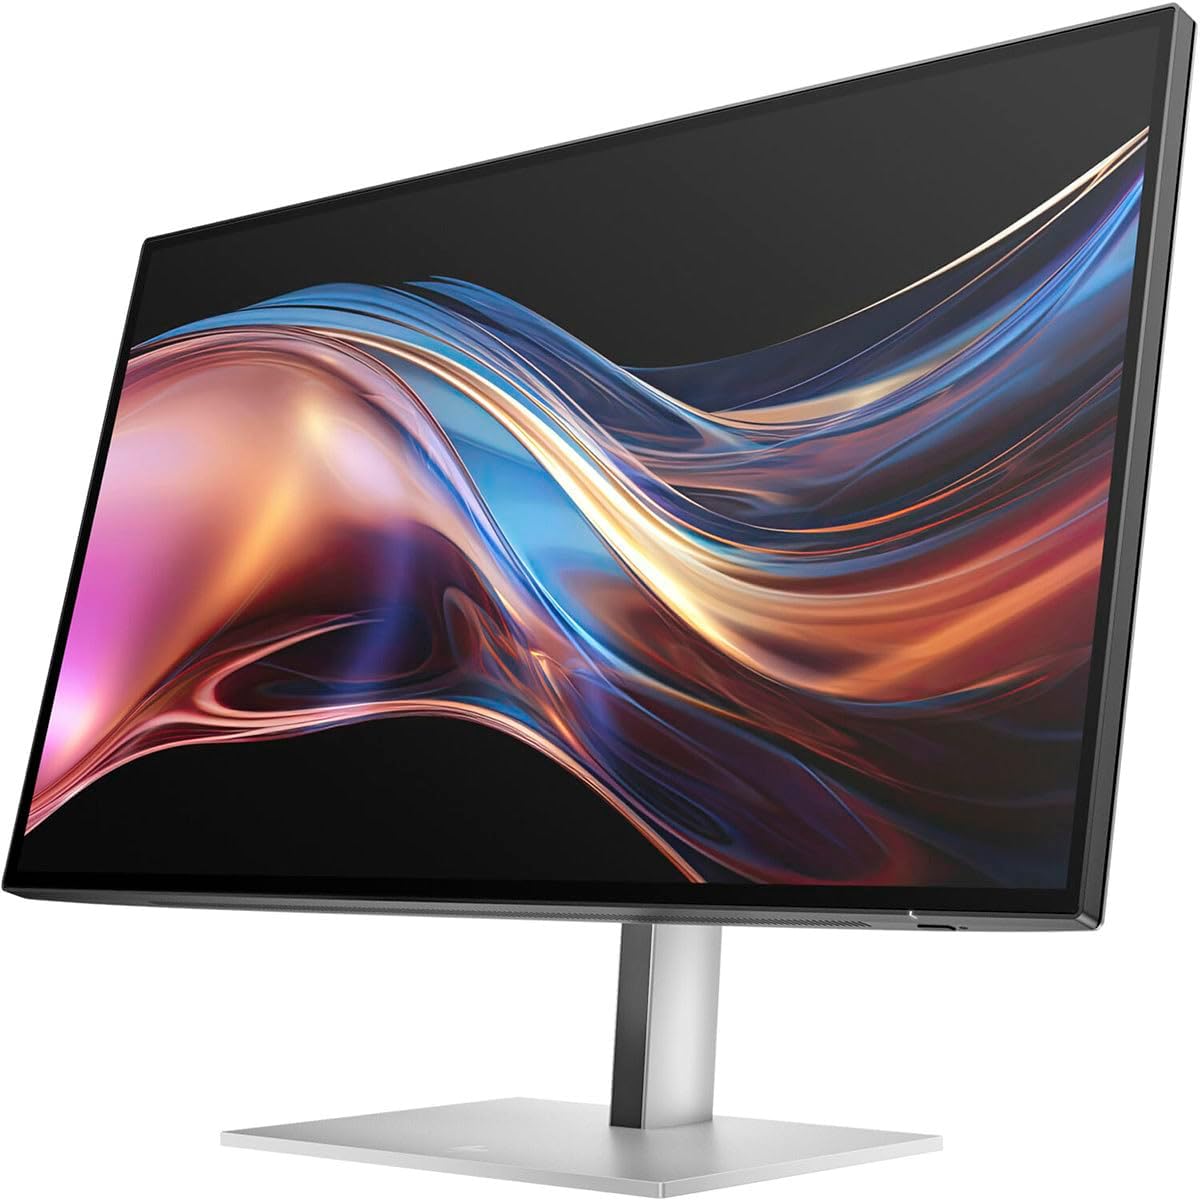
Image: Rear view of the HP 727pu monitor, showing the stand assembly and various input ports. This image illustrates the monitor's design from the back, highlighting its connectivity options and the attachment point for the stand.
2. Connecting the Monitor
Connect the appropriate video cable (HDMI, DisplayPort, or USB-C) from your computer to the corresponding input port on the monitor. Connect the power cable to the monitor and then to a power outlet.
- HDMI Connection: Use the HDMI cable for high-definition video and audio.
- DisplayPort Connection: Use the DisplayPort cable for optimal video performance, especially for WQHD resolution.
- USB-C Connection: For compatible devices, a single USB-C cable can provide video, data, and power delivery.

Image: Detailed view of the input ports on the HP 727pu monitor, including HDMI, DisplayPort, and USB-C. This image helps users identify the correct ports for connecting their devices.
3. Initial Power On
Press the power button located on the monitor. The power indicator light will illuminate. Your computer should automatically detect the monitor. If not, adjust the display settings on your computer.
Operating the Monitor
On-Screen Display (OSD) Menu
The OSD menu allows you to adjust various monitor settings. Use the buttons on the monitor's bezel to navigate and select options.
- Brightness/Contrast: Adjust the display's luminance and contrast levels.
- Color Control: Select color temperature, RGB levels, or preset color modes.
- Input Select: Manually switch between HDMI, DisplayPort, and USB-C inputs.
- Picture Mode: Choose from various display modes optimized for different content (e.g., Standard, Gaming, Movie).
- KVM Switch: Utilize the integrated KVM switch to control multiple computers with a single keyboard and mouse connected to the monitor.
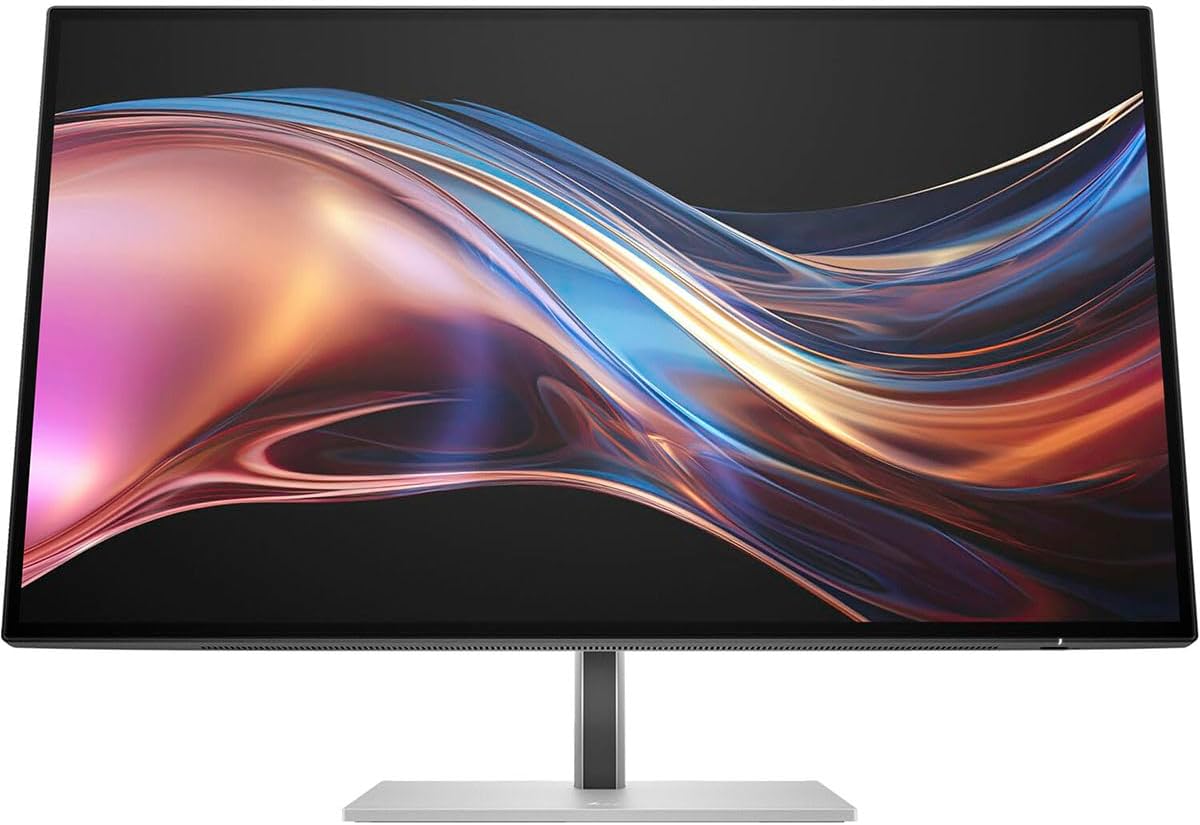
Image: Front view of the HP 727pu monitor, showcasing its display quality with a vibrant image. This image highlights the monitor's sleek design and visual performance.
FreeSync Premium Technology
This monitor supports FreeSync Premium, which synchronizes the monitor's refresh rate with your graphics card's frame rate to reduce screen tearing and stuttering during gaming and video playback. Ensure your graphics card supports FreeSync Premium and that the feature is enabled in your graphics card's control panel.
Maintenance
Cleaning the Monitor
To clean the screen, gently wipe it with a soft, lint-free cloth. For stubborn marks, dampen the cloth with a small amount of non-abrasive screen cleaner. Do not spray cleaner directly onto the screen. For the monitor casing, use a soft, dry cloth.
Storage
If storing the monitor for an extended period, disconnect all cables and store it in a cool, dry place, preferably in its original packaging to protect it from dust and physical damage.
Troubleshooting
| Problem | Possible Cause | Solution |
|---|---|---|
| No image on screen | Power cable not connected; Video cable not connected; Incorrect input selected. | Ensure power cable is securely connected. Check video cable connection. Select correct input source via OSD menu. |
| Image is blurry or distorted | Incorrect resolution; Loose video cable. | Set display resolution to 2560 x 1440. Reconnect video cable securely. |
| No sound (if using monitor speakers/audio out) | Volume too low; Incorrect audio output selected on computer. | Increase monitor volume via OSD. Select monitor as audio output device in computer settings. |
| KVM switch not working | USB-C or USB upstream cable not connected; KVM not enabled. | Ensure USB-C or USB upstream cable is connected to both computers. Check OSD settings to enable KVM. |
Specifications
- Model: HP 727pu
- Screen Size: 27 inches
- Panel Type: In-plane Switching (IPS) Black Technology
- Resolution: 2560 x 1440 (WQHD)
- Aspect Ratio: 16:9
- Brightness: 400 Nit
- Refresh Rate: 60 Hz (Standard)
- Adaptive Sync: FreeSync Premium
- Connectivity: HDMI, DisplayPort, USB Type-C, KVM Switch
- Dimensions (LxWxH): 8.8 x 24.1 x 21.3 inches (with stand)
- Weight: 22.2 pounds
Warranty and Support
For warranty information and technical support, please refer to the warranty card included with your product or visit the official HP support website. Keep your proof of purchase for warranty claims.
HP Support Website: www.hp.com/support
Ask a question about this manual
Ask about setup, troubleshooting, compatibility, parts, safety, or missing instructions. Manuals+ will review the question and use this page’s manual context to help answer it.