HP 738PU
HP 738PU 38" Class WQHD+ LCD Monitor User Manual
Model: 738PU
Introduction
This user manual provides detailed instructions for the setup, operation, maintenance, and troubleshooting of your HP 738PU 38" Class WQHD+ LCD Monitor. Please read this manual thoroughly before using the product to ensure proper functionality and safety.

Figure 1: Front view of the HP 738PU 38" Class WQHD+ LCD Monitor, showcasing its curved display and sleek design.
Safety Information
Observe the following safety precautions to prevent damage to the monitor and ensure personal safety:
- Do not expose the monitor to rain or moisture.
- Do not open the monitor casing. There are no user-serviceable parts inside. Refer all servicing to qualified service personnel.
- Place the monitor on a stable, flat surface to prevent it from falling.
- Ensure proper ventilation around the monitor. Do not block ventilation openings.
- Use only the power adapter supplied with the monitor.
- Disconnect the power cable from the wall outlet if the monitor will not be used for an extended period.
Package Contents
The HP 738PU monitor package typically includes the following items. Please verify all components are present upon unboxing:
- HP 738PU 38" Class WQHD+ LCD Monitor
- Monitor Stand (Base and Riser)
- Power Cable
- Display Cable (e.g., HDMI, DisplayPort, or USB-C)
- USB-C Cable (for Thunderbolt connectivity)
- Quick Setup Guide
- Warranty Information
Note: Specific cable types and additional accessories may vary by region or package configuration.
Setup
1. Assembling the Monitor Stand
- Carefully remove the monitor and stand components from the packaging.
- Attach the stand riser to the monitor panel. Ensure it clicks securely into place or is fastened with screws as indicated in the quick setup guide.
- Connect the stand base to the riser. Tighten the thumb screw or screws at the bottom of the base until secure.
- Place the assembled monitor on a stable, flat desk or surface.
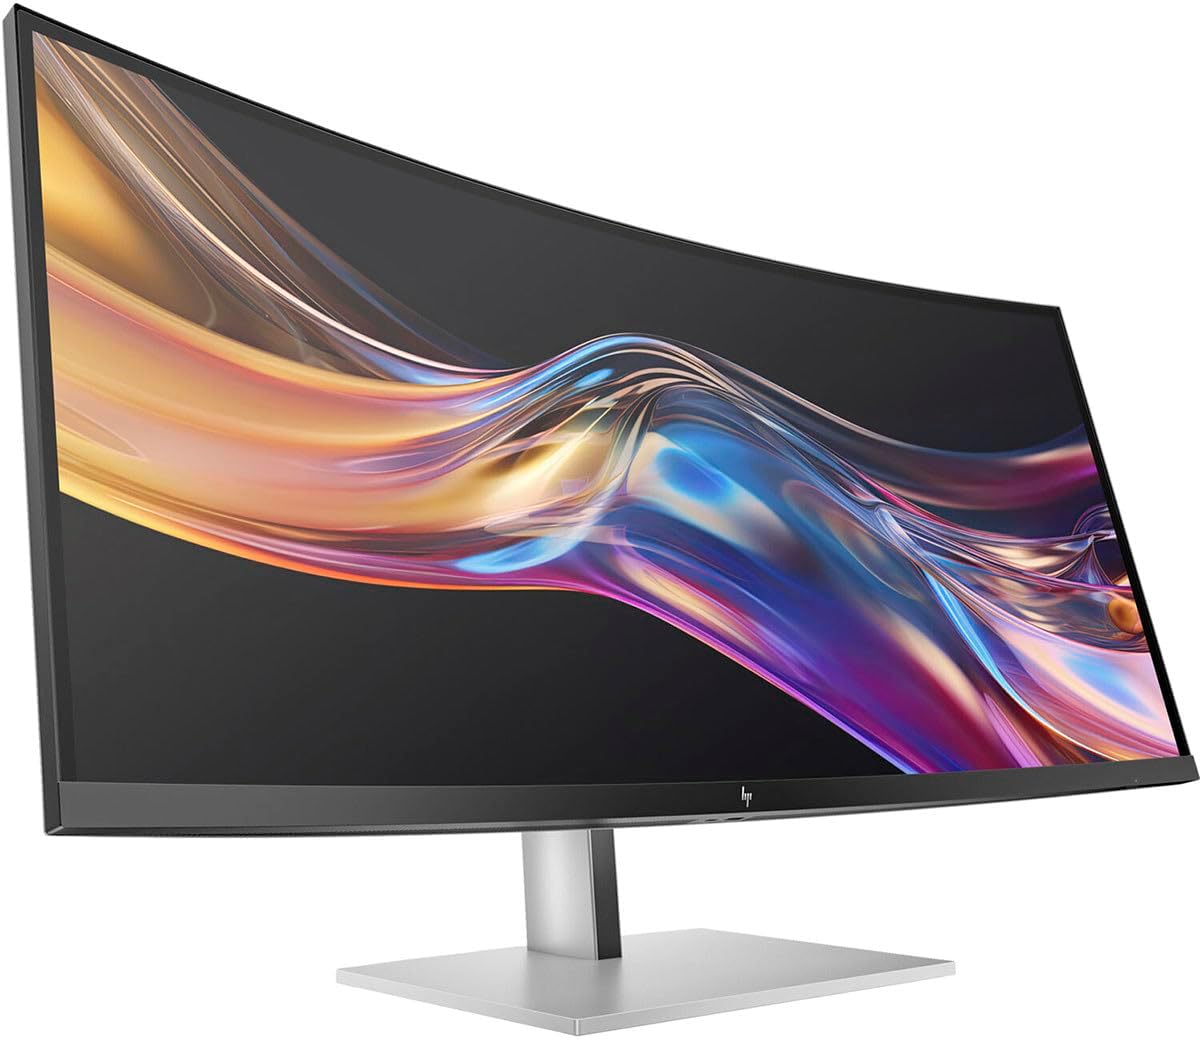
Figure 2: Angled view of the HP 738PU monitor, demonstrating its curved display and stand.
2. Connecting Cables
Locate the input ports on the rear of the monitor.

Figure 3: Rear view of the HP 738PU monitor, displaying the power input and various data ports.
- Power Connection: Connect the power cable to the monitor's power input port and then to a grounded electrical outlet.
- Video Connection:
- For optimal resolution and refresh rate, use the provided Thunderbolt/USB-C cable to connect to a compatible computer. The monitor features Thunderbolt I/O technology for fast and reliable data transfer.
- Alternatively, connect an HDMI or DisplayPort cable from your computer's video output to the corresponding input on the monitor.
- USB Connections: If available, connect a USB upstream cable from your computer to the monitor to enable the monitor's USB hub ports for peripherals.
Operating the Monitor
1. Powering On/Off
Locate the power button, usually on the bottom right or rear of the monitor. Press it to turn the monitor on or off. The power indicator light will illuminate when the monitor is on.
2. Navigating the On-Screen Display (OSD) Menu
The OSD menu allows you to adjust various monitor settings. Access it using the control buttons or joystick located on the monitor, typically near the power button.
- Press the OSD button (or push the joystick) to open the main menu.
- Use the navigation buttons/joystick to move through menu options.
- Press the select button (or push the joystick) to enter a sub-menu or confirm a selection.
- Press the exit button (or move the joystick in the indicated direction) to go back or exit the OSD menu.
3. Adjusting Display Settings
Key settings you can adjust via the OSD menu include:
- Brightness/Contrast: Adjust the overall luminance and contrast ratio of the display.
- Color Settings: Modify color temperature, RGB levels, or select preset color modes.
- Input Selection: Manually switch between connected video inputs (e.g., HDMI, DisplayPort, USB-C).
- Picture Mode: Select optimized modes for different content types (e.g., Standard, Gaming, Movie, Text).
- Aspect Ratio: Adjust how the image fills the screen (e.g., Full Screen, Original, 1:1).
- Audio: Control volume if the monitor has built-in speakers or an audio output.

Figure 4: Side profile of the HP 738PU monitor, illustrating its thin panel and sturdy stand.
Maintenance
Cleaning the Monitor
To maintain the clarity and longevity of your monitor, follow these cleaning guidelines:
- Always turn off the monitor and unplug the power cord before cleaning.
- Use a soft, lint-free cloth slightly dampened with water or a non-abrasive screen cleaner.
- Gently wipe the screen and exterior surfaces. Avoid applying excessive pressure.
- Do not use alcohol, ammonia, or abrasive cleaners, as these can damage the screen coating.
- Never spray liquid directly onto the screen or into any openings.
General Care Tips
- Avoid placing heavy objects on the monitor or its cables.
- Keep the monitor away from direct sunlight, heat sources, and extreme temperatures.
- Ensure adequate ventilation around the monitor to prevent overheating.
Troubleshooting
If you encounter issues with your HP 738PU monitor, refer to the following common problems and solutions:
| Problem | Possible Cause | Solution |
|---|---|---|
| No image on screen |
|
|
| Image too dark/bright or colors incorrect |
|
|
| Monitor goes into power saving mode |
|
|
| Screen resolution is not optimal |
|
|
If the problem persists after trying these solutions, please contact HP customer support for further assistance.
Specifications
| Feature | Detail |
|---|---|
| Brand | HP |
| Model Number | 738PU |
| Screen Size | 37.5 Inches (Viewable) |
| Max Screen Resolution | 3200 x 1600 Pixels (WQHD+) |
| Aspect Ratio | 21:9 |
| Screen Surface Description | Glossy |
| Connectivity | Thunderbolt I/O, HDMI, DisplayPort (specific ports may vary) |
| Item Weight | 41.8 pounds |
| Product Dimensions (LxWxH) | 41 x 20 x 41 inches |
| Manufacturer | Hewlett Packard |
| First Available Date | June 6, 2024 |

Figure 5: Top-down view of the HP 738PU monitor, illustrating the degree of its curvature.
Warranty and Support
HP provides a limited warranty for the HP 738PU 38" Class WQHD+ LCD Monitor. For detailed warranty terms and conditions, please refer to the warranty document included with your product or visit the official HP support website.
For technical support, driver downloads, or service inquiries, please visit the HP Support Website or contact HP customer service directly. Have your monitor's serial number ready when contacting support.
Ask a question about this manual
Ask about setup, troubleshooting, compatibility, parts, safety, or missing instructions. Manuals+ will review the question and use this page’s manual context to help answer it.