Sollman B0D6WC46JD
Sollman Kegel Exerciser Pelvic Floor Muscle Exerciser User Manual
Model: B0D6WC46JD
1. Introduction
Thank you for choosing the Sollman Kegel Exerciser. This device is designed to help strengthen your pelvic floor muscles, which support the uterus, bladder, and bowel. Regular use can contribute to improved pelvic health and address concerns related to incontinence. Please read this manual thoroughly before first use to ensure safe and effective operation.

Image 1.1: The Sollman Kegel Exerciser main unit and two types of probes. The main unit is pink with a digital display and control buttons. One probe is cylindrical with metallic bands, and the other is shaped like a bulb with a flat top.
2. Product Overview
2.1 Package Contents
- Incontinence Treatment Device (Main Unit) x 1
- Vaginal Probe/Electrode x 2 (two different types)
- Connecting Wire/Cable x 2
- Instruction Manual x 1
2.2 Key Features
- Automatic Kegel Exercise: Designed for effortless pelvic floor muscle strengthening.
- Incontinence Relief: Addresses both stress and urge incontinence.
- Compact and Lightweight: Easy to handle and use.
- 7 Preset Programs: Offers various exercise routines.
- 0-99 Level Intensity Settings: Allows for precise control over stimulation strength.
- Ergonomic Probes: Designed for comfort and effective stimulation.
- User-Friendly Interface: Simple +/- buttons for intensity adjustment.

Image 2.1: A woman holding the Sollman Kegel Exerciser, with icons illustrating its lightweight nature, 7 preset programs, and comfortable stimulation.
3. Important Safety Information
Please read all warnings and precautions before using this device.
- Consult a healthcare professional before using this device, especially if you have any pre-existing medical conditions, are pregnant, or have an IUD.
- Do not use if you have a pacemaker, heart condition, epilepsy, or any electronic implant.
- Do not use on broken or irritated skin.
- Discontinue use immediately if you experience pain, discomfort, or any adverse reactions.
- Keep out of reach of children.
- This device is for personal use only. Do not share probes.
- Clean probes thoroughly before and after each use as instructed in the Maintenance section.
- Statements regarding this device have not been evaluated by the FDA and are not intended to diagnose, treat, cure, or prevent any disease or health condition.
4. Setup Guide
4.1 Battery Installation
- Locate the battery compartment on the back of the main unit.
- Open the battery compartment cover.
- Insert the required batteries (e.g., AAA batteries, not specified in input, assuming standard) according to the polarity indicators (+/-).
- Close the battery compartment cover securely.
4.2 Connecting the Probes
- Identify the connecting wires. Each wire has two pins on one end and a single jack on the other.
- Insert the two pins of a connecting wire firmly into the designated ports on the chosen vaginal probe/electrode.
- Insert the single jack end of the connecting wire into either Channel 1 (CH1) or Channel 2 (CH2) jack on the bottom of the main unit.
- If using two probes simultaneously, repeat steps 2 and 3 for the second probe and the other channel.

Image 4.1: Visual guide for setting up the device, including battery insertion, connecting the cable to the main unit, connecting the cable to the probe, and selecting a program.
5. Operating Instructions
5.1 Device Controls

Image 5.1: Detailed view of the main unit's panel and key functions, including the LCD display, channel indicators, power button, program selection button, and intensity controls for each channel.
- Power/ON Key: Press to turn the device on or off.
- Mode/Start Button (P): Press to cycle through the 7 preset programs (P1-P7). Press and hold to start/pause the program.
- Channel 1 Strength "+" / "-": Adjusts the intensity for Channel 1.
- Channel 2 Strength "+" / "-": Adjusts the intensity for Channel 2.
- LCD Display: Shows program number, intensity level, time remaining, and channel status.
5.2 Starting an Exercise Session
- Ensure batteries are installed and probes are correctly connected to the main unit and inserted as directed by your healthcare professional.
- Press the Power/ON Key to turn on the device. The LCD display will illuminate.
- Press the Mode/Start Button (P) repeatedly to select your desired program (P1-P7). Each program has a specific duration and stimulation pattern.
- Once a program is selected, press the Mode/Start Button (P) again to start the program.
- During the "Work" phase of the program, use the "+" and "-" buttons for Channel 1 and Channel 2 to gradually increase the intensity to a comfortable yet effective level. You should feel a gentle tightening or tingling sensation, but no pain.
- The device will automatically cycle through "Work" and "Rest" phases as per the selected program.
- The display will show the remaining time for the session.
- Once the program concludes, the device may automatically turn off or enter a standby mode. Press the Power/ON Key to turn it off manually.
Note: It is recommended to start with the lowest intensity level and gradually increase it. If you experience any discomfort, reduce the intensity or stop the session.
6. Maintenance and Care
6.1 Cleaning the Probes
- After each use, disconnect the probes from the connecting wires.
- Wash the probes with mild soap and warm water.
- Rinse thoroughly to remove all soap residue.
- Dry the probes completely with a soft, clean cloth or allow them to air dry before storing.
- Do not use abrasive cleaners, alcohol, or harsh chemicals, as these can damage the probes.
6.2 Cleaning the Main Unit
- Wipe the main unit with a soft, damp cloth.
- Do not immerse the main unit in water or any other liquid.
- Ensure the unit is completely dry before storing.
6.3 Storage
- Store the device and its components in a clean, dry place, away from direct sunlight and extreme temperatures.
- Remove batteries if the device will not be used for an extended period to prevent leakage.
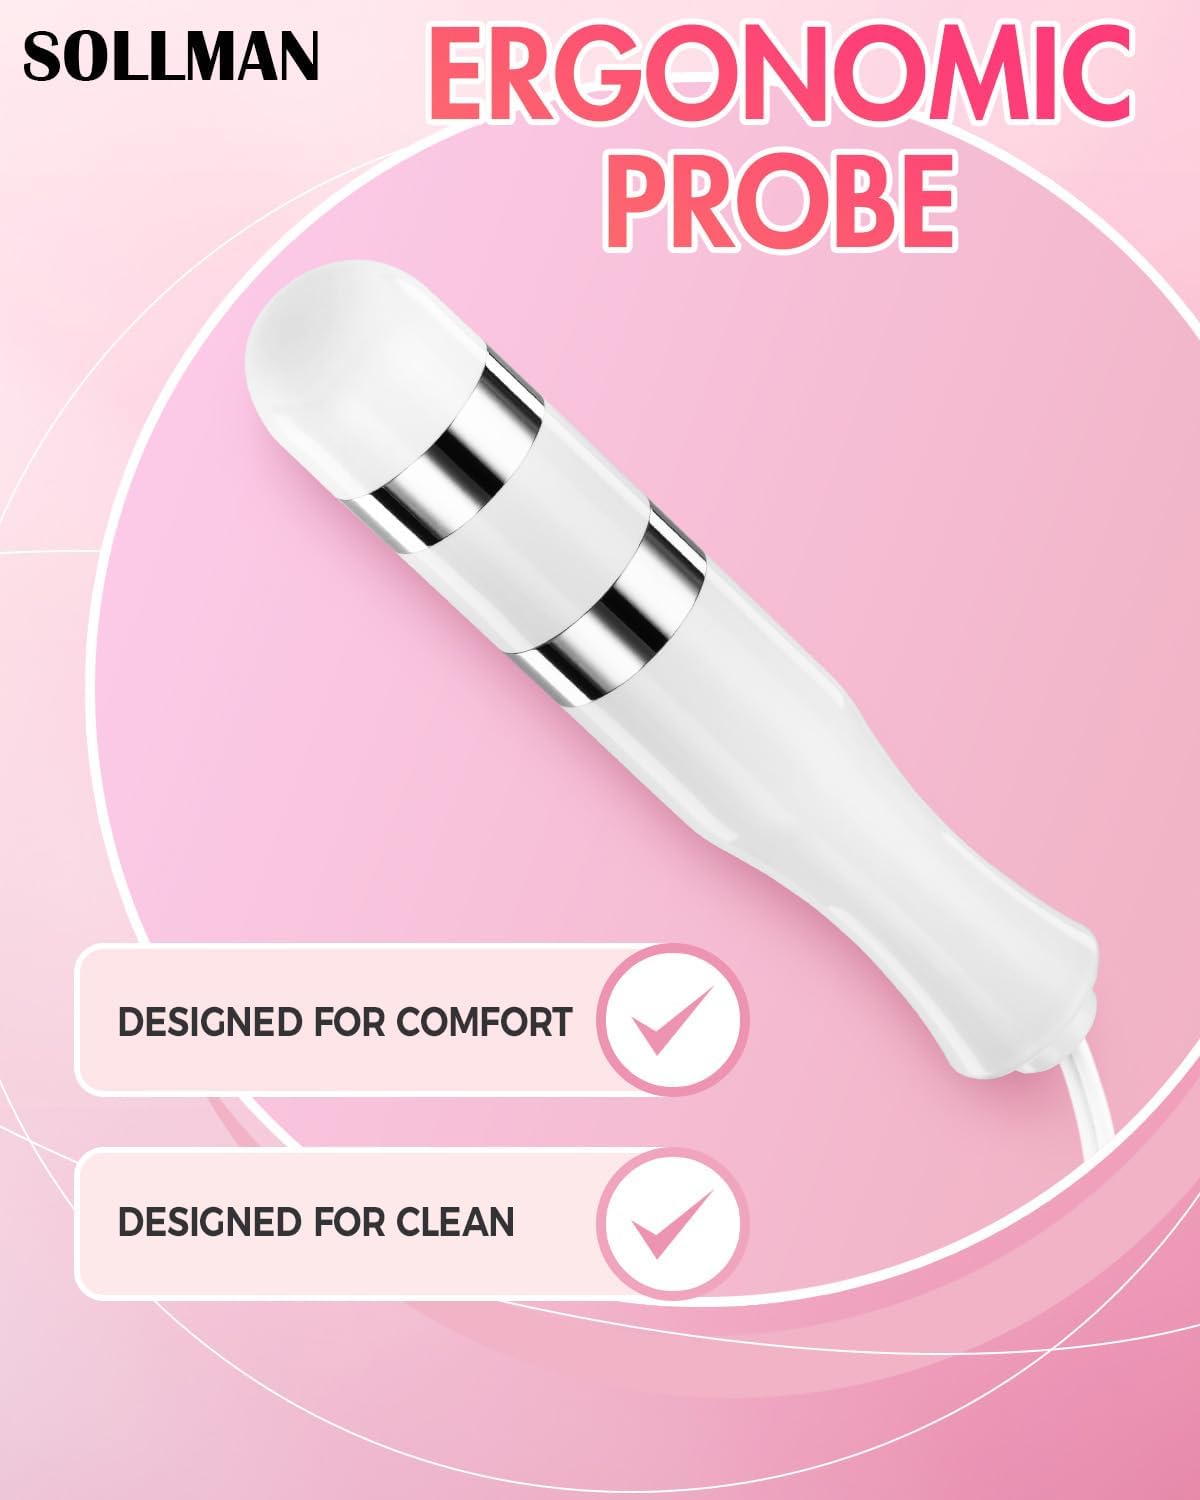
Image 6.1: The ergonomic probe, designed for both comfort during use and ease of cleaning.
7. Troubleshooting
| Problem | Possible Cause | Solution |
|---|---|---|
| Device does not turn on. |
|
|
| No sensation or weak sensation. |
|
|
| Discomfort or pain during use. |
|
|
8. Specifications
- Model: B0D6WC46JD
- Manufacturer: BLISSCO MEDICAL DEVICE LIMITED
- Package Dimensions: 6.81 x 3.94 x 2.52 inches
- Weight: 15.52 ounces
- Programs: 7 Preset Programs (P1-P7)
- Intensity Levels: 0-99
- Channels: Dual Channel (CH1, CH2)
- Power Source: Batteries (type not specified, typically AAA)
9. Customer Support
If you have any questions, concerns, or require assistance with your Sollman Kegel Exerciser, please contact our customer support team. We are committed to resolving your issues within 24 hours.
Contact Information: Please refer to the product packaging or the official Sollman website for the most current contact details.
Ask a question about this manual
Ask about setup, troubleshooting, compatibility, parts, safety, or missing instructions. Manuals+ will review the question and use this page’s manual context to help answer it.