1. Introduction
Thank you for choosing the BDJSN 7000BTU 12V/24V Mini Integrated Roof Air Conditioner. This unit is designed to provide efficient and reliable cooling for various vehicles, including semi-trucks, buses, campers, pickups, motorhomes, vans, and trailers. This manual provides essential information for the safe installation, operation, and maintenance of your air conditioner. Please read it thoroughly before use and retain it for future reference.

Image 1.1: The BDJSN rooftop air conditioner providing a comfortable environment inside a recreational vehicle, illustrating its primary function of cooling the interior space.
2. Safety Information
To ensure safe operation and prevent damage to the unit or injury to personnel, please observe the following safety precautions:
- Professional Installation: Installation should only be performed by qualified technicians familiar with vehicle electrical systems and refrigeration. Incorrect installation can lead to electrical shock, fire, or refrigerant leaks.
- Electrical System: Ensure the vehicle's electrical system (12V or 24V DC) matches the unit's voltage requirements. Use appropriate wiring gauges and fuses as specified in the installation guide.
- Refrigerant: This unit uses R134A refrigerant. Refrigerant handling must be done by certified professionals. Do not attempt to charge or discharge refrigerant yourself.
- Ventilation: Ensure proper ventilation around the outdoor unit to prevent overheating and maintain optimal performance.
- Maintenance: Disconnect power before performing any maintenance or cleaning.
- Children and Pets: Keep children and pets away from the unit during operation and maintenance.
3. Product Overview & Features
The BDJSN Mini Integrated Roof Air Conditioner is designed for efficient and quiet cooling in mobile environments. Its compact, integrated design allows for rooftop mounting, saving interior space.
Key Features:
- Efficient Cooling: Equipped with a 700W brushless motor, it delivers 7000BTU (2000W) of cooling capacity with a wind speed of 200CFM, capable of rapidly cooling vehicle interiors.
- Low Noise Operation: Variable frequency cooling technology and an ultra-quiet evaporator ensure an indoor noise level of less than 55dB, providing a peaceful environment.
- Durable Construction: Made from sturdy metal and ABS materials, the unit is designed to withstand impacts and resist deformation and corrosion, ensuring long-lasting performance in harsh environments.
- Wide Application: Suitable for a broad range of vehicles including semi-trucks, buses, campers, motorhomes, agricultural vehicles, and construction vehicles.

Image 3.1: Illustration of the air conditioner's performance metrics, highlighting its 7000BTU cooling capacity, 200CFM maximum airflow, and effective cooling area.

Image 3.2: A visual representation demonstrating the low noise operation of the unit, indicating an indoor noise level below 55dB for a quiet driving experience.

Image 3.3: Examples of diverse vehicle types where the BDJSN air conditioner can be effectively used, showcasing its versatility across different mobile applications.
4. Specifications
The following table details the technical specifications of the BDJSN 7000BTU Mini Integrated Roof Air Conditioner:
| Parameter | Value |
|---|---|
| Voltage | DC 12V / DC 24V (model dependent) |
| Current | 32-58A |
| Power | 380-700W |
| Refrigeration Capacity | 2000W (7000BTU) |
| Refrigerant Type | R134A (600g, not included) |
| Overall Dimensions | 27.17 x 27.76 x 5.51 inches (L x W x H) |
| Minimum Opening Size | 14.57 x 10.24 inches (L x W) |

Image 4.1: A visual summary of the product's key technical specifications, including electrical requirements, cooling performance, and physical dimensions.
5. Installation Guide
Proper installation is crucial for the performance and longevity of your air conditioner. It is strongly recommended that installation be performed by a certified professional.
5.1 Pre-Installation Checks:
- Verify the vehicle's roof structure can support the weight of the unit.
- Ensure adequate clearance for the unit on the rooftop and inside the vehicle.
- Confirm the vehicle's electrical system (12V or 24V DC) matches the unit's voltage.
- Gather all necessary tools and safety equipment.
5.2 Mounting the Unit:
- Carefully measure and cut the minimum opening size (14.57 x 10.24 inches) in the vehicle's roof, ensuring it is free from structural components or wiring.
- Apply appropriate sealant around the roof opening to prevent water ingress.
- Position the outdoor unit over the opening, ensuring it is level and securely seated.
- Install the interior air distribution box, aligning it with the outdoor unit.
- Secure both units using the provided interior and exterior fixtures and tightening screws.
5.3 Electrical Connections:
- Connect the power cables to the vehicle's battery, ensuring correct polarity.
- Install an inline fuse or circuit breaker of the appropriate rating (refer to the full installation guide for details).
- Ensure all connections are tight and insulated to prevent short circuits.
5.4 Refrigerant Charging:
This unit requires R134A refrigerant (600g), which is not pre-charged. Refrigerant charging must be performed by a certified HVAC technician using proper equipment and safety procedures.

Image 5.1: Detailed view of the indoor unit, illustrating features like the 360-degree adjustable air outlet for wider coverage and the method of securing the unit during installation.
6. Operating Instructions
The air conditioner features an intuitive control panel for easy operation. Familiarize yourself with the different modes to optimize your comfort.
6.1 Control Panel:
The control panel typically includes buttons for Power, Mode selection, Temperature adjustment, and Fan speed. Refer to the specific markings on your unit's control panel.
6.2 Operating Modes:
- ECO Mode: Designed for energy efficiency, reducing power consumption while maintaining a comfortable temperature. Ideal for extended use.
- TURBO Mode: Provides maximum cooling power to rapidly reduce the interior temperature. Use when quick cooling is desired.
- FAN ONLY Mode: Circulates air without engaging the compressor, providing ventilation without cooling.
- SLEEP Mode: Operates at a lower fan speed and gradually adjusts temperature for quiet and comfortable overnight use, optimizing for rest.
6.3 Airflow Adjustment:
The internal air outlets feature a 360-degree swing function, allowing you to direct airflow for optimal distribution and coverage within the vehicle.
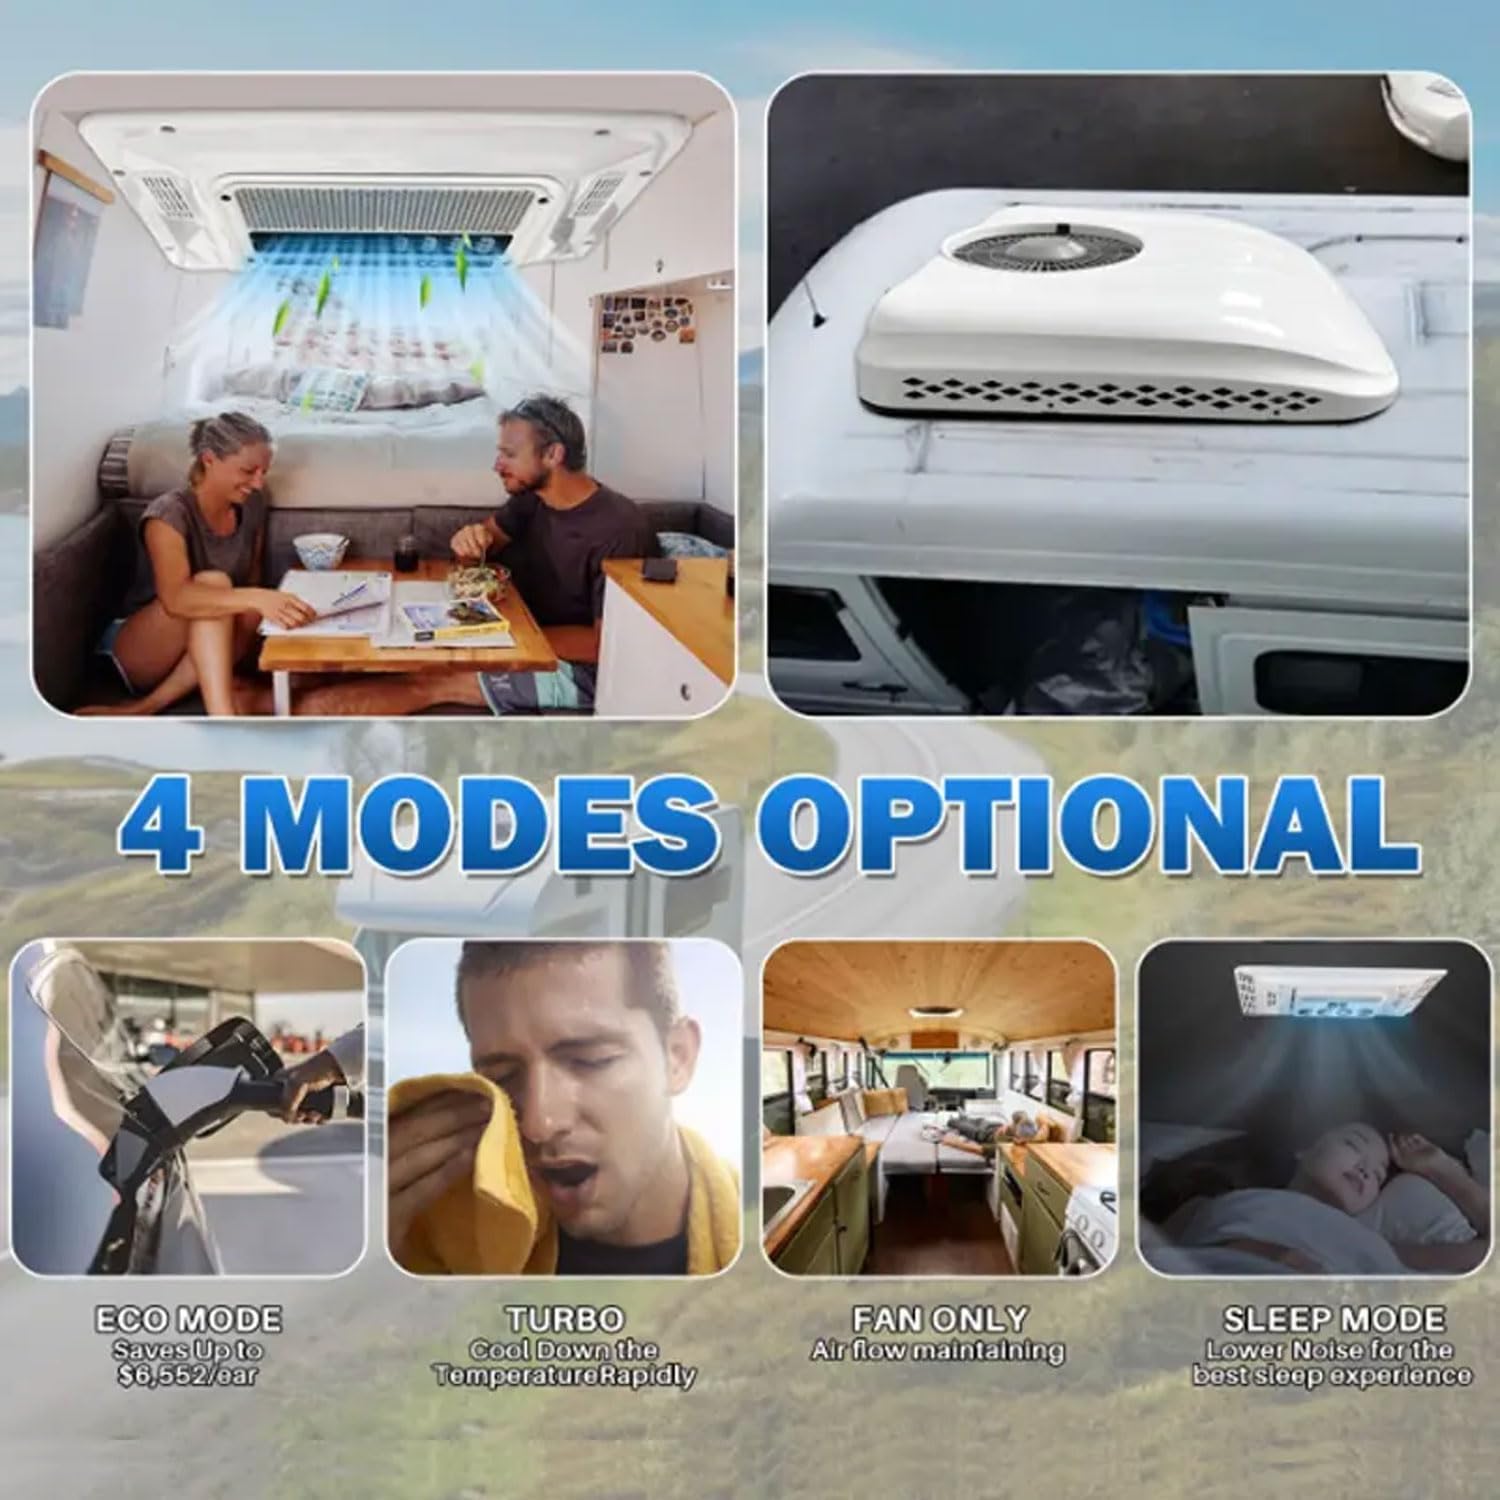
Image 6.1: An overview of the four distinct operating modes available on the air conditioner, detailing their purpose and benefits for various user needs.
7. Maintenance
Regular maintenance ensures the efficiency and extends the lifespan of your air conditioner. Always disconnect power before performing any maintenance.
- Clean Air Filters: Periodically remove and clean the air filters located in the indoor unit. Wash with mild soap and water, rinse thoroughly, and allow to dry completely before reinstallation.
- Inspect Outdoor Unit: Keep the outdoor unit free from debris, leaves, and dirt. Ensure the condenser fins are clean and unobstructed for optimal heat dissipation.
- Check Electrical Connections: Annually inspect all electrical connections for tightness and signs of corrosion.
- Refrigerant Level: If you notice a decrease in cooling performance, have a certified technician check the refrigerant level.
8. Troubleshooting
Before contacting support, try the following troubleshooting steps for common issues:
| Problem | Possible Cause | Solution |
|---|---|---|
| Unit does not turn on | No power, blown fuse, loose connection | Check battery connection, inspect fuse/breaker, ensure power switch is on. |
| Poor cooling performance | Dirty filters, low refrigerant, obstructed outdoor unit | Clean air filters, clear obstructions from outdoor unit. If refrigerant is low, contact a technician. |
| Unusual noise | Loose components, debris in fan, unit not level | Inspect for loose parts, remove any debris. Ensure unit is securely mounted and level. |
| Water leakage | Blocked drain hose, improper installation sealing | Check and clear the condensate drain hose. Verify roof sealing. |
If the problem persists after attempting these solutions, please contact customer support or a qualified service technician.
9. Warranty and Support
This product is covered by a manufacturer's warranty against defects in materials and workmanship. Please refer to your purchase documentation for specific warranty terms and duration. For technical assistance, parts, or warranty claims, please contact your retailer or the manufacturer directly.
When contacting support, please have your product model number and purchase date available.