1. Introduction
This manual provides essential instructions for the proper installation, operation, and maintenance of your LHAIQQ Brake Pads, Model 8569. These brake pads are designed for use with disc brake systems on electric bicycles and motorbikes, offering reliable stopping power and durability. Please read this manual thoroughly before installation and use to ensure optimal performance and safety.
2. Safety Information
- Professional Installation Recommended: If you are not experienced with brake system maintenance, it is highly recommended to have these brake pads installed by a qualified mechanic.
- Brake System Criticality: The braking system is a critical safety component of your vehicle. Incorrect installation or maintenance can lead to serious injury or death.
- Wear Protective Gear: Always wear appropriate safety glasses and gloves when working on your vehicle's braking system.
- Cleanliness: Keep brake components free from oil, grease, and brake fluid, as these can severely impair braking performance.
- Check Compatibility: Ensure these brake pads are compatible with your specific electric bicycle or motorbike model before installation. Refer to the specifications section.
3. Product Overview
The LHAIQQ Brake Pads (Model 8569) are engineered for enhanced safety and durability in electric bicycle and motorbike applications. They feature advanced materials designed to reduce noise and vibration, providing a comfortable riding experience. Each pad is crafted to meet OEM specifications for precise fit and optimal braking performance.

Figure 3.1: LHAIQQ Brake Pads, Model 8569. This image displays two individual brake pads, one with the friction material facing up and the other showing the backing plate with the model number 'HB-F075' and brand 'CNHB' (likely a sub-brand or manufacturing code). These pads are designed for disc brake systems on electric bicycles and motorbikes.
4. Installation Guide
Follow these general steps for brake pad replacement. Specific procedures may vary depending on your vehicle's brake caliper design. Always consult your vehicle's service manual for detailed instructions.
- Prepare the Vehicle: Secure the vehicle on a stable stand. Remove the wheel to access the brake caliper.
- Remove Old Pads: Locate the retaining pin or clip that holds the brake pads in place. Remove it carefully. Gently pry apart the old brake pads and slide them out of the caliper.
- Clean Caliper: Clean the caliper thoroughly, removing any brake dust or debris. Use a brake cleaner if necessary. Ensure the caliper pistons are clean and move freely.
- Retract Pistons: Use a piston spreader or appropriate tool to gently push the caliper pistons back into their bores. This creates space for the new, thicker brake pads. Be careful not to damage the pistons or seals.
- Install New Pads: Insert the new LHAIQQ brake pads into the caliper, ensuring the friction material faces the rotor. Make sure they are seated correctly and the spring clip (if applicable) is properly positioned.
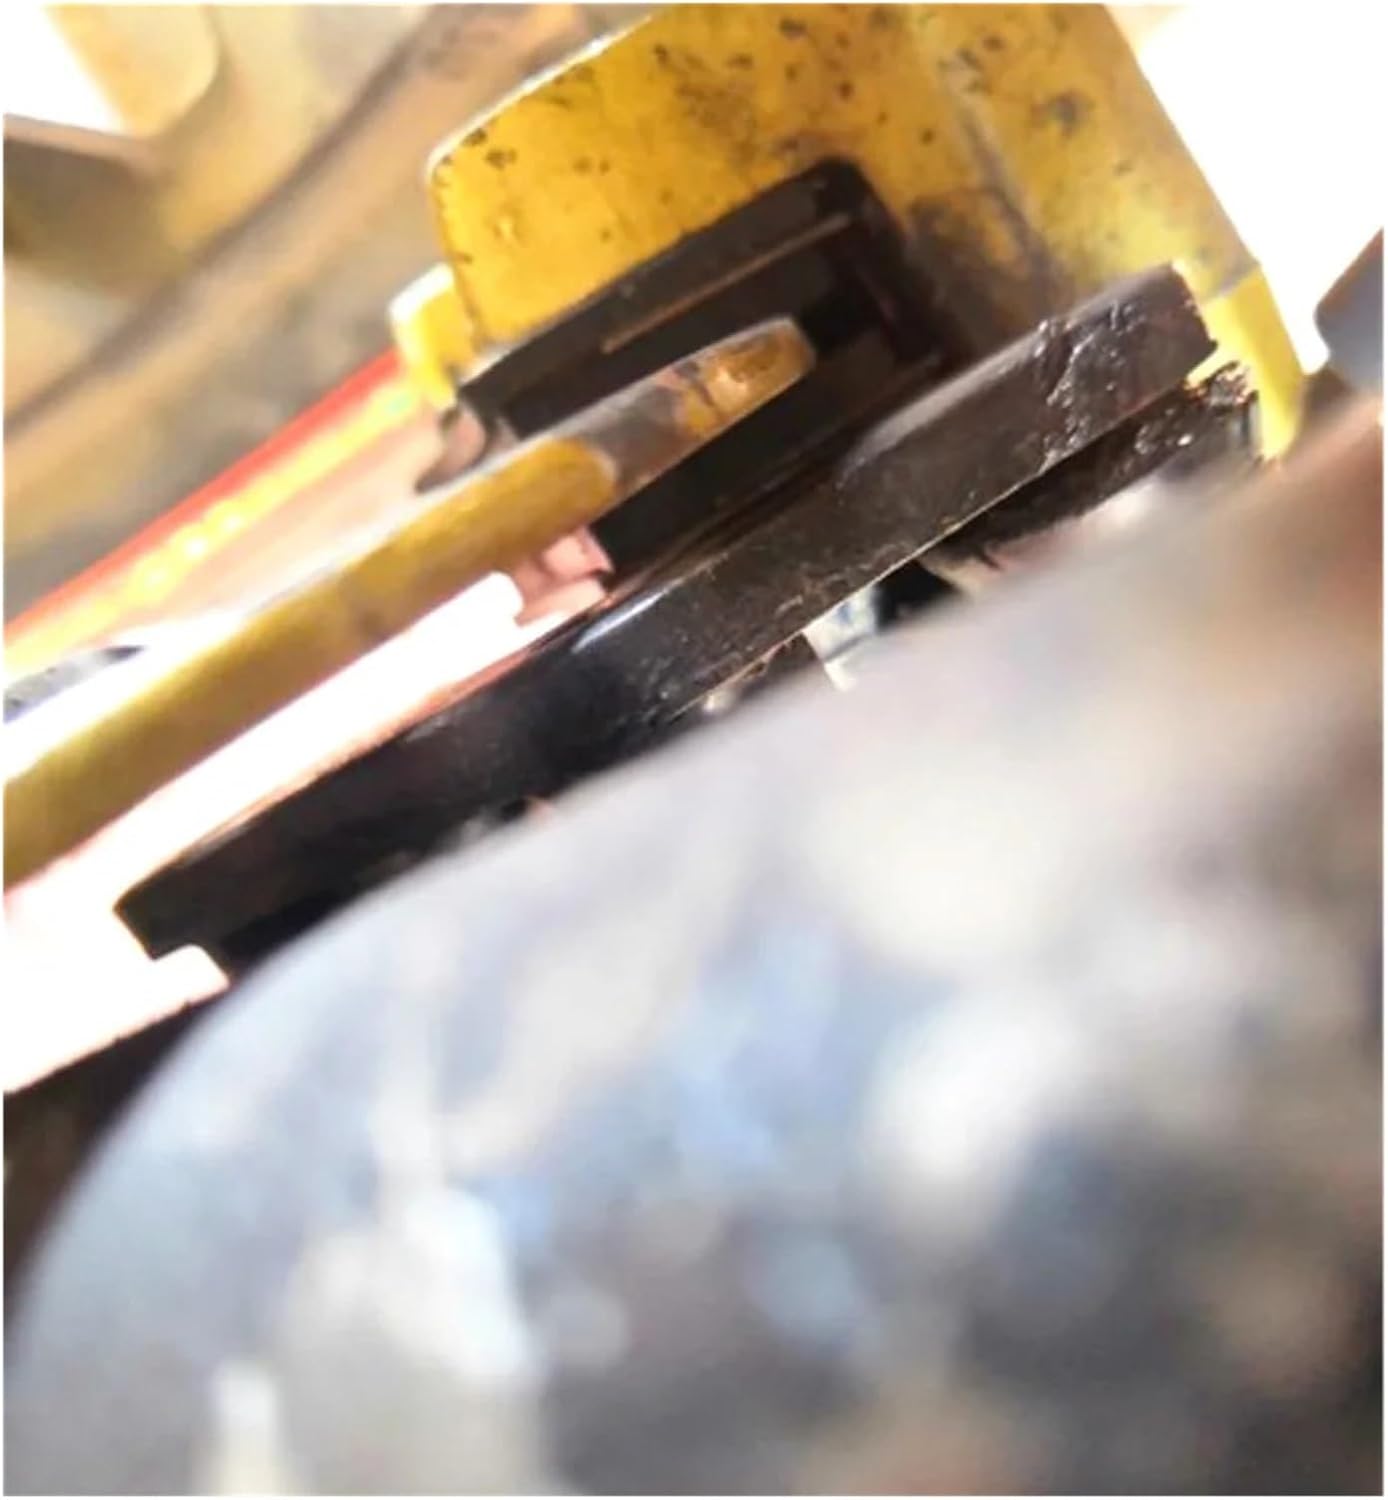
Figure 4.1: Brake pad correctly positioned within a disc brake caliper assembly. Proper alignment and secure fitting are crucial for effective braking performance.
- Secure Pads: Reinstall the retaining pin or clip to secure the new brake pads.
- Reassemble: Reinstall the wheel and tighten all fasteners to the manufacturer's specified torque.
- Bed-in Procedure: After installation, perform a proper bed-in procedure (see Section 5) to optimize brake performance and longevity.
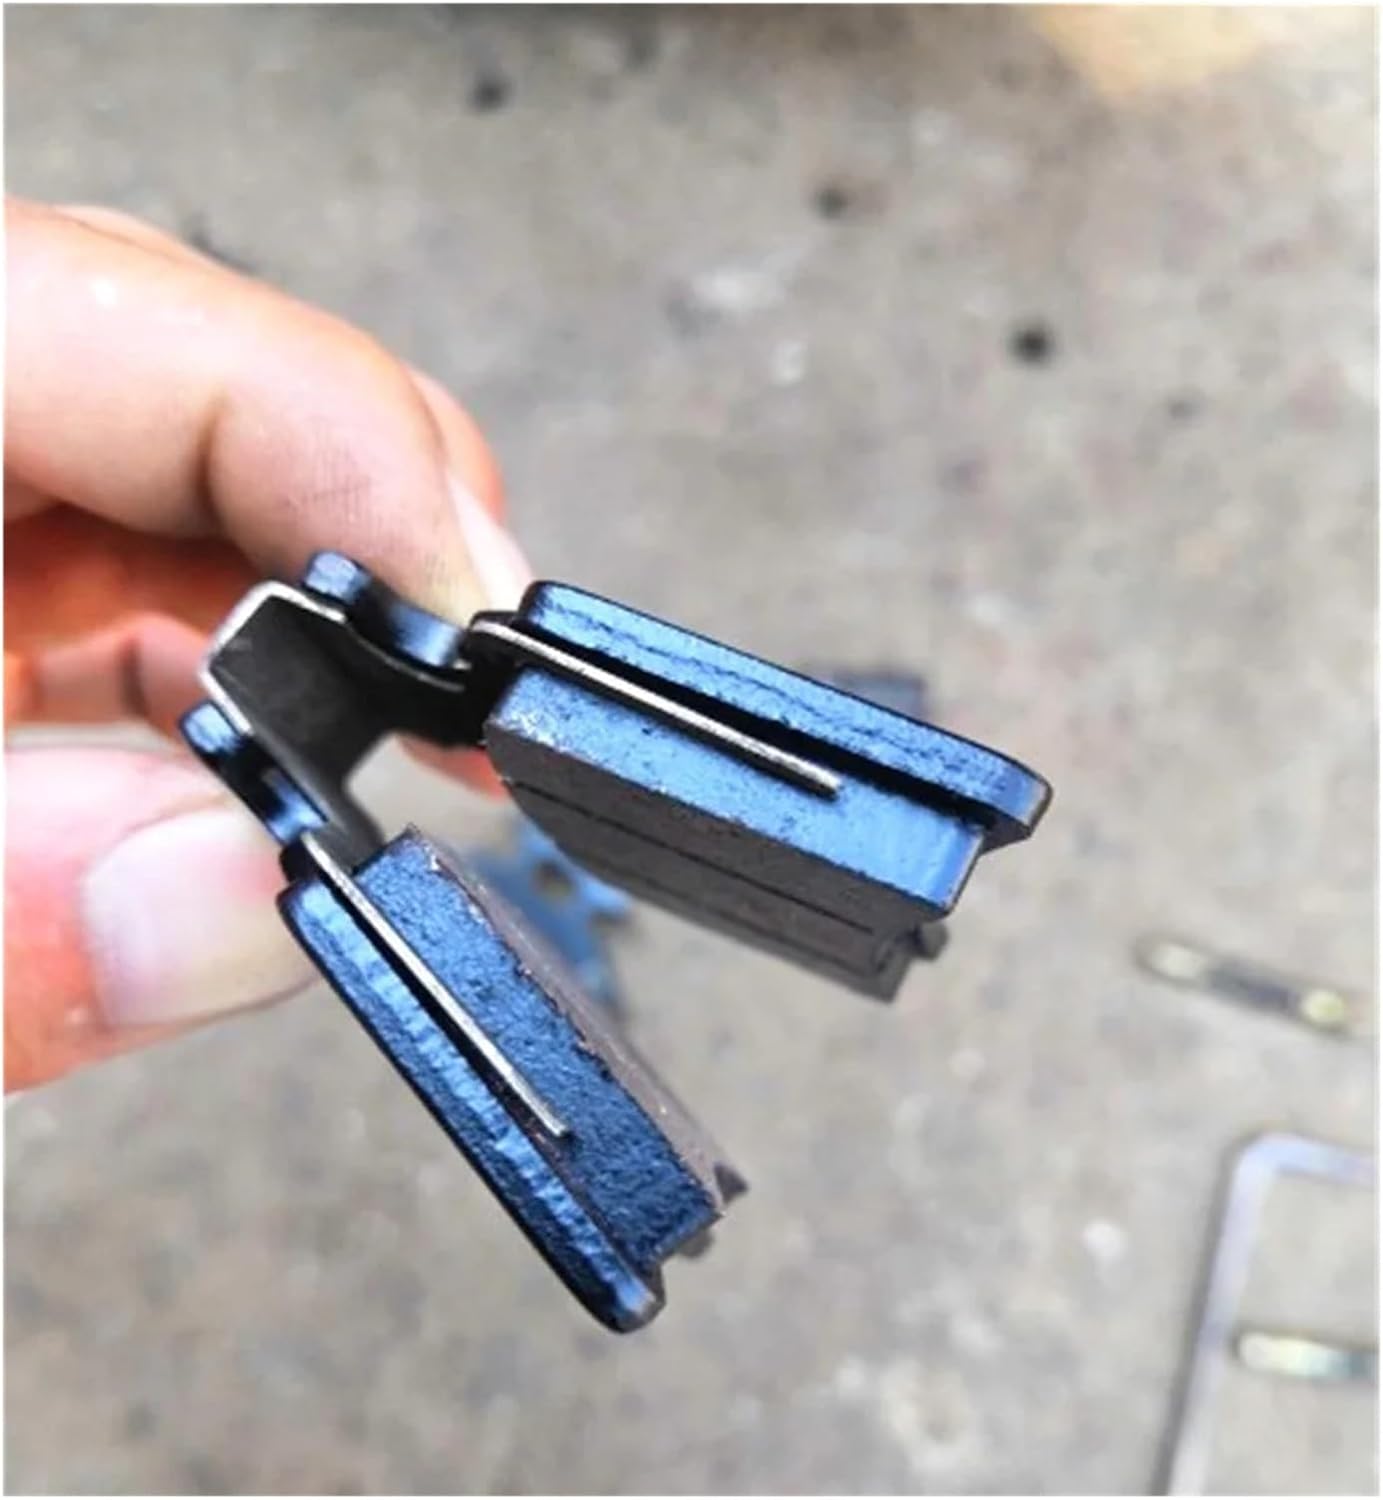
Figure 4.2: A pair of brake pads held together, highlighting the spring clip or retention pin that keeps them in place within the caliper. This component is essential for proper brake pad function and preventing rattling.
5. Operating and Break-in
After installing new brake pads, a proper break-in (or 'bedding-in') procedure is crucial to achieve optimal performance and extend pad life. This process transfers a thin layer of friction material to the brake rotor, ensuring consistent braking.
5.1 Break-in Procedure
- Find a safe, open area with no traffic.
- Accelerate to approximately 20 mph (32 km/h) and apply the brakes moderately, reducing speed to about 5 mph (8 km/h). Do not come to a complete stop. Repeat this 10-15 times.
- Allow the brakes to cool down by riding for several minutes without heavy braking.
- Accelerate to approximately 35 mph (56 km/h) and apply the brakes firmly, reducing speed to about 10 mph (16 km/h). Do not come to a complete stop. Repeat this 5-10 times.
- Allow the brakes to cool completely for at least 15-20 minutes. Avoid heavy braking during this cooling period.
After the break-in procedure, your brake pads should provide full and consistent stopping power. Avoid sudden, hard braking during the initial 100-200 miles (160-320 km) after installation, except in emergencies.
6. Maintenance
Regular inspection and maintenance of your brake pads are vital for safety and performance.
- Regular Inspection: Visually inspect your brake pads every 500-1000 miles (800-1600 km) or at least once a month. Check for wear, cracks, or damage to the friction material.
- Minimum Thickness: Replace brake pads when the friction material wears down to the minimum recommended thickness (typically 1-2mm, consult your vehicle's manual).
- Rotor Condition: Inspect brake rotors for excessive wear, scoring, or warping. Worn rotors can accelerate pad wear and reduce braking effectiveness.
- Cleanliness: Keep brake calipers and pads free from dirt, mud, and road grime. Use a soft brush and brake cleaner if necessary.
- Brake Fluid: For hydraulic disc brakes, regularly check the brake fluid level and condition. Replace fluid according to your vehicle manufacturer's recommendations.
7. Troubleshooting
Here are some common issues and potential solutions related to brake pads:
| Symptom | Possible Cause | Solution |
|---|---|---|
| Squealing/Grinding Noise | New pads not bedded-in, worn pads, debris in caliper, warped rotor. | Perform bed-in procedure. Inspect pads for wear and replace if necessary. Clean caliper. Inspect/replace rotor. |
| Reduced Braking Performance | Pads not bedded-in, contaminated pads/rotor, air in hydraulic system, worn pads. | Perform bed-in procedure. Clean/replace contaminated parts. Bleed brake system. Replace worn pads. |
| Vibration During Braking | Warped brake rotor, uneven pad wear. | Inspect and replace warped rotor. Check for proper pad installation and even wear. |
| Brake Lever Feels Spongy | Air in hydraulic system, low brake fluid, worn master cylinder. | Bleed brake system. Check and top up brake fluid. Consult a mechanic for master cylinder issues. |
If you experience persistent issues or are unsure about any repair, consult a professional mechanic.
8. Specifications
| Feature | Detail |
|---|---|
| Brand | LHAIQQ |
| Model Number | 8569 |
| Item Weight | 1.76 ounces (approx. 50 grams) |
| Package Dimensions | 1.18 x 0.79 x 0.39 inches (approx. 3 x 2 x 1 cm) |
| Auto Part Position | Outer |
| Compatibility | Electric Bicycles, Motorbikes (Disc Brake Systems) |
| Package Contents | 1 Pair of Brake Pads (for a single brake caliper) |
9. Warranty Information
LHAIQQ brake pads are manufactured to high-quality standards. This product is typically covered by a limited warranty against manufacturing defects. For specific warranty terms and conditions, please refer to the product packaging or contact your retailer. Keep your proof of purchase for any warranty claims.
10. Customer Support
For further assistance, technical support, or inquiries regarding LHAIQQ Brake Pads, please contact your point of purchase or visit the official LHAIQQ website. When contacting support, please have your product model number (8569) and purchase details readily available.