1. Introduction
Thank you for choosing the FairyHover White Makeup Vanity. This manual provides essential information for the safe assembly, operation, and maintenance of your new vanity desk. Please read these instructions carefully before use and retain them for future reference.
Important Safety Information
- Always assemble and use the vanity with care to avoid injury.
- Ensure all components are securely fastened before use.
- Keep small parts away from children during assembly.
- Do not overload drawers or shelves.
- The product is finished with an environmentally friendly and safe lacquer.
2. Package Contents
Before beginning assembly, please verify that all parts listed below are present and undamaged. If any parts are missing or damaged, please contact customer support.
- Vanity Desk Components (Tabletop, Side Panels, Drawer Panels, Back Panels)
- LED Lighted Mirror
- Stool
- 4 Drawers with hardware
- Multi-layer Storage Rack
- Assembly Hardware (Screws, Dowels, Brackets, Drawer Slides)
- Assembly Tools (Hex Key, Screwdriver - may not be included, prepare your own)

Figure 2.1: Overview of the FairyHover White Makeup Vanity with LED mirror, side storage, and stool.
3. Assembly Instructions
Assembly typically requires two adults. Please follow the steps carefully. A screwdriver and hex key may be required (not always included).
Step-by-Step Assembly:
- Prepare the Area: Clear a spacious, clean area for assembly. Lay out all components and hardware.
- Assemble the Main Desk Frame: Attach the side panels to the main tabletop using the provided screws and dowels. Ensure all connections are secure.
- Install Drawers:
- Attach drawer slides to the desk frame and drawer boxes according to the instructions.
- Assemble the drawer boxes and insert them into the slides.
- Attach drawer pulls.

Figure 3.1: High-quality hardware guide rails ensure smooth drawer operation and strong load-bearing capacity.
- Attach Storage Rack: Secure the multi-layer storage rack to the left side of the vanity tabletop.
- Mount the LED Mirror: Carefully attach the LED mirror unit to the designated area on the tabletop. Connect any necessary power cables for the LED lights.
- Assemble the Stool: Follow the separate instructions for assembling the stool, typically involving attaching the legs to the seat.
- Final Check: Ensure all screws are tightened, and the vanity is stable.

Figure 3.2: The whole board supports the table legs, providing a solid and stable structure that expands the stress-bearing area.
4. Operating Instructions
Using the LED Lighted Mirror:
The vanity mirror features a smart touch screen with three-tone lighting options to suit various needs.
- Power On/Off: Touch the power icon on the mirror screen to turn the LED lights on or off.
- Adjust Light Tone: Repeatedly touch the light tone icon to cycle through the three available lighting modes:
- Natural Light: Ideal for delicate makeup application.
- Warm White Light: Suitable for daily makeup routines.
- Warm Light: Recommended for night skin care.

Figure 4.1: The LED smart fill-in light mirror illuminates in all directions and offers three distinct light tones.
Utilizing Storage Features:
- Drawers: The four spacious drawers provide ample storage for cosmetics, accessories, and personal items. The high-quality hardware guide rails ensure smooth opening and closing.
- Multi-layer Storage Rack: The integrated side rack offers classified storage for various cosmetics and frequently used items, keeping them organized and easily accessible.
- Lower Shelf Storage: An additional lower shelf maximizes space utilization, allowing for storage of books or larger items.
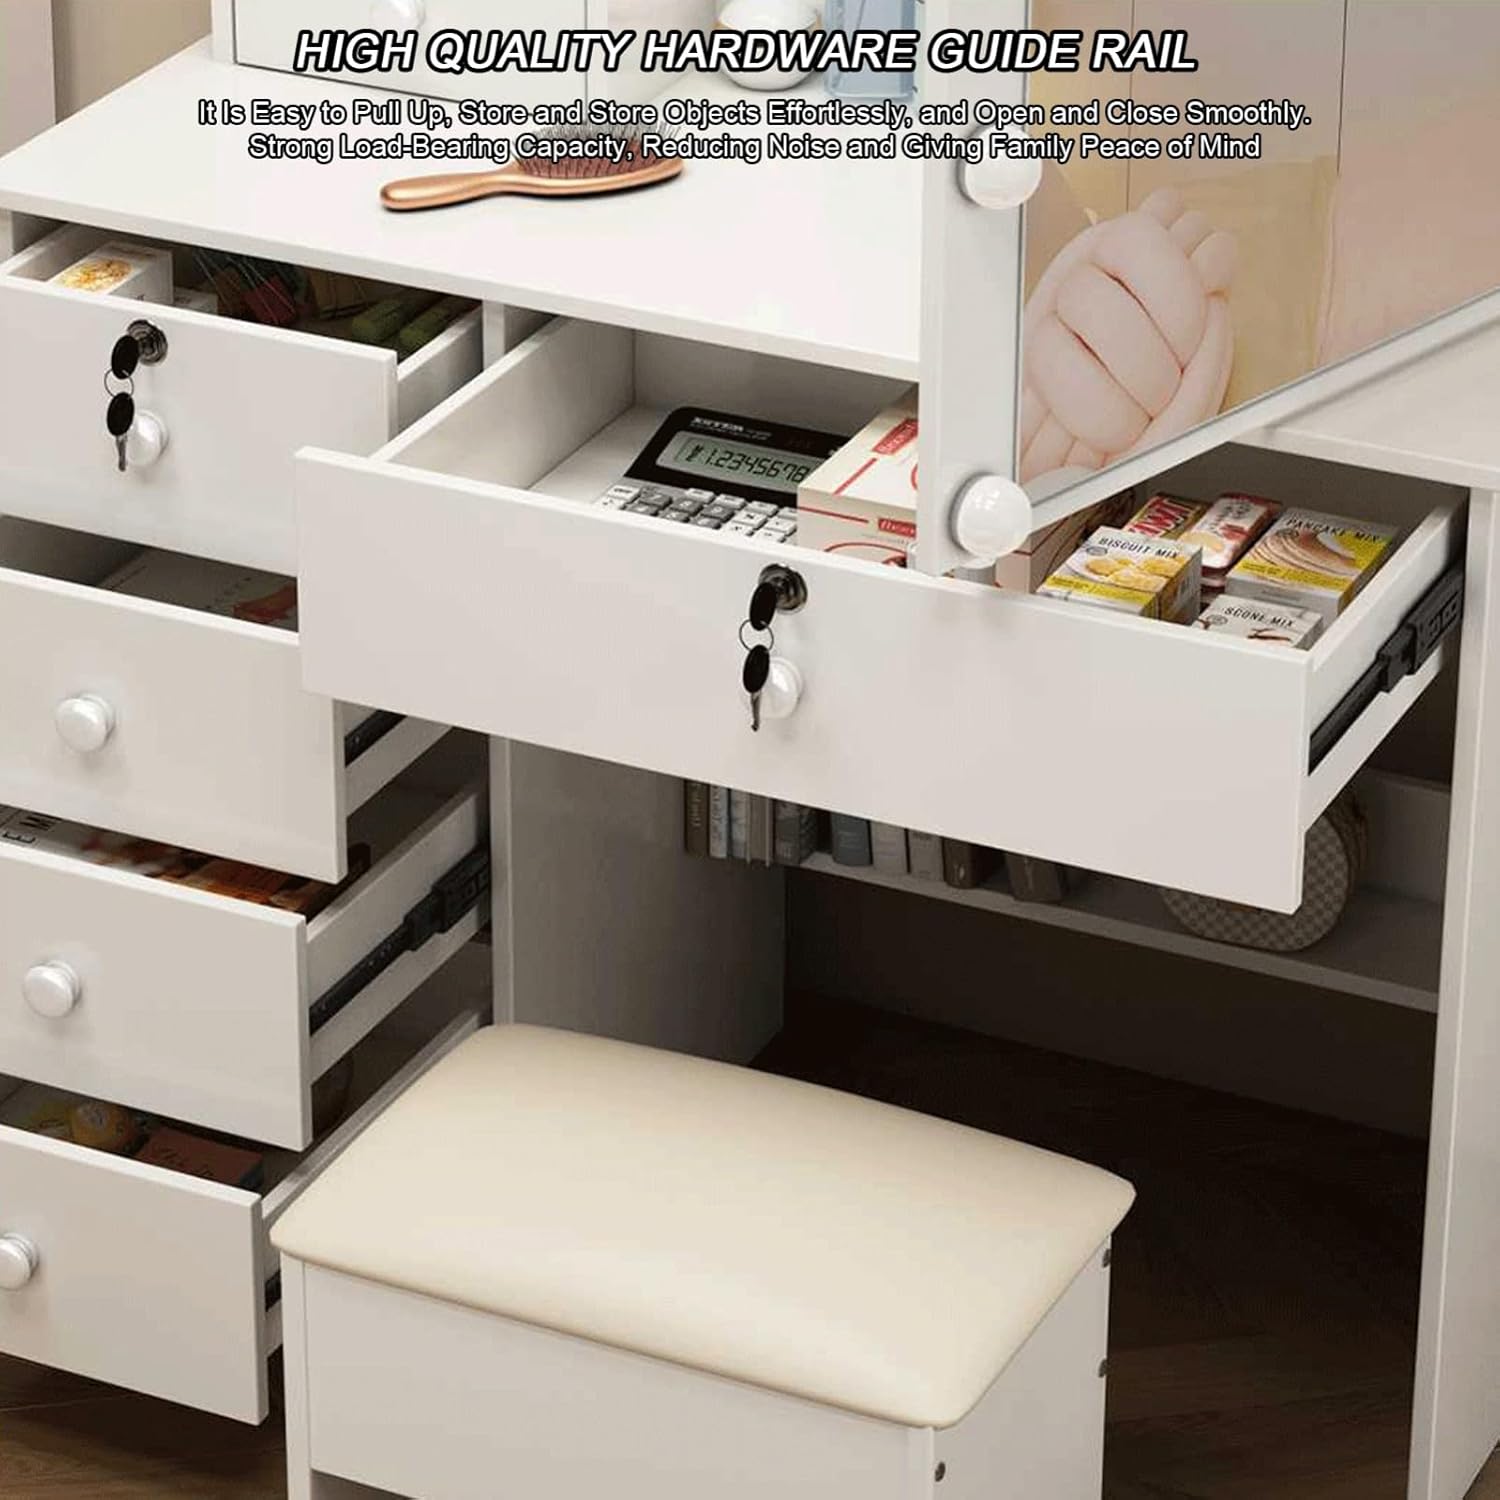
Figure 4.2: The multi-layer storage rack and integrated storage box provide intimate and practical classified storage for cosmetics.
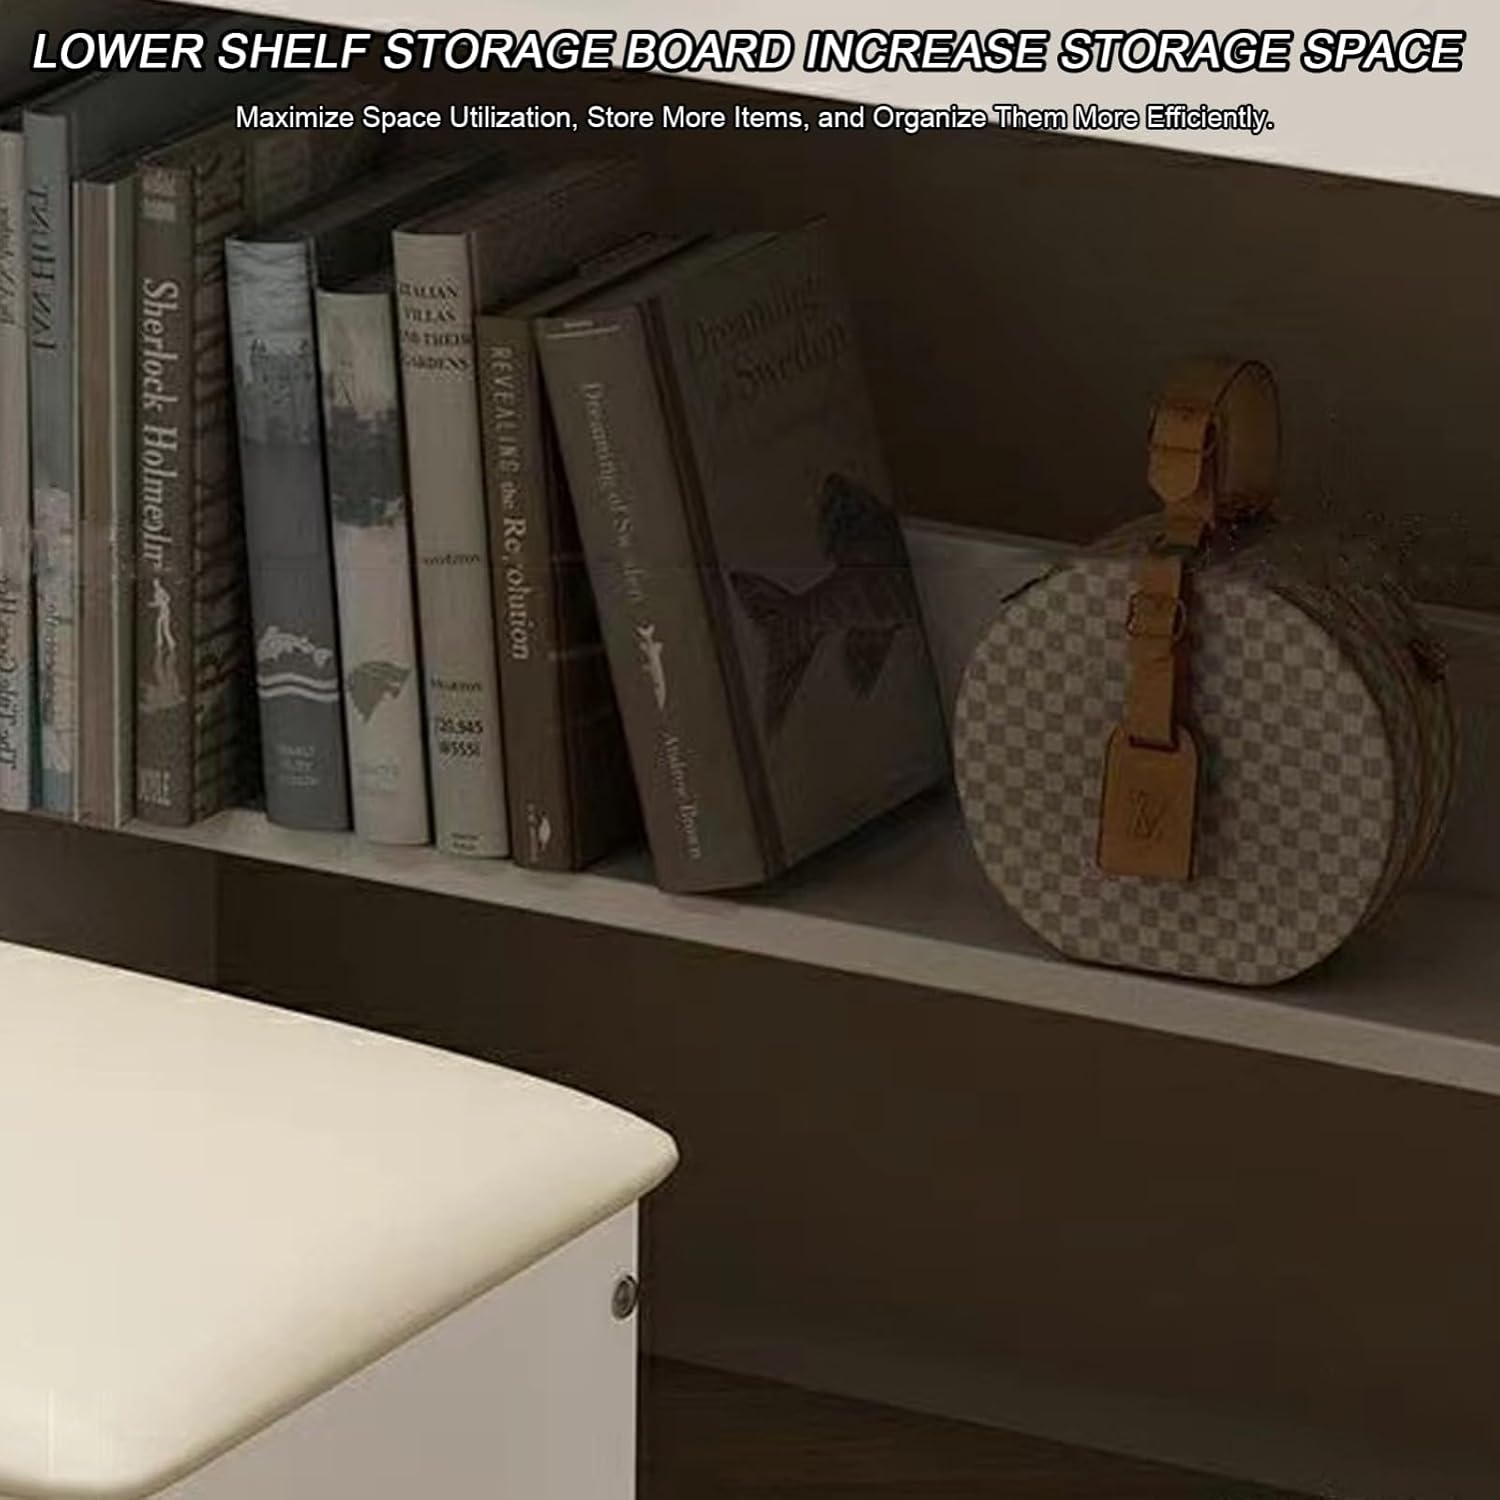
Figure 4.3: The lower shelf storage board maximizes space utilization, allowing for more efficient organization of items.
5. Care and Maintenance
- Cleaning: Wipe surfaces with a soft, damp cloth. Avoid abrasive cleaners or harsh chemicals that may damage the finish.
- Mirror Care: Clean the mirror surface with a glass cleaner and a lint-free cloth. Do not spray cleaner directly onto the mirror to prevent liquid from entering the electrical components.
- Spills: Promptly wipe up any spills to prevent staining or damage to the wood finish.
- Environmental Conditions: Avoid placing the vanity in direct sunlight or near heat sources to prevent warping or discoloration. Maintain a stable room temperature and humidity.
- Material: The vanity is constructed from double-sided melamine paint-free board, which is high quality, environmentally friendly, healthy, odorless, moisture-proof, wear-resistant, and stable.

Figure 5.1: The vanity is made from high-quality, environmentally friendly, healthy, and odorless double-sided melamine paint-free board, offering moisture-proof, wear-resistant, and stable properties.
6. Troubleshooting
| Problem | Possible Cause | Solution |
|---|---|---|
| LED Mirror Lights Not Working | Power cable not connected; power outlet issue; touch sensor malfunction. | Ensure power cable is securely plugged in. Test the outlet with another device. Gently clean the touch sensor area. |
| Drawers Stick or Don't Close Smoothly | Drawer slides misaligned; debris in slides; overloaded drawer. | Check alignment of drawer slides and re-adjust if necessary. Clean slides of any obstructions. Reduce weight in the drawer. |
| Vanity Feels Unstable | Loose assembly screws; uneven floor. | Tighten all assembly screws. Place shims under the legs if the floor is uneven. |
| Minor Scratches or Dents | Accidental impact during use or assembly. | For minor blemishes, touch-up paint matching the white finish may be used. Consult a professional for significant damage. |
7. Product Specifications
| Feature | Detail |
|---|---|
| Brand | FairyHover |
| Model | A, 90 * 40 * 132CM |
| Overall Dimensions (L x W x H) | 90 cm x 40 cm x 132 cm (approximately 35.4 x 15.7 x 52 inches) |
| Mirror Dimensions (W x H) | 60 cm x 60 cm (approximately 23.6 x 23.6 inches) |
| Stool Dimensions (L x W x H) | 35 cm x 24 cm x 40 cm (approximately 13.8 x 9.4 x 15.7 inches) |
| Material | Double-sided Melamine Paint-Free Board (Wood) |
| Finish | White |
| Lighting | Adjustable LED with 3 color tones (Natural, Warm White, Warm) |
| Storage | 4 Drawers, Multi-layer Side Rack, Lower Shelf |

Figure 7.1: Detailed dimensions of the vanity desk, mirror, and stool for reference.
8. Warranty Information
FairyHover products are manufactured to high-quality standards. This product comes with a limited warranty against manufacturing defects. Please retain your proof of purchase for warranty claims. For specific warranty terms and conditions, please refer to the documentation included with your purchase or contact customer support.
Please be aware of potential color and size variations.
9. Customer Support
If you have any questions, require assistance with assembly, or encounter any issues with your FairyHover White Makeup Vanity, please do not hesitate to contact our customer support team.
- Email: support@fairyhover.com
- Website: www.fairyhover.com
Please provide your product model number (A, 90 * 40 * 132CM) and purchase date when contacting support for faster service.