1. Introduction
This manual provides essential instructions for the safe and efficient operation of your DATOUBOSS 3600W Pure Sine Wave Off-Grid Hybrid Inverter. Please read this manual thoroughly before installation and use, and retain it for future reference. This inverter is designed to convert DC power from a 24V battery into stable 100V-120V AC power, featuring an integrated solar charge controller and an Uninterruptible Power Supply (UPS) function.
2. Safety Instructions
- Electrical Hazard: Installation and maintenance must be performed by qualified personnel. Disconnect all power sources before servicing.
- Battery Safety: Work with batteries carefully. Wear eye protection and gloves. Batteries can produce explosive gases.
- Ventilation: Ensure adequate ventilation around the inverter to prevent overheating. Do not block ventilation openings.
- Environment: Install the inverter in a dry, cool, and well-ventilated area, away from flammable materials, corrosive gases, and excessive dust.
- Grounding: The inverter must be properly grounded to prevent electric shock.
- Overload Protection: Do not overload the inverter beyond its rated capacity.
3. Product Overview
The DATOUBOSS 3600W Hybrid Inverter combines the functions of an inverter, solar charger, and battery charger to offer uninterruptible power support. Its comprehensive LCD display provides user-configurable and easy-accessible button operations such as battery charging current, AC/solar charger priority, and acceptable input voltage based on different applications.
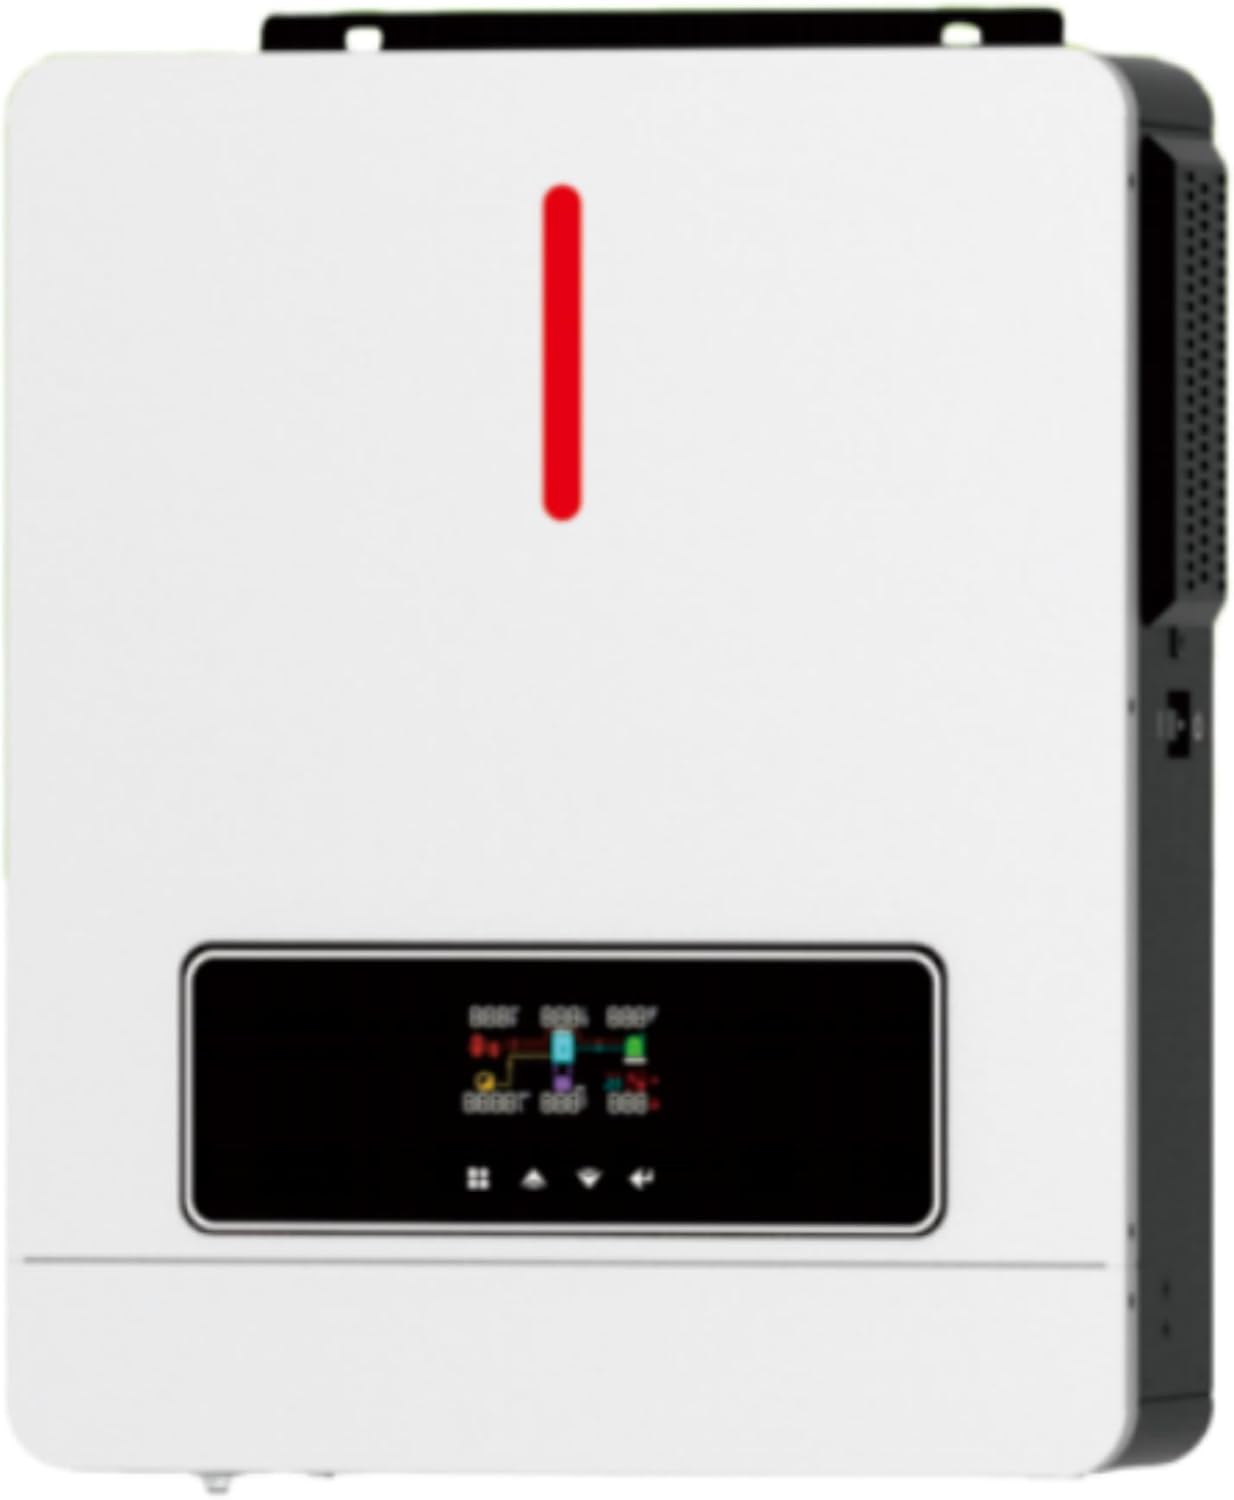
Figure 3.1: Front view of the DATOUBOSS 3600W Hybrid Inverter. This image shows the main unit with its white casing, a prominent red indicator light, and a black display panel at the bottom. The display panel features various icons and numerical readouts, along with control buttons for user interaction. The right side of the unit has ventilation grilles.
Key Features:
- Pure sine wave output.
- High-efficiency design.
- Configurable input voltage range for home appliances and personal computers via LCD setting.
- Configurable battery charging current based on applications via LCD setting.
- Configurable AC/Solar Charger priority via LCD setting.
- Compatible with mains voltage or generator power.
- Auto restart while AC is recovering.
- Overload and short circuit protection.
- Smart battery charger design for optimized battery performance.
- Cold start function.
4. Setup and Installation
4.1 Unpacking and Inspection
Before installation, inspect the unit. Ensure nothing inside the package is damaged. The package should contain the inverter unit, user manual, and communication cable.
4.2 Mounting the Unit
- Choose a suitable mounting location: vertical wall mounting is recommended.
- Ensure the mounting surface can support the inverter's weight (approximately 8.5 kg).
- Maintain adequate clearance around the unit for proper heat dissipation (at least 20 cm on all sides).
- Mark the positions for drilling holes using the inverter as a template.
- Securely fasten the inverter to the wall using appropriate screws and anchors.
4.3 Wiring Connections
WARNING: All wiring must comply with local electrical codes. Ensure all connections are tight to prevent loose connections that can cause overheating.
- Battery Connection: Connect the 24V battery bank to the inverter's battery terminals. Ensure correct polarity (+ to + and - to -). Use appropriate cable gauges for the current.
- AC Input Connection: Connect the AC utility grid or generator to the AC input terminals.
- AC Output Connection: Connect your loads to the AC output terminals.
- PV Input Connection: Connect the solar panel array to the PV input terminals. Observe correct polarity and ensure the PV open circuit voltage does not exceed the inverter's maximum input voltage.
- Grounding: Connect the inverter's ground terminal to a reliable earth ground.
5. Operating Instructions
5.1 Powering On/Off
- To Power On: Ensure all connections are secure. First, turn on the battery breaker, then the AC input breaker (if applicable), and finally the PV input breaker. Press and hold the ON/OFF button on the inverter for a few seconds until the display illuminates.
- To Power Off: First, turn off the PV input breaker, then the AC input breaker. Press and hold the ON/OFF button until the display turns off. Finally, turn off the battery breaker.
5.2 LCD Display and Control Buttons
The LCD display shows real-time operating status, input/output voltages, battery status, and error codes. Use the control buttons (typically UP, DOWN, ENTER, ESC) to navigate through menus and adjust settings.
5.3 System Settings
The inverter offers various configurable settings via the LCD panel. Refer to the on-screen menu for options such as:
- Output voltage adjustment (100V-120V).
- Maximum charging current (up to 120A PV charge current).
- AC input voltage range (for appliances or computers).
- Charger source priority (Solar first, Utility first, Solar and Utility).
- Output source priority (Utility first, Solar first, SBU priority).
Detailed instructions for each setting can be found in the inverter's internal menu system.
6. Maintenance
- Regular Cleaning: Keep the inverter clean and free from dust. Use a dry cloth to wipe the exterior. Do not use liquid cleaners.
- Ventilation Check: Periodically check that the ventilation openings are not blocked and that the cooling fans are operating correctly.
- Connection Check: Annually inspect all electrical connections for tightness and signs of corrosion. Tighten any loose connections.
- Battery Inspection: For lead-acid batteries, check electrolyte levels and terminal condition regularly.
- Environmental Check: Ensure the operating environment remains within specified temperature and humidity ranges.
7. Troubleshooting
This section provides solutions to common issues. For problems not listed here, contact technical support.
| Problem | Possible Cause | Solution |
|---|---|---|
| Inverter does not turn on. | Battery voltage too low; Battery not connected; Power button not pressed correctly. | Check battery voltage and connections; Ensure battery breaker is ON; Press and hold ON/OFF button. |
| No AC output. | Overload; Short circuit; Inverter in fault mode; Battery low. | Reduce load; Check for short circuits; Check error codes on LCD; Recharge battery. |
| Solar charging not working. | PV panels not connected; PV voltage too low/high; PV breaker OFF; Shading on panels. | Check PV connections and polarity; Verify PV voltage within range; Turn on PV breaker; Clear shading. |
| Inverter beeps continuously. | Overload; Over-temperature; Battery low/high voltage. | Reduce load; Ensure proper ventilation; Check battery voltage. |
8. Specifications
| Feature | Detail |
|---|---|
| Brand | DATOUBOSS |
| Model Number | DATOUBOSS 3600w |
| Product Dimensions | 42 cm (Length) x 31 cm (Width) x 14 cm (Height) |
| Product Weight | 8.5 kg |
| Input Voltage | 100V, 24V (DC) |
| Output Power | 3600W (Pure Sine Wave) |
| Battery Compatibility | 24V Battery |
| PV Charge Current | Max 120A |
| Output Voltage Adjustment | 100V~120V Adjustable |
| UPS Function | Yes |
9. Warranty and Support
For warranty information and technical support, please refer to the documentation provided with your purchase or contact DATOUBOSS customer service. Keep your purchase receipt as proof of purchase for warranty claims.
For further assistance, please visit the DATOUBOSS Store on Amazon.