
1. Introduction
This manual provides instructions for the installation, operation, and maintenance of the HDYSONQ replacement motor unit, compatible with the Tineco A11 Hero VA112000US 450W cordless handheld vacuum cleaner. This accessory part is designed to restore the performance of your vacuum cleaner by replacing the main motor and dust collection assembly.
Please read these instructions carefully before proceeding with installation or use to ensure proper function and safety.
2. Safety Instructions
- Disconnect Power: Always ensure the vacuum cleaner is turned off and disconnected from its power source (charger) before attempting any installation, removal, or maintenance.
- Handle with Care: The motor unit contains sensitive electronic components. Handle it carefully to avoid damage.
- Use Correct Tools: Use appropriate tools for disassembly and reassembly to prevent stripping screws or damaging parts.
- Keep Dry: Do not expose the motor unit to water or excessive moisture.
- Children and Pets: Keep the product and its components out of reach of children and pets.
- Authorized Use: Only use this replacement part for its intended purpose and with the specified compatible vacuum cleaner model.
3. Package Contents
Verify that all components are present and undamaged upon opening the package:
- HDYSONQ Replacement Motor Unit (main body with dustbin)
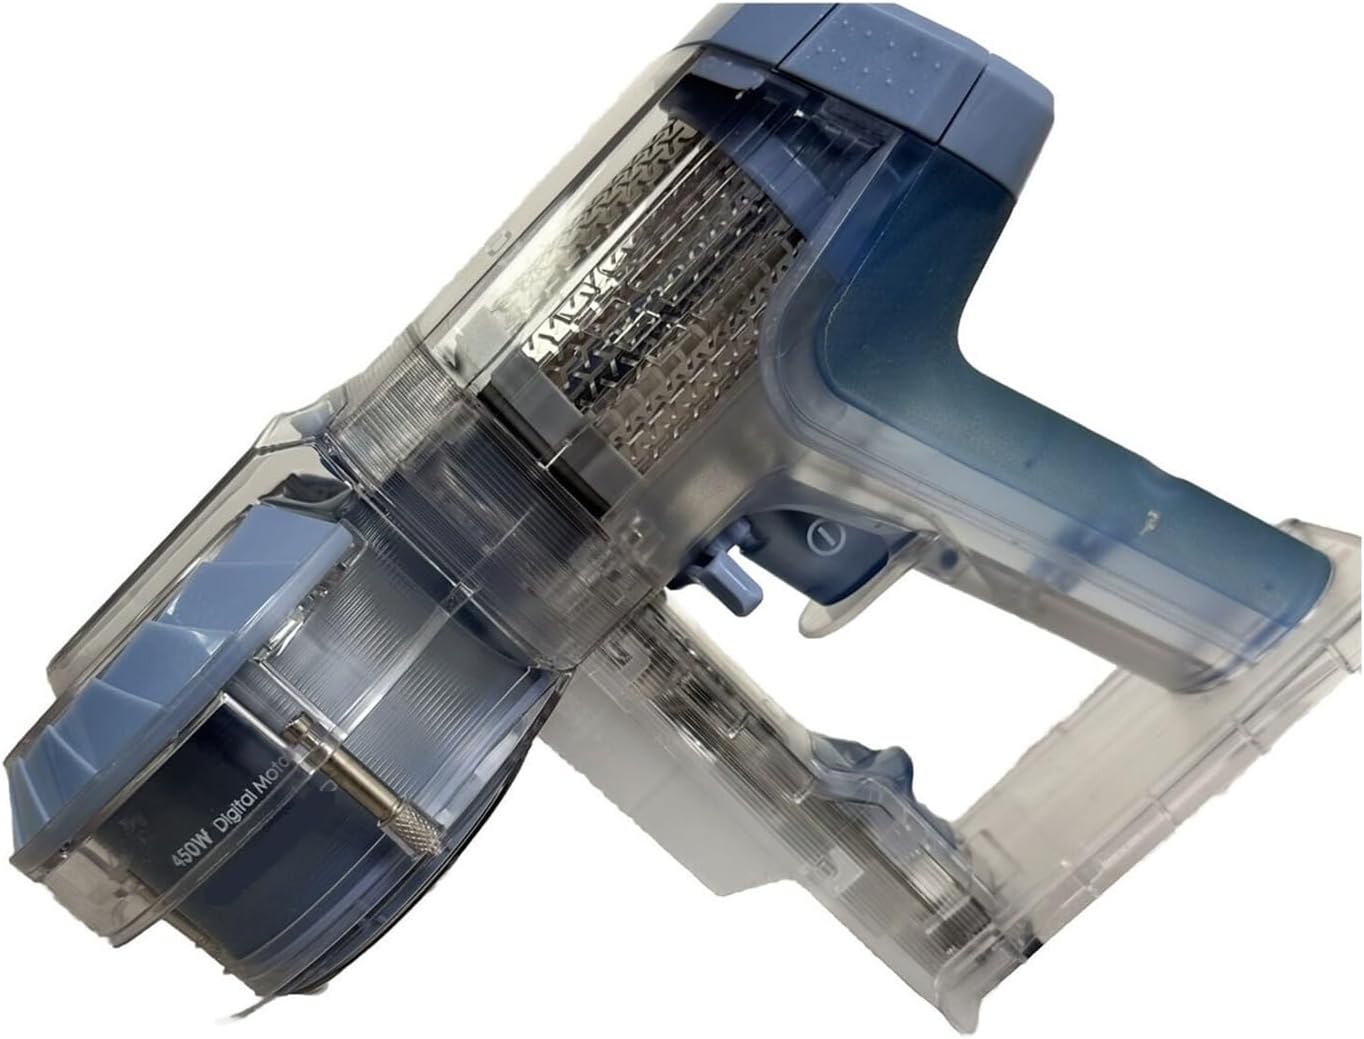
Image 1: Front view of the HDYSONQ Replacement Motor Unit, showing the transparent dustbin and motor housing.

Image 2: Side view of the HDYSONQ Replacement Motor Unit, highlighting the internal filtration system and motor assembly.
4. Setup and Installation
This section guides you through replacing the existing motor unit of your Tineco A11 Hero VA112000US vacuum cleaner with the new HDYSONQ replacement part.
- Prepare the Vacuum: Ensure the vacuum cleaner is completely powered off and unplugged from any charging source. Remove any attached accessories like the extension wand or brush head.
- Remove Old Motor Unit:
- Locate the release mechanism for the main motor unit on your Tineco A11 Hero. This is typically a button or latch near the connection point to the battery or extension wand.
- Press the release button and carefully detach the old motor unit from the battery pack and any other connected components.
- Inspect New Unit: Before installation, visually inspect the new HDYSONQ replacement motor unit for any signs of damage.
- Attach New Motor Unit:
- Align the new motor unit with the battery pack and other vacuum components.
- Gently push the new motor unit into place until you hear a click, indicating it is securely locked.
- Ensure all connections are firm and there is no wobbling.
- Reattach Accessories: Reconnect the dustbin (if it was removed separately), extension wand, and desired cleaning head.
- Initial Test: Once fully assembled, connect the vacuum to its charger briefly, then attempt to power it on to confirm proper function.
5. Operating Instructions
After successful installation, the HDYSONQ replacement motor unit functions identically to the original part. Refer to your original Tineco A11 Hero VA112000US user manual for detailed operating instructions, including power modes, accessory usage, and general cleaning procedures.
Ensure the dustbin is properly attached and empty before each use for optimal suction performance.
6. Maintenance
Regular maintenance of the motor unit and dustbin is crucial for maintaining optimal performance and extending the lifespan of your vacuum cleaner.
- Emptying the Dustbin:
- Empty the dustbin after each use or when the MAX fill line is reached.
- Locate the dustbin release latch, open the dustbin, and dispose of collected debris.
- Cleaning the Dustbin and Filters:
- The dustbin can be detached and rinsed with water. Ensure it is completely dry before reattaching.
- Regularly clean the internal filters (pre-filter and HEPA filter, if applicable to this unit) according to your original vacuum's manual. Allow filters to air dry completely before reinstallation.
- Wipe Down Exterior: Use a soft, dry cloth to wipe the exterior of the motor unit to remove dust and dirt. Do not use harsh chemicals or abrasive cleaners.
7. Troubleshooting
If you encounter issues after installing the replacement motor unit, refer to the following common troubleshooting steps:
| Problem | Possible Cause | Solution |
|---|---|---|
| Vacuum does not turn on. |
|
|
| Reduced suction power. |
|
|
| Unusual noise from motor. |
|
|
For issues not listed here, or if troubleshooting steps do not resolve the problem, please contact customer support.
8. Specifications
| Feature | Detail |
|---|---|
| Brand | HDYSONQ |
| Model Name | Accessory parts US |
| Compatibility | Tineco A11 Hero VA112000US 450W Cordless Handheld Vacuum Cleaner |
| Voltage | 110 Volts |
| Item Weight | 50 Grams |
| Capacity (Dustbin) | 500 Grams (approximate) |
| Product Dimensions (L x W x H) | 30L x 20W x 10H millimeters |
| Manufacturer | HDYSONQ |
9. Warranty and Support
For any pre-sales or post-sales questions regarding your HDYSONQ replacement motor unit, please feel free to contact our customer service team.
- Customer Service Hours: North American Time (9:00 a.m. - 9:00 p.m.)
- Contact Information: Please refer to your purchase documentation or the seller's contact details on the platform where the product was purchased.
Specific warranty details may vary by retailer and region. Please retain your proof of purchase for any warranty claims.