Introduction
Thank you for choosing the Rysamton Portable AM/FM Radio and Digital Recorder. This device combines multiple functionalities including AM/FM radio, Bluetooth 5.0 speaker, TF card player, and digital recorder. It features an alarm clock, sleep function, and 12/24-hour time display, designed for ease of use and portability. Please read this manual carefully to understand the product's features and ensure proper operation.
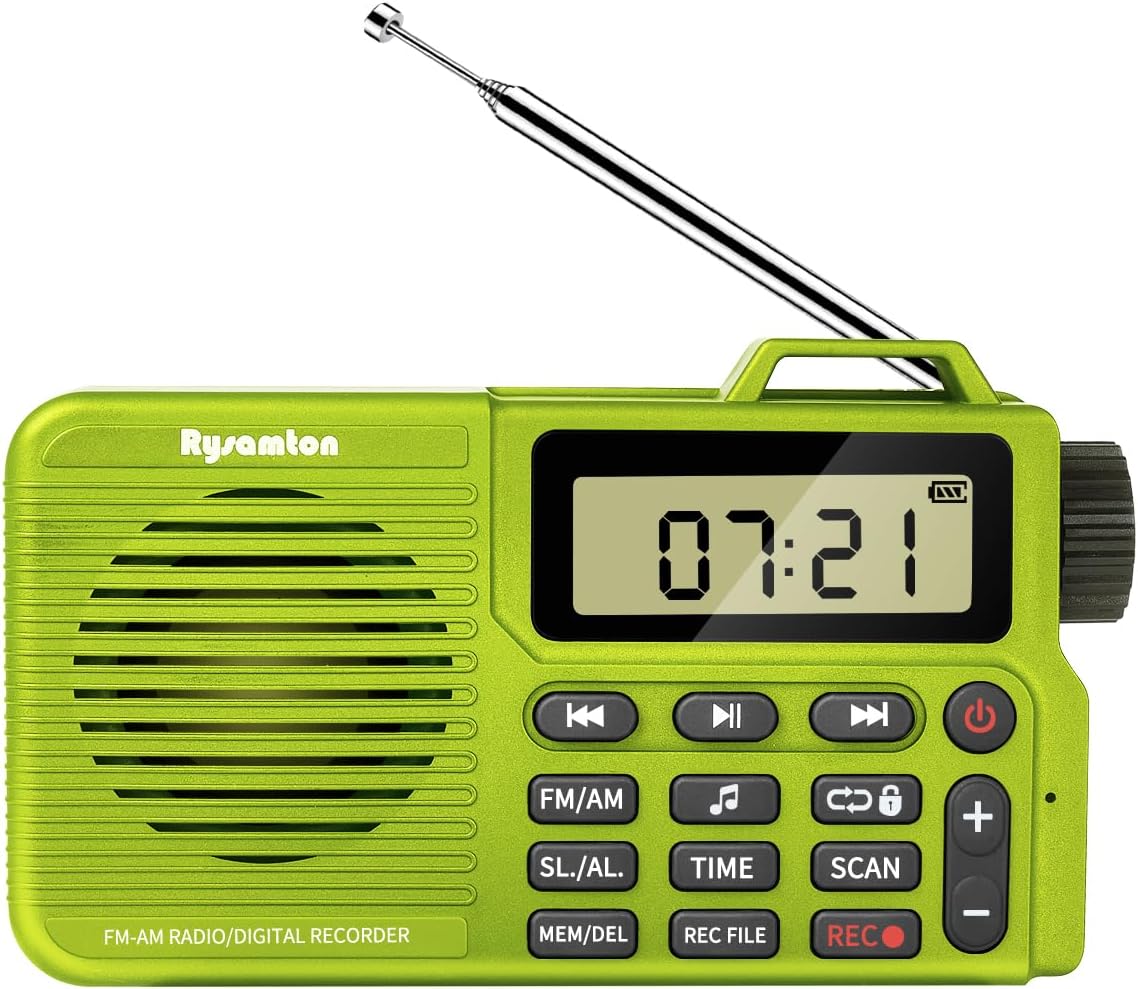
Image: Front view of the Rysamton Portable AM/FM Radio and Digital Recorder, showcasing its compact design and extended antenna.
Product Overview
The Rysamton Portable Radio is a versatile 4-in-1 device, offering a range of audio playback and recording options. Its compact size and lightweight design make it ideal for various activities.
Key Features:
- AM/FM Radio with DSP chip for stable reception.
- Bluetooth 5.0 connectivity for wireless audio streaming.
- TF card slot for MP3 playback (supports up to 32GB, card not included).
- Digital recorder with one-touch recording (radio and voice).
- Alarm clock with two ringtone options (radio or mechanical).
- Sleep timer function (15-120 minutes).
- 12/24-hour time display.
- Built-in 2000mAh rechargeable lithium battery for up to 20 hours of playback.
- 3.5mm headphone jack for private listening.
- Large LCD display with backlight.

Image: An illustration highlighting the multi-functional capabilities of the Rysamton Portable Radio, including radio, recording, alarm, timer, speaker, TF card support, built-in battery, and tuning.
Component Identification:
Refer to the diagram below for the location and function of buttons and ports.
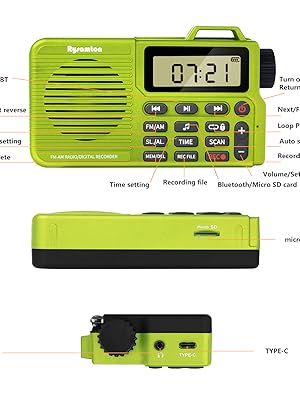
Image: A detailed diagram labeling the various buttons and ports on the Rysamton Portable Radio, such as power, volume controls, mode selection, time setting, scan, record, and memory/delete functions, along with the Micro SD slot, Type-C port, and headphone jack.
- Power Button: Press and hold to turn on/off.
- Play/Pause Button: Controls playback in music modes.
- Previous/Next Track Buttons: Navigate tracks or adjust frequency.
- FM/AM Button: Switches between FM and AM radio bands.
- SL./AL. Button: Accesses Sleep Timer and Alarm settings.
- TIME Button: Sets the current time.
- SCAN Button: Initiates automatic station scanning.
- REC Button: Starts recording.
- MEM/DEL Button: Saves or deletes radio stations/files.
- REC FILE Button: Accesses recorded files.
- Volume +/- Buttons: Adjusts audio volume.
- Tuning Knob: Manual frequency adjustment.
- Type-C Charging Port: For charging the device.
- 3.5mm Headphone Jack: For connecting headphones.
- Micro SD Card Slot: For inserting a TF/Micro SD card.
- Telescopic Antenna: For FM reception.
- Internal AM Antenna: For AM reception.
Setup
1. Charging the Battery:
The radio comes with a built-in 2000mAh lithium-ion battery. Before first use, fully charge the device.
- Connect the included Type-C USB cable to the radio's Type-C charging port.
- Connect the other end of the cable to a 5V USB power adapter (not included) or a computer's USB port.
- The charging indicator on the display will show charging status. A full charge typically takes about 3 hours and provides up to 20 hours of playback.

Image: A visual representation of the Rysamton Portable Radio's 2000mAh battery, emphasizing its 3-hour charge time for 20 hours of playback.
2. Inserting a Micro SD Card (for Recording/MP3 Playback):
To use the recording function or play MP3 files from a memory card, you must insert a Micro SD (TF) card (up to 32GB, not included).
- Locate the Micro SD card slot on the side of the radio.
- Gently insert the Micro SD card with the gold contacts facing down until it clicks into place.
- To remove, push the card in slightly until it springs out.
Operating Instructions
1. Power On/Off:
- Press and hold the Power Button () for a few seconds to turn the radio on or off.
2. Setting the Time:
- With the radio on, press and hold the TIME button.
- Use the Previous/Next Track Buttons or Tuning Knob to adjust the hour and minute.
- Press the TIME button again to confirm each setting.
- The radio supports 12-hour and 24-hour formats.
3. Radio Mode (AM/FM):
- Press the FM/AM button to switch between FM and AM bands.
- Automatic Scan: Press the SCAN button to automatically search for and save available stations.
- Manual Tuning: Use the Tuning Knob on the side to fine-tune to a specific frequency.
- Saving Stations: After tuning to a station, press the MEM/DEL button to save it. Use the Previous/Next Track Buttons to select a memory slot, then press MEM/DEL again to confirm.
- Recalling Stations: In radio mode, use the Previous/Next Track Buttons to cycle through saved stations.
- Extend the telescopic antenna for optimal FM reception. The internal antenna handles AM reception.
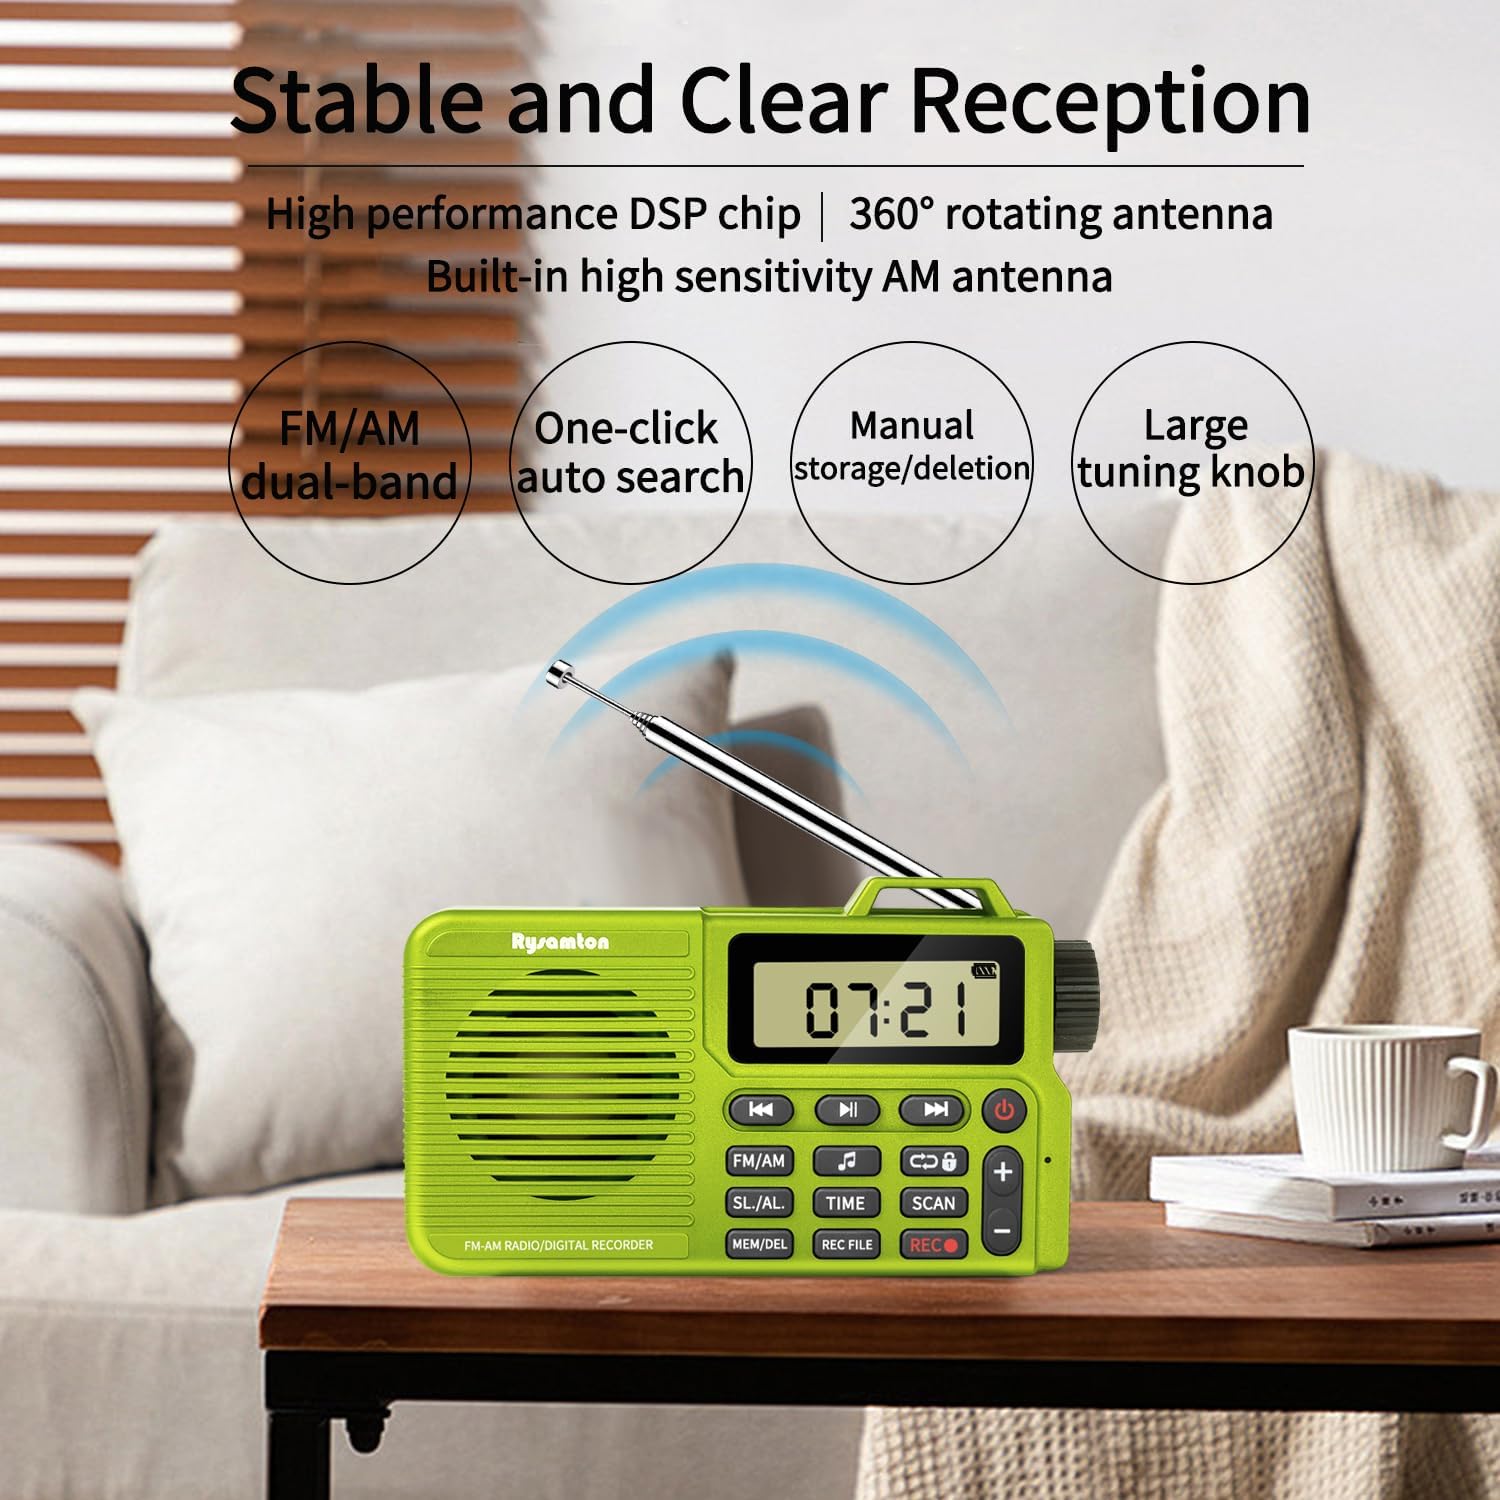
Image: The Rysamton Portable Radio positioned on a wooden table, with its telescopic antenna extended, illustrating its capability for stable and clear AM/FM reception.
4. Bluetooth Mode:
- Press the FM/AM button repeatedly until 'BT' appears on the display, indicating Bluetooth mode.
- On your mobile device, enable Bluetooth and search for 'Rysamton Radio'.
- Select the device to pair. Once connected, you can stream audio wirelessly to the radio.
5. TF Card Playback:
- Ensure a Micro SD card with MP3 files is inserted into the slot.
- Press the FM/AM button repeatedly until the display shows 'TF' or starts playing music from the card.
- Use the Previous/Next Track Buttons to navigate between songs and the Play/Pause Button to control playback.
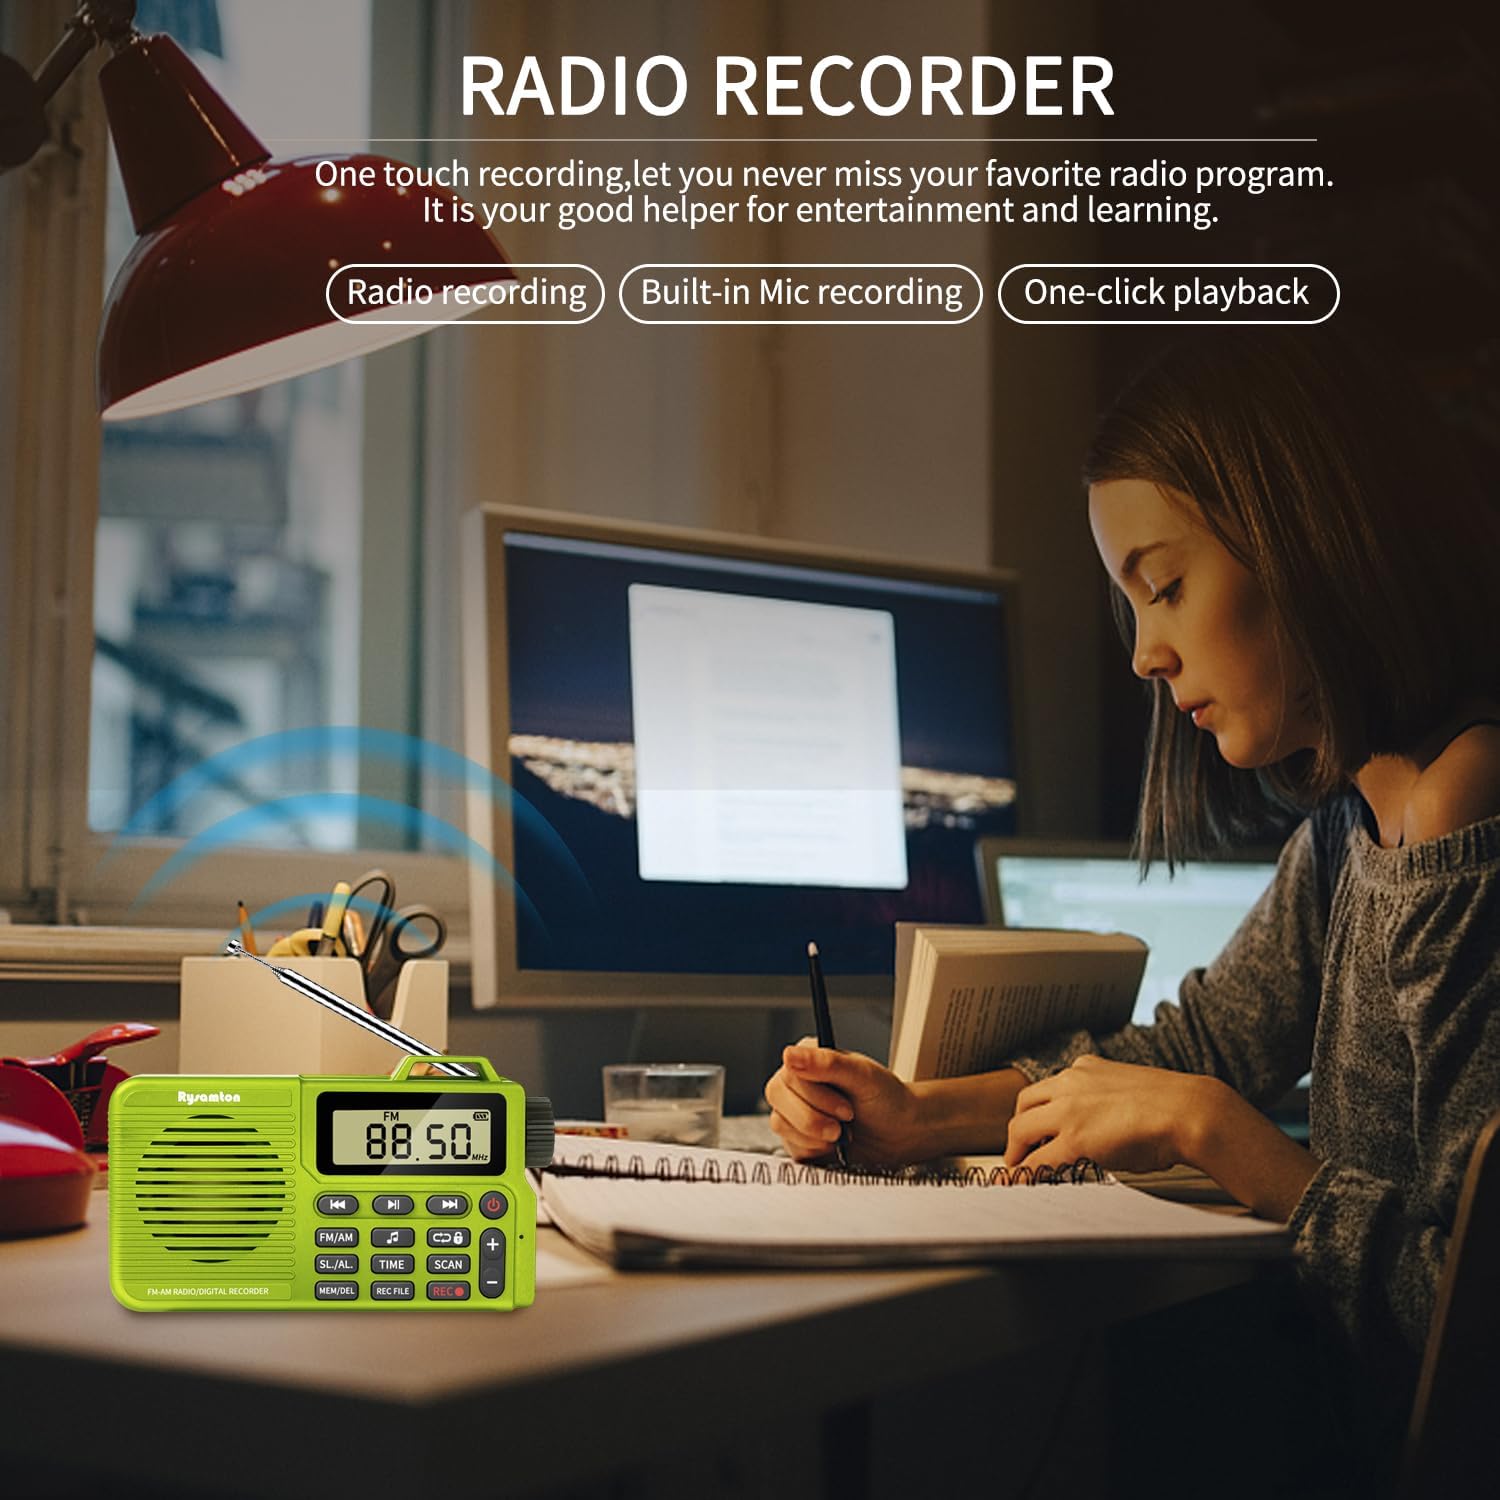
Image: A group of friends gathered around a campfire, enjoying music played from the Rysamton Portable Radio, demonstrating its use as a music player with TF card, Type-C, and Bluetooth 5.0 connectivity.
6. Digital Recorder:
The radio supports both radio recording and voice recording via its built-in microphone.
- To Record: Press the REC Button () once to start recording. The display will show a recording indicator.
- To Stop Recording: Press the REC Button again.
- Playback Recorded Files: Press the REC FILE button to access your recordings. Use the Previous/Next Track Buttons to select a file and the Play/Pause Button to play it.
7. Alarm Clock and Sleep Timer:
- Setting Alarm: Press and hold the SL./AL. button. Use the Previous/Next Track Buttons or Tuning Knob to set the alarm time. Press SL./AL. to confirm. You can choose between a radio or mechanical ringtone.
- Setting Sleep Timer: Press the SL./AL. button repeatedly to cycle through sleep timer options (15, 30, 60, 90, 120 minutes, or OFF). The radio will automatically turn off after the selected duration.
8. Using Headphones:
- Insert any standard 3.5mm headphones into the headphone jack on the side of the radio.
- The internal speaker will mute automatically when headphones are connected.

Image: A person wearing headphones connected to the Rysamton Portable Radio via its 3.5mm jack, demonstrating private listening while working on a laptop.
Maintenance
- Cleaning: Use a soft, dry cloth to clean the radio's exterior. Do not use liquid cleaners or abrasive materials.
- Storage: Store the radio in a cool, dry place away from direct sunlight and extreme temperatures.
- Battery Care: To prolong battery life, avoid fully discharging the battery frequently. If storing for a long period, charge the battery to about 50% every few months.
- Water Exposure: This device is not waterproof. Avoid exposure to water or high humidity.
Troubleshooting
| Problem | Possible Cause | Solution |
|---|---|---|
| Radio does not power on. | Battery is depleted. | Charge the radio using the provided Type-C cable. |
| Poor radio reception. | Antenna not extended or weak signal. | Extend the telescopic antenna fully for FM. Reposition the radio for better signal. |
| Bluetooth device cannot connect. | Radio not in Bluetooth mode or device too far. | Ensure the radio is in Bluetooth mode ('BT' displayed). Move your device closer to the radio. Restart both devices. |
| Cannot record. | No Micro SD card inserted or card is full/corrupted. | Insert a compatible Micro SD card (up to 32GB). Check if the card has free space or try a different card. |
| No sound from speaker. | Volume too low or headphones connected. | Increase volume using the '+' button. Disconnect headphones if not needed. |
Specifications
- Brand: Rysamton
- Model Number: bc2352a3-8b0e-426c-9675-87b55c53a986
- Product Dimensions: 4.72 x 1.06 x 2.71 inches (12 x 2.7 x 6.9 cm)
- Item Weight: 5.5 ounces (155g)
- Connectivity Technology: Bluetooth 5.0
- Tuner Technology: AM/FM (DSP chip)
- Radio Bands Supported: 2-Band
- Power Source: Battery Powered (Built-in 2000mAh Lithium Ion)
- Charging Port: Type-C USB
- Playback Time: Up to 20 hours (on full charge)
- Speaker: 3W magnetic speaker with bass diaphragm
- Memory Card Support: TF/Micro SD card up to 32GB (not included)
- Special Features: Digital Recorder, Alarm Clock, Sleep Function, 12/24H Time Display, Headphone Jack, Large LCD Display.
Warranty and Support
Specific warranty details are not provided in the product information. For any support inquiries, please refer to the seller's contact information on the platform where the product was purchased.


