1. Introduction
This manual provides essential information for the safe and efficient installation, operation, and maintenance of your Bluegears b-Vigor 700W ATX Power Supply. Please read this manual thoroughly before using the product and retain it for future reference.
2. Safety Information
- Always disconnect the power supply from the AC outlet before installation or maintenance.
- Do not open the power supply casing. High voltages are present inside, and opening the unit will void the warranty.
- Ensure the power supply is installed in a well-ventilated area to prevent overheating.
- Use only the cables provided with your power supply. Using incompatible cables may damage your system.
- This product is designed for use in personal computers. Do not use it for any other purpose.
- Keep the power supply away from water, moisture, and extreme temperatures.
3. Package Contents
Verify that all items are present in your package:
- Bluegears b-Vigor 700W ATX Power Supply
- AC Power Cord
- Mounting Screws

Image: Bluegears b-Vigor 700W ATX Power Supply with its attached ribbon cables.

Image: Standard AC power cord included with the power supply.
4. Product Overview
The Bluegears b-Vigor 700W ATX Power Supply is designed to provide stable and efficient power for your gaming PC. Key features include:
- Over 80+ Efficiency at 20%, 50%, or 100% loading for 115V to 230V AC Input.
- Full Range AC 115V to 230V input for versatile compatibility.
- Over Power Protection (OPP) and Short Circuit Protection (SCP) for system safety.
- All black ribbon cables for improved aesthetics and cable management.
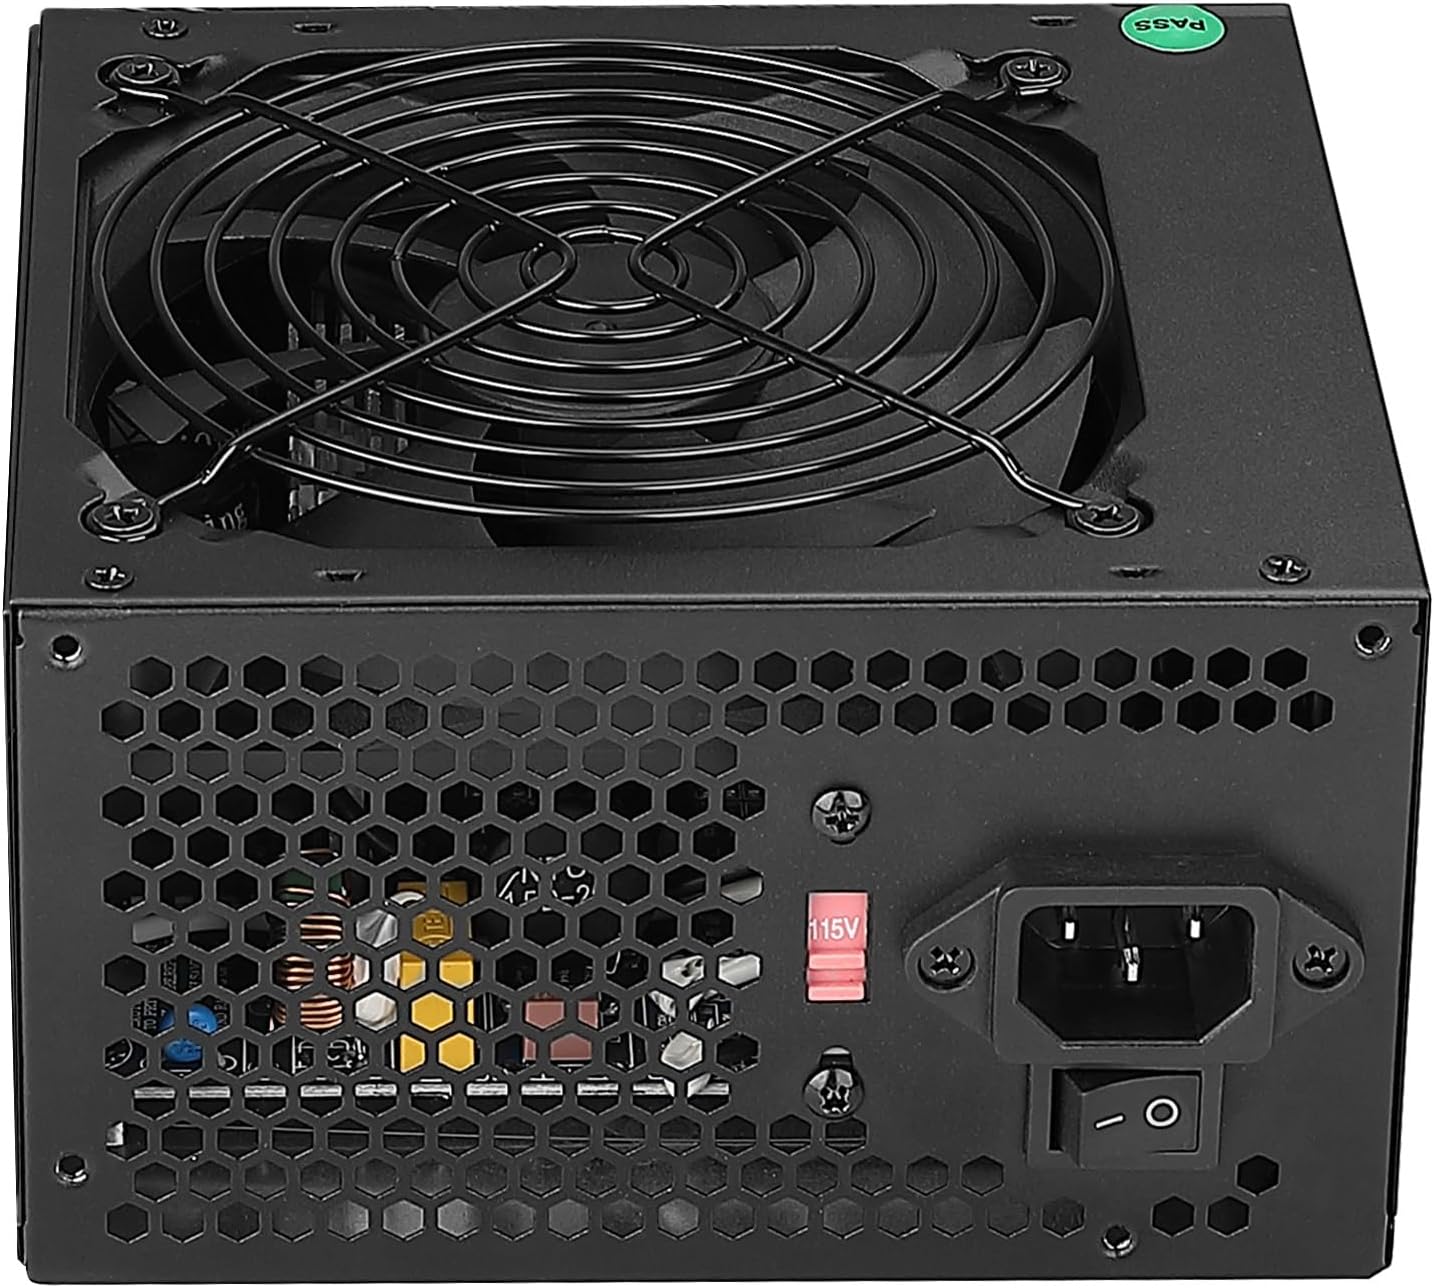
Image: Front view of the power supply, showing the fan grill.

Image: Rear view of the power supply, featuring the AC power input, power switch, and voltage selector.

Image: Close-up of the power supply's 120mm cooling fan.

Image: Product label detailing AC input, DC output, and power ratings.
5. Cable Connectors
The b-Vigor 700W Power Supply comes with a variety of fixed ribbon cables to support various PC components:
- 24-pin Main Power Connector: For motherboard power.
- 12V P4/P8 (4+4-pin) CPU Connector: For CPU power.
- PCIe (6+2-pin) Connectors: For graphics cards.
- SATA Connectors: For SATA drives (HDDs, SSDs, optical drives).
- HDD (Molex) Connectors: For older peripherals.

Image: Cable diagram illustrating connector types and lengths.

Image: The 24-pin main power connector for the motherboard.

Image: The 8-pin (4+4) CPU power connector.

Image: A 6+2-pin PCIe power connector for graphics cards.
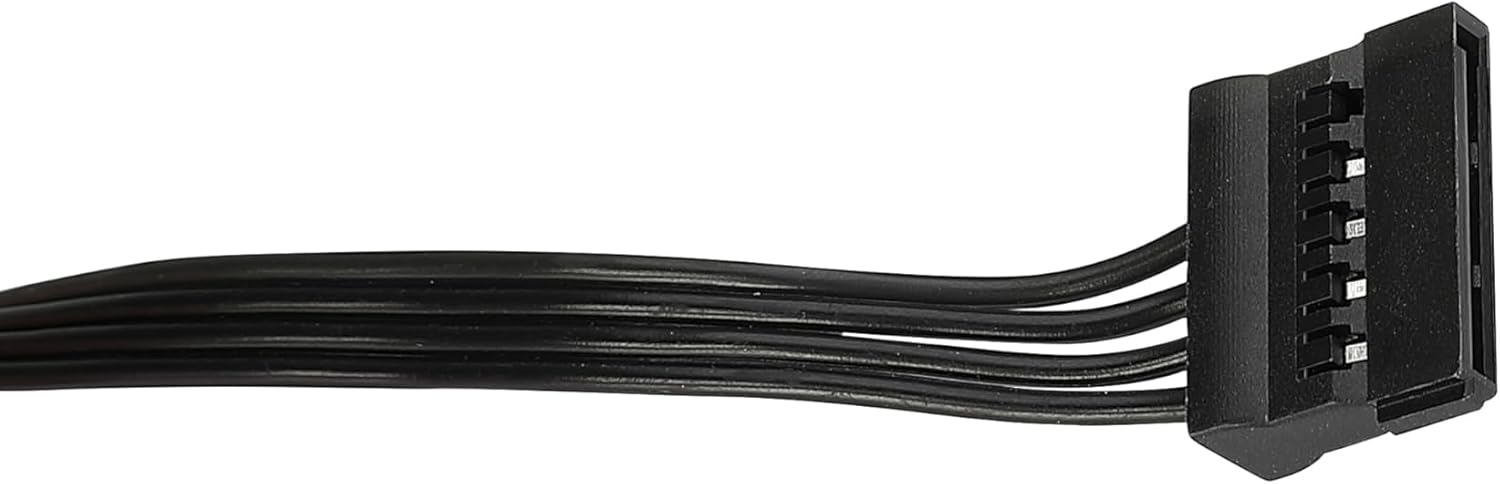
Image: A SATA power connector for storage devices.

Image: A 4-pin Molex power connector for legacy peripherals.
6. Setup and Installation
- Prepare Your PC Case: Ensure your PC case is compatible with ATX power supplies. Remove the side panel of your PC case.
- Mount the Power Supply: Insert the power supply into the designated PSU bay in your PC case. Secure it with the provided mounting screws.
- Connect Main Power: Connect the 24-pin main power connector to your motherboard. Ensure it clicks securely into place.
- Connect CPU Power: Connect the 4+4-pin (or 8-pin) CPU power connector to the appropriate port on your motherboard.
- Connect PCIe Power (if applicable): If you have a dedicated graphics card, connect the 6+2-pin PCIe power connectors to your graphics card. Some high-end cards may require multiple connectors.
- Connect SATA/Peripheral Power: Connect SATA power connectors to your SSDs, HDDs, and optical drives. Use Molex connectors for any older peripherals as needed.
- Cable Management: Route all cables neatly to improve airflow and aesthetics within your case. Use cable ties if necessary.
- Close Case and Connect AC Power: Replace the side panel of your PC case. Connect the AC power cord to the power supply and then to a wall outlet or surge protector.
7. Operating Instructions
- Power On: Flip the power switch on the rear of the power supply to the 'I' (On) position. Then, press the power button on your PC case.
- Power Off: Shut down your computer through the operating system. Once the system is off, you can optionally flip the power switch on the rear of the power supply to the 'O' (Off) position for complete power disconnection.
8. Maintenance
- Dust Cleaning: Periodically clean the power supply fan and vents to prevent dust buildup, which can hinder cooling performance. Use compressed air for this purpose, ensuring the power supply is disconnected from all power sources.
- Cable Inspection: Regularly check all cable connections to ensure they are secure and free from damage.
9. Troubleshooting
- No Power:
- Ensure the AC power cord is securely connected to both the power supply and the wall outlet.
- Check that the power switch on the rear of the power supply is in the 'I' (On) position.
- Verify all internal power cables (24-pin, CPU, PCIe) are correctly seated.
- System Instability/Crashes:
- Ensure your system's power requirements do not exceed the 700W capacity of the power supply.
- Check for proper ventilation within your PC case to prevent overheating.
- If issues persist, consult a qualified technician.
10. Specifications
| Feature | Specification |
|---|---|
| Brand | Bluegears |
| Series | b-Vigor 700W |
| Model Number | BG30118 |
| Output Wattage | 700 Watts |
| Efficiency | 80+ Equivalent |
| AC Input | 115V to 230V (Full Range) |
| Form Factor | ATX |
| Cooling Method | Air (120mm fan) |
| Item Weight | 3 Pounds |
| Product Dimensions (LxWxH) | 5.91 x 5.51 x 3.35 inches |
| Color | Black |
11. Environmental Compliance
This product complies with the following environmental standards:

Image: RoHS, CE, and recycling symbols.
- RoHS Compliant: Restricts the use of hazardous substances in electrical and electronic equipment.
- CE Certified: Indicates conformity with health, safety, and environmental protection standards for products sold within the European Economic Area.
- Recycling Symbol: Encourages proper disposal and recycling of electronic waste.
12. Support
For technical support or inquiries, please visit the official Bluegears website: