1. Introduction
This manual provides essential information and instructions for the installation, operation, and maintenance of your new KBRPARTS replacement keyboard. This keyboard is designed to restore full functionality to your compatible Lenovo ideapad laptop, featuring a standard US layout without backlighting.
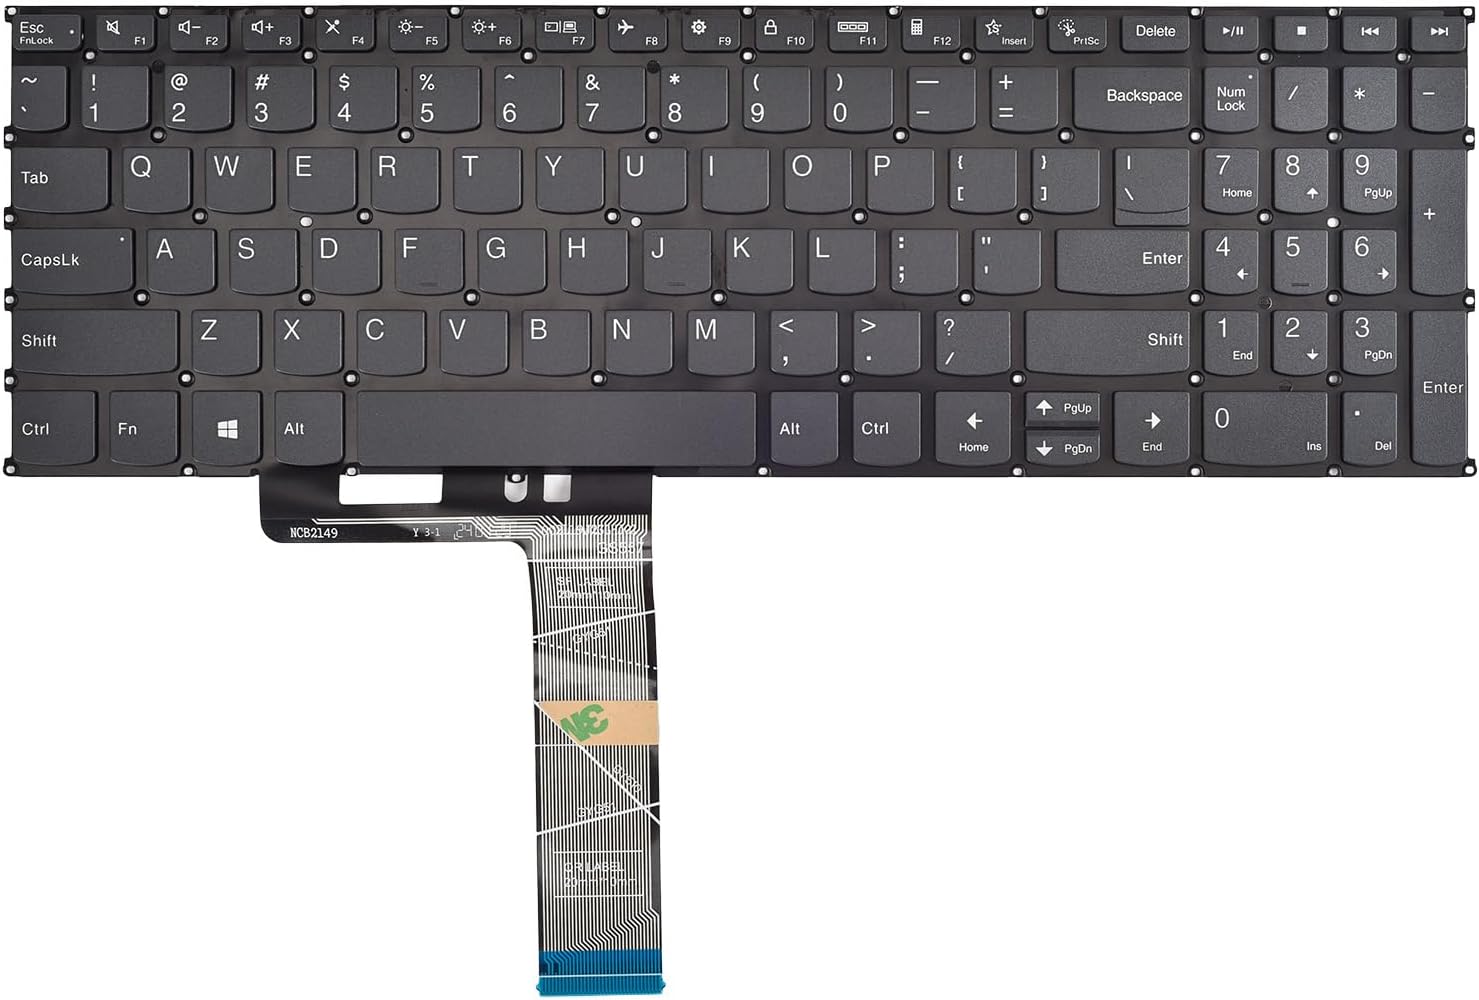
Figure 1: Top view of the KBRPARTS Replacement Keyboard
Please read these instructions carefully before proceeding with the installation to ensure a smooth and successful replacement process.
2. Compatible Models
This replacement keyboard is compatible with the following Lenovo ideapad laptop series and specific models:
- Lenovo ideapad 1-15 Series: 1-15ADA7, 1-15ALC7, 1-15AMN7, 1-15IAU7, 1-15IGL7, 1-15IJL7, 1-15IRU7
- Lenovo ideapad 3-15 Series: 3-15ADA6, 3-15ALC6, 3-15ITL6, 3-17ADA6, 3-17ALC6, 3-17ITL6
- Lenovo ideapad 5-15 Series: 5-15ARE05, 15ALC05, 5-15ARE05, 5-15ITL05, 5-15IIL05
Please verify your laptop's exact model number to ensure compatibility before installation.
3. Package Contents
Your package should contain the following item:
- 1x KBRPARTS Replacement Keyboard (US Layout, Gray, Without Backlit)
4. Installation Guide
Replacing a laptop keyboard can be a complex process. It is recommended that this procedure be performed by individuals with experience in laptop repair. If you are unsure, please seek professional assistance or consult detailed video tutorials specific to your laptop model.
4.1 Safety Precautions
- Power Off: Completely shut down your laptop and disconnect it from the power adapter.
- Remove Battery: If your laptop has a removable battery, remove it. For internal batteries, disconnect the battery connector from the motherboard.
- Static Discharge: Ground yourself to prevent electrostatic discharge (ESD) damage to internal components.
- Handle with Care: Laptop components are delicate. Avoid excessive force.
4.2 Tools Required (May Vary)
- Small Phillips head screwdriver
- Plastic spudger or pry tool
- Tweezers (optional, for ribbon cables)
- Note: Some laptop models may require a soldering iron to detach the old keyboard's metal panel. Consult specific repair guides for your laptop model.
4.3 General Installation Steps
- Disassemble Laptop: Carefully remove the bottom cover of your laptop. This usually involves unscrewing several screws.
- Locate Keyboard Connections: Identify the keyboard ribbon cable(s) connected to the motherboard. Gently unlatch the connectors and disconnect the cables.
- Remove Old Keyboard: Depending on your laptop model, the keyboard might be secured by screws, plastic rivets, or a metal plate. Many Lenovo ideapad models require detaching a metal panel that holds the keyboard in place. This often involves carefully melting or prying plastic rivets. Refer to a specific disassembly guide for your laptop model for precise instructions.
- Install New Keyboard: Position the new KBRPARTS keyboard into the keyboard frame. Ensure it sits flush.
- Connect Ribbon Cable(s): Carefully insert the keyboard ribbon cable(s) into their respective connectors on the motherboard and secure the latches.
- Secure Keyboard: Re-secure the keyboard using any screws or plastic rivets that were removed. If plastic rivets were melted, you may need to re-melt and reshape them or use an alternative securing method if applicable.
- Reassemble Laptop: Reconnect the battery (if applicable) and reassemble the laptop's bottom cover, ensuring all screws are tightened.

Figure 2: Bottom view of the KBRPARTS Replacement Keyboard
4.4 Testing
After reassembly, power on your laptop. Open a text editor or a browser and test every key on the new keyboard to ensure all keys are functioning correctly.
5. Operating the Keyboard
Your new KBRPARTS keyboard functions identically to the original US layout keyboard. All standard alphanumeric keys, function keys (F1-F12), and special keys (e.g., Ctrl, Alt, Shift, Enter, Spacebar) will operate as expected.
- Function Keys (Fn): Use the Fn key in combination with the F1-F12 keys to access special functions such as volume control, screen brightness, Wi-Fi toggle, and external display options. The specific functions are indicated by icons on the F-keys.
- Numeric Keypad: If your laptop model includes a numeric keypad, ensure the Num Lock key is activated for numeric input.
6. Care and Maintenance
To ensure the longevity and optimal performance of your keyboard, follow these maintenance guidelines:
- Cleaning: Use a soft, lint-free cloth slightly dampened with water or a mild cleaning solution (e.g., isopropyl alcohol) to wipe the keycaps. Avoid spraying liquids directly onto the keyboard.
- Dust Removal: Use compressed air to remove dust and debris from between the keys.
- Avoid Spills: Keep liquids away from the keyboard to prevent damage.
- Gentle Use: Avoid excessive force when typing or cleaning.
7. Troubleshooting
If you encounter issues with your new keyboard, consider the following troubleshooting steps:
- Keyboard Not Responding:
- Ensure the ribbon cable(s) are securely connected to the motherboard. Re-open the laptop and reseat the cable(s) if necessary.
- Restart your laptop.
- Check Device Manager (Windows) for any keyboard-related errors or outdated drivers.
- Specific Keys Not Working:
- Check for any physical obstructions or debris under the keycap.
- If multiple keys in a specific area are not working, it might indicate an issue with the ribbon cable connection or a localized defect. Re-check the cable connection.
- Incorrect Character Input:
- Verify your operating system's keyboard language settings are set to "US English" or the appropriate layout.
- Keyboard Feels Loose:
- Ensure all mounting points and screws (if applicable) are properly secured.
If these steps do not resolve the issue, please contact KBRPARTS customer support for further assistance.
8. Product Specifications
| Feature | Specification |
|---|---|
| Brand | KBRPARTS |
| Layout | US Layout |
| Backlight | No (Without Backlit) |
| Color | Gray |
| Material | Acrylonitrile Butadiene Styrene (ABS) |
| Connectivity Technology | RF (Ribbon Flex Cable) |
| Item Weight | 5 ounces |
| Package Dimensions | 14.76 x 5.63 x 0.79 inches |
9. Warranty and Support
9.1 Warranty Information
KBRPARTS provides a 6-month full warranty for any defects in materials or workmanship. This warranty covers manufacturing defects and ensures the product is free from faults under normal use during the warranty period.
The warranty does not cover damage caused by improper installation, accidental damage, misuse, unauthorized repairs, or normal wear and tear.
9.2 Customer Support
If you have any questions, require assistance with installation, or need to claim warranty service, please do not hesitate to contact KBRPARTS customer support. You can expect a reply within 12 hours.
For support, please refer to the contact information provided with your purchase or visit the official KBRPARTS website.