Oudbo Molartte AHA-48072
Oudbo Molartte Sliding Shower Door Instruction Manual
Model: AHA-48072
Brand: Oudbo Molartte
Introduction
This manual provides detailed instructions for the installation, operation, and maintenance of your Oudbo Molartte Sliding Shower Door, Model AHA-48072. Please read this manual thoroughly before beginning installation or use to ensure proper function and safety. Keep this manual for future reference.

An overview of the Oudbo Molartte sliding shower door installed in a modern bathroom setting.
Safety Information
- Always handle glass panels with extreme care. Tempered glass, while strong, can shatter if struck at the edges.
- Wear appropriate personal protective equipment (PPE) including safety glasses and gloves during installation.
- Ensure the installation surface is level and structurally sound to support the weight of the shower door.
- It is recommended to have at least two people for installation due to the size and weight of the glass panels.
- Do not use abrasive cleaners or tools that could scratch the glass or frame finish.
- Ensure all screws and fasteners are securely tightened before using the shower door.
Product Specifications
| Model Number | AHA-48072 |
| Dimensions (W x H) | 48 inches x 72 inches |
| Adjustable Width | 48 - 48.4 inches (up to 3/16 inch or 5 mm adjustment on each side) |
| Glass Thickness | 1/4 inch (6mm) SGCC Tempered Glass |
| Material | Tempered Glass, Aluminum Alloy Frame |
| Color | Matte Black |
| Item Weight | 87.8 pounds |
| Assembly Required | Yes |
This diagram illustrates the key dimensions of the shower door, including overall width and height, as well as the sizes of the fixed and sliding glass panels, access width, and handle/towel rail lengths.
Setup and Installation
Professional installation is recommended for optimal performance and safety. Ensure all necessary tools are available before beginning.
Key Installation Features:
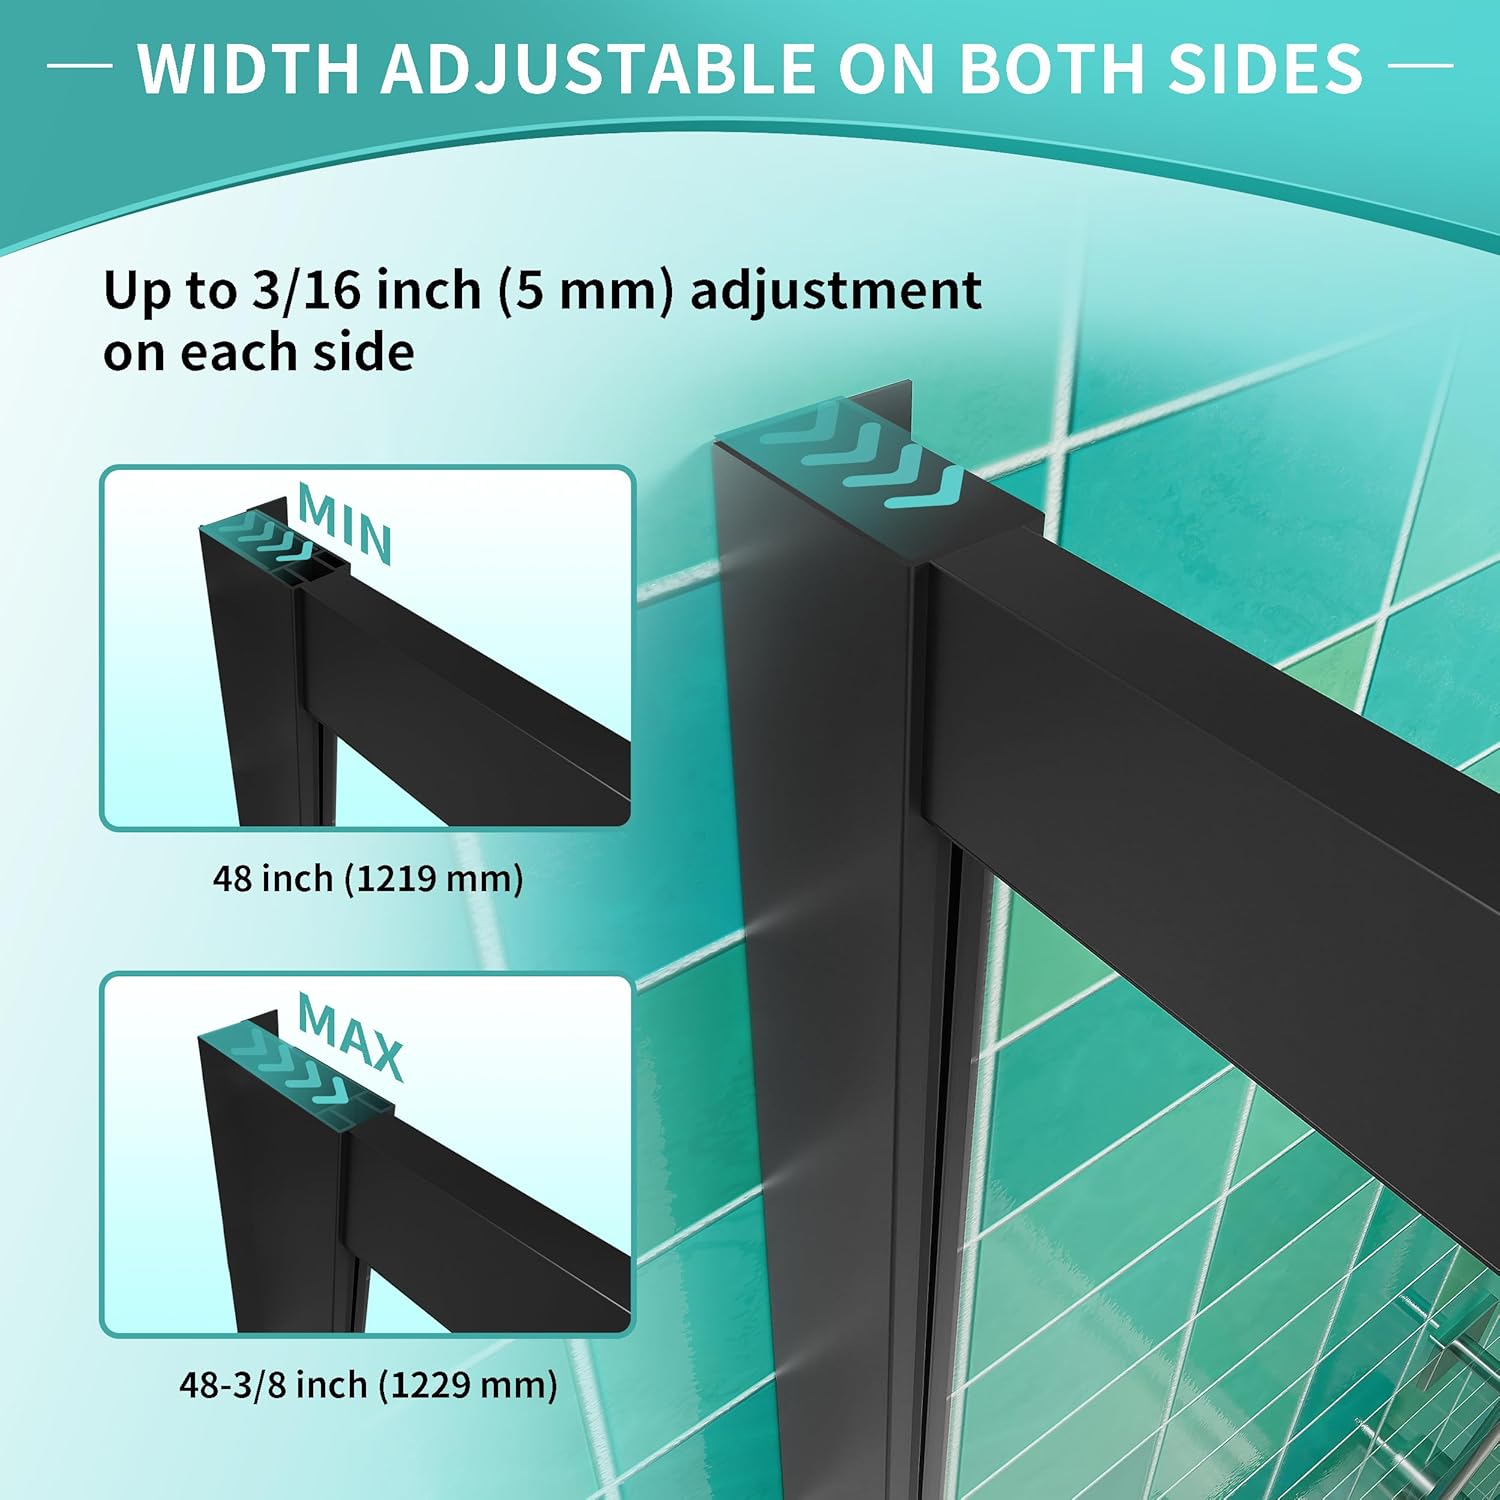
- Adjustable Width: The shower door frame allows for up to 3/16 inch (5 mm) adjustment on each side, providing flexibility to fit various bathroom layouts.
- Reversible Installation: The door can be installed to open from either the left or right side, accommodating different bathroom designs.

This image demonstrates that the shower door can be configured to slide open from either the left or the right, offering versatility for your bathroom layout.

This illustration highlights the adjustable width feature, allowing for minor adjustments during installation to ensure a perfect fit within your shower opening.
General Installation Steps (Consult full installation guide for details):
- Prepare the Area: Ensure the shower base and walls are clean, level, and ready for installation.
- Measure and Mark: Accurately measure the shower opening and mark the positions for the wall profiles.
- Install Wall Profiles: Secure the aluminum wall profiles to the wall using appropriate fasteners.
- Install Fixed Glass Panel: Carefully place and secure the fixed glass panel into the wall profile and bottom track.
- Install Sliding Door Panel: Attach the rollers to the sliding door panel and mount it onto the top and bottom tracks.
- Adjust and Seal: Adjust the door for smooth operation and apply silicone sealant as required to ensure a watertight seal.
- Install Handles and Towel Bar: Attach the handles and towel bar to the sliding door.
Operating Instructions
Your Oudbo Molartte sliding shower door is designed for smooth and effortless operation.
- Opening and Closing: Gently slide the door panel along the track using the handle. The rollers are designed for a seamless and quiet movement.
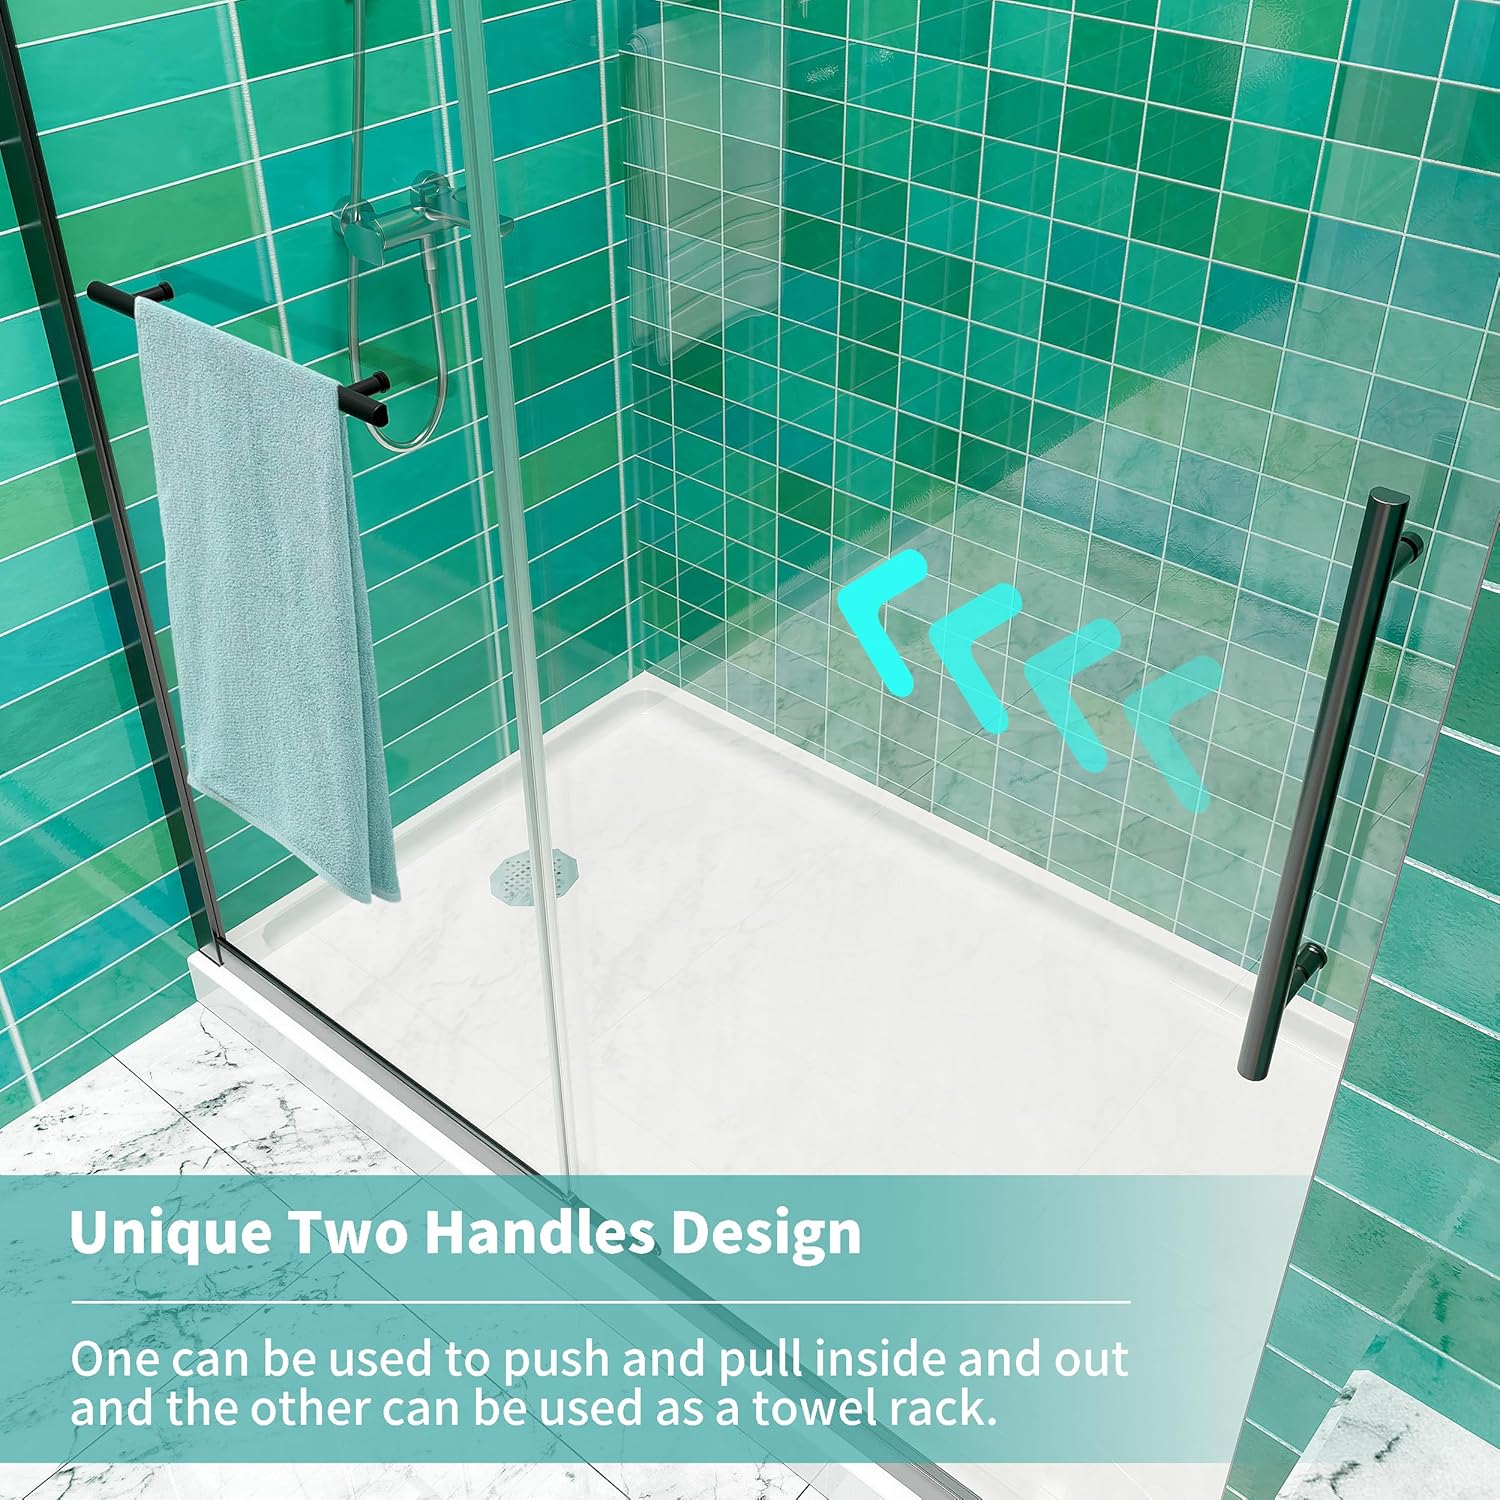
- Two-Handle Design: The sliding door features two handles. One handle is for pushing and pulling the door, while the other can be used as a convenient towel rack.

This image illustrates the high-quality rollers and track system, ensuring the shower door slides effortlessly and quietly.
The sliding door is equipped with two handles; one for operating the door and the other designed to function as a convenient towel bar.
Maintenance and Cleaning
Regular cleaning and maintenance will ensure the longevity and pristine appearance of your shower door.
- Glass Cleaning: The 1/4 inch (6mm) tempered glass features a water-repelling spot guard coating. Clean with a soft cloth and mild, non-abrasive glass cleaner. Avoid harsh chemicals or abrasive pads that can damage the coating.
- Quick-Release Design: Utilize the quick-release feature to easily detach the sliding door from the bottom track for thorough cleaning of hard-to-reach gaps and to prevent dirt buildup.
- Frame Cleaning: Wipe the matte black aluminum alloy frame with a soft, damp cloth. Do not use abrasive cleaners or solvents.
- Waterproof Design: The door is equipped with sealing strips on the bottom and sides to prevent water leakage. Periodically inspect these seals for wear and tear and replace if necessary to maintain waterproofing.

This feature allows for convenient detachment of the sliding door from the bottom track, simplifying the cleaning process and preventing accumulation of dirt and grime.

The shower door utilizes 1/4 inch (6mm) SGCC tempered glass, which is certified for safety, strength, and resistance to shattering, while also being easy to clean.

The integrated sealing strips ensure a waterproof enclosure, preventing water from escaping the shower area.
Troubleshooting
If you encounter any issues with your shower door, refer to the following common problems and solutions:
- Door not sliding smoothly:
- Check the rollers for any debris or hair buildup and clean them thoroughly.
- Ensure the tracks are free from obstructions.
- Verify that the door is properly aligned on the tracks.
- Water leakage:
- Inspect all sealing strips (bottom and sides) for damage or improper installation. Replace if necessary.
- Ensure silicone sealant applied during installation is intact and provides a complete seal.
- Door feels loose:
- Check all mounting screws and fasteners to ensure they are securely tightened. Do not overtighten.
If the problem persists, please contact customer support.
Warranty and Customer Support
For any questions, concerns, or assistance with your Oudbo Molartte shower door, please contact our customer support team. While specific warranty details are not provided in this manual, please refer to your purchase documentation or contact the seller for warranty information.
You can also visit the official Oudbo Molartte Store for more product information and support resources.
Ask a question about this manual
Ask about setup, troubleshooting, compatibility, parts, safety, or missing instructions. Manuals+ will review the question and use this page’s manual context to help answer it.