
1. Introduction
Thank you for choosing the MEER YG391 1080P WiFi Projector. This manual provides essential information for setting up, operating, and maintaining your projector to ensure optimal performance and longevity. Please read these instructions carefully before use.
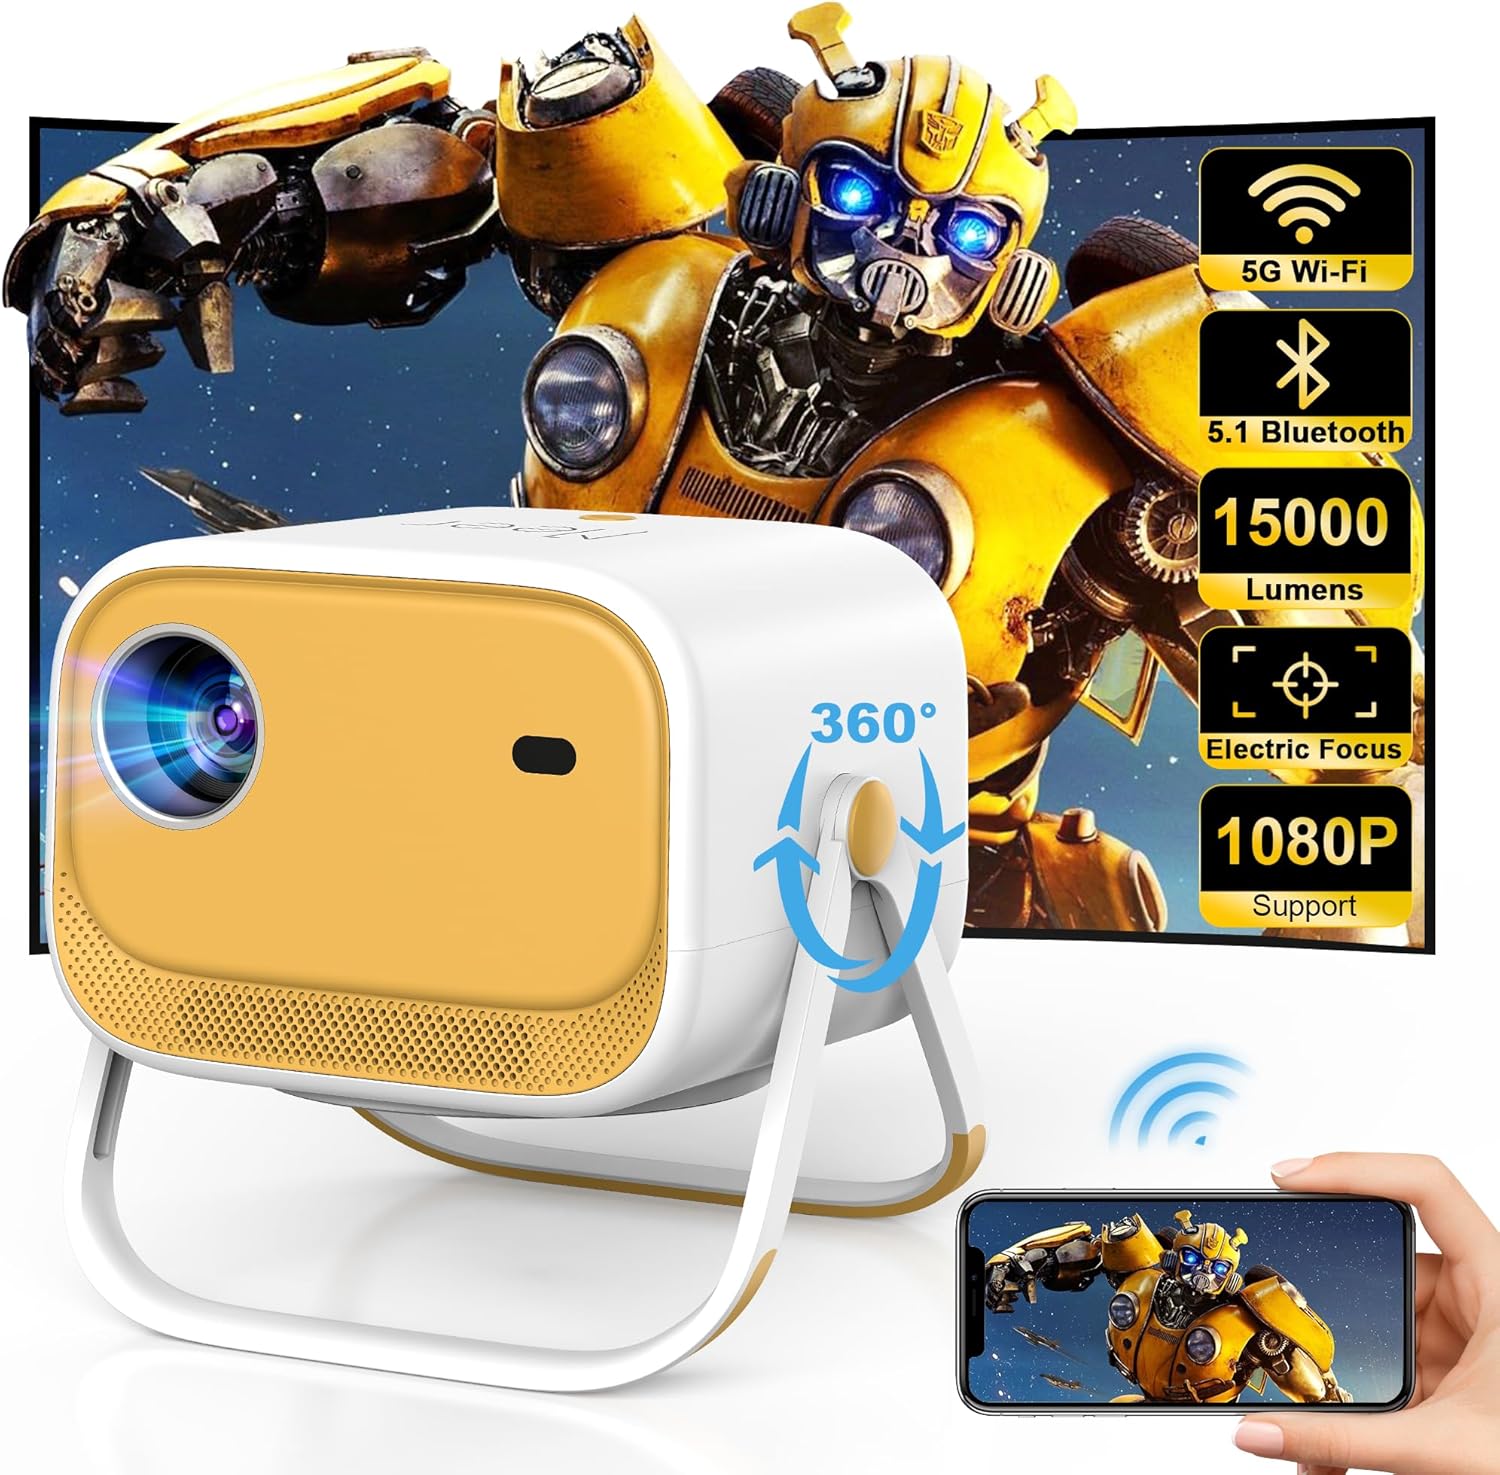
Image 1.1: The MEER YG391 Projector showcasing its compact design and key features like 5G Wi-Fi, Bluetooth 5.1, 15000 Lumens, Electric Focus, and 1080P support.
2. Product Overview
Key Features:
- 360° Rotatable Stand with Handle: Integrated stand allows for flexible positioning and easy portability.
- 1080P Supported Display: Delivers crisp, sharp images with vibrant colors.
- Max 200-inch Screen: Expand your viewing experience up to 200 inches.
- 15000 Lux Brightness: Provides clear visuals in various lighting conditions.
- 5G/2.4G Dual-Band WiFi: Ensures stable and fast wireless connectivity for streaming.
- Bidirectional Bluetooth 5.1: Connects to external speakers or functions as a standalone Bluetooth speaker.
- Electric Focus & Auto Vertical Keystone: Automatic image adjustments for optimal clarity and shape.
- Multi-device Connectivity: Includes HDMI, USB, and 3.5mm headphone jack for versatile connections.

Image 2.1: The projector's built-in adjustable stand and handle, demonstrating its 360° viewing angle capability and portability.
3. Setup Instructions
3.1 Unboxing and Initial Power-On
- Carefully remove the projector, power cable, remote control, and HDMI cable from the packaging.
- Connect the power cable to the projector and a power outlet.
- Press and hold the power button on the projector or use the remote control to turn it on.
- Insert two AAA batteries (not included) into the remote control.
3.2 Placement and Positioning
The MEER YG391 features a 360° rotatable stand, allowing for versatile placement. You can project onto a wall, screen, or even the ceiling.
- Tabletop/Floor: Use the integrated stand to position the projector on a flat surface. Adjust the angle as needed.
- Ceiling Mount: The projector includes a screw-in point on its base for compatibility with standard ceiling mounts (mount not included).

Image 3.1: The projector positioned to project an image onto the ceiling, demonstrating its flexible viewing options.
4. Operating Instructions
4.1 Connectivity
4.1.1 WiFi Connection (5G/2.4G)
- From the projector's home screen, navigate to the 'Settings' menu.
- Select 'WiFi' and choose your desired 5G or 2.4G network.
- Enter the WiFi password using the on-screen keyboard.

Image 4.1: Visual representation of the projector's dual-band 5G and 2.4G WiFi capabilities for stable and fast streaming.
4.1.2 Bidirectional Bluetooth 5.1
- Connecting to External Speakers: From the home screen, select 'Bluetooth' in settings. Pair with your Bluetooth speaker for enhanced audio.
- Using as a Standalone Speaker: The projector can also function as a Bluetooth speaker for your phone or other devices.
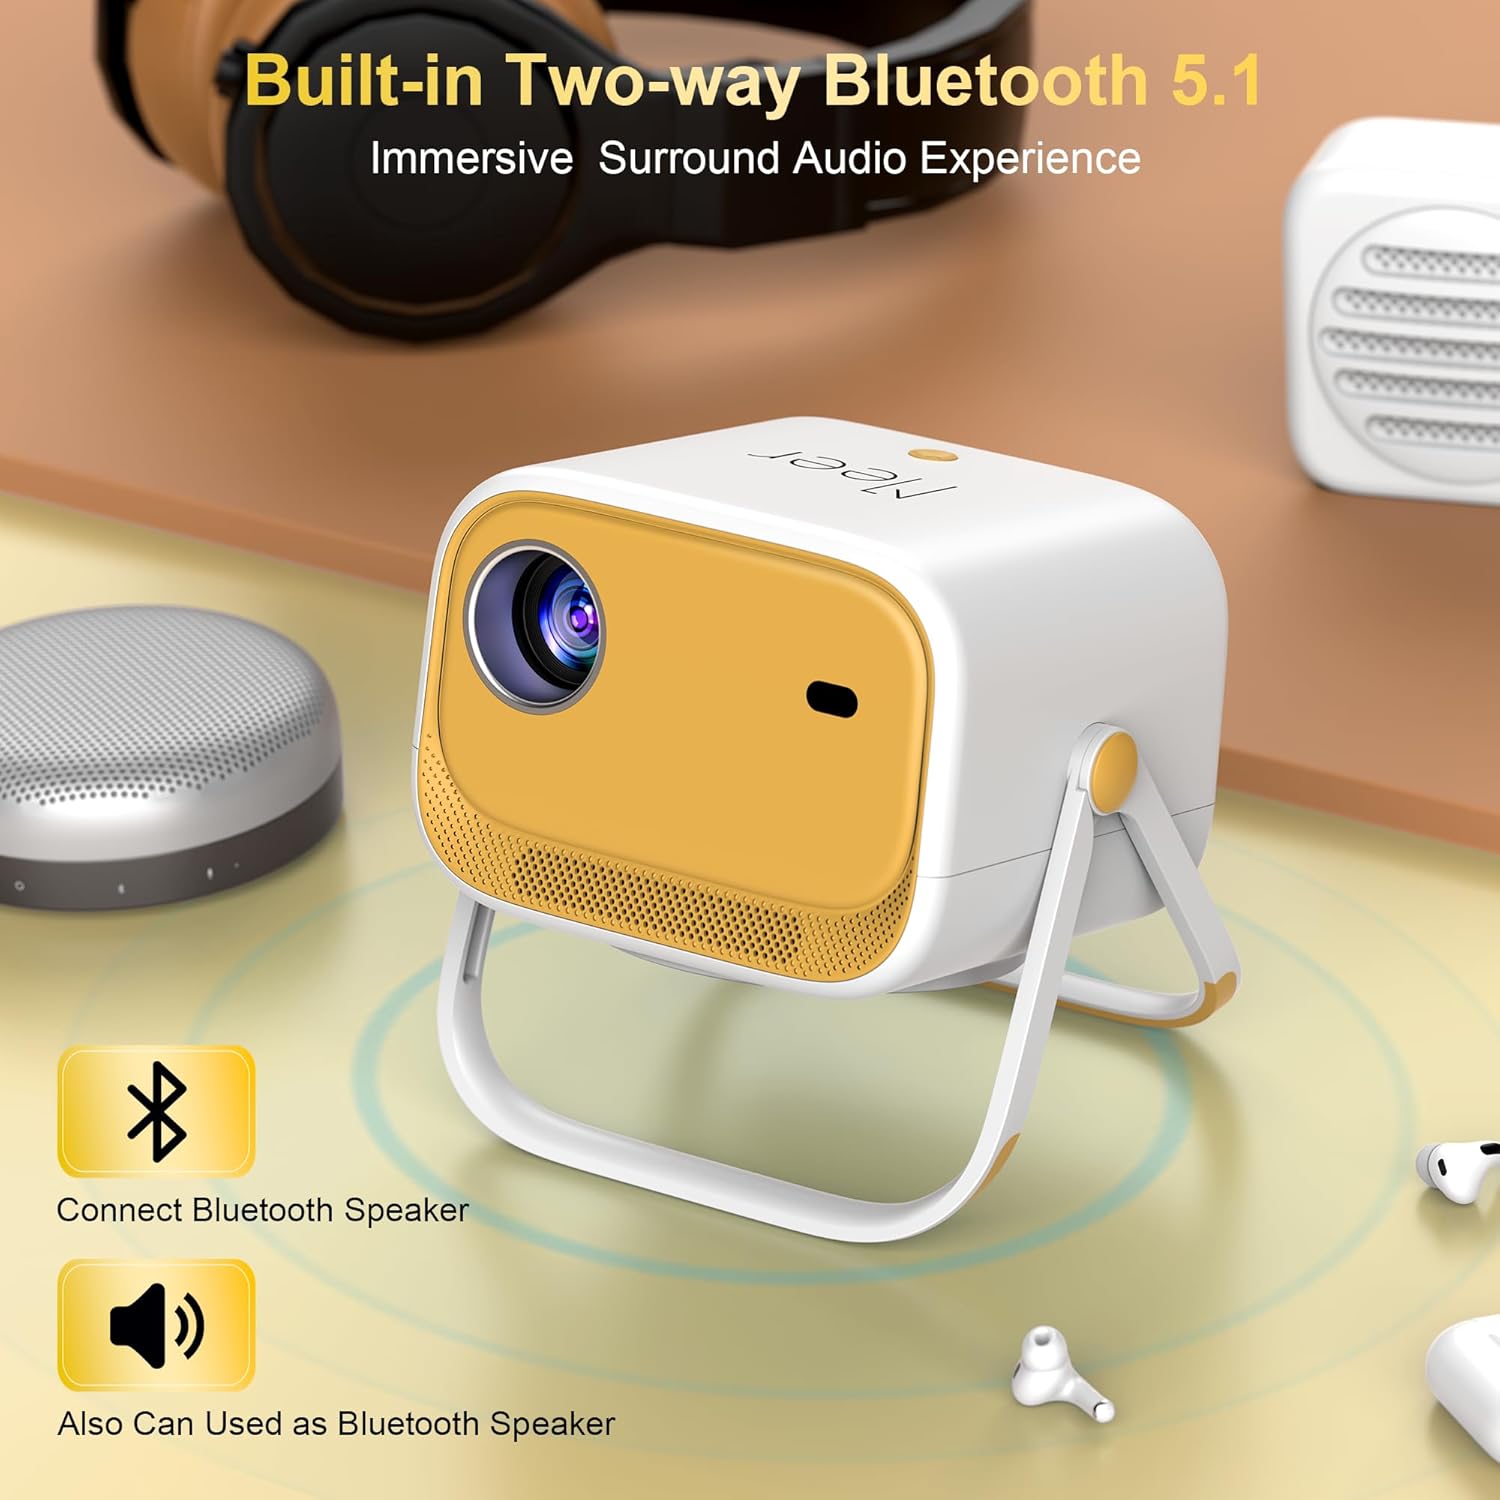
Image 4.2: The projector demonstrating its bidirectional Bluetooth 5.1 feature, allowing connection to external speakers or use as a standalone speaker.
4.1.3 Screen Mirroring (Airplay/Miracast)
To mirror your smartphone or tablet screen:
- Ensure your mobile device and the projector are connected to the same WiFi network.
- On the projector's home screen, select 'Airplay' for iOS devices or 'Miracast' for Android devices.
- On your mobile device, open the 'Control Center' (iOS) or 'Screen Mirroring' settings (Android).
- Select the projector's name (e.g., 'NEWLINK-C0919') from the list of available devices.
- Your device's screen will now be mirrored on the projector.
Video 4.1: A short demonstration of connecting a smartphone to the MEER YG391 projector via screen mirroring (Airplay) to display content on a wall.
4.1.4 Wired Connections
- HDMI: Connect devices like Fire TV Stick, Chromecast, Roku, laptops, or gaming consoles (PS5) using an HDMI cable. Select 'HDMI' input on the projector.
- USB: Insert a USB drive to play media files directly. Select 'Media' input on the projector.
- 3.5mm Headphone Jack: Connect wired headphones or external speakers.
4.2 Image Adjustments
4.2.1 Electric Focus
Use the remote control to adjust the focus of the projected image. Press the dedicated focus buttons (often marked with 'F+' and 'F-') until the image is clear.

Image 4.3: A user operating the remote control to utilize the electric focus feature of the MEER YG391 projector, ensuring a sharp image.
4.2.2 Auto Vertical Keystone
The projector automatically corrects vertical image distortion, ensuring a rectangular picture even when the projector is not perfectly aligned with the screen.
4.2.3 Zoom Function
Adjust the screen size from 50% to 100% without moving the projector. This feature is accessible via the remote control or the projector's menu.

Image 4.4: The projector displaying its adjustable screen size feature, allowing users to zoom the image from 50% to 100%.
5. Maintenance
- Dust Filter: Regularly clean the dust filter for the fan to ensure proper ventilation and prevent overheating. Refer to the detailed manual for specific cleaning instructions.
- Lens Cleaning: Use a soft, lint-free cloth to gently clean the projector lens. Avoid abrasive materials or harsh chemicals.
- Lamp Life: The projector lamp has a lifespan of over 80,000 hours under normal usage conditions.
6. Troubleshooting
- No Image/Power: Ensure the power cable is securely connected and the power button is pressed. Check if the remote batteries need replacement.
- Blurry Image: Use the electric focus function via the remote control to sharpen the image. Ensure the projector is within the recommended projection distance.
- Image Distortion: The auto vertical keystone correction should adjust the image automatically. If issues persist, check projector placement.
- No Sound: Check volume settings on both the projector and the connected device. Ensure Bluetooth speakers are properly paired or wired audio cables are securely connected.
- Connectivity Issues (WiFi/Bluetooth): Verify both the projector and your device are on the same network. Restart both devices.
- Incorrect Language: If the menu is in an unfamiliar language, navigate to the settings icon (often a gear symbol) and look for language options.
- Overheating: Ensure the projector has adequate ventilation and is not placed in an enclosed space. Clean the dust filter if necessary.
7. Specifications
| Feature | Specification |
|---|---|
| Model Number | YG391 |
| Display Resolution | 1280 x 720 (Supports 1080P) |
| Brightness | 15000 Lux |
| Connectivity Technology | 5G/2.4G WiFi, Bluetooth 5.1, HDMI, USB, 3.5mm Audio |
| Projection Size | 29.5 - 200 inches |
| Projection Distance | 0.95 - 6.35 meters |
| Aspect Ratio | 16:9, 4:3, Auto-fit |
| Special Features | Electric Focus, Auto Vertical Keystone, 360° Rotatable Stand, Built-in Speaker |
| Lamp Life | 80,000+ Hours |
| Product Dimensions | 6.2 x 5 x 7.6 inches |
| Item Weight | 3.65 pounds |
8. Warranty and Support
MEER is committed to providing excellent customer service. Your MEER YG391 Projector comes with:
- 1-Year Free Replacement: For any manufacturing defects or malfunctions within the first year.
- 3-Year Repair Warranty: Comprehensive repair coverage for three years from the date of purchase.
- Lifetime Support: Ongoing technical assistance and support for the lifetime of your product.
For technical support, warranty claims, or free parts (such as a screen, ceiling mount, or remote), please contact us via email:
Email: meerservice@163.com

Image 8.1: Summary of MEER's customer support, including warranty details and contact information.

