1. Introduction
This manual provides comprehensive instructions for the safe assembly, operation, and maintenance of your VEVOR 48-inch Tow-Behind Dethatcher, Model TBD120. Please read this manual thoroughly before using the product to ensure proper function and to prevent injury or damage. Keep this manual for future reference.
2. Safety Information
Always observe basic safety precautions when operating this equipment to reduce the risk of injury. Failure to follow these instructions may result in serious injury or property damage.
- Read and understand all instructions before assembly and operation.
- Wear appropriate personal protective equipment, including safety glasses and sturdy footwear.
- Ensure all fasteners are securely tightened before each use.
- Keep children and pets away from the operating area.
- Do not operate the dethatcher on steep slopes where stability may be compromised.
- Always disconnect the dethatcher from the towing vehicle before performing any maintenance or adjustments.
- Do not exceed the recommended towing speed.
- Store the dethatcher in a safe, dry place when not in use.
3. Product Overview
The VEVOR TBD120 Tow-Behind Dethatcher is designed to efficiently remove thatch, dead grass, and debris from your lawn. It features a robust construction and user-friendly design for effective lawn care.
Key Components:
- 24 Heat-Treated Steel Tines: Durable tines for effective dethatching.
- 48-inch (1219 mm) Working Width: Covers a wide area for efficient operation.
- Universal Pin Connector: Allows attachment to various towing vehicles like ATVs and lawn mowers.
- Lift Handle: For easy raising and lowering of the tines.
- Weight Tray: Designed to hold additional weight (up to 70 lbs, not included) for increased dethatching effectiveness.
- Inflatable Tires: Provide smooth maneuverability across different terrains.
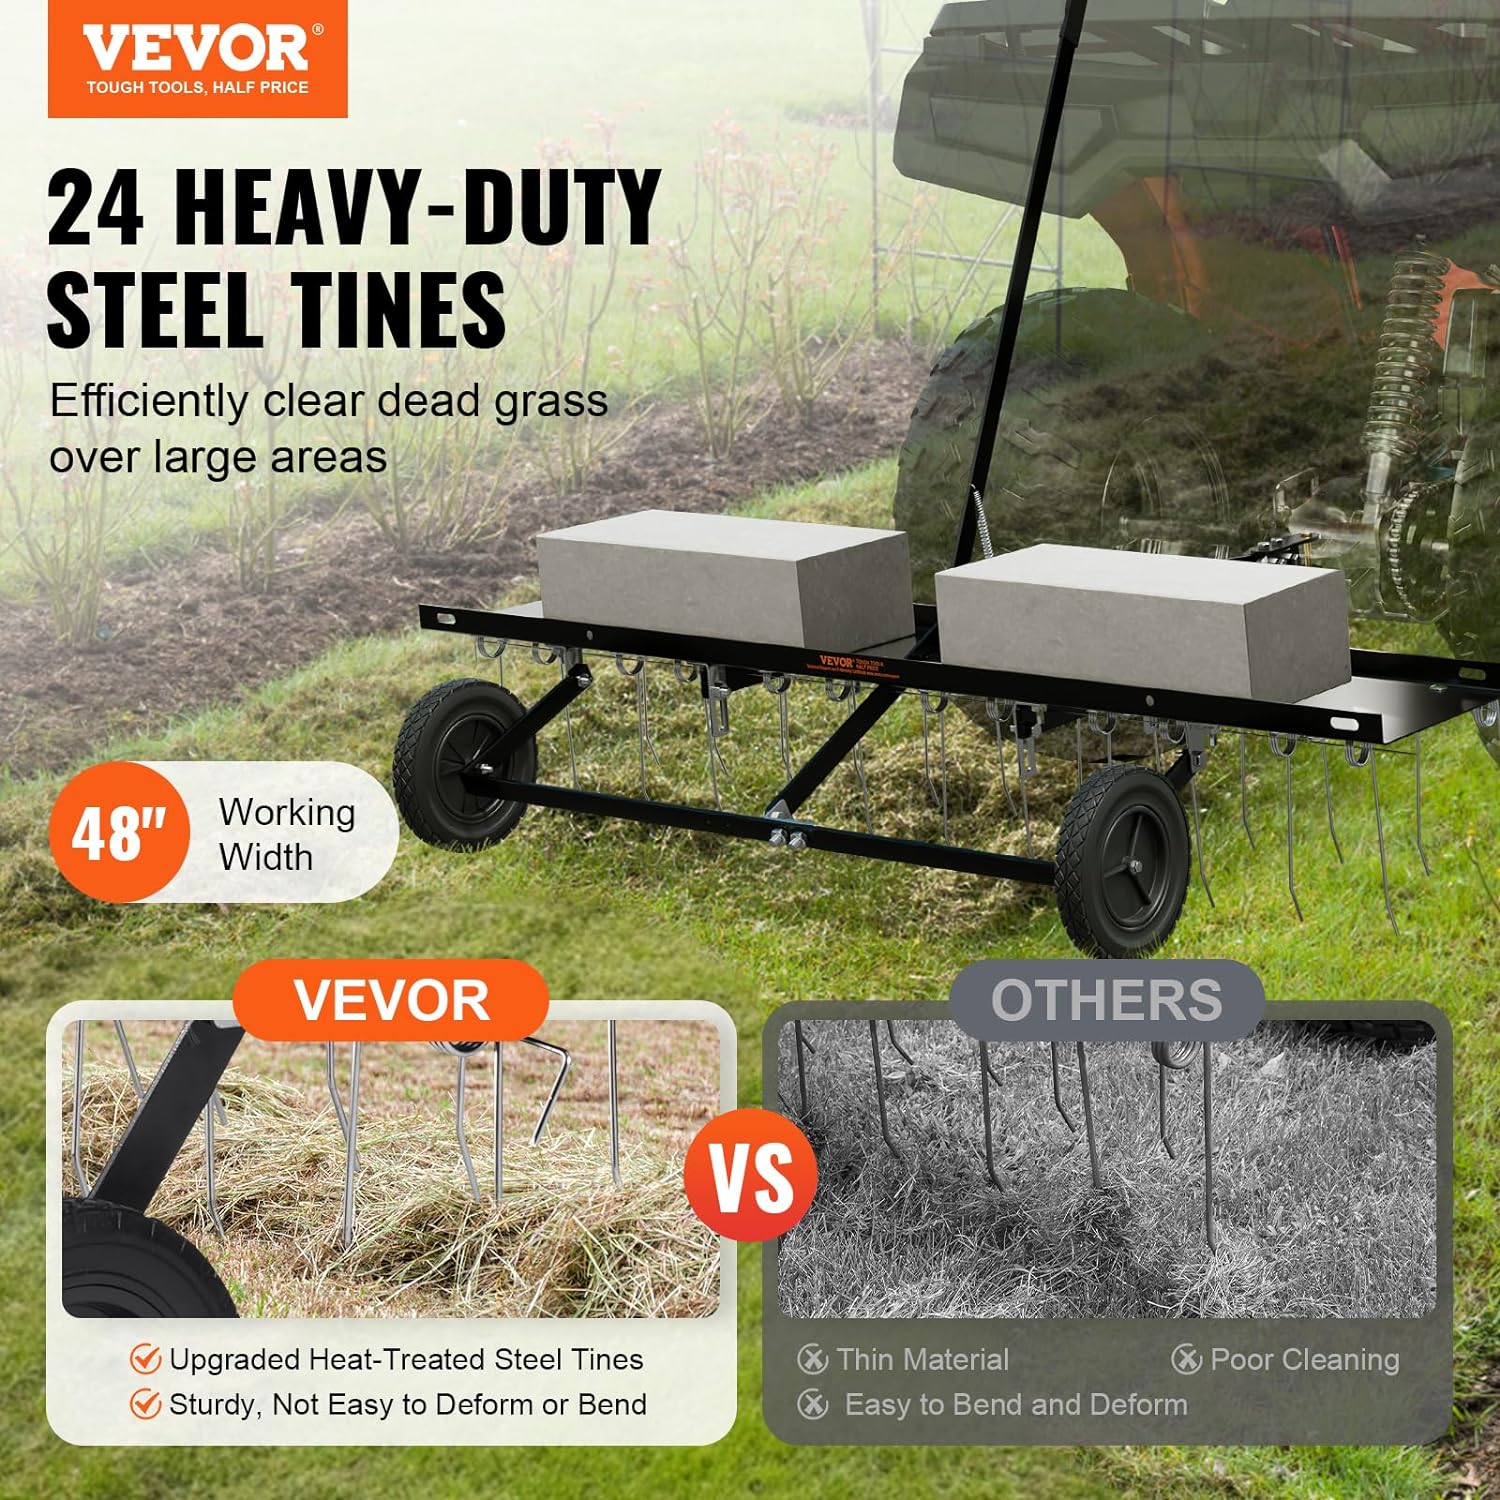
Figure 3.1: Front view of the VEVOR Tow-Behind Dethatcher. This image shows the overall structure, including the tines, wheels, and weight tray.

Figure 3.2: Side view of the dethatcher, highlighting the lift handle mechanism and wheel placement.
4. Specifications
| Feature | Detail |
|---|---|
| Model Number | TBD120 |
| Type | Spring Tine Dethatcher |
| Working Width | 48 inches (1219 mm) |
| Number of Tines | 24 |
| Primary Material | Q235 Steel |
| Product Weight | 38.6 lbs (17.5 kg) |
| Product Dimensions (L x W x H) | 48" x 44.9" x 34.1" (1219 x 1140 x 865 mm) |
| Handle Length | 40.6" (1030 mm) |
| Tine Length | 7.7" (195 mm) |
| Pin Connector Spacing | 1.18" (30 mm) |

Figure 4.1: Detailed dimensions of the VEVOR Tow-Behind Dethatcher.
5. Assembly
Follow these steps to assemble your dethatcher. It is recommended to have a second person assist with assembly.
- Unpack Components: Carefully remove all parts from the packaging. Verify that all components listed in the packing list are present.
- Attach Wheels: Secure the inflatable wheels to the main frame using the provided bolts and nuts. Ensure wheels spin freely but without excessive wobble.
- Install Tines: Insert the 24 spring tines into their designated slots on the tine bar. Secure each tine with the provided bolts and nyloc nuts. Ensure all bolts are tightened securely to prevent loosening during operation.
- Assemble Lift Handle: Attach the lift handle assembly to the main frame. Connect the spring mechanism as shown in the diagram to allow for tine height adjustment.
- Attach Tow Bar: Secure the tow bar to the front of the dethatcher frame using the appropriate bolts and nuts.
- Final Check: Before first use, double-check all bolts, nuts, and connections to ensure they are tight and secure.

Figure 5.1: Example of bolt fastening for secure component attachment.

Figure 5.2: The universal pin connector for attaching the dethatcher to a towing vehicle.
6. Operating Instructions
Proper operation ensures efficient dethatching and prolongs the life of your equipment.
- Attach to Towing Vehicle: Connect the dethatcher's tow bar to your ATV, lawn tractor, or other suitable towing vehicle using the universal pin connector. Ensure the connection is secure.
- Adjust Tine Height: Use the lift handle to adjust the depth of the tines. For initial dethatching, set the tines to lightly scratch the surface. For heavier thatch, lower the tines further. The handle allows you to raise the tines for transport or when not in use.
- Add Weight (Optional): For more aggressive dethatching, place additional weight (e.g., concrete blocks, up to 70 lbs) onto the weight tray. This increases the pressure of the tines on the ground.
- Begin Dethatching: Start your towing vehicle and proceed at a slow, consistent speed. Overlapping passes slightly will ensure complete coverage.
- Clear Debris: The dethatcher will pull up thatch and debris. Periodically stop and clear the accumulated material to maintain efficiency.
- End Operation: When finished, raise the tines using the lift handle and disconnect the dethatcher from the towing vehicle.

Figure 6.1: The lift handle mechanism for adjusting tine height.

Figure 6.2: The dethatcher being towed, demonstrating the use of additional weights on the tray.
7. Maintenance
Regular maintenance will ensure optimal performance and extend the lifespan of your dethatcher.
- Cleaning: After each use, remove any accumulated grass, dirt, or debris from the tines, frame, and wheels. A stiff brush or hose can be used. Ensure the unit is dry before storage.
- Tine Inspection: Periodically inspect the spring tines for wear, bending, or breakage. Worn or damaged tines can be replaced.
- Fastener Check: Regularly check all bolts, nuts, and pins for tightness. Tighten any loose fasteners to prevent components from detaching during operation.
- Tire Pressure: Check the air pressure in the inflatable tires periodically and inflate to the recommended pressure if necessary.
- Lubrication: Apply a light lubricant to moving parts, such as the lift handle pivot points, to ensure smooth operation.
- Storage: Store the dethatcher in a clean, dry area, protected from the elements. Raising the tines during storage will prevent unnecessary wear.
8. Troubleshooting
This section addresses common issues you might encounter with your dethatcher.
| Problem | Possible Cause | Solution |
|---|---|---|
| Ineffective dethatching | Tines not engaging the ground enough; insufficient weight; worn tines. | Lower the tines using the lift handle; add more weight to the tray (up to 70 lbs); inspect and replace worn tines. |
| Dethatcher difficult to tow or maneuver | Low tire pressure; tines set too deep; uneven terrain. | Check and inflate tires to recommended pressure; raise tines slightly; operate on more level ground if possible. |
| Excessive vibration or noise | Loose fasteners; damaged tines or wheels. | Check and tighten all bolts and nuts; inspect tines and wheels for damage and replace if necessary. |
9. Warranty and Support
For warranty information, please refer to the documentation provided at the time of purchase or contact your retailer. For technical support or replacement parts, please contact VEVOR customer service through their official website or the contact information provided with your product.