
1. Introduction
Thank you for purchasing the Outsunny 3 Burner Gas Grill, Model 846-103V80BK. This manual provides essential information for the safe assembly, operation, and maintenance of your new gas grill. Please read all instructions carefully before use and retain this manual for future reference.
This gas grill is designed for outdoor use only, utilizing LPG or propane gas. It features three main burners, a warming rack, side shelves, a storage cabinet, and wheels for portability.
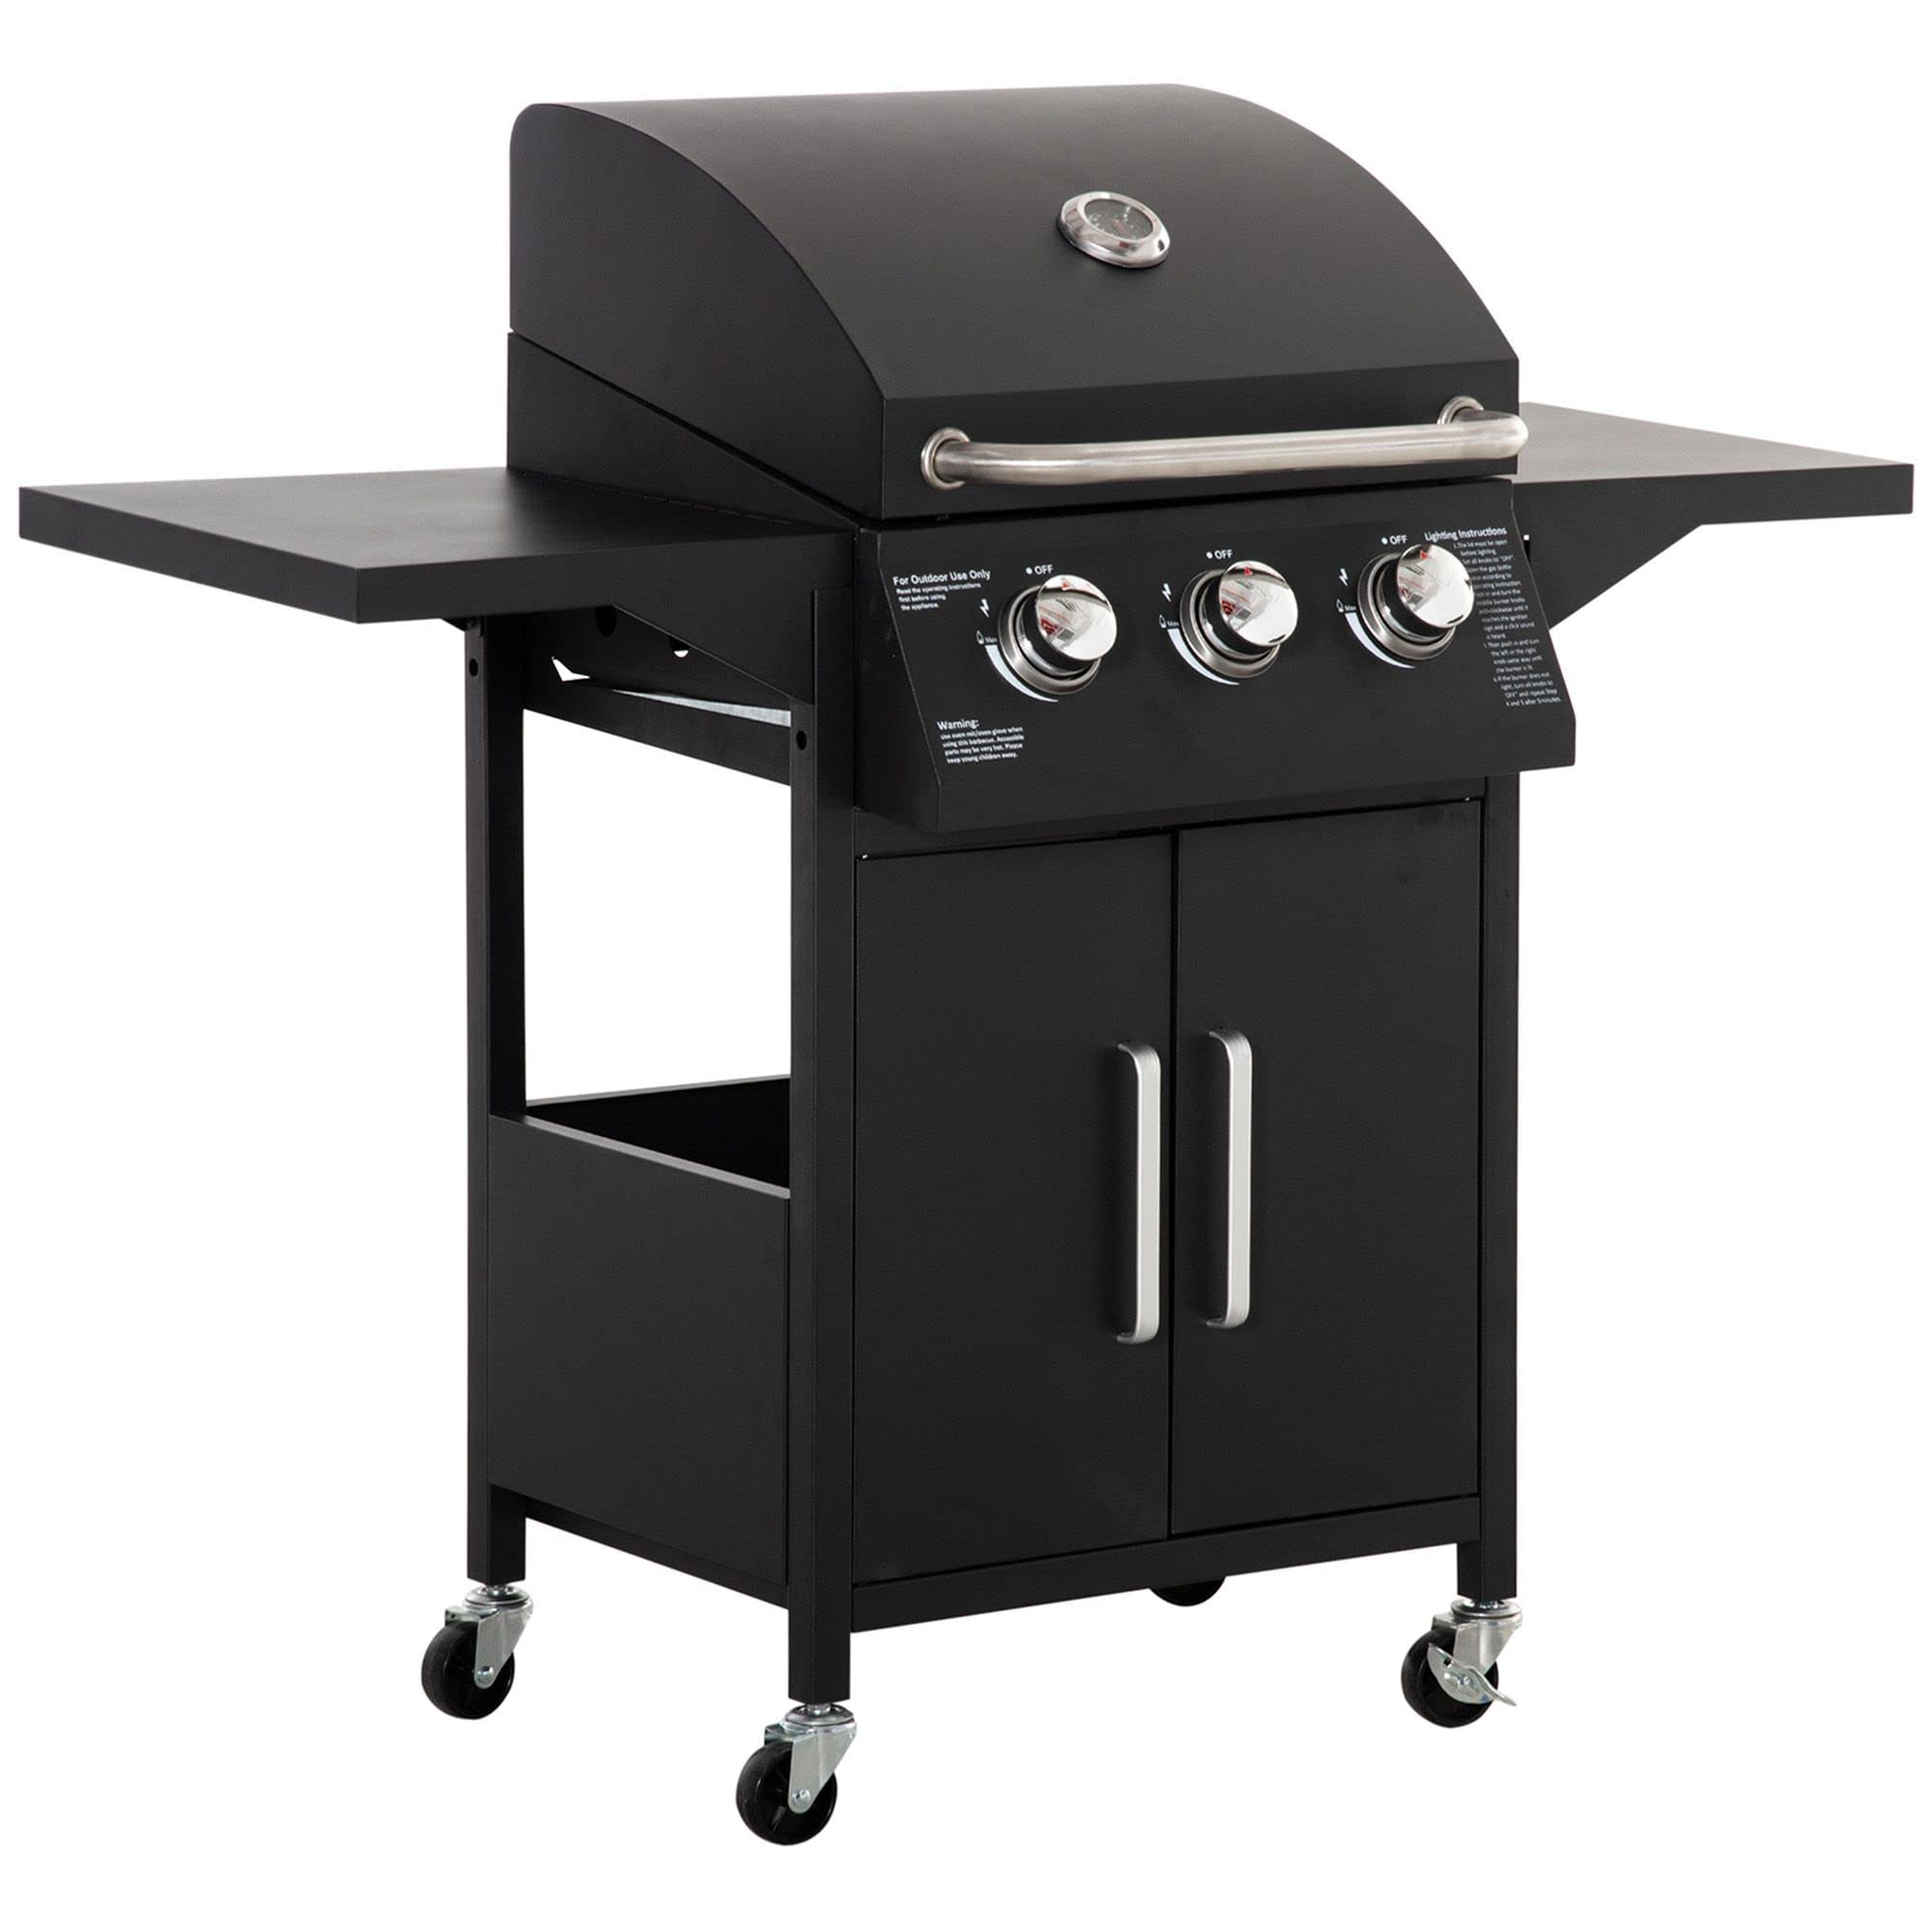
Image 1.1: Fully assembled Outsunny 3 Burner Gas Grill.
2. Safety Information
WARNING: For outdoor use only. Do not store or use gasoline or other flammable vapors and liquids in the vicinity of this or any other appliance.
DANGER: If you smell gas:
- Shut off gas to the appliance.
- Extinguish any open flame.
- Open lid.
- If odor continues, keep away from the appliance and immediately call your gas supplier or fire department.
- Always operate the grill on a level, stable surface.
- Keep children and pets away from the grill at all times.
- Do not move the grill while it is in use or hot.
- Ensure adequate ventilation. Do not obstruct the flow of combustion and ventilation air.
- Keep the grill area clear and free from combustible materials, gasoline, and other flammable vapors and liquids.
- Always wear protective gloves when handling hot components.
- Regularly check gas hoses for cuts, wear, or leaks. Replace immediately if damaged.
- Perform a leak test on all gas connections before first use and after any gas cylinder change.
3. Package Contents
Before assembly, ensure all parts are present and undamaged. If any parts are missing or damaged, do not attempt to assemble the grill. Contact customer service for assistance.
- Grill Body with Lid and Thermometer
- 3 Main Burners
- Grill Grates (2 pieces)
- Warming Rack
- Side Shelves (2 pieces)
- Storage Cabinet components
- Wheels (4 universal wheels, 2 with brakes)
- Regulator and Hose
- Grease Drip Cup
- Hardware Pack (screws, nuts, washers)
- Instruction Manual

Image 3.1: View of the large cooking area with warming rack and grill grates.
4. Assembly and Setup
Assembly is required. Follow the step-by-step instructions provided in the included assembly guide. Ensure all connections are secure before use.
4.1. General Assembly Steps
- Attach the wheels to the bottom frame of the grill cart. Ensure the two wheels with brakes are positioned correctly for stability.
- Assemble the storage cabinet according to the diagrams.
- Secure the main grill body to the assembled cart.
- Attach the side shelves to the main grill body.
- Place the grill grates and warming rack into position.
- Install the grease drip cup.

Image 4.1: Universal wheels with brakes for easy movement and stability.

Image 4.2: Side shelves and gas tank cabinet for storage.
4.2. Gas Connection
- Ensure the gas cylinder valve is closed.
- Connect the regulator hose to the gas cylinder valve. Hand-tighten firmly.
- Connect the other end of the hose to the grill's gas inlet.
- Perform a leak test: Apply a soapy water solution to all gas connections. Open the gas cylinder valve. If bubbles appear, there is a leak. Close the gas valve immediately and re-tighten connections. Repeat the test. Do not use the grill if leaks persist.
5. Operating Instructions
5.1. Lighting the Burners
- Ensure the grill lid is open.
- Confirm all burner control knobs are in the "OFF" position.
- Open the gas supply valve on the propane cylinder.
- Push in and turn one burner control knob to the "HIGH" position. You should hear a click as the igniter sparks.
- If the burner does not light within 5 seconds, turn the control knob to "OFF", wait 5 minutes for gas to dissipate, and repeat the lighting procedure.
- Once the first burner is lit, you can light the other burners by turning their respective control knobs to "HIGH".
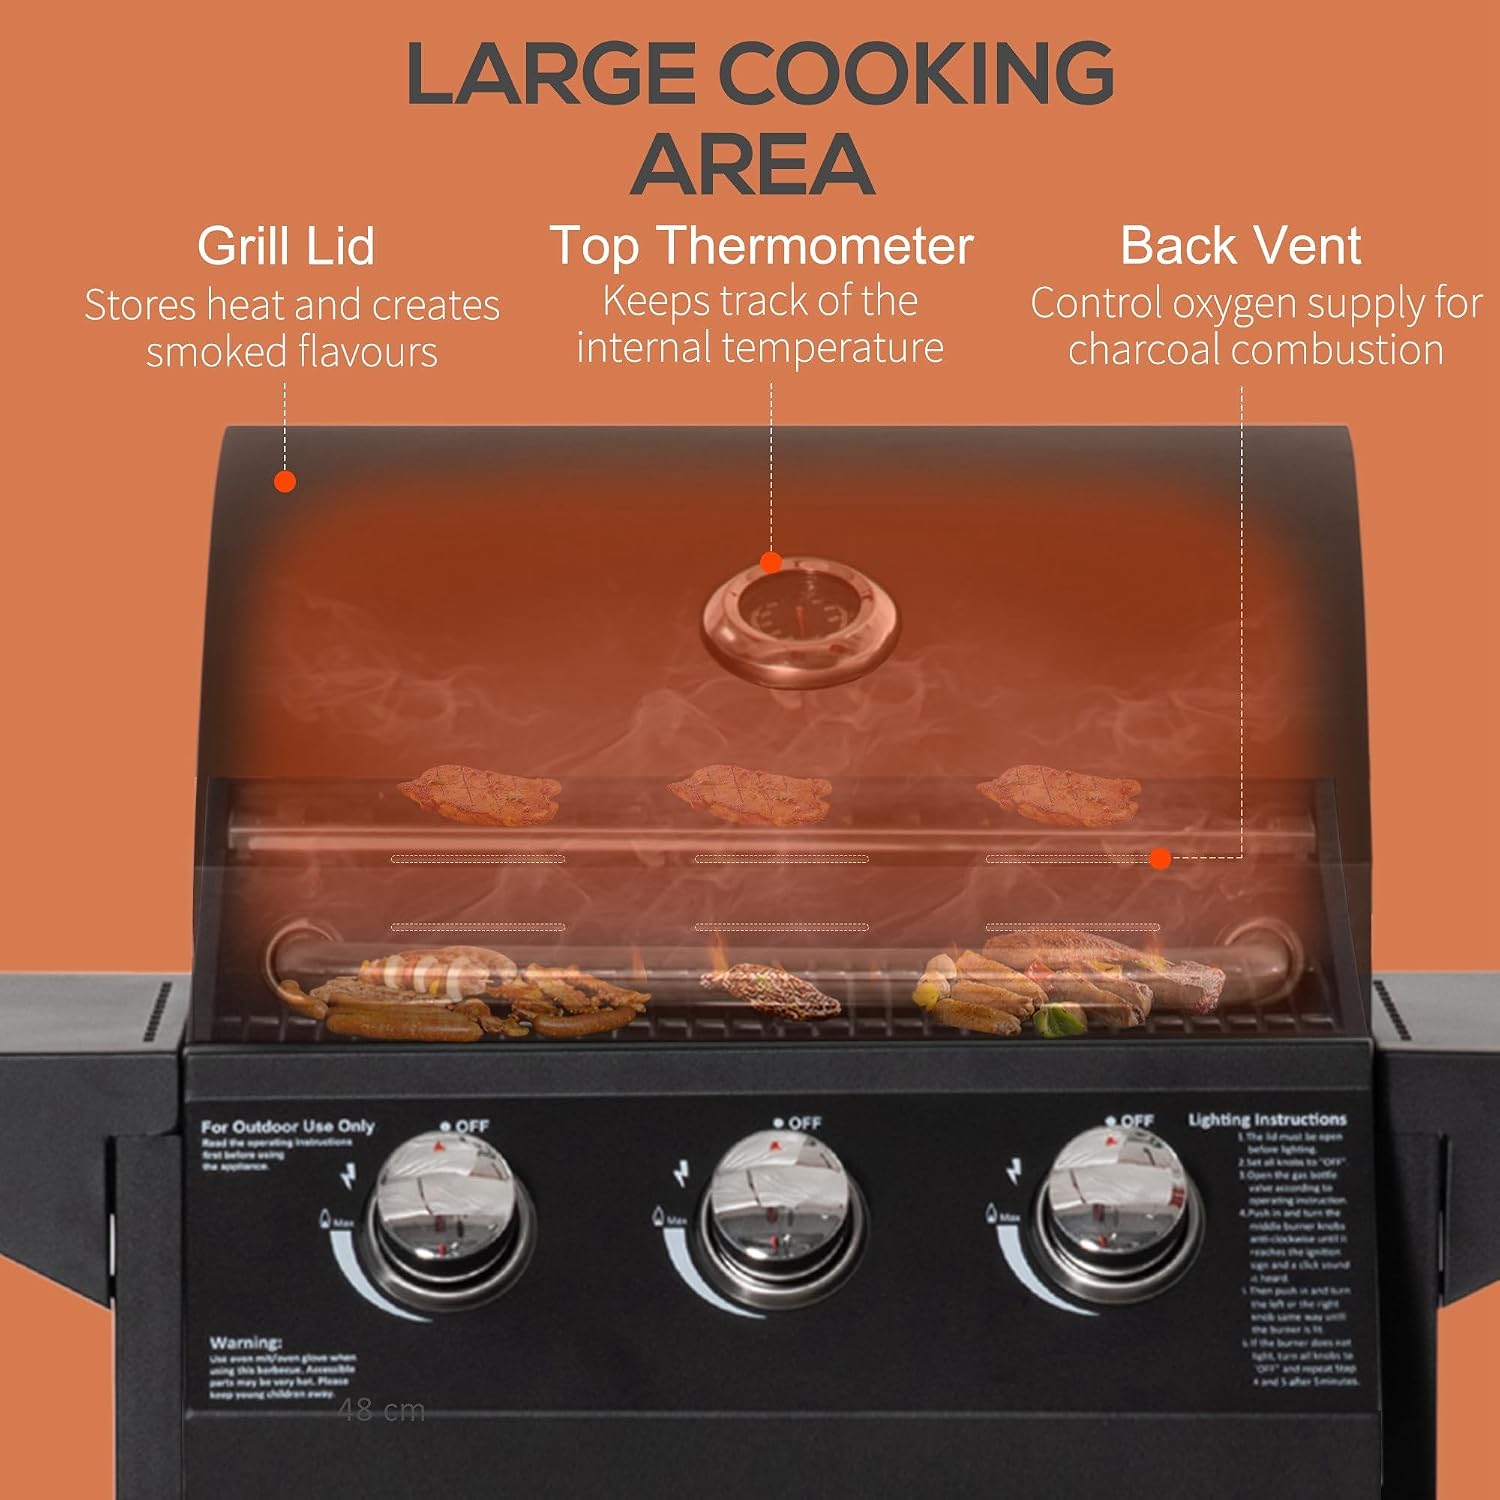
Image 5.1: Grill lid with integrated thermometer for precise temperature monitoring.
5.2. Temperature Control
The grill features a built-in thermometer on the lid to monitor internal temperature. Adjust the burner control knobs between "LOW" and "HIGH" to achieve the desired cooking temperature. The three individual burners allow for multi-zone cooking.
5.3. Using the Warming Rack
The warming rack is located above the main cooking grates. Use it to keep cooked food warm, toast buns, or gently cook delicate items that require lower heat.
6. Maintenance and Care
6.1. Cleaning the Grill Grates
After each use, once the grill has cooled, clean the cooking grates with a grill brush. For stubborn residue, wash with warm soapy water and rinse thoroughly.
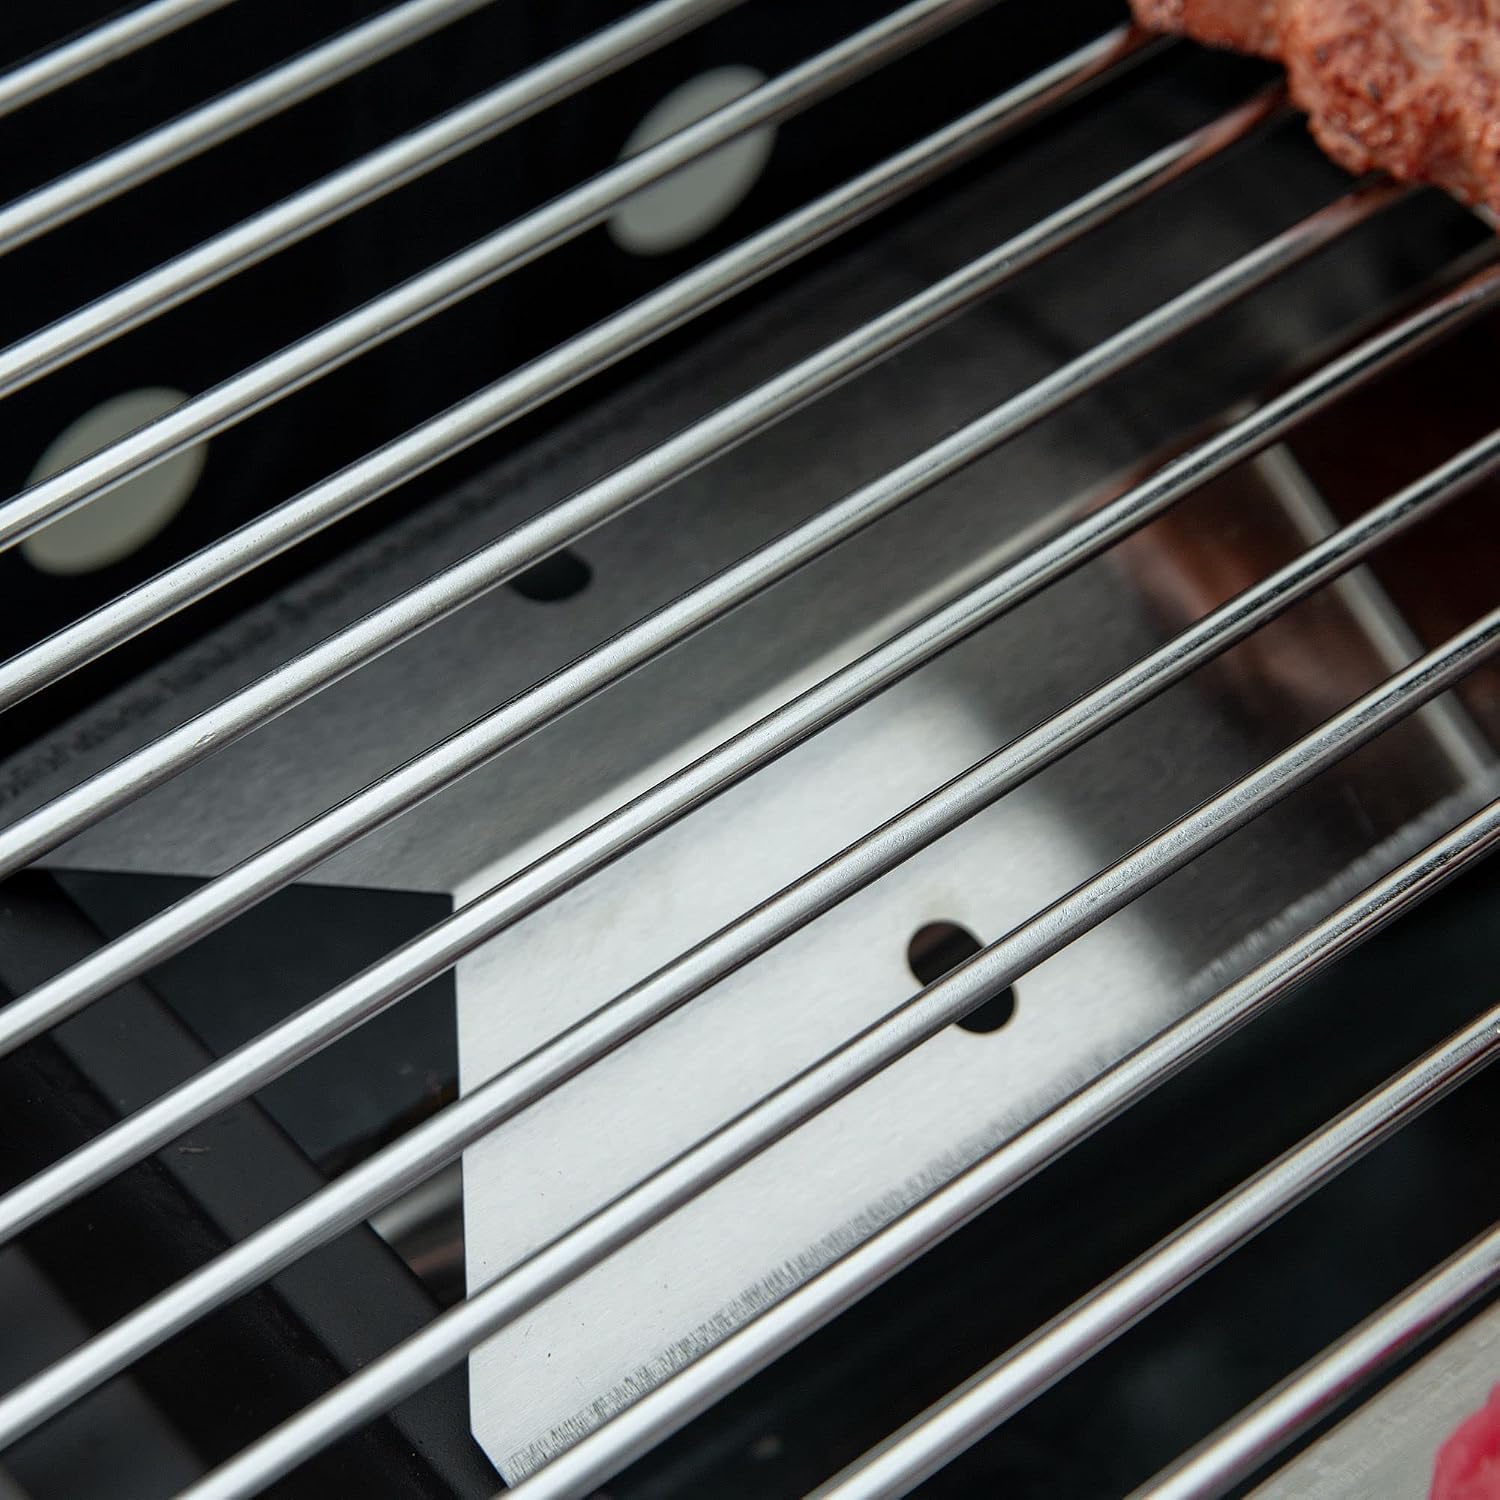
Image 6.1: Detail of the grill grates.
6.2. Cleaning the Grease Drip Cup
Regularly check and empty the grease drip cup to prevent flare-ups and maintain hygiene. Wash with warm soapy water.

Image 6.2: Anti-scald handle and grease drip cup.
6.3. Exterior Cleaning
Wipe down the exterior surfaces with a damp cloth and mild detergent. Avoid abrasive cleaners that may damage the finish. The carbon steel construction is powder-coated for durability.
6.4. Storage
When not in use, store the grill in a dry, protected area. Disconnect the propane cylinder and store it upright in a well-ventilated outdoor space, away from direct sunlight or heat sources.
7. Troubleshooting
| Problem | Possible Cause | Solution |
|---|---|---|
| Burner fails to light | No gas flow; clogged burner port; faulty igniter. | Check gas cylinder and connections; clean burner ports; check igniter electrode and wire. |
| Uneven heating | Clogged burner ports; low gas pressure. | Clean burner ports; check gas regulator and hose for kinks or damage. |
| Yellow flame, not blue | Improper air/gas mixture; clogged burner. | Ensure burner ports are clear; consult assembly guide for air shutter adjustment if applicable. |
| Gas odor | Gas leak. | Immediately shut off gas. Perform a leak test. Do not use until leak is resolved. |
8. Specifications
| Feature | Detail |
|---|---|
| Model Number | 846-103V80BK |
| Brand | Outsunny |
| Overall Dimensions | 47.6"L x 23.2"W x 42.9"H |
| Fuel Type | Propane / LPG Gas |
| Main Burner Count | 3 |
| Heating Power | 30000 BTU (8500 BTU per burner) |
| Cooking Surface Area | Approximately 16.1"L x 18.9"W (main grates) |
| Material | Carbon Steel (Powder Coated) |
| Weight | 52.8 Pounds |
| Special Features | Portable, Storage Cabinet, Side Shelves, Warming Rack, Thermometer, Wheels |

Image 8.1: Product dimensions.
9. Warranty and Support
This Outsunny gas grill comes with a 1 Year Warranty Against Manufacturer Defects. Please retain your proof of purchase for warranty claims.
For technical support, missing parts, or warranty inquiries, please contact the manufacturer, Aosom LLC, or refer to the contact information provided with your purchase documentation.