Introduction
Thank you for choosing the Outsunny Walk-in Tunnel Greenhouse. This manual provides essential information for the safe assembly, proper operation, and effective maintenance of your greenhouse. Please read all instructions carefully before beginning assembly and retain this manual for future reference.
Safety Information
- Ensure all components are present and undamaged before assembly. Do not proceed with assembly if any parts are missing or damaged.
- Assemble the greenhouse on a level, stable surface.
- Securely anchor the greenhouse to the ground using the provided guy ropes and support stakes, especially in windy conditions.
- Keep children and pets away from the assembly area.
- Do not use the greenhouse in extreme weather conditions such as heavy snow, strong winds, or hail. Disassemble or reinforce as necessary.
- Periodically check all connections and anchors to ensure they remain secure.
Parts List
Before assembly, verify that all parts listed below are included in your package. If any parts are missing, please contact customer support.

Image: Illustration of the galvanized steel frame components.
This image displays the complete steel frame structure of the greenhouse, showing the arched roof supports and horizontal connecting bars. It helps in identifying the main structural elements.

Image: Detail of the 140gsm PE cover material.
A close-up view of the polyethylene (PE) cover material, highlighting its reinforced grid pattern for tear resistance and durability.
Refer to the assembly diagram provided in your package for a detailed list of numbered parts and hardware.
Setup and Assembly
Assembly typically requires two adults. Follow these steps for proper installation:
- Prepare the Site: Choose a level, well-drained area for your greenhouse. Clear any debris or sharp objects that could damage the cover.
- Assemble the Base Frame: Connect the bottom horizontal bars according to the assembly diagram. Ensure all connections are secure.
- Install Arch Supports: Attach the arched steel tubes to the base frame, forming the tunnel shape. Use the provided connectors and fasteners.
- Add Diagonal Braces: Install the four slant supporting rods to enhance the frame's stability. Refer to the diagram for correct placement.
- Secure Frame Connections: Double-check all bolts and connections to ensure the frame is rigid and stable.
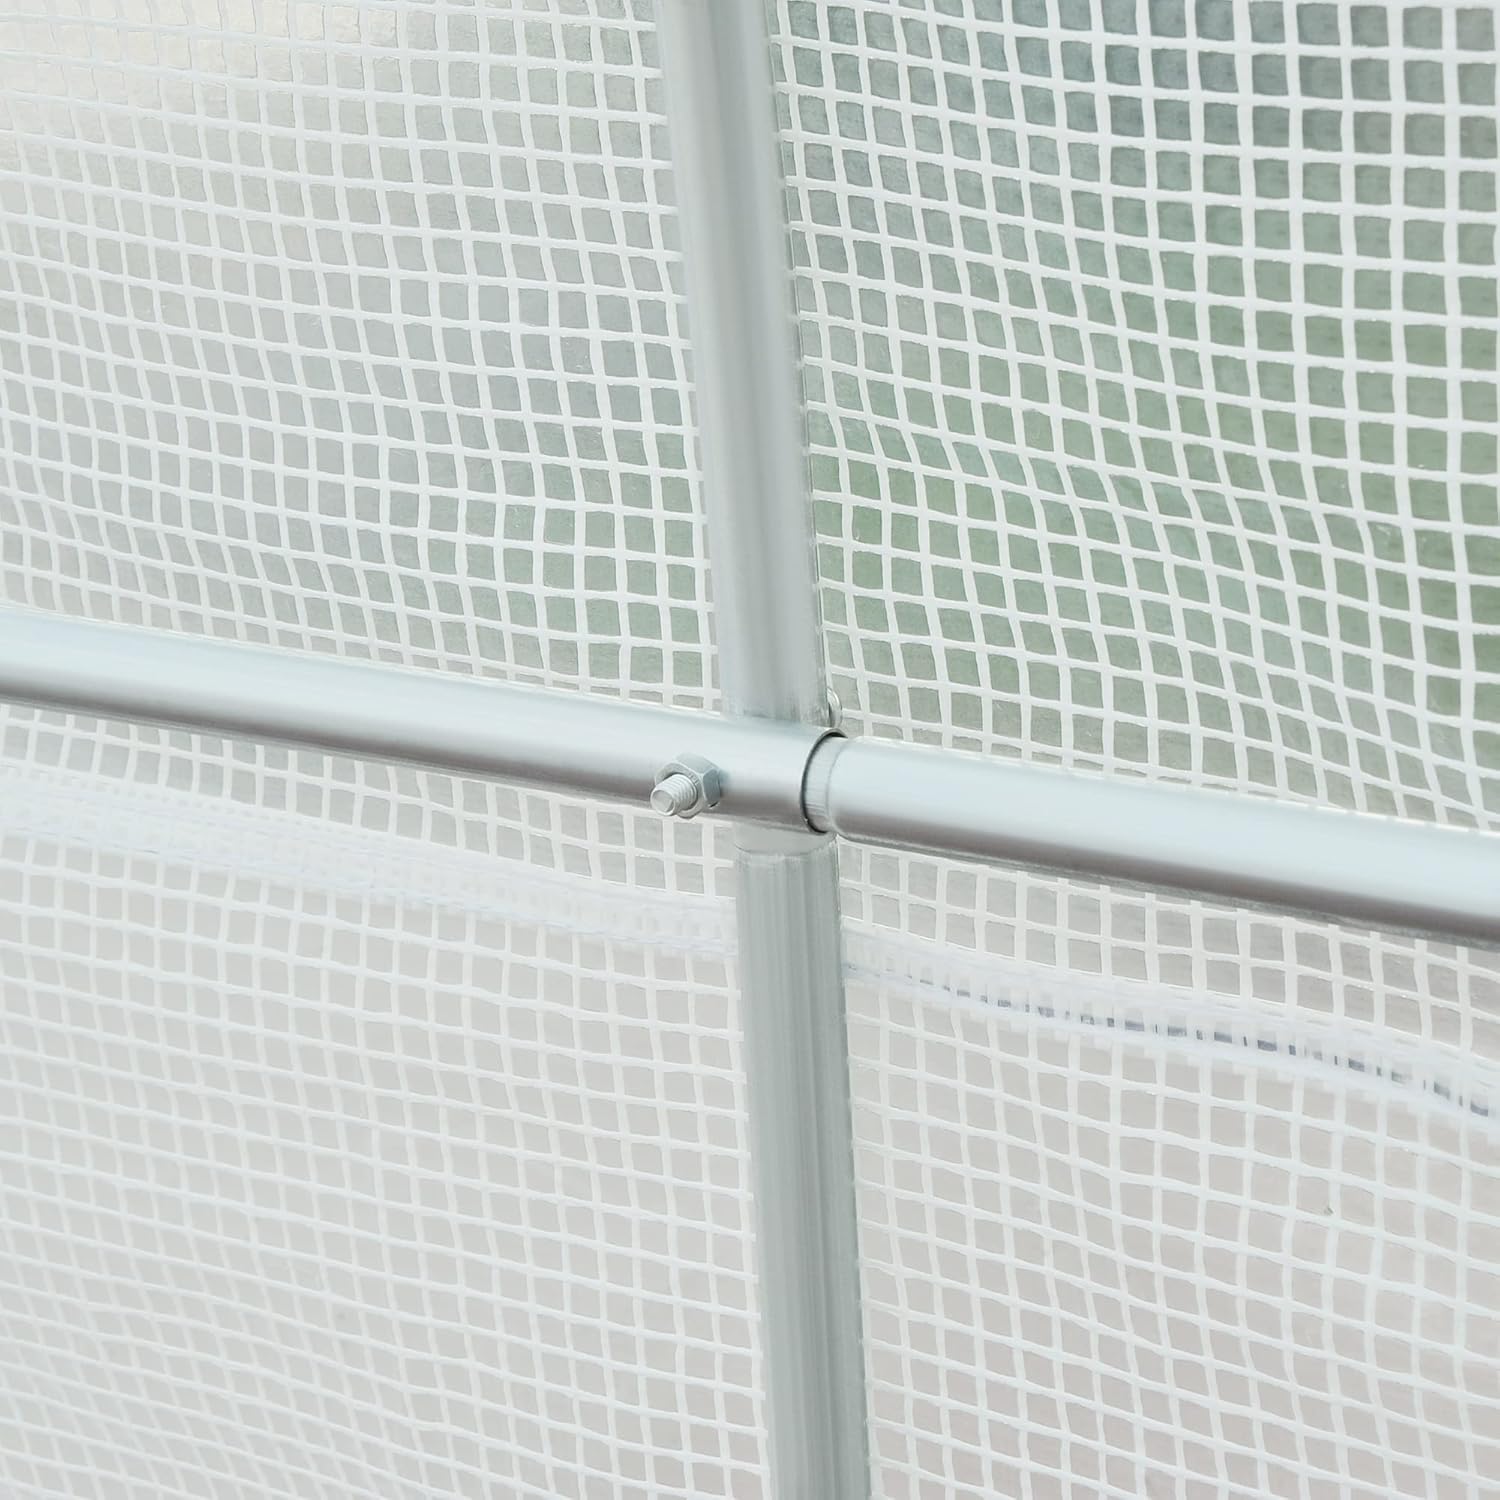
Image: Detail of a steel frame joint.
This image shows a close-up of how two steel frame tubes connect, illustrating the secure fastening mechanism.
- Drape the Cover: Carefully drape the transparent PE cover over the assembled steel frame. Ensure the zippered door is positioned correctly at the front.
- Attach the Cover: Secure the cover to the frame using the integrated ties or straps. Ensure the cover is taut and evenly distributed. The 6-inch extended edges should be buried in the soil to enhance stability and prevent rainwater entry.

Image: Key features including roll-up mesh window, roll-up zippered door, cover attachment, and overlong cover.
This composite image details the roll-up mesh window for ventilation, the zippered main door for access, how the cover attaches to the frame, and the extended cover edges designed for burial to improve stability and sealing.
- Anchor the Greenhouse: Use the provided guy ropes and support stakes to firmly anchor the greenhouse to the ground. This is crucial for stability, especially in windy conditions.
Operating Instructions
Ventilation
The greenhouse features six roll-up windows and a large zippered roll-up door to manage airflow and temperature. Proper ventilation is essential to prevent overheating and reduce humidity, which can lead to plant diseases.
- Daily Ventilation: On warm days, open the windows and door to increase airflow. Close them in the evening or during cooler periods to retain heat.
- Humidity Control: Use the roll-up windows to regulate internal humidity levels. Increased airflow helps reduce condensation.
Plant Care
This walk-in tunnel greenhouse is suitable for a variety of plants, including vegetables, fruits, flowers, herbs, succulents, and tropical plants. The transparent PE cover allows approximately 85% sunlight penetration while offering UV protection.

Image: Examples of plants thriving in a greenhouse environment.
This image illustrates the versatility of the greenhouse for cultivating various plants such as fruits, vegetables, and flowers, showcasing successful growth within the protected environment.
Maintenance
Cleaning
- Cover: Clean the PE cover periodically with mild soap and water to remove dirt and algae, ensuring maximum light transmission. Avoid abrasive cleaners or brushes that could damage the material.
- Frame: Wipe down the galvanized steel frame as needed to remove dirt. The galvanized coating resists rust, but regular cleaning helps maintain its condition.
Seasonal Care
- Winter: In areas with heavy snow, it is recommended to remove snow accumulation from the roof to prevent structural damage. Consider disassembling the greenhouse if extreme winter conditions are expected.
- Wind: Always ensure the greenhouse is securely anchored with guy ropes and stakes. In anticipation of strong winds, consider adding additional anchoring or temporarily lowering the cover.
Troubleshooting
| Problem | Possible Cause | Solution |
|---|---|---|
| Greenhouse instability / wobbling | Insufficient anchoring; loose frame connections; uneven ground. | Ensure all guy ropes and stakes are firmly secured. Tighten all frame bolts. Relocate to a more level surface if necessary. Bury the extended cover edges. |
| Excessive heat inside | Inadequate ventilation. | Open all roll-up windows and the zippered door to increase airflow. Consider using shade cloth during peak sun hours if plants are sensitive. |
| High humidity / condensation | Poor ventilation; insufficient air circulation. | Increase ventilation by opening windows and door. Ensure there is enough space between plants for air to circulate. |
| Water pooling inside | Improper cover installation; damaged cover; insufficient drainage around base. | Ensure the cover is taut and properly secured, with extended edges buried. Check for tears in the cover and repair if found. Improve ground drainage around the greenhouse. |
Specifications

Image: Diagram showing the overall dimensions of the greenhouse.
This diagram illustrates the length, width, height, door size, and window sizes of the assembled greenhouse, providing key measurements for planning and installation.
- Model Number: 845-073
- Overall Dimensions (L x W x H): 14.6' x 6.6' x 6.6' (177.2" x 78.7" x 78.7")
- Door Size (W x H): 42.25" x 69"
- Window Size (W x H): 18.5" x 18.5"
- Frame Material: Galvanized Steel (Alloy Steel)
- Cover Material: 140gsm Polyethylene (PE) with reinforcement grid
- Number of Windows: 6 (Roll-up mesh)
- Number of Doors: 1 (Roll-up zippered)
- Item Weight: 33 lbs
- Color: White
- Indoor/Outdoor Usage: Outdoor
Warranty and Support
For warranty information, missing parts, or technical support, please contact Outsunny customer service. Refer to your purchase documentation for specific warranty terms and contact details.
Manufacturer: Aosom LLC