Introduction
The Innokin Klypse Pro is an advanced pod system vape device designed for ease of use and enhanced performance. Building upon the popular cap-equipped Klypse, the Pro version introduces a screen for adjustable output, a slide-type airflow control, and a larger 1000mAh battery. This manual provides essential information for the safe and effective operation of your Klypse Pro device.
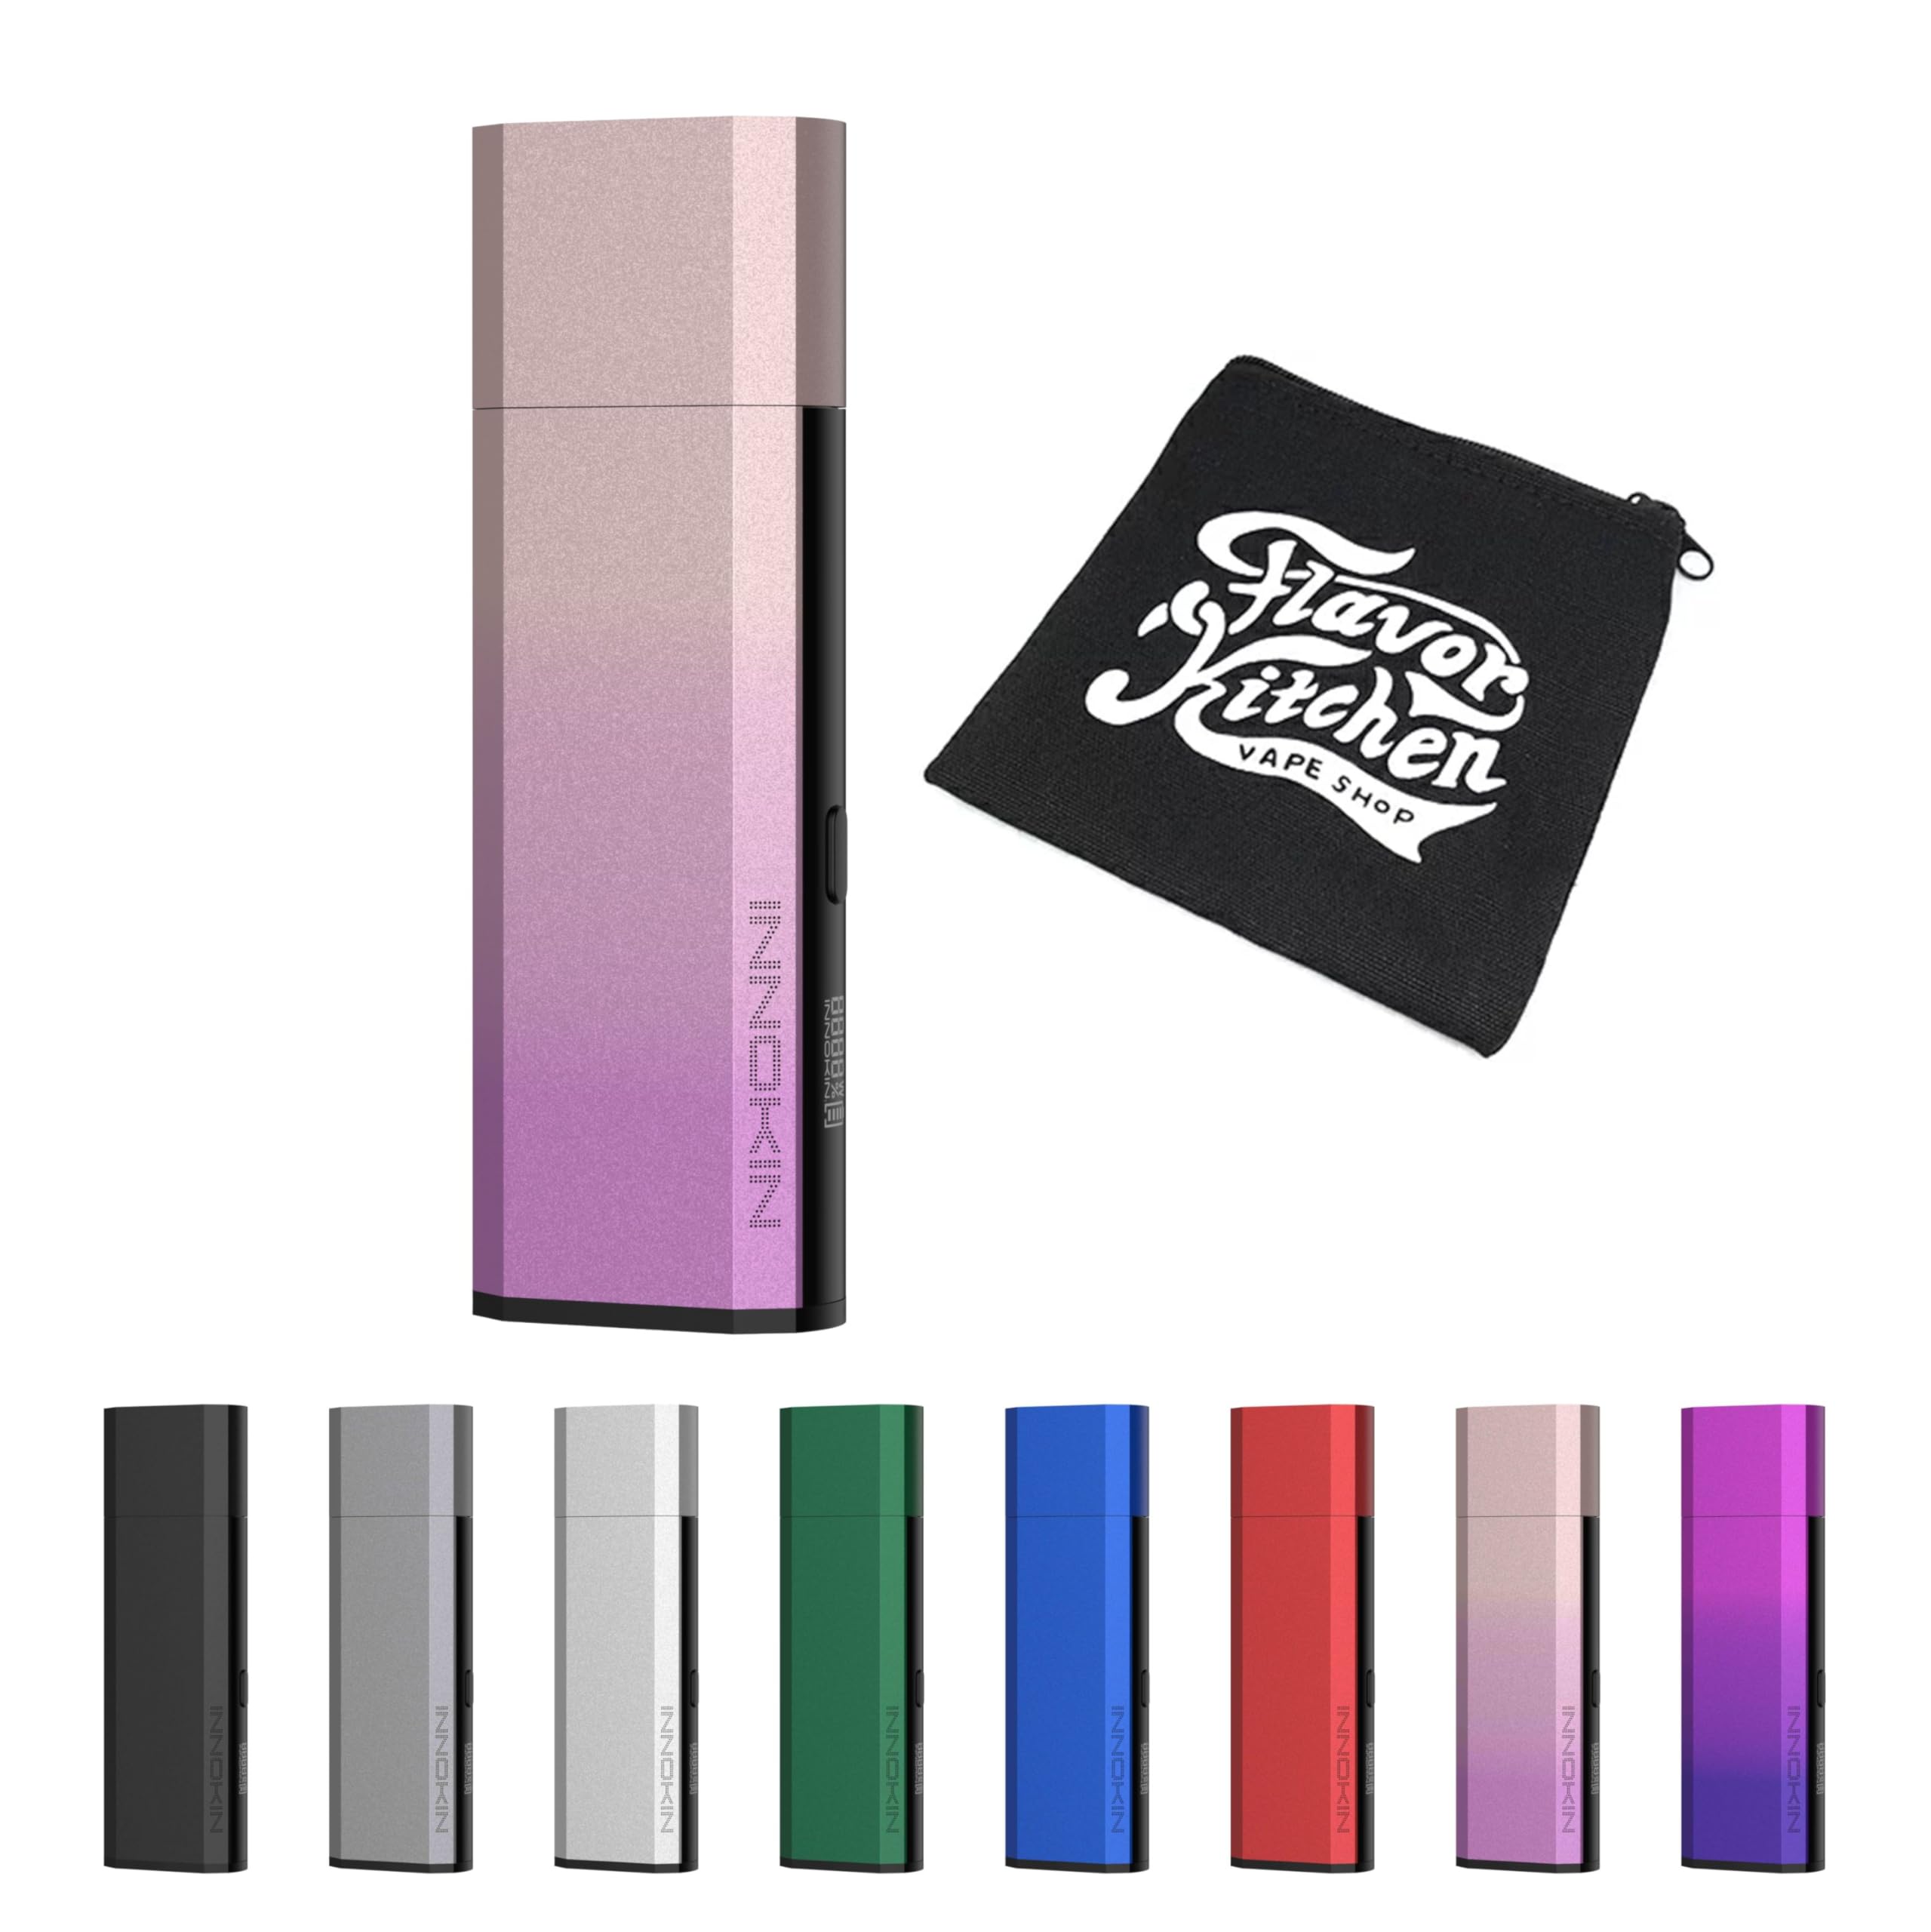
Figure 1: Innokin Klypse Pro device with its protective cap and a visible pod.
Package Contents
Verify that all items are present in your package:
- 1 x Klypse Pro Device
- 1 x Klypse Pro 0.6Ω Cartridge (Pre-installed)
- 1 x Klypse Pro 0.8Ω Cartridge (Spare)
- 1 x USB Type-C Charging Cable
- 1 x User Manual (this document)
Specifications
| Feature | Detail |
|---|---|
| Dimensions | 31.5 x 16 x 97 mm |
| Battery Capacity | 1000mAh (Internal) |
| Output Wattage | 6-25W (Adjustable) |
| Airflow | Slide-type Adjustment |
| Pod Capacity | 2ml |
| Coil Resistance (Included) | 0.6Ω, 0.8Ω |
| Recommended Output (0.6Ω) | 20-22W |
| Recommended Output (0.8Ω) | 12-13W |
| Recommended Output (1.2Ω - Optional) | 11-12W |
| Materials | Aluminum Alloy, Resin |

Figure 2: Key features of the Innokin Klypse Pro.
Setup
1. Pod Installation
The Klypse Pro uses magnetic pods. To install a pod, simply align the pod with the device's pod slot and push it down until it clicks into place. Ensure a secure connection.

Figure 3: Klypse Pro with pod removed, illustrating the pod slot.
2. E-liquid Filling
- Remove the pod from the device.
- Locate the silicone stopper on the side of the pod.
- Carefully open the stopper and insert the nozzle of your e-liquid bottle into the filling port.
- Fill the pod with e-liquid, ensuring not to overfill.
- Close the silicone stopper firmly to prevent leaks.
- Important: After filling a new pod, wait at least 5 minutes before vaping to allow the coil to saturate with e-liquid. This prevents dry hits and extends coil life.
3. Charging the Device
Connect the provided USB Type-C cable to the charging port on the device and plug the other end into a suitable USB power source (e.g., wall adapter, computer USB port). The device's indicator light will show charging status. A full charge is indicated when the light changes or turns off, depending on the model's specific behavior.
Operation
1. Power On/Off
The Klypse Pro typically features an auto-draw mechanism, meaning it activates automatically when you inhale. For devices with a power button, press it five times rapidly to turn the device on or off.
2. Vaping
Once the device is charged and the pod is filled and installed, simply draw on the mouthpiece to activate the device and produce vapor.
3. Output Adjustment
The Klypse Pro features a screen that allows for adjustable wattage output. Refer to the device's screen and control buttons (if present) to adjust the wattage within the recommended range for your installed coil (e.g., 20-22W for 0.6Ω, 12-13W for 0.8Ω).
4. Airflow Adjustment
The device includes a slide-type airflow adjustment mechanism. Adjust the slider to achieve your preferred draw resistance, from a tighter Mouth-to-Lung (MTL) to a looser Restricted Direct-to-Lung (RDL) vape.
5. Indicator Lights
The Klypse Pro features an RGB lightbar and LED round-light indication to communicate device status:
- Battery Level: White light (Battery > 20%), Red light (Battery ≤ 20%).
- Cartridge Insertion: Light indication upon successful pod insertion.
- Power Output: Different light colors or patterns may indicate low, mid, or high power output during vaping.
- Charging: Light indication during charging, typically turning off or changing color when fully charged.
Maintenance
1. Cleaning
Regularly clean the device, especially the pod connection area, with a dry cloth or cotton swab to remove any e-liquid condensation or debris. Keep the charging port free of dust.
2. Pod Replacement
Replace the pod when you notice a burnt taste, reduced vapor production, or a change in flavor. Pods are consumable items and their lifespan depends on usage habits and e-liquid type.
Troubleshooting
- No Vapor/Weak Vapor:
- Check if the device is charged.
- Ensure the pod is correctly installed.
- Verify the pod is filled with e-liquid.
- Replace the pod if the coil is old or burnt.
- Adjust wattage to the recommended range for the coil.
- Leaking:
- Ensure the silicone stopper on the pod is securely closed after filling.
- Avoid overfilling the pod.
- Check for cracks or damage on the pod; replace if necessary.
- Ensure the pod is fully seated in the device.
- Burnt Taste:
- Ensure the pod is adequately filled with e-liquid.
- Allow new pods to sit for 5 minutes after filling before first use.
- Replace the pod if the coil is burnt out.
- Ensure wattage is not set too high for the coil.
- Device Not Charging:
- Check the USB cable and charging adapter for damage.
- Ensure the charging cable is fully inserted into both the device and the power source.
- Clean the charging port on the device.
Safety Information
Please read and understand the following safety guidelines before using your Innokin Klypse Pro:
- Age Restriction: This product is intended for adult users only (21+). Keep out of reach of children and pets.
- Nicotine Warning: This device is used with e-liquid that may contain nicotine, which is an addictive chemical. Nicotine is harmful to pregnant or breastfeeding women, and individuals with certain medical conditions.
- Proper Charging: Use only the provided USB Type-C cable and a compatible power adapter. Do not leave the device charging unattended.
- E-liquid Handling: Avoid direct contact of e-liquid with skin or eyes. In case of contact, rinse thoroughly with water. Seek medical attention if irritation persists.
- Storage: Store the device in a cool, dry place away from direct sunlight and extreme temperatures.
- Disposal: Dispose of the device and pods responsibly according to local regulations for electronic waste.
- Avoid Modifications: Do not attempt to disassemble or modify the device, as this may lead to malfunction, injury, or void the warranty.
Warranty and Support
For warranty information, technical support, or any questions regarding your Innokin Klypse Pro device, please contact the retailer where you purchased the product or visit the official Innokin website for customer service details.


