
Introduction
The ACRUNU Motorcycle Phone Mount with Wireless Charger (Rearview Mirror Charger model) provides a secure and convenient solution for mounting and charging your smartphone on your motorcycle. This manual outlines the installation process, operating instructions, and product specifications to ensure optimal use and a safe riding experience.

Image: The ACRUNU Motorcycle Phone Mount with Wireless Charger, designed for rearview mirror installation.
Product Features
- Secure Phone Mounting: Features 8 claws for full protection, ensuring your device remains stable during rides.
- Anti-Vibration Design: Incorporates shock-absorbing rubber columns to minimize vibration and enhance stability on various road conditions.
- Wide Compatibility: Designed to securely hold smartphones between 5.4'' and 7.2'' in size.
- One-Hand Operation: Allows for easy and quick placement or removal of your phone.
- 360° Rotation: Provides flexible viewing angles, allowing you to adjust your phone to your preferred position.
- Integrated Wireless Charger: Keeps your phone powered up while you are on the road.
- Anti-Theft Design: Requires a special key for removal, adding an extra layer of security for your mount.

Image: Close-up of the mount demonstrating its anti-theft design, which requires a special key for removal.
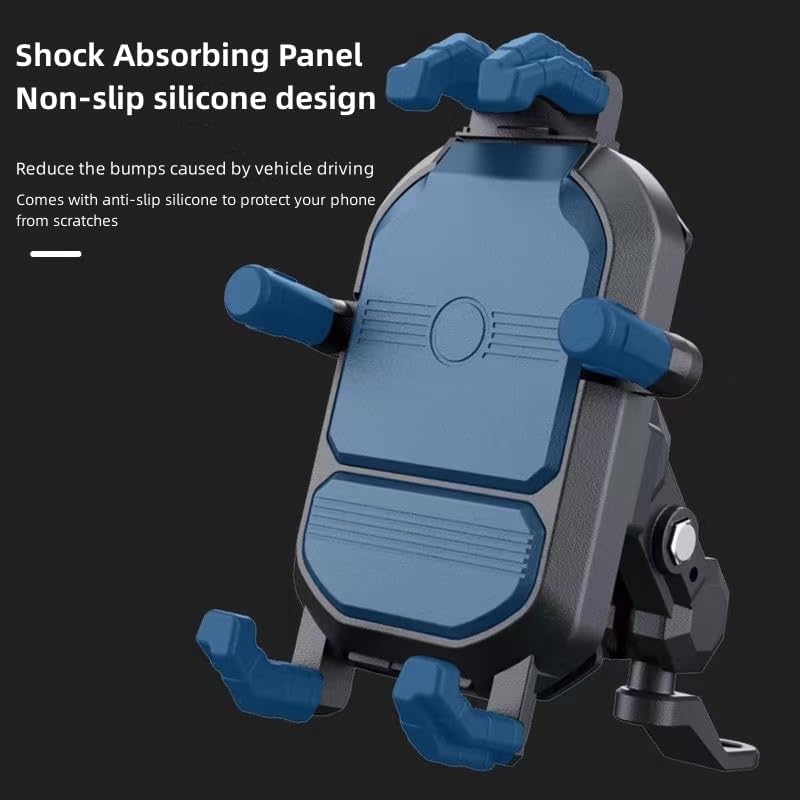
Image: View of the mount's interior, highlighting the shock-absorbing panel and non-slip silicone for phone protection.

Image: Diagram showing the compatible phone dimensions: length 12.9cm-18.5cm, width 7.4cm-8.8cm.

Image: Detailed view of the mount's four-corner shock absorber design, engineered to reduce high-frequency vibrations.
Package Contents
Please verify that all components are present in the package:
- 1 x ACRUNU Motorcycle Phone Mount with Wireless Charger (Rearview Mirror Base)
- 1 x Mounting Hardware Set (includes necessary nuts, bolts, and wrench)
- 1 x Anti-theft Key
Setup and Installation
Follow these steps to properly install your ACRUNU Motorcycle Phone Mount:
- Attach the Base: Secure the rearview mirror base of the mount to your motorcycle's rearview mirror stem. Use the provided wrench to tighten the bolts firmly, ensuring the base is stable and does not rotate freely.
- Assemble the Mount Arm: Connect the adjustable arm to the installed base. Ensure the ball joints are properly seated and the locking mechanism is tightened to prevent movement.
- Attach the Phone Holder: Connect the phone holder cradle to the adjustable arm. The ball joint allows for 360-degree rotation. Tighten the collar around the ball joint to secure the desired angle.
- Secure with Anti-Theft Key: If applicable, use the anti-theft key to further secure the mount to prevent unauthorized removal.
- Test Stability: Before riding, gently test the mount's stability and ensure all connections are tight.

Image: A sequence showing the mount installed on a motorcycle, with a phone being placed and adjusted for optimal viewing.
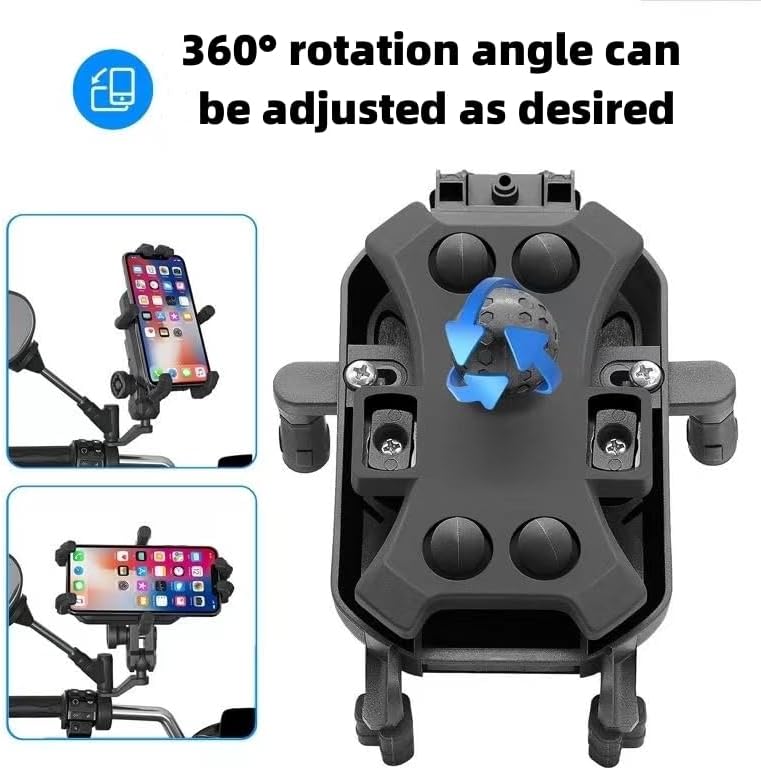
Image: Illustrates the 360-degree rotation capability of the mount's ball joint, allowing for flexible phone positioning.
Installation Video Guide
Video: This video demonstrates the installation process of the motorcycle phone mount, including securing the base, attaching the phone holder, and adjusting the viewing angle. It also shows the easy placement and removal of a smartphone and the wireless charging function.
Operating Instructions
- Placing Your Phone: Gently press the release button or mechanism (if present) to expand the holder arms. Place your smartphone into the cradle, ensuring it sits securely within the 8 claws. The arms will automatically adjust or can be manually tightened to grip your phone firmly.
- Wireless Charging: Once your phone is securely placed, the wireless charging function will automatically activate if your phone supports it and the motorcycle's power is on. An indicator light may confirm charging status. Input voltage for charging is 12-24V.
- Adjusting Viewing Angle: Loosen the collar around the ball joint to adjust the phone's angle and orientation (portrait or landscape). Tighten the collar firmly once the desired position is achieved.
- Removing Your Phone: Use one hand to gently press the release mechanism to loosen the holder arms, then carefully remove your phone.
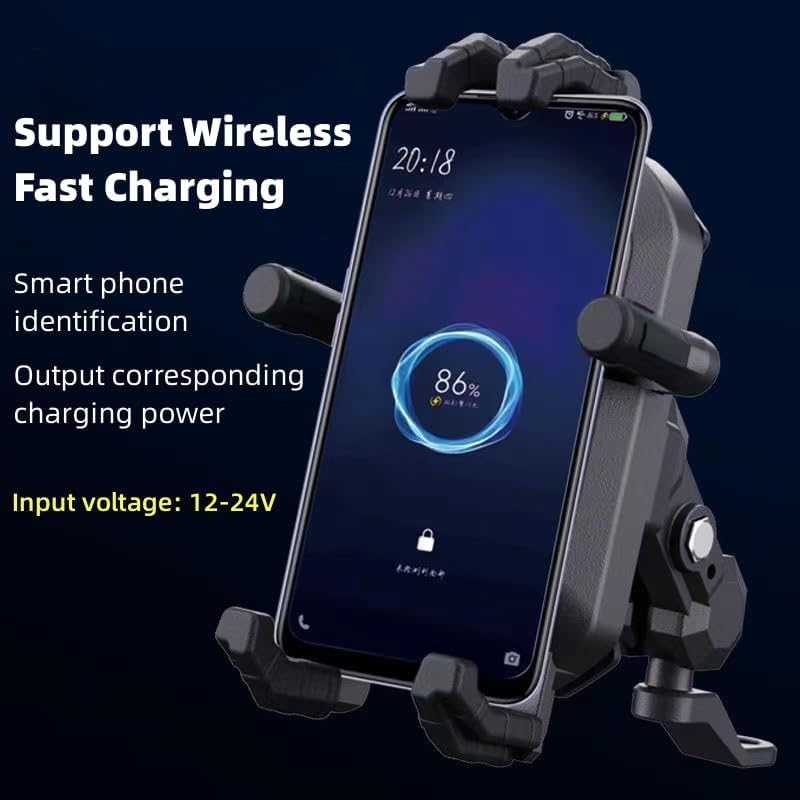
Image: A smartphone placed in the mount, displaying a charging icon and percentage, indicating active wireless fast charging.
Maintenance
- Cleaning: Wipe the mount with a soft, damp cloth to remove dust and dirt. Avoid using harsh chemicals or abrasive cleaners.
- Check Tightness: Periodically check all screws and connections to ensure they remain tight, especially after long rides or exposure to vibrations.
- Inspect for Wear: Regularly inspect the rubber columns and silicone pads for any signs of wear or damage. Replace if necessary to maintain optimal shock absorption and grip.
Troubleshooting
- Phone is not charging wirelessly:
- Ensure your smartphone supports wireless charging.
- Verify that the motorcycle's ignition is on and the mount is receiving power.
- Check that the phone is correctly centered on the charging pad of the mount.
- Ensure there are no metallic objects or thick phone cases interfering with the wireless charging signal.
- Phone is not held securely:
- Confirm that your phone's dimensions are within the compatible range (5.4''-7.2'').
- Ensure the holder arms are fully gripping the phone and the locking mechanism is engaged.
- Inspect the silicone pads for wear or damage that might reduce grip.
- Mount feels loose or vibrates excessively:
- Check all mounting bolts and screws, especially those securing the base to the rearview mirror stem and the ball joint connections. Tighten them firmly with the provided wrench.
- Ensure the shock-absorbing rubber columns are intact and properly seated.
Specifications
| Feature | Detail |
|---|---|
| Brand | ACRUNU |
| Model Number | Rearview mirror charger |
| Color | Black |
| Compatible Devices | Motorcycle, Bike |
| Compatible Phone Models | 5.4''-7.2'' Smartphones |
| Mounting Type | Rearview mirror base |
| Additional Features | Wireless Charging |
| Enclosure Material | Plastic |
Warranty Information
This ACRUNU product comes with a 3-month warranty from the date of purchase. This warranty covers manufacturing defects and material flaws under normal use. Please retain your proof of purchase for any warranty claims.
Support
For further assistance, technical support, or warranty inquiries, please contact ACRUNU customer service through the retailer's platform or the official brand website. Please have your product model number and purchase details ready when contacting support.