
1. Introduction
This manual provides instructions for the proper installation, operation, and maintenance of the AJSWISH D60BV-12 Cooling Fan. This fan is designed for electronic cooling applications, providing efficient airflow to dissipate heat from components.
2. Safety Information
- Ensure the power supply matches the fan's voltage and current specifications (12V DC, 0.50A). Incorrect voltage can damage the fan or connected equipment.
- Disconnect power before installation, maintenance, or troubleshooting to prevent electrical shock.
- Avoid touching the fan blades while the fan is operating.
- Do not obstruct the fan's intake or exhaust to ensure proper airflow and prevent overheating.
- Install the fan in a dry environment, away from moisture and excessive dust.
3. Package Contents
- 1 x AJSWISH D60BV-12 Cooling Fan
4. Specifications
| Specification | Value |
|---|---|
| Model | D60BV-12 |
| Dimensions (L x W x H) | 60mm x 60mm x 25mm (2.36"L x 0.98"W x 2.36"H) |
| Voltage | 12V DC |
| Current | 0.50A |
| Material | Copper |
| Manufacturer | Cooling Fan Flagship Store |
5. Setup and Installation
Follow these steps to properly install your AJSWISH D60BV-12 Cooling Fan:
- Identify Mounting Location: Choose a suitable location within your electronic enclosure or device where the fan can effectively draw in cool air and exhaust hot air. Ensure there is adequate clearance around the fan for optimal airflow.
- Secure the Fan: Use appropriate screws or mounting hardware (not included) to secure the fan to the desired surface. The fan features mounting holes at each corner. Ensure the fan is mounted securely to prevent vibration and noise.
- Connect Power: The D60BV-12 fan comes with a 3-pin connector. Connect this connector to a compatible 12V DC power source on your motherboard or power supply unit. Ensure correct polarity (typically red for positive, black for negative, and yellow for speed signal if applicable).
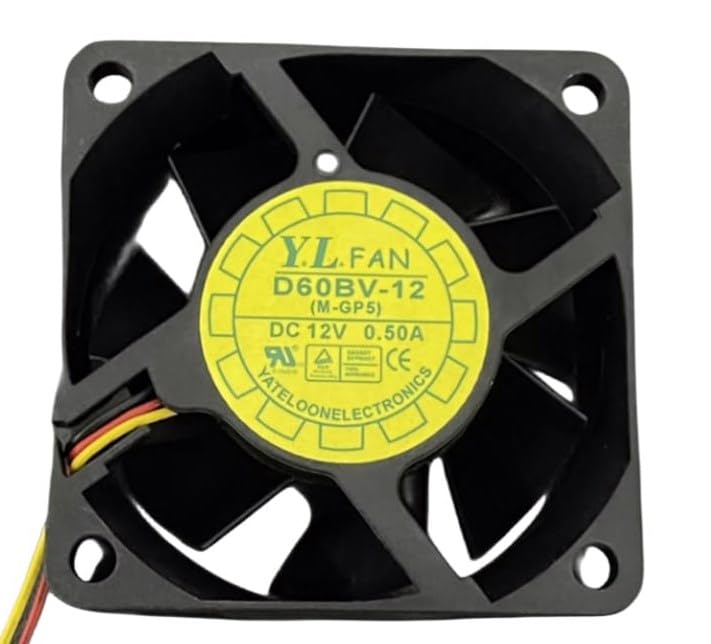
Image 1: Front view of the AJSWISH D60BV-12 cooling fan. This image displays the fan's label with model number, voltage, and current specifications.

Image 2: Rear view of the AJSWISH D60BV-12 cooling fan. This image shows the fan blades and the overall structure from the back.
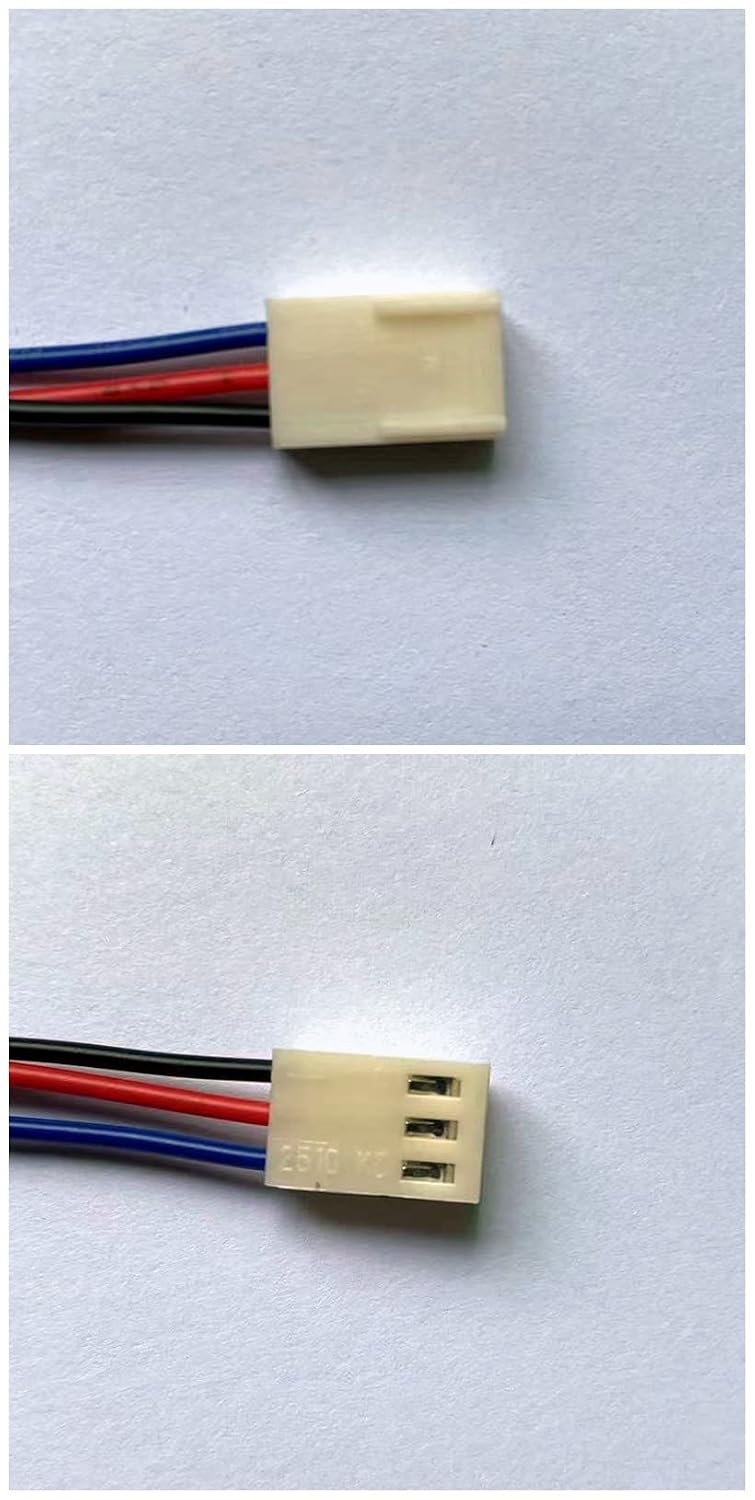
Image 3: Close-up of the 3-pin connector. This image details the wiring for power and signal connection.
6. Operating Instructions
Once the AJSWISH D60BV-12 Cooling Fan is securely installed and connected to a compatible 12V DC power source, it will begin to operate automatically when power is supplied. The fan is designed for continuous operation to maintain optimal temperatures within your system.
- Ensure the fan spins freely without obstruction.
- Monitor the airflow direction to ensure it is moving air as intended (e.g., intake or exhaust).
7. Maintenance
Regular maintenance helps ensure the longevity and efficient performance of your cooling fan:
- Cleaning: Periodically inspect the fan blades and housing for dust accumulation. Use a soft brush, compressed air, or a damp cloth (ensure fan is disconnected from power and completely dry before reconnecting) to gently remove dust.
- Inspection: Check for any signs of wear, damage to the blades, or loose connections.
- Lubrication: This fan is designed to be maintenance-free regarding lubrication. Do not attempt to lubricate the bearings.
8. Troubleshooting
| Problem | Possible Cause | Solution |
|---|---|---|
| Fan does not spin | No power, incorrect voltage, loose connection, fan obstruction, faulty fan. | Check power supply, verify 12V DC, ensure connections are secure, remove any obstructions, replace fan if faulty. |
| Fan is noisy | Loose mounting, dust accumulation, worn bearings, fan obstruction. | Tighten mounting screws, clean fan blades, replace fan if bearings are worn. |
| Insufficient airflow | Obstructed intake/exhaust, fan spinning in wrong direction (if reversible), dust accumulation. | Clear obstructions, ensure proper fan orientation, clean fan blades. |
9. Warranty and Support
For warranty information or technical support regarding your AJSWISH D60BV-12 Cooling Fan, please contact the retailer or manufacturer directly. Keep your purchase receipt as proof of purchase.