

1. Introduction
The Asenron Wireless Rain Gauge is an advanced weather instrument designed to provide accurate and convenient rainfall measurements, along with indoor and outdoor temperature readings. Its self-emptying mechanism and wireless transmission capabilities make it an ideal tool for garden enthusiasts, homeowners, and anyone interested in monitoring local weather conditions. This manual provides detailed instructions for setup, operation, maintenance, and troubleshooting to ensure optimal performance of your device.

Figure 1: Asenron Wireless Rain Gauge indoor display unit and outdoor sensor.
2. Safety Information
- Read all instructions carefully before operating the device.
- Do not expose the indoor display unit to extreme temperatures, direct sunlight, or moisture.
- Ensure the outdoor sensor is installed in a stable location to prevent falling or damage.
- Use only the specified battery types and ensure correct polarity during installation.
- Keep batteries out of reach of children. Do not mix old and new batteries or different types of batteries.
- Do not attempt to disassemble or repair the device yourself. Contact customer support for assistance.
- Dispose of used batteries and electronic components responsibly according to local regulations.
3. Setup
3.1 Package Contents
Verify that all components are present:
- Indoor Display Unit
- Outdoor Rain Gauge Sensor
- Mounting Hardware (screws, anchors)
- User Manual (this document)
3.2 Battery Installation
Install batteries in both the indoor display unit and the outdoor sensor. Ensure correct polarity.

Figure 2: Installing batteries in the outdoor sensor unit. Ensure the unit is level for accurate readings.
3.3 Outdoor Sensor Placement
For accurate rainfall measurement, the outdoor sensor must be placed in an open area, away from obstructions like trees, buildings, or overhangs that could block rain or cause runoff. It should be mounted on a level surface to ensure the self-emptying mechanism functions correctly and measurements are precise. The wireless transmission range is up to 200 feet (60 meters) in open air.

Figure 3: The self-emptying mechanism of the outdoor rain gauge. Proper leveling is crucial for accuracy.

Figure 4: The wireless connection allows flexible placement of the outdoor sensor and indoor display.
3.4 Indoor Display Unit Placement
Place the indoor display unit in a convenient location within the wireless range of the outdoor sensor. Avoid placing it near large metal objects, electronic devices, or walls that could interfere with the wireless signal. The unit is designed for indoor use only.

Figure 5: The wireless digital rain gauge allows for convenient indoor viewing of rainfall data, eliminating the need to go outdoors.
4. Operating Instructions
4.1 Display Overview
The indoor display unit shows various data points including current time, indoor temperature, outdoor temperature, and multiple rainfall measurements. A graphical representation of rainfall is also provided.

Figure 6: The intelligent electronic rain gauge display provides clear, large readings for easy viewing.
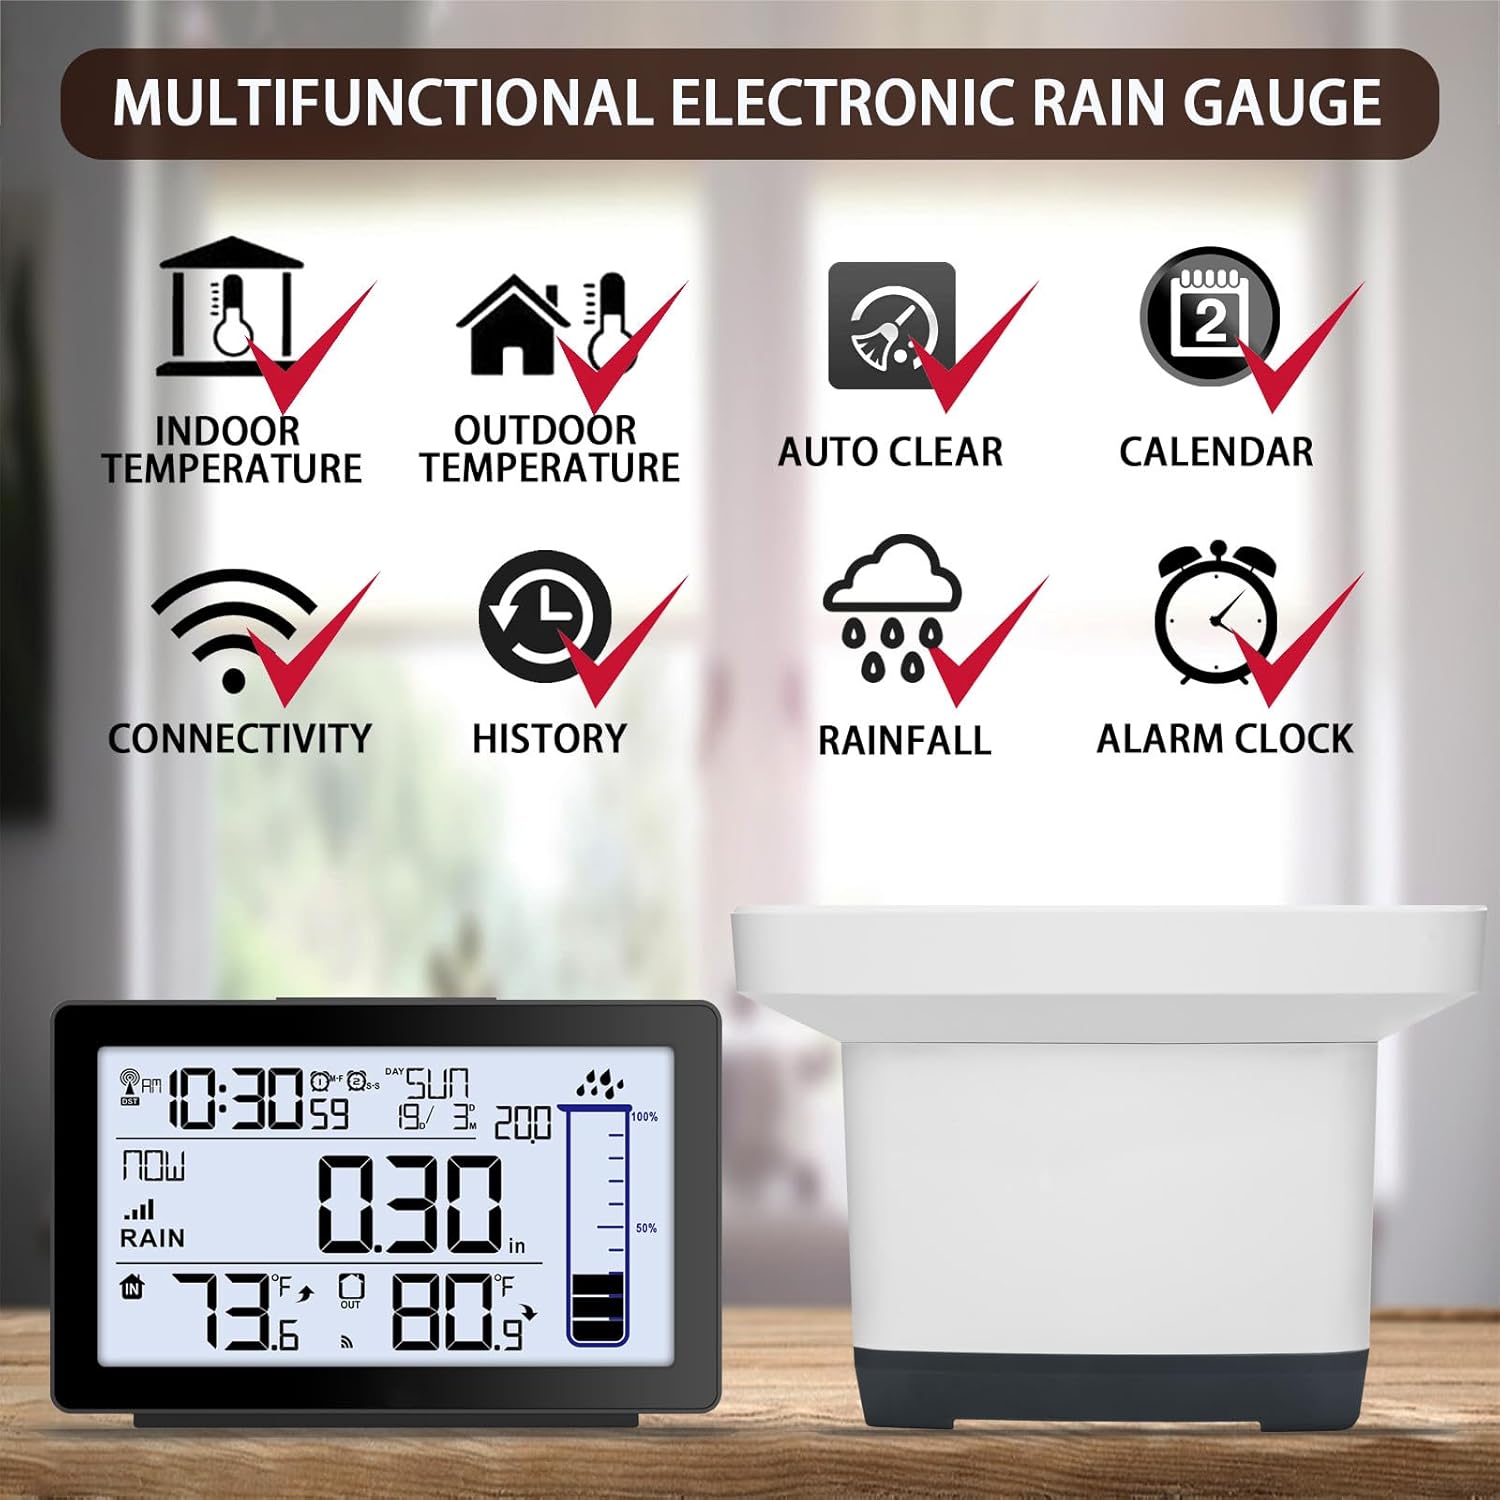
Figure 7: Icons representing the multifunctional features: Indoor Temperature, Outdoor Temperature, Auto Clear, Calendar, Connectivity, History, Rainfall, and Alarm Clock.
4.2 Reading Rainfall Data
The display offers 8 different measurements for rainfall:
- Now: Current rainfall rate.
- 1-hour: Rainfall accumulated in the last hour.
- 24-hour: Rainfall accumulated in the last 24 hours.
- Today's: Total rainfall for the current day.
- 7-day: Total rainfall for the past 7 days.
- Month: Total rainfall for the current month.
- Year: Total rainfall for the current year.
- Total Accumulation: Overall accumulated rainfall since the last reset.
Historical data can be accessed and viewed on the digital console, often accompanied by a graphical representation.

Figure 8: The history query feature allows users to review past rainfall measurements.
4.3 Setting Alarms
The device features a programmable rain alarm to alert you to specific rainfall thresholds. Consult the on-screen menu or dedicated buttons for setting and customizing this alarm. Additionally, a dual alarm clock and snooze function are available for daily use.
4.4 WWVB Radio Control Time Function
The unit includes WWVB radio control for automatic time synchronization, ensuring accurate time display. Ensure the unit is placed in an area where it can receive the WWVB signal.
4.5 Blue Backlight
Press the "Light" button above the screen to activate the soft blue backlight. The backlight will remain on for 15 seconds, providing easy viewing of temperature, time, and rainfall data in low-light conditions.
5. Maintenance
5.1 Self-Emptying Mechanism
The outdoor rain gauge features a self-emptying tipping bucket mechanism. This design ensures continuous, maintenance-free operation by automatically emptying collected water once a certain volume is reached, resetting the measurement for the next rainfall event. Regular checks for debris (leaves, dirt) in the funnel are recommended to prevent blockages.
5.2 Cleaning
Periodically clean the outdoor sensor's funnel and tipping bucket to ensure accurate readings. Use a soft, damp cloth to wipe down the exterior of both units. Do not use abrasive cleaners or solvents.
5.3 Battery Replacement
Replace batteries in both units when the low battery indicator appears on the display. Always replace all batteries at once with new ones of the same type.
5.4 Winterization / Freeze Proofing
While the product is described as "freeze proof," it is generally recommended to bring the outdoor sensor indoors during periods of extreme freezing temperatures or heavy snowfall to prevent potential damage from ice buildup or prolonged exposure to harsh winter conditions. This will help prolong the lifespan of the device.
6. Troubleshooting
| Problem | Possible Cause | Solution |
|---|---|---|
| No outdoor temperature/rainfall data on display. | No wireless connection; batteries low/dead; sensor too far or obstructed. | Check batteries in both units. Move indoor unit closer to outdoor sensor. Remove obstructions. Re-synchronize units if necessary (refer to pairing instructions in setup). |
| Inaccurate rainfall readings. | Outdoor sensor not level; debris in tipping bucket; sensor obstructed by foliage. | Ensure outdoor sensor is perfectly level. Clean the tipping bucket and funnel. Relocate sensor to an open area. |
| Display is blank or dim. | Low or dead batteries in indoor unit. | Replace batteries in the indoor display unit. |
| Time not synchronizing (WWVB). | Poor signal reception; interference. | Move indoor unit to a location with better signal reception, away from electronic interference. Allow time for synchronization. |
7. Specifications
- Model: Wireless Rain Gauge
- Product Dimensions: 4 x 5 x 7 inches (Indoor Unit and Sensor combined, approximate)
- Item Weight: 1.23 pounds
- Wireless Transmission Range: Up to 200 feet (60 meters) in open air
- Rainfall Measurement Units: Inches (in)
- Temperature Measurement Units: Fahrenheit (°F)
- Power Source: Batteries (specific type not provided, typically AA or AAA)
- Features: Self-emptying, Indoor/Outdoor Temperature, WWVB Time Control, Programmable Rain Alarm, Dual Alarm Clock, Snooze Function, Calendar, Blue Backlight.
8. Warranty and Support
8.1 Warranty Information
Asenron products are manufactured to high-quality standards. For specific warranty details, including duration and coverage, please refer to the warranty card included with your product or visit the official Asenron website. The warranty typically covers defects in materials and workmanship under normal use.
8.2 Customer Support
If you encounter any issues or have questions regarding your Asenron Wireless Rain Gauge, please contact our customer support team. Provide your product model number and a detailed description of the issue for prompt assistance.
Contact Information:
- Website: www.asenron.com (Note: This is a placeholder URL, please refer to actual product documentation for correct website.)
- Email: support@asenron.com (Note: This is a placeholder email, please refer to actual product documentation for correct email.)

