PHILIPS DDL230X-10HW
Philips Wi-Fi Smart Lock DDL230X User Manual
Model: DDL230X-10HW | Brand: PHILIPS
1. Introduction
The Philips Wi-Fi Smart Lock DDL230X is designed to upgrade your existing deadbolt into a smart, keyless entry system. This manual provides comprehensive instructions for installation, operation, maintenance, and troubleshooting to ensure optimal performance and security.
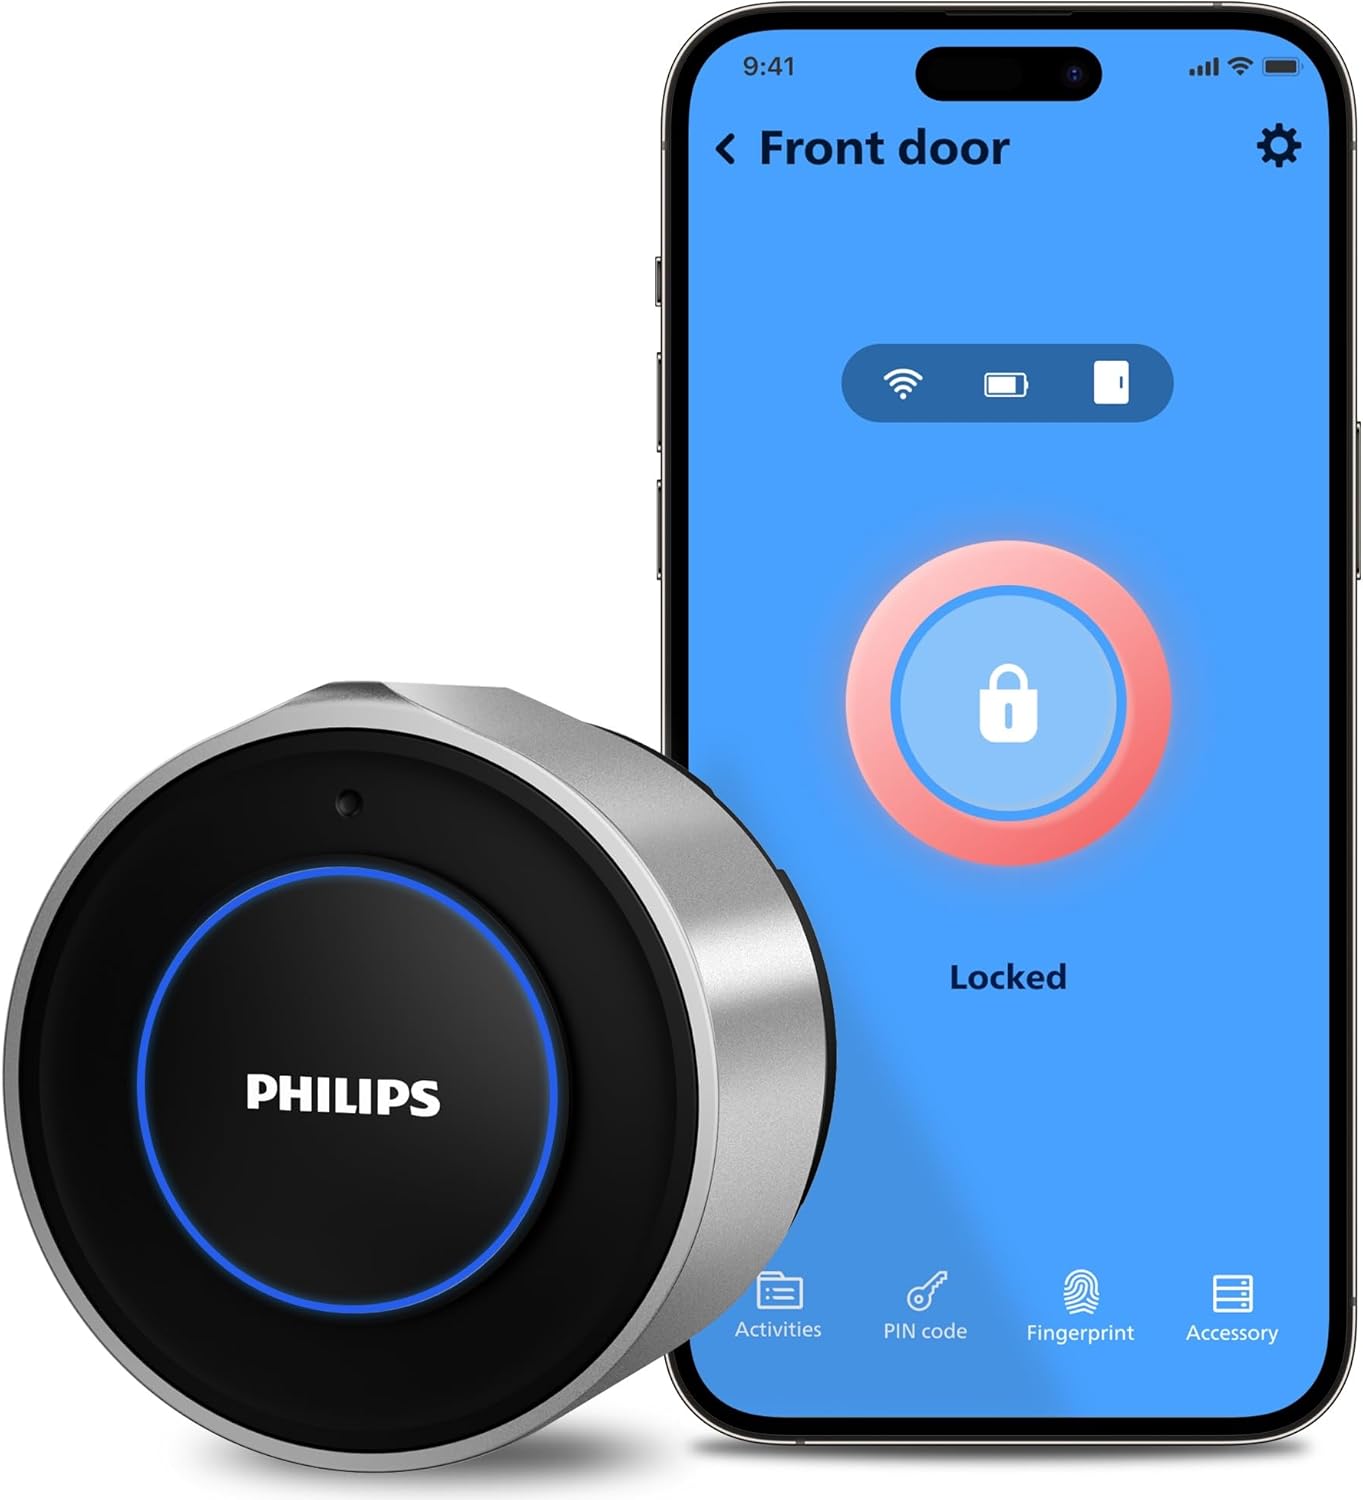
Figure 1: Philips Wi-Fi Smart Lock DDL230X with its accompanying mobile application interface.
2. What's in the Box
Verify that all components are present in your package:
- Wi-Fi Retrofit Lock (Main Unit)
- Wireless Keypad
- Mounting Plate
- Mounting Adapters (4 types)
- CR123A Batteries (2)
- Pry Key
- Setting Pin for Door Position Sensor
- Adhesive Strip
- Door Position Sensor (Magnet and Sensor units)
- User Manual

Figure 2: All components included in the Philips Wi-Fi Smart Lock DDL230X package.
3. Door Compatibility Check
Before installation, ensure your door and existing deadbolt meet the following requirements:
- Works only with single-cylinder deadbolts.
- Ensure the knob/deadbolt/lever/dead latch are separated.
- Compatible only with indoor thumb turns that rotate 90 degrees. Thumb turns rotating 45 or 180 degrees are not compatible.
- The distance between the two mounting plate screws should be either 24.5 mm (31/32") or 28 mm (1-1/8").
- For 24.5 mm, the space between the center of the mounting plate screw and the center of the thumb turn must be 3.2 mm (1/8"). For 28 mm, it needs to be 1.2 mm (3/64").

Figure 3: Visual guide for checking door and deadbolt compatibility.
4. Setup and Installation
Follow these steps to install your Philips Wi-Fi Smart Lock. For a visual guide, please refer to the installation videos below.
4.1. Prepare Your Existing Deadbolt
- Use the supplied adhesive strip to hold the keyed side of the lock in place on the exterior of the door.
- Ensure the Latch Bolt is fully retracted (in the unlocked position).
- Use a #2 Phillips screwdriver to remove the mounting screws holding the existing thumb turn and back plate. Remove the interior deadbolt components. Keep the original Mounting Plate Screws for the next installation step.
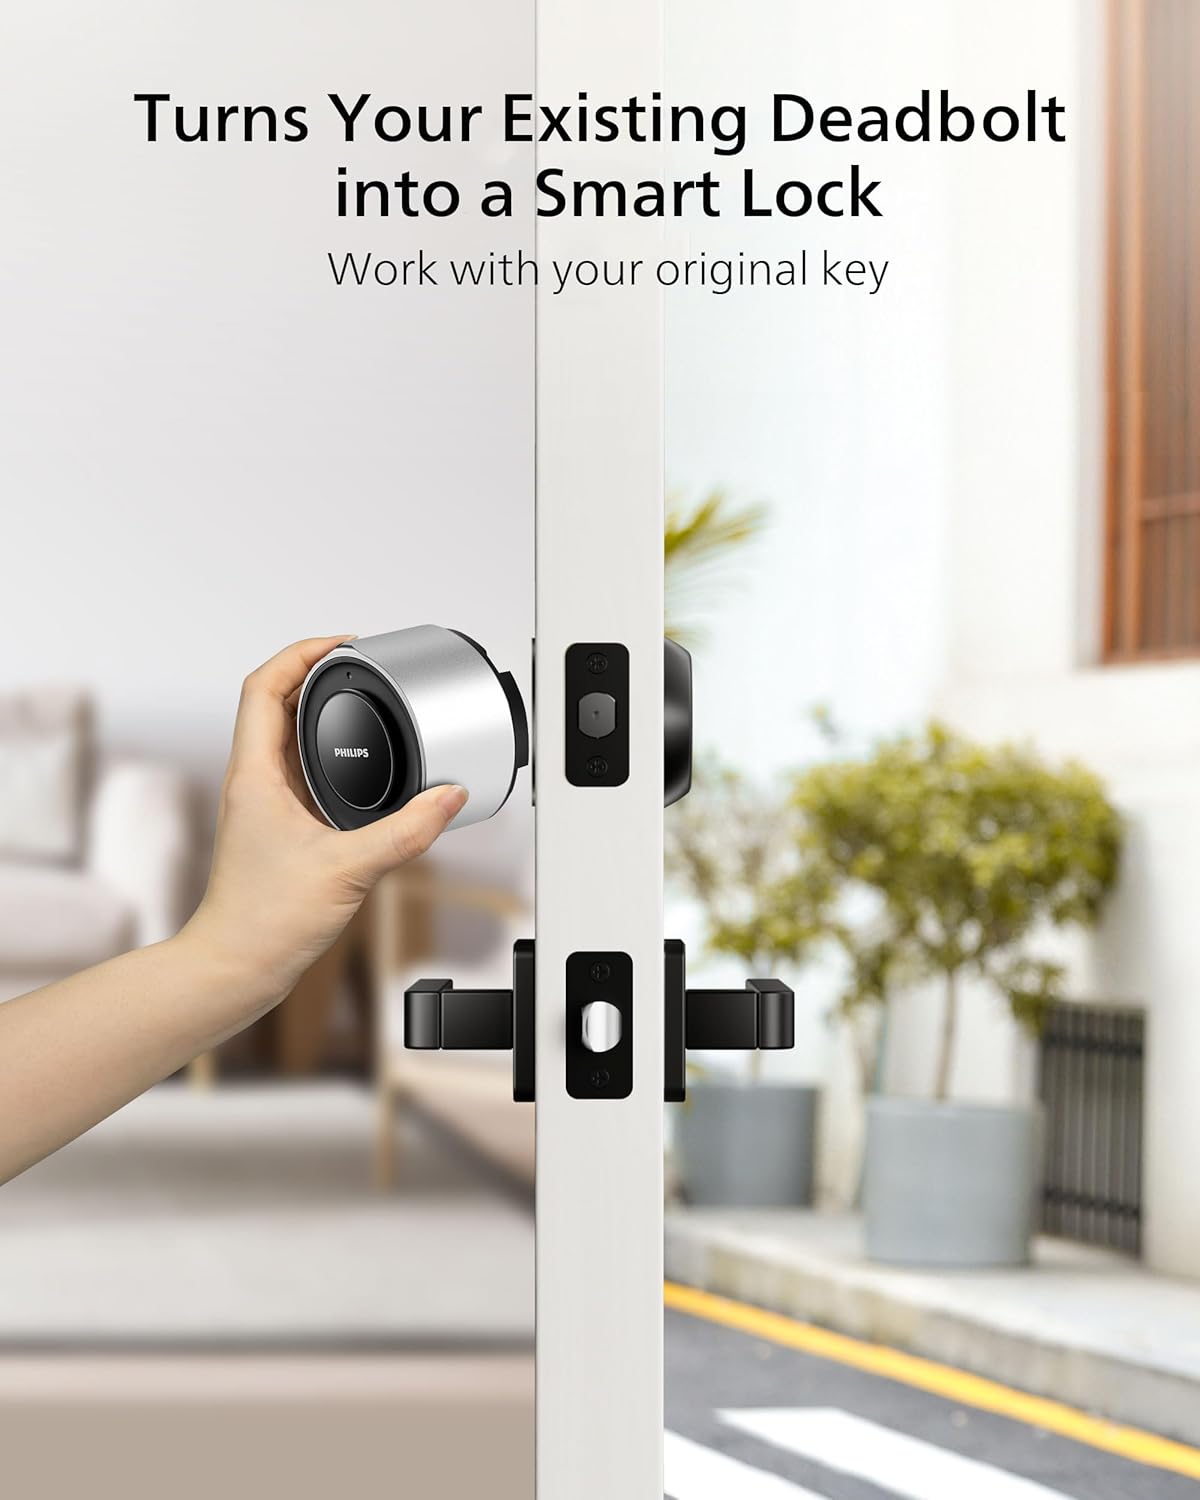
Figure 4: Preparing your existing deadbolt for the smart lock installation.
4.2. Attach the Mounting Plate
- Place the new mounting plate on the interior of the door.
- Insert the mounting screws that were previously removed from the thumb turn to secure the mounting plate. Ensure the tailpiece is horizontal and in the middle of the hole.
4.3. Choose and Attach Correct Mounting Adapter
- There are four adapters provided. Check the shape of the tailpiece protruding through the latch and select the appropriate adapter.
- Place the correct adapter into the tailpiece. One of the triangle shaped nubs should face up if you have the correct adapter. Keep the nub horizontal and in the middle of the hole.
4.4. Prepare Your Retrofit Lock
- Remove the battery cover by pressing down on the dot on the battery cover, then grab the bottom of the battery cover to remove it.
- While holding the batteries in place, remove the plastic battery isolation tab. Make sure that the batteries are properly seated in its compartment. Place the battery cover back onto the smart lock.
- Press and hold the Reset Button for at least 5 seconds until you hear a voice prompt "Ready to install the lock."
4.5. Rotate the Outer Shell to the Correct Orientation
Ensure to stand in the room and face the door during installation. The batteries are kept perpendicular to the ground.
- When the Hinges are on the left side of the door, rotate the Thumb Turn towards the extreme left.
- When the Hinges are on the right side of the door, rotate the Thumb Turn towards the extreme right.
4.6. Open the Wing Latches
Keep your door in the unlocked position. Pull out both side wing latches to prepare for mounting.
4.7. Attach the Philips Wi-Fi Retrofit Lock
Align the lock with the mounting plate and push it firmly until it clicks into place.
4.8. Door Sensor Precautions
The door sensor, which includes a sensor and a magnet, detects if the door is open or closed and automatically locks it when shut.
- Ensure the center of the sensor aligns with the center of the magnet.
- The distance between the sensor and magnet should be less than 20mm.
- When installing on a metal door frame, it may impact the performance of the door sensor. Reduce the gap between the magnet and sensor accordingly for optimal results.
- The distance between the sensor and retrofit lock should be less than 1 meter.

Figure 5: Guidelines for installing the door position sensor.
Installation Videos:
Video 1: How to Install Philips 3000 Series Retrofit Lock. This video provides a step-by-step guide for the physical installation of the smart lock.
Video 2: Philips 3000 Series Lock Installation Video. A detailed video demonstrating the installation process for the Philips 3000 Series Smart Lock.
5. Operating Instructions
5.1. Keyless Entry
The Philips Smart Lock offers multiple keyless entry options:
- Fingerprint: Register your fingerprints through the mobile app for quick and secure access.
- PIN Code: Create and manage unique PIN codes for family members, guests, or service providers using the wireless keypad.
5.2. Mobile App Control
Control your lock from anywhere using the Philips Home Access app:
- Remote Lock/Unlock: Lock or unlock your door remotely with a single touch in the app.
- Lock Status Monitoring: View the current lock status (locked/unlocked), door status (open/closed), and battery level directly from the app.
- Activity Monitoring: Review a detailed history of who accessed your door and when, providing enhanced security oversight.

Figure 6: Remote control of the smart lock via the mobile app.

Figure 7: Monitoring lock activity and status through the Philips Home Access app.
5.3. Auto-Lock Functionality
The smart lock features a hands-free auto-lock function, providing convenience and peace of mind. The lock will automatically secure itself after a set period once the door is closed.

Figure 8: The auto-lock feature automatically secures the door.
5.4. Voice Control Integration
Integrate your Philips Smart Lock with popular voice assistants like Amazon Alexa and Google Assistant for convenient voice-activated control.

Figure 9: Controlling the smart lock using voice commands with compatible smart home devices.
Video 3: Philips 3000 Series WiFi Smart Retrofit Lock. This video highlights the key features and benefits of the smart lock, including app control and auto-lock.
Video 4: Philips 3000 Series WiFi Smart Lock. An in-depth overview of the smart lock's capabilities and user experience.
6. Security Features
The Philips Smart Lock is equipped with multiple security alarms to protect your home:
- Lock Malfunction Alarm: Alerts you if there's an issue with the lock's mechanism.
- Lock Out Alarm: Notifies you of repeated incorrect entry attempts.
- Low Battery Reminder: Provides timely alerts when battery levels are low, ensuring you replace them before the lock loses power.
- Duress Warning: An advanced security feature for emergency situations.
- AES128 Encryption: All data is secured with AES128 encryption, with fingerprints stored locally for enhanced privacy.

Figure 10: Overview of the smart lock's comprehensive security alarm system.
7. Maintenance
7.1. Battery Replacement
The lock uses 2 CR123A batteries. When the low battery reminder is activated, replace the batteries promptly to ensure continuous operation. Refer to the installation section for instructions on accessing the battery compartment.
7.2. Cleaning
Wipe the lock's exterior with a soft, dry cloth. Avoid using abrasive cleaners or solvents that could damage the finish.
8. Troubleshooting
If you encounter issues with your Philips Wi-Fi Smart Lock, try the following solutions:
- Connectivity Issues: Ensure your Wi-Fi router is within range and the signal is strong. Restarting your router or the lock may resolve temporary connection problems.
- Battery Drain: Frequent battery replacement may indicate high usage or a weak Wi-Fi signal causing the lock to work harder. Ensure optimal Wi-Fi placement.
- Lock Calibration: If the lock is not fully engaging or retracting, recalibrate it through the mobile app. Ensure the door frame and deadbolt alignment are correct.
- App Responsiveness: If the app is slow to respond, check your internet connection and ensure the app is updated to the latest version.
9. Specifications
| Feature | Detail |
|---|---|
| Brand | PHILIPS |
| Model Name | DDL230X15KTW/37 |
| Item Model Number | DDL230X-10HW |
| Lock Type | Deadbolt |
| Connectivity Protocol | Wi-Fi |
| Control Method | Touch, App, Voice |
| Power Source | 2 CR123A batteries (included) |
| Item Dimensions (L x W x H) | 2.93 x 3.03 x 2.21 inches |
| Item Weight | 1.65 pounds |
| Color | Silver |
| Finish Type | Brushed |
| Included Components | Lock, Keys, Wireless Keypad |
| Recommended Uses | Residential door security and smart home integration |
| UPC | 850048306578 |
10. Warranty and Support
For warranty information, technical support, or service inquiries, please refer to the official Philips website or contact their customer service. Keep your purchase receipt for warranty claims.
Online Support: Visit the Philips support page for FAQs, troubleshooting guides, and software updates.
Contact Customer Service: Refer to the contact information provided in the original product packaging or on the Philips website.
Ask a question about this manual
Ask about setup, troubleshooting, compatibility, parts, safety, or missing instructions. Manuals+ will review the question and use this page’s manual context to help answer it.