1. Introduction
This manual provides detailed instructions for the assembly, operation, and maintenance of your Merax Bathroom Medicine Cabinet with Mirror, Model SJ-71. Please read this manual thoroughly before installation and use to ensure proper function and longevity of the product. Keep this manual for future reference.
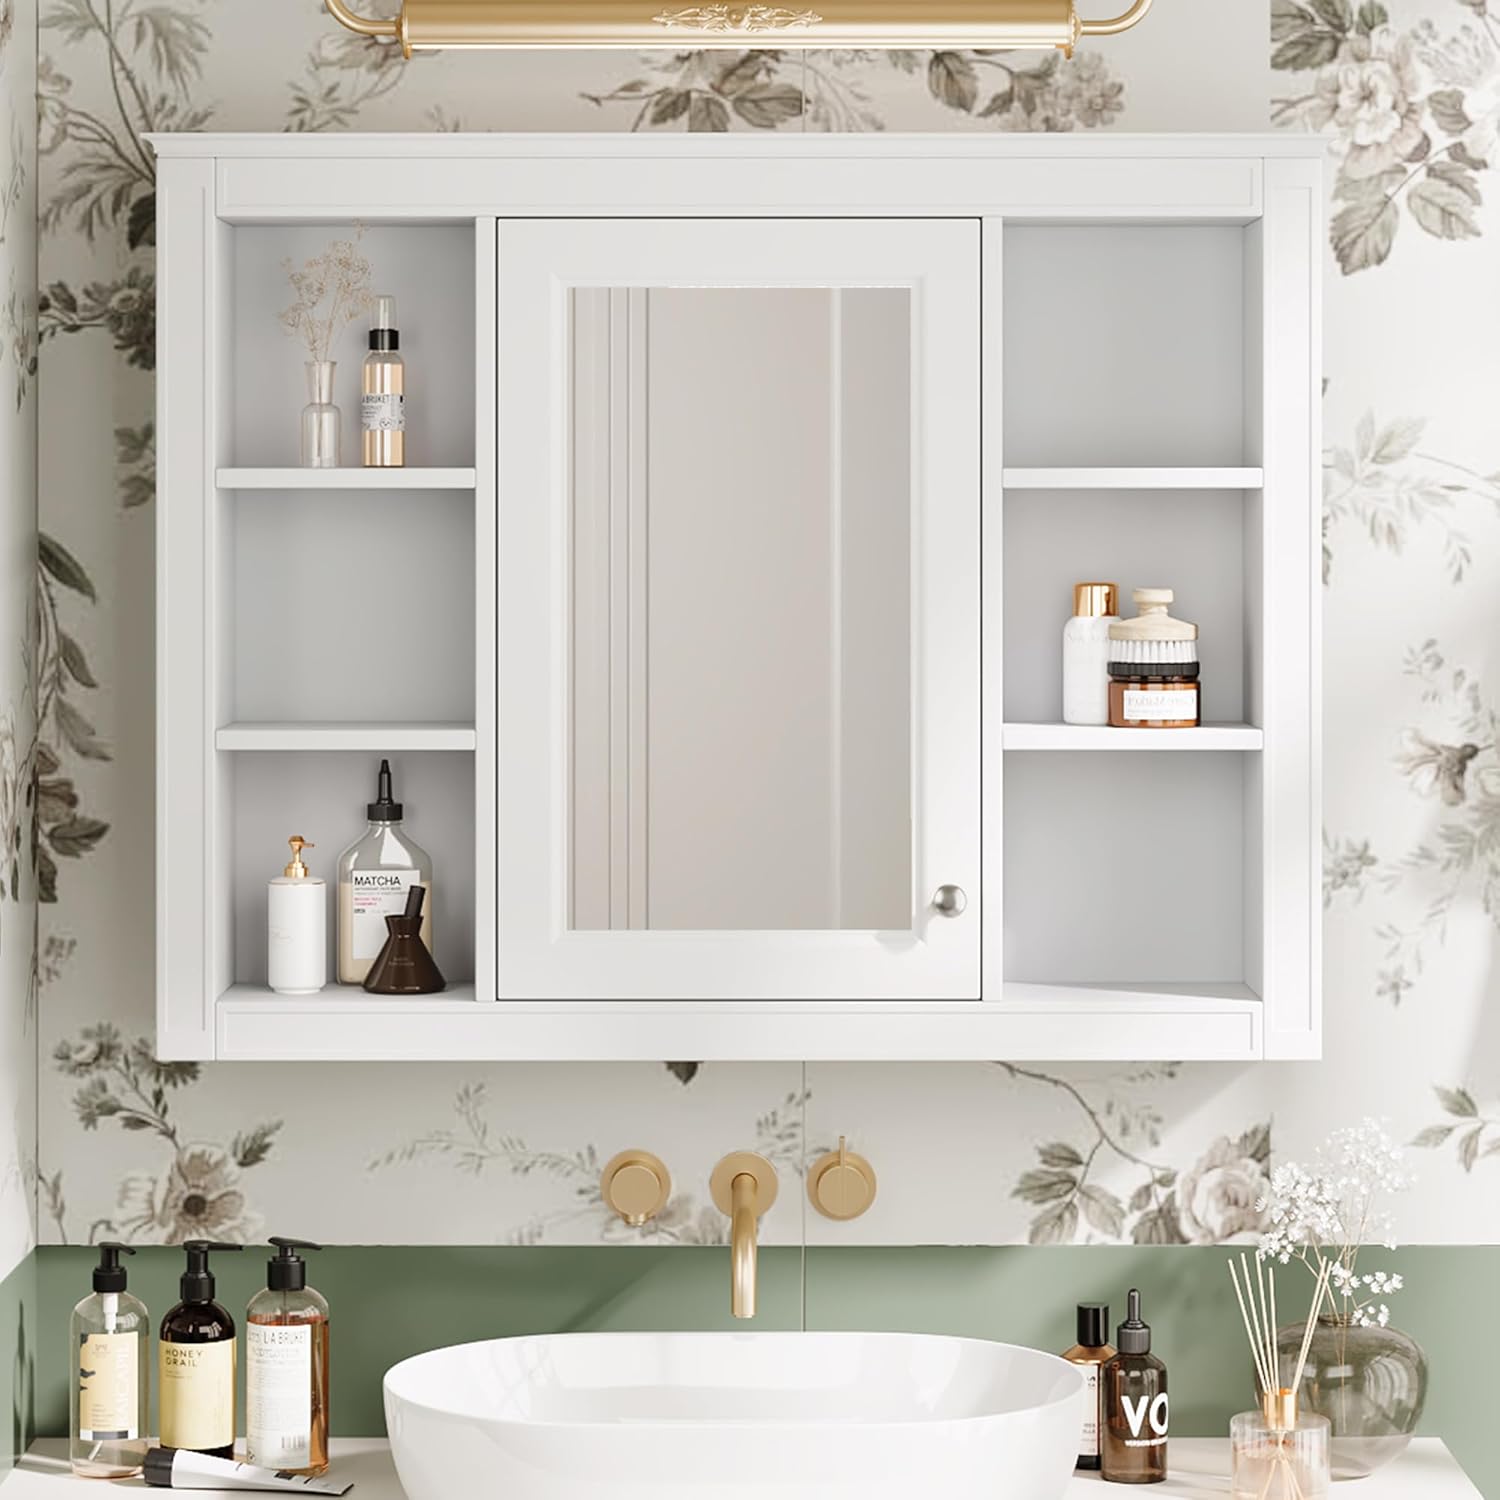
Figure 1: Merax Bathroom Medicine Cabinet (Model SJ-71) installed.
2. Important Safety Information
Please observe the following safety precautions to prevent injury or damage to the product:
- Wall Mounting: This cabinet is designed for wall mounting. Ensure proper hardware and adequate structural support are used for installation. Consult a professional if unsure about wall type or mounting procedures.
- Location: Avoid installing the cabinet near heat sources (e.g., radiators, heating vents) or in areas with excessive moisture.
- Handling Mirror: Exercise caution when handling the mirrored door to prevent breakage and injury.
- Sharp Edges: Be mindful of sharp edges during assembly and installation.
- Weight Capacity: Do not overload shelves. Distribute weight evenly.
- Children: Keep small parts away from children during assembly. Ensure the cabinet is securely mounted to prevent tipping.
3. Package Contents
Before beginning assembly, verify that all components are present and undamaged. If any parts are missing or damaged, contact customer support.
- Cabinet panels (top, bottom, sides, back, shelves)
- Mirrored door
- Hinges and door knob
- Assembly hardware (screws, dowels, cam locks, wall anchors, etc.)
- Instruction manual
4. Setup and Assembly
Assembly typically requires two adults. Follow the included step-by-step assembly instructions carefully. Do not fully tighten all fasteners until the entire unit is assembled to allow for minor adjustments.
4.1 Tools Required
- Phillips head screwdriver
- Hammer (for dowels)
- Drill (for wall mounting)
- Level
- Measuring tape
- Pencil
4.2 Assembly Steps (General Guidance)
- Unpack and Identify Parts: Lay out all components on a clean, soft surface to prevent scratches. Refer to the parts list in your separate assembly guide to identify each piece.
- Assemble Cabinet Frame: Connect the side panels to the top and bottom panels using the provided hardware (e.g., dowels, cam locks). Ensure all connections are secure but not overtightened initially.
- Install Shelves: Insert the fixed and adjustable shelves into their designated slots or using shelf pins.
- Attach Back Panel: Secure the back panel to the cabinet frame.
- Attach Hinges to Door: Secure the hinges to the mirrored door.
- Attach Door to Cabinet: Mount the mirrored door to the cabinet frame using the hinges. Adjust hinges as needed for proper door alignment.
- Install Door Knob: Attach the door knob to the mirrored door.
- Final Tightening: Once the cabinet structure is complete and aligned, carefully tighten all fasteners.
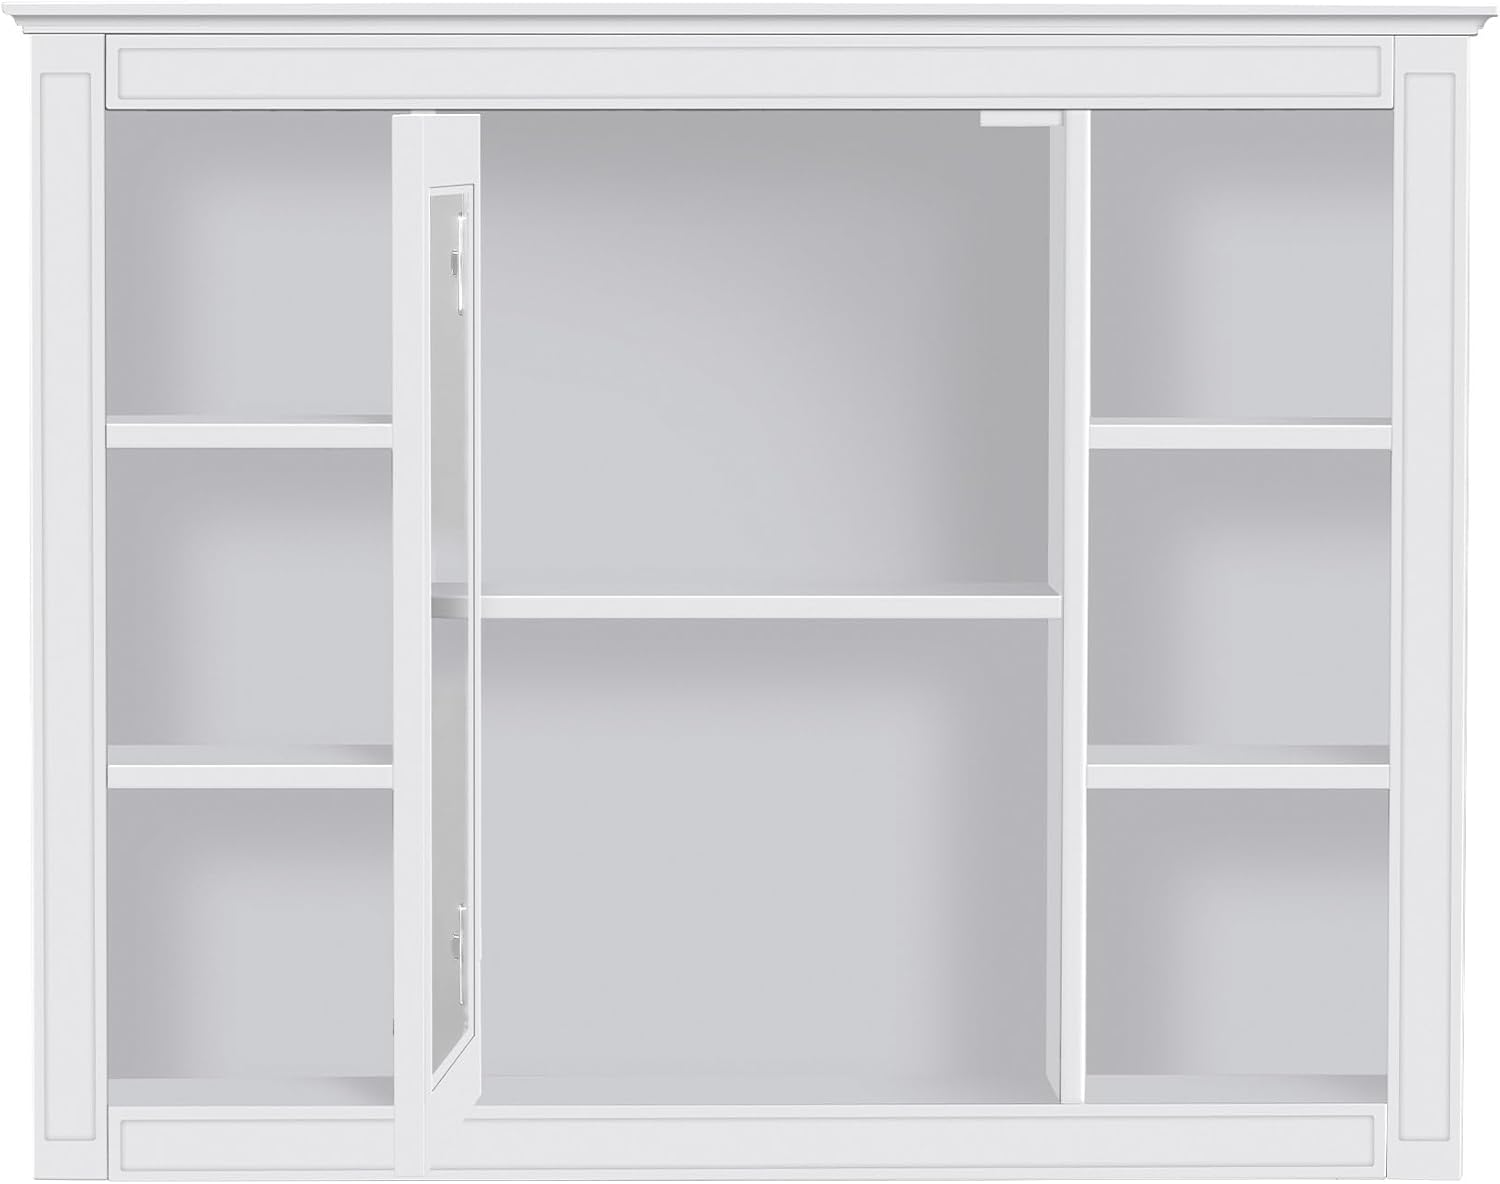
Figure 2: Cabinet interior with shelves visible.
4.3 Wall Mounting
The cabinet must be securely mounted to a wall stud or using appropriate wall anchors for your wall type. Failure to do so may result in the cabinet falling, causing injury or damage.
- Determine Location: Choose a suitable location on the wall, ensuring it is clear of electrical wires and plumbing.
- Mark Mounting Points: Hold the cabinet against the wall at the desired height and use a level to ensure it is straight. Mark the locations for the mounting screws on the wall.
- Drill Pilot Holes: Drill pilot holes at the marked locations. If mounting into drywall without a stud, use appropriate wall anchors.
- Secure Cabinet: Carefully lift the cabinet and align the mounting holes on the back of the cabinet with the pilot holes/anchors on the wall. Insert and tighten the mounting screws until the cabinet is firmly secured. Do not overtighten.
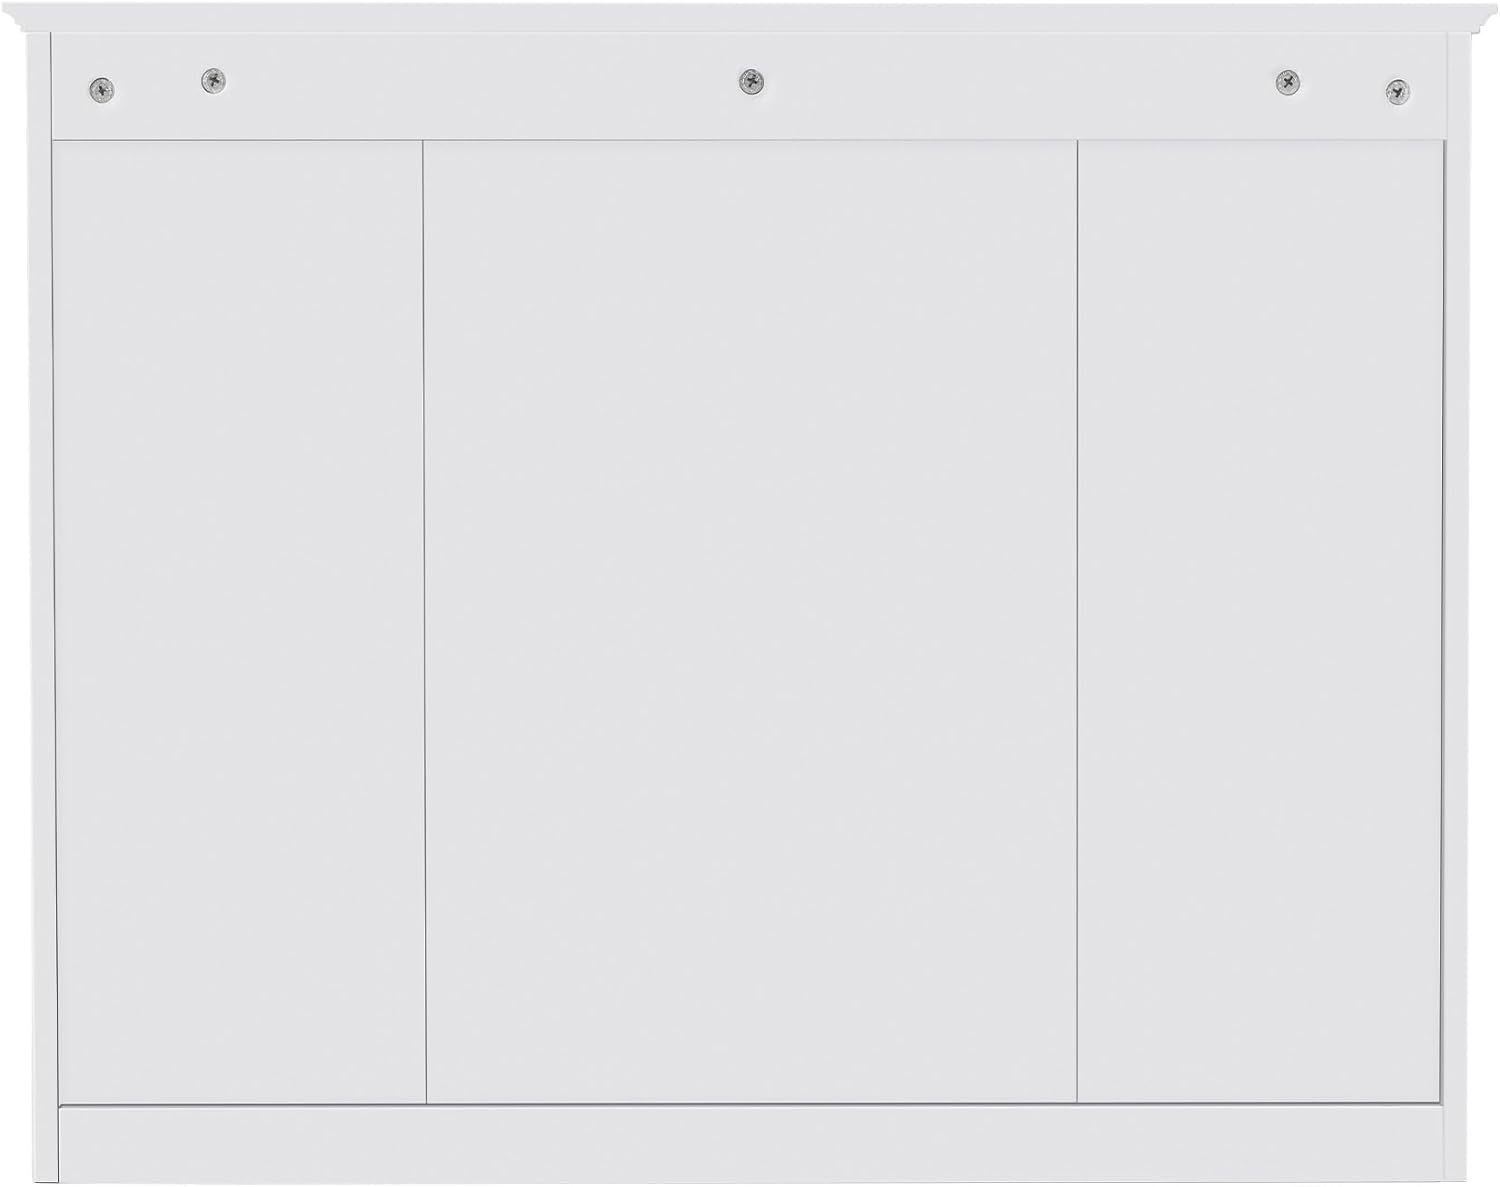
Figure 3: Rear view of the cabinet with mounting points indicated.

Figure 4: Cabinet dimensions for planning installation.
5. Operation
The Merax Medicine Cabinet is designed for straightforward use.
- Opening the Mirrored Door: Gently pull the door knob to open the central mirrored door.
- Closing the Mirrored Door: Push the door gently until it closes completely.
- Adjusting Shelves: If applicable, adjustable shelves can be repositioned by removing the shelf pins, moving the shelf to the desired height, and reinserting the pins. Ensure pins are fully seated before placing items on the shelf.
- Storage: Utilize the central mirrored compartment for items you wish to conceal, and the open side shelves for frequently accessed items or decorative pieces.

Figure 5: Cabinet with door open, demonstrating storage capacity.
6. Maintenance
Regular cleaning and maintenance will help preserve the appearance and functionality of your cabinet.
- Cleaning the Cabinet: Wipe surfaces with a soft, damp cloth. Avoid abrasive cleaners or harsh chemicals, as these can damage the finish.
- Cleaning the Mirror: Use a standard glass cleaner and a soft, lint-free cloth. Spray cleaner onto the cloth, not directly onto the mirror, to prevent liquid from seeping into edges.
- Hardware Check: Periodically check all screws and fasteners to ensure they remain tight. Retighten as necessary, but do not overtighten.
- Hinge Adjustment: If the door becomes misaligned, adjust the hinges according to the hinge manufacturer's instructions (typically involves small screws on the hinge body).
7. Troubleshooting
If you encounter issues with your Merax Medicine Cabinet, refer to the following common problems and solutions:
| Problem | Possible Cause | Solution |
|---|---|---|
| Cabinet feels unstable or wobbly. | Loose wall mounting screws or inadequate wall support. | Ensure wall mounting screws are fully tightened. Verify the cabinet is mounted into wall studs or appropriate heavy-duty anchors. If necessary, reinforce wall support. |
| Door does not close properly or is misaligned. | Hinges are loose or out of adjustment. | Tighten hinge screws. Adjust hinge screws to align the door. Refer to hinge manufacturer's instructions for specific adjustment methods. |
| Shelves appear too small or do not fit securely. | Incorrect shelf placement or manufacturing variation. | Ensure shelves are inserted into the correct slots and shelf pins are fully engaged. If a shelf is genuinely undersized, contact customer support for a replacement. |
| Screws or fasteners do not hold in the wood. | Overtightening, stripped holes, or material defect. | Avoid overtightening. If a hole is stripped, use wood glue and a dowel to repair, or use a slightly larger screw if appropriate. Contact customer support if multiple fasteners fail. |
8. Product Specifications
| Feature | Detail |
|---|---|
| Brand | Merax |
| Model Name | Bathroom medicine cabinet |
| Item Model Number | SJ-71 |
| Color | White |
| Product Dimensions (D x W x H) | 7.3"D x 35"W x 27.5"H |
| Special Feature | Mirrored Door |
| Mounting Type | Wall Mount |
| Room Type | Bathroom |
| Included Components | Shelves |
| Number of Shelves | 6 |
| Item Weight | 34.8 Pounds |
| Top Material Type | Engineered Wood |
| Handle Material | Metal |
| Assembly Required | Yes |
| Frame Material | Engineered Wood |
| Number of Compartments | 3 |
| UPC | 196986445192 |
9. Warranty and Customer Support
Warranty Information: Specific warranty details for the Merax Bathroom Medicine Cabinet (Model SJ-71) are typically provided at the point of purchase or on the manufacturer's official website. Please retain your proof of purchase for warranty claims.
Customer Support: For assistance with assembly, missing parts, or any other product-related inquiries, please contact Merax customer support through the retailer where the product was purchased or visit the official Merax website for contact information.
You can visit the Merax Store for more information: Merax Official Store