1. Introduction
Thank you for choosing the pearlstar Solar Wall Lights Outdoor. This manual provides detailed instructions for the installation, operation, and maintenance of your new solar-powered wall lantern. Designed for outdoor use, these lights feature a dusk-to-dawn sensor, motion detection, and multiple operating modes to enhance the security and ambiance of your garden, yard, patio, or fence.

Image 1.1: Overview of the pearlstar Solar Wall Lights, highlighting their motion sensing capability.
2. Product Features
- 3 Motion Sensor Modes: Offers versatile lighting options including human body sensor, human interaction + low light, and constant low light modes.
- Solar Powered & Auto On/Off: Energy-efficient design with automatic activation at dusk and deactivation at dawn.
- Waterproof & Durable: Constructed from waterproof plastic material, suitable for various weather conditions including rain, snow, and sun.
- Easy Installation: Simple setup process for quick deployment in desired outdoor locations.
- Wide Application: Ideal for porches, mailboxes, courtyards, garages, yards, barns, corridors, balconies, and gardens.

Image 2.1: Durability features of the solar wall light, including resistance to water, wind, snow, and sun.
3. Package Contents
Please check the package to ensure all components are present:
- pearlstar Solar Wall Light(s)
- Mounting Screws (x4 per light)
- Expansion Tubes (x4 per light)
- User Manual (this document)

Image 3.1: Included mounting hardware and key product dimensions.
4. Installation
4.1 Initial Setup
- Before first use, locate the ON/OFF switch on the light unit. Ensure it is switched to the "ON" position.
- Allow the solar panel to charge in direct sunlight for 5-8 hours to ensure the battery is sufficiently charged.
4.2 Mounting Instructions
Choose a location that receives ample direct sunlight throughout the day for optimal charging. The light should be installed where its motion sensor can effectively cover the desired area.
- Mark the desired mounting position on the wall.
- Drill holes at the marked positions.
- Insert the expansion tubes into the drilled holes.
- Align the light fixture with the holes and secure it using the provided mounting screws.
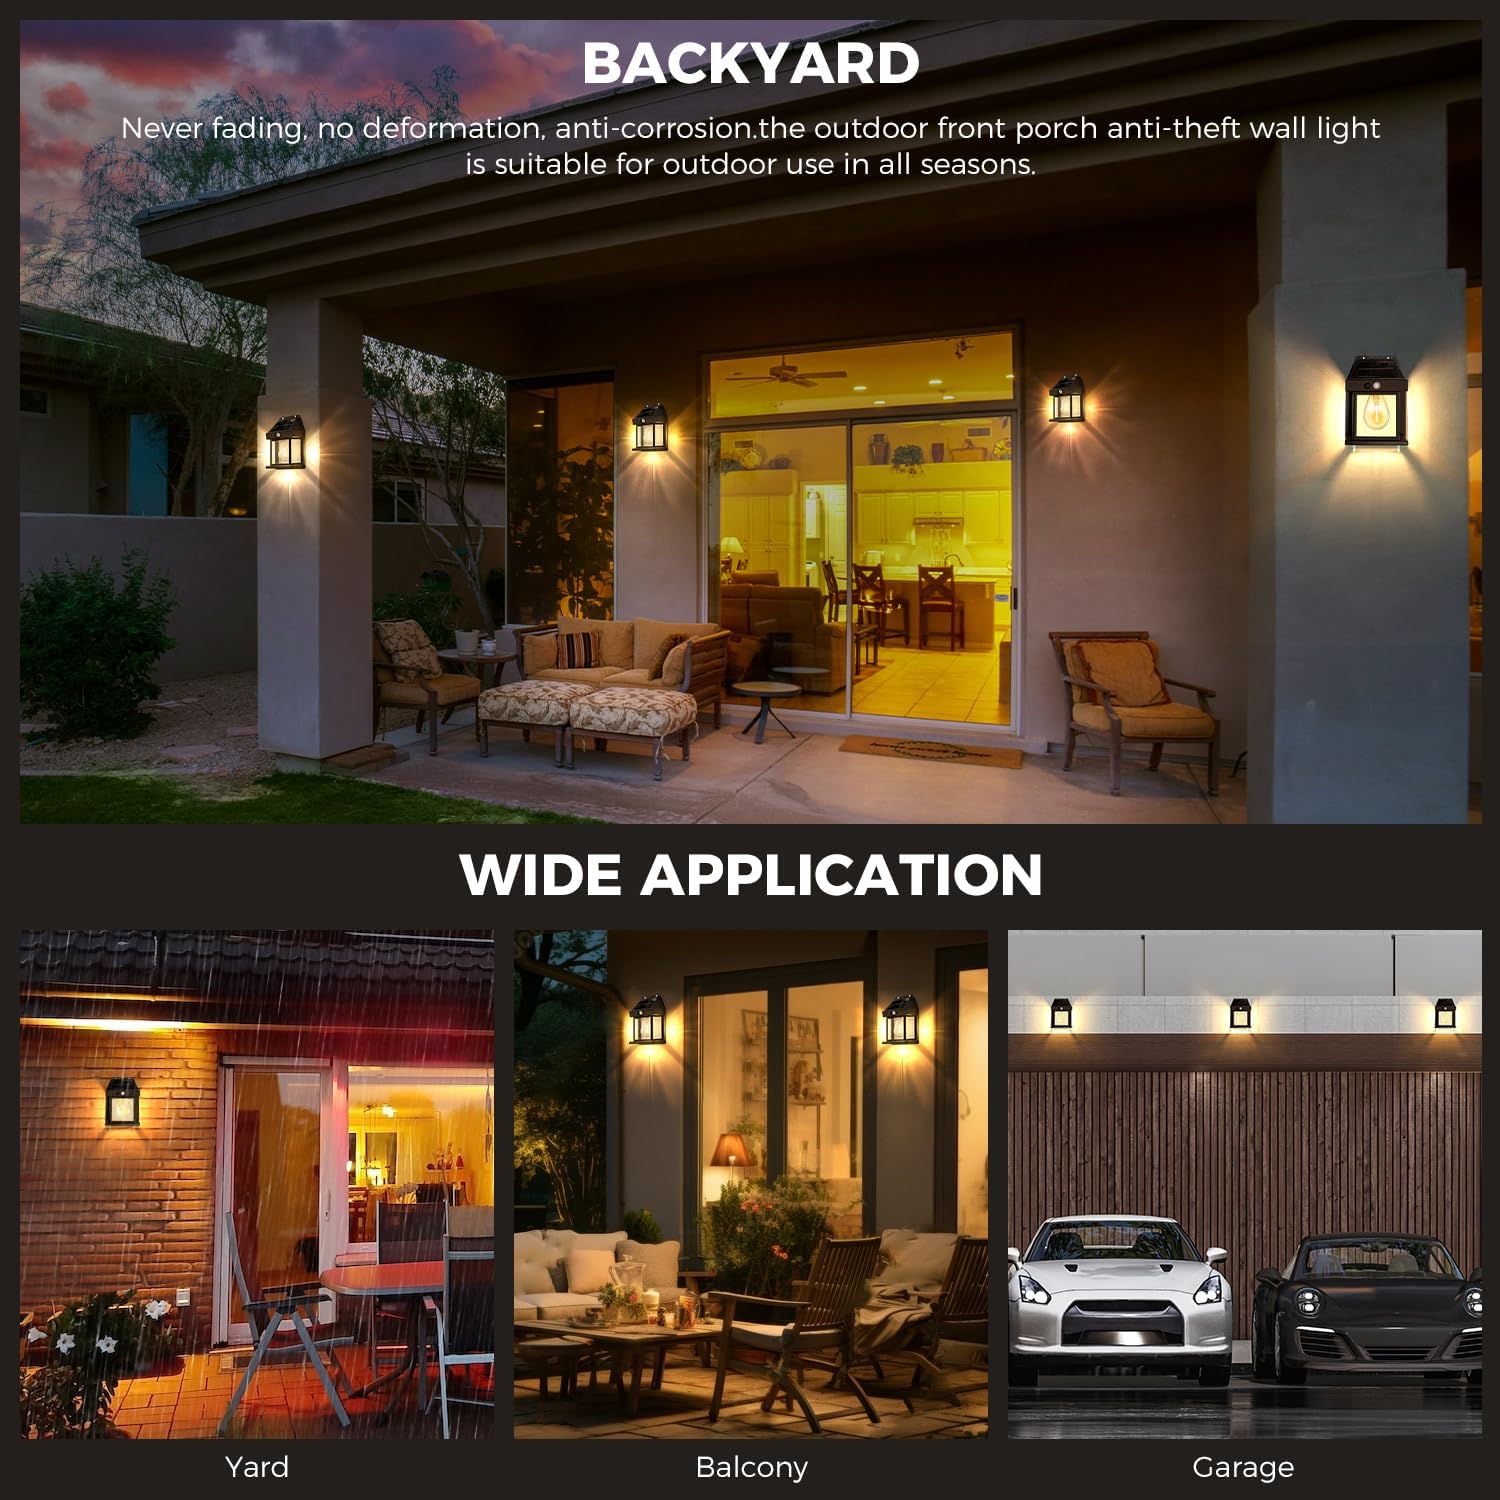
Image 4.1: Example of the solar wall light installed in a backyard, demonstrating its application.
5. Operating Instructions
The pearlstar Solar Wall Light features three distinct operating modes, selectable via a button on the unit.
5.1 Mode Selection
- Mode 1 (Human Body Sensor Mode): Press the button once (long press for 1 second to activate initially). The light will turn on to full brightness when motion is detected and automatically turn off after 15 seconds of no motion.
- Mode 2 (Human Interaction + Low Light Mode): Press the button twice. The light will turn on to full brightness when motion is detected. After 15 seconds of no motion, it will switch to a low light mode. It will return to full brightness upon subsequent motion detection.
- Mode 3 (Low Light Mode): Press the button three times. The light will remain in a constant low light state throughout the night, regardless of motion detection.

Image 5.1: Visual guide to switching between the three operational modes.
5.2 Automatic Operation
Once the desired mode is selected and the switch is ON, the light will automatically charge during the day (5-8 hours of direct sunlight) and illuminate for 6-12 hours at night, based on the selected mode and charge level.

Image 5.2: Solar charging and illumination duration.
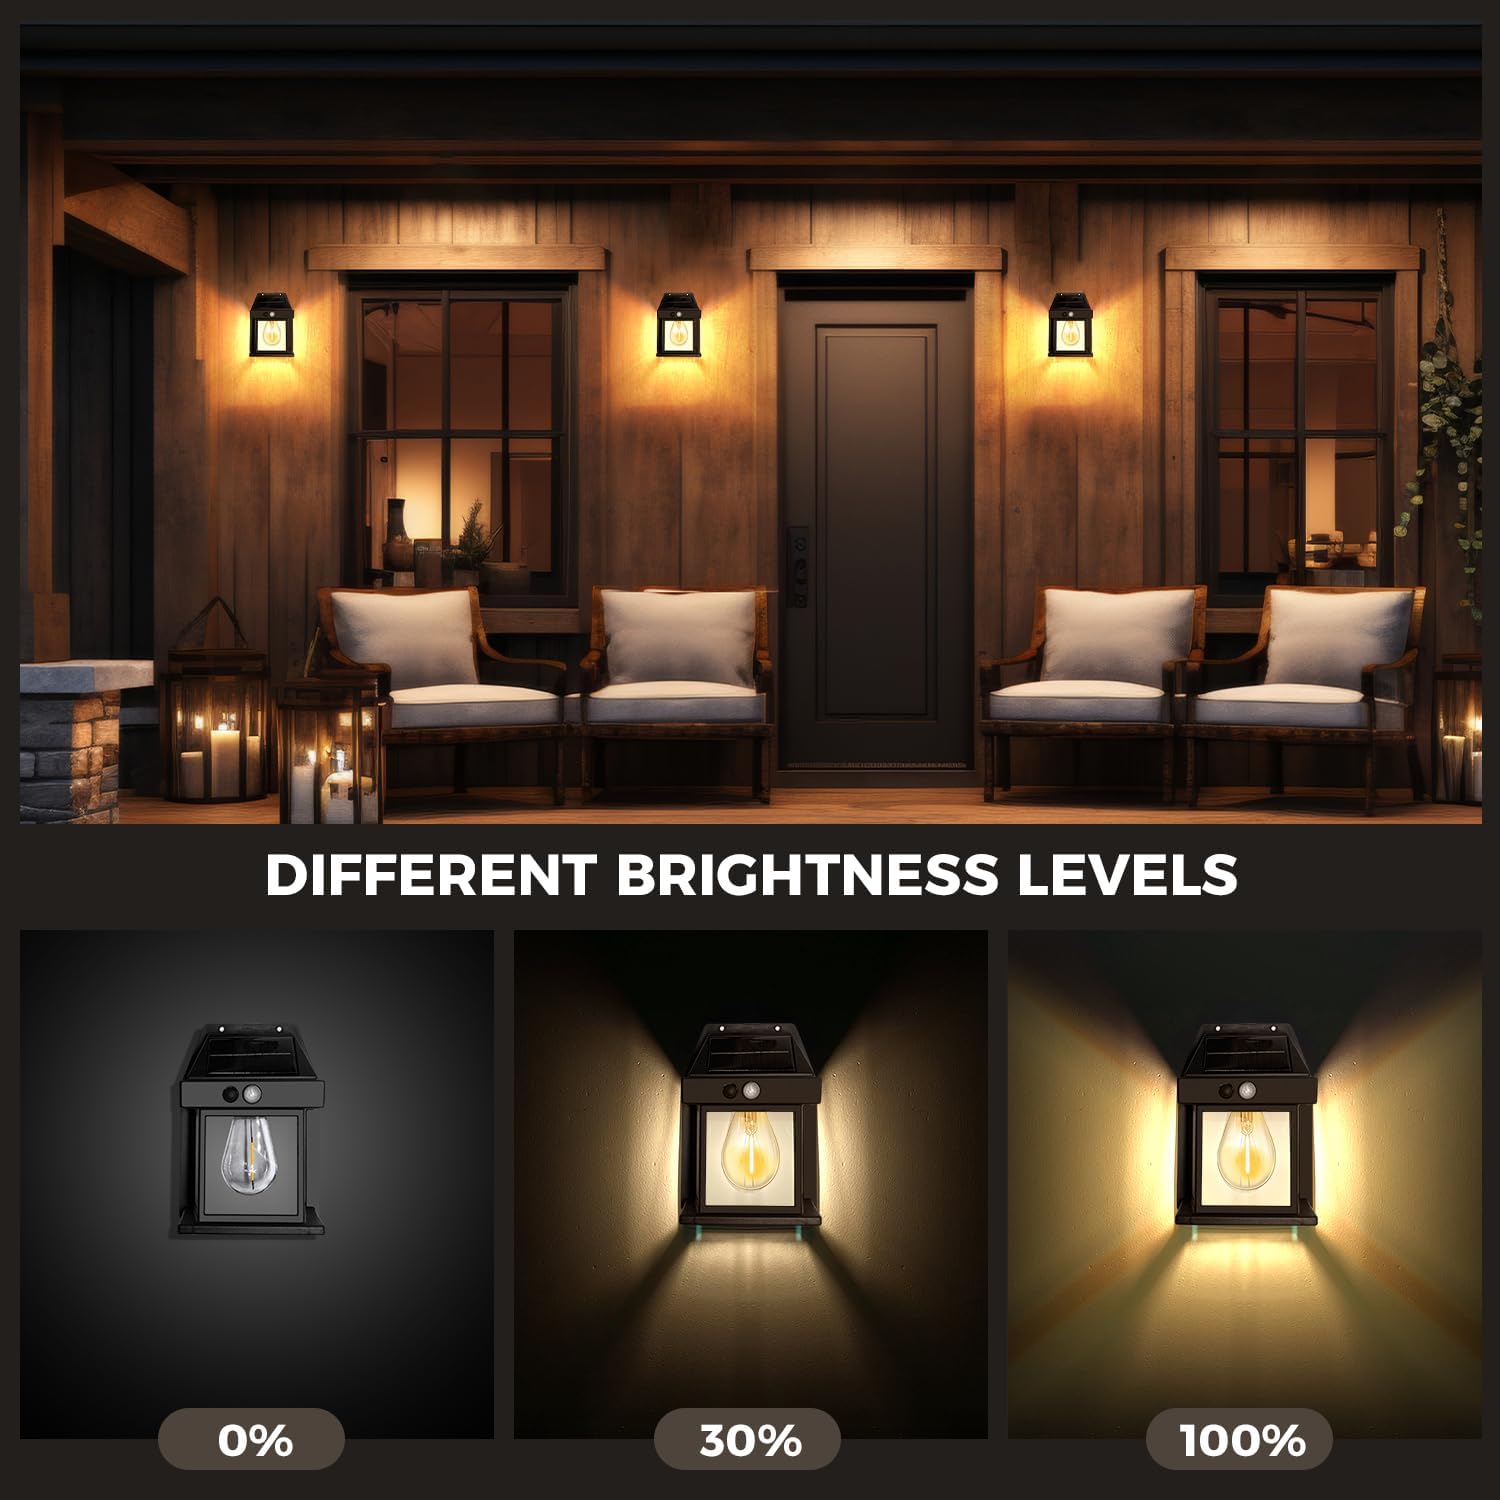
Image 5.3: Depiction of different brightness levels available.
6. Maintenance
To ensure optimal performance and longevity of your solar wall lights, follow these simple maintenance guidelines:
- Clean Solar Panel: Regularly wipe the solar panel with a soft, damp cloth to remove dust, dirt, leaves, or snow. A clean panel ensures efficient charging.
- Clear Obstructions: Ensure no trees, bushes, or other objects are blocking direct sunlight from reaching the solar panel.
- Inspect for Damage: Periodically check the fixture for any physical damage or loose components.
7. Troubleshooting
| Problem | Possible Cause | Solution |
|---|---|---|
| Light does not turn on at night. | ON/OFF switch is OFF. Insufficient solar charge. | Ensure the switch is in the "ON" position. Relocate the light to an area with more direct sunlight. Clean the solar panel. |
| Light stays on during the day. | Light sensor is obstructed or in a dark area. | Ensure the solar panel/light sensor is exposed to daylight. Move the light to a brighter location. |
| Motion sensor not working correctly. | Incorrect mode selected. Sensor obstructed. | Verify the light is in Mode 1 or Mode 2. Ensure the sensor is not blocked and is facing the desired detection area. |
| Short illumination time. | Insufficient solar charge. Battery degradation. | Ensure the light receives 5-8 hours of direct sunlight daily. Clean the solar panel. If the problem persists after extended use, the internal battery may be reaching the end of its lifespan (non-removable). |
8. Specifications
- Light Source Type: Light Emitting Diode (LED)
- Brand: pearlstar
- Power Source: Solar Powered
- Material: Plastic
- Charging Time: 5-8 hours (direct sunlight)
- Illumination Time: 6-12 hours (depending on mode and charge)
- Motion Sensor Range: Approximately 180 degrees, up to 150 sq ft (refer to Image 3.1)
9. Warranty and Support
pearlstar provides a 6-month warranty service for this product. Additionally, a 30-day quality problem replacement is offered. If you encounter any issues with your pearlstar Solar Wall Lights Outdoor, please contact our customer support team for assistance. Our team is committed to resolving any problems in a timely manner.
Please note that the light bulb is non-removable.