1. Introduction
This manual provides detailed instructions for the installation, operation, maintenance, and troubleshooting of your CRAFTSMAN 1/2-HP Smart Belt Drive Garage Door Opener, Model CMXEOCG322. This unit features integrated Wi-Fi for smartphone control via the myQ App, a quiet belt drive mechanism, and Security+2.0 for enhanced security. Please read this manual thoroughly before beginning installation or operation to ensure safe and correct usage.

Image 1: Overview of the CRAFTSMAN 1/2-HP Smart Belt Drive Garage Door Opener, including the main unit, 3-button remote, and safety reversing sensors.
2. Safety Information
WARNING: Failure to follow these safety instructions may result in serious injury or death.
- Always ensure the garage door is balanced and in good working order before installing the opener.
- Do not operate the opener if the garage door is obstructed or if anyone is in the path of the door.
- Keep remote controls out of reach of children.
- Regularly test the safety reversing sensors and the auto-reverse function.
- Disconnect power to the garage door opener before performing any maintenance or repairs.
- Consult a qualified technician if you are unsure about any installation or repair procedures.
3. Package Contents
Verify that all components are present before beginning installation:
- Garage Door Opener Head Unit (1/2 HP Belt Drive)
- 3-Button Remote Transmitter
- Standard Doorbell Wall Control
- Safety Reversing Sensors (Pair)
- Single Light Lens
- Mounting Hardware and Rail Assembly
- Instruction Manual
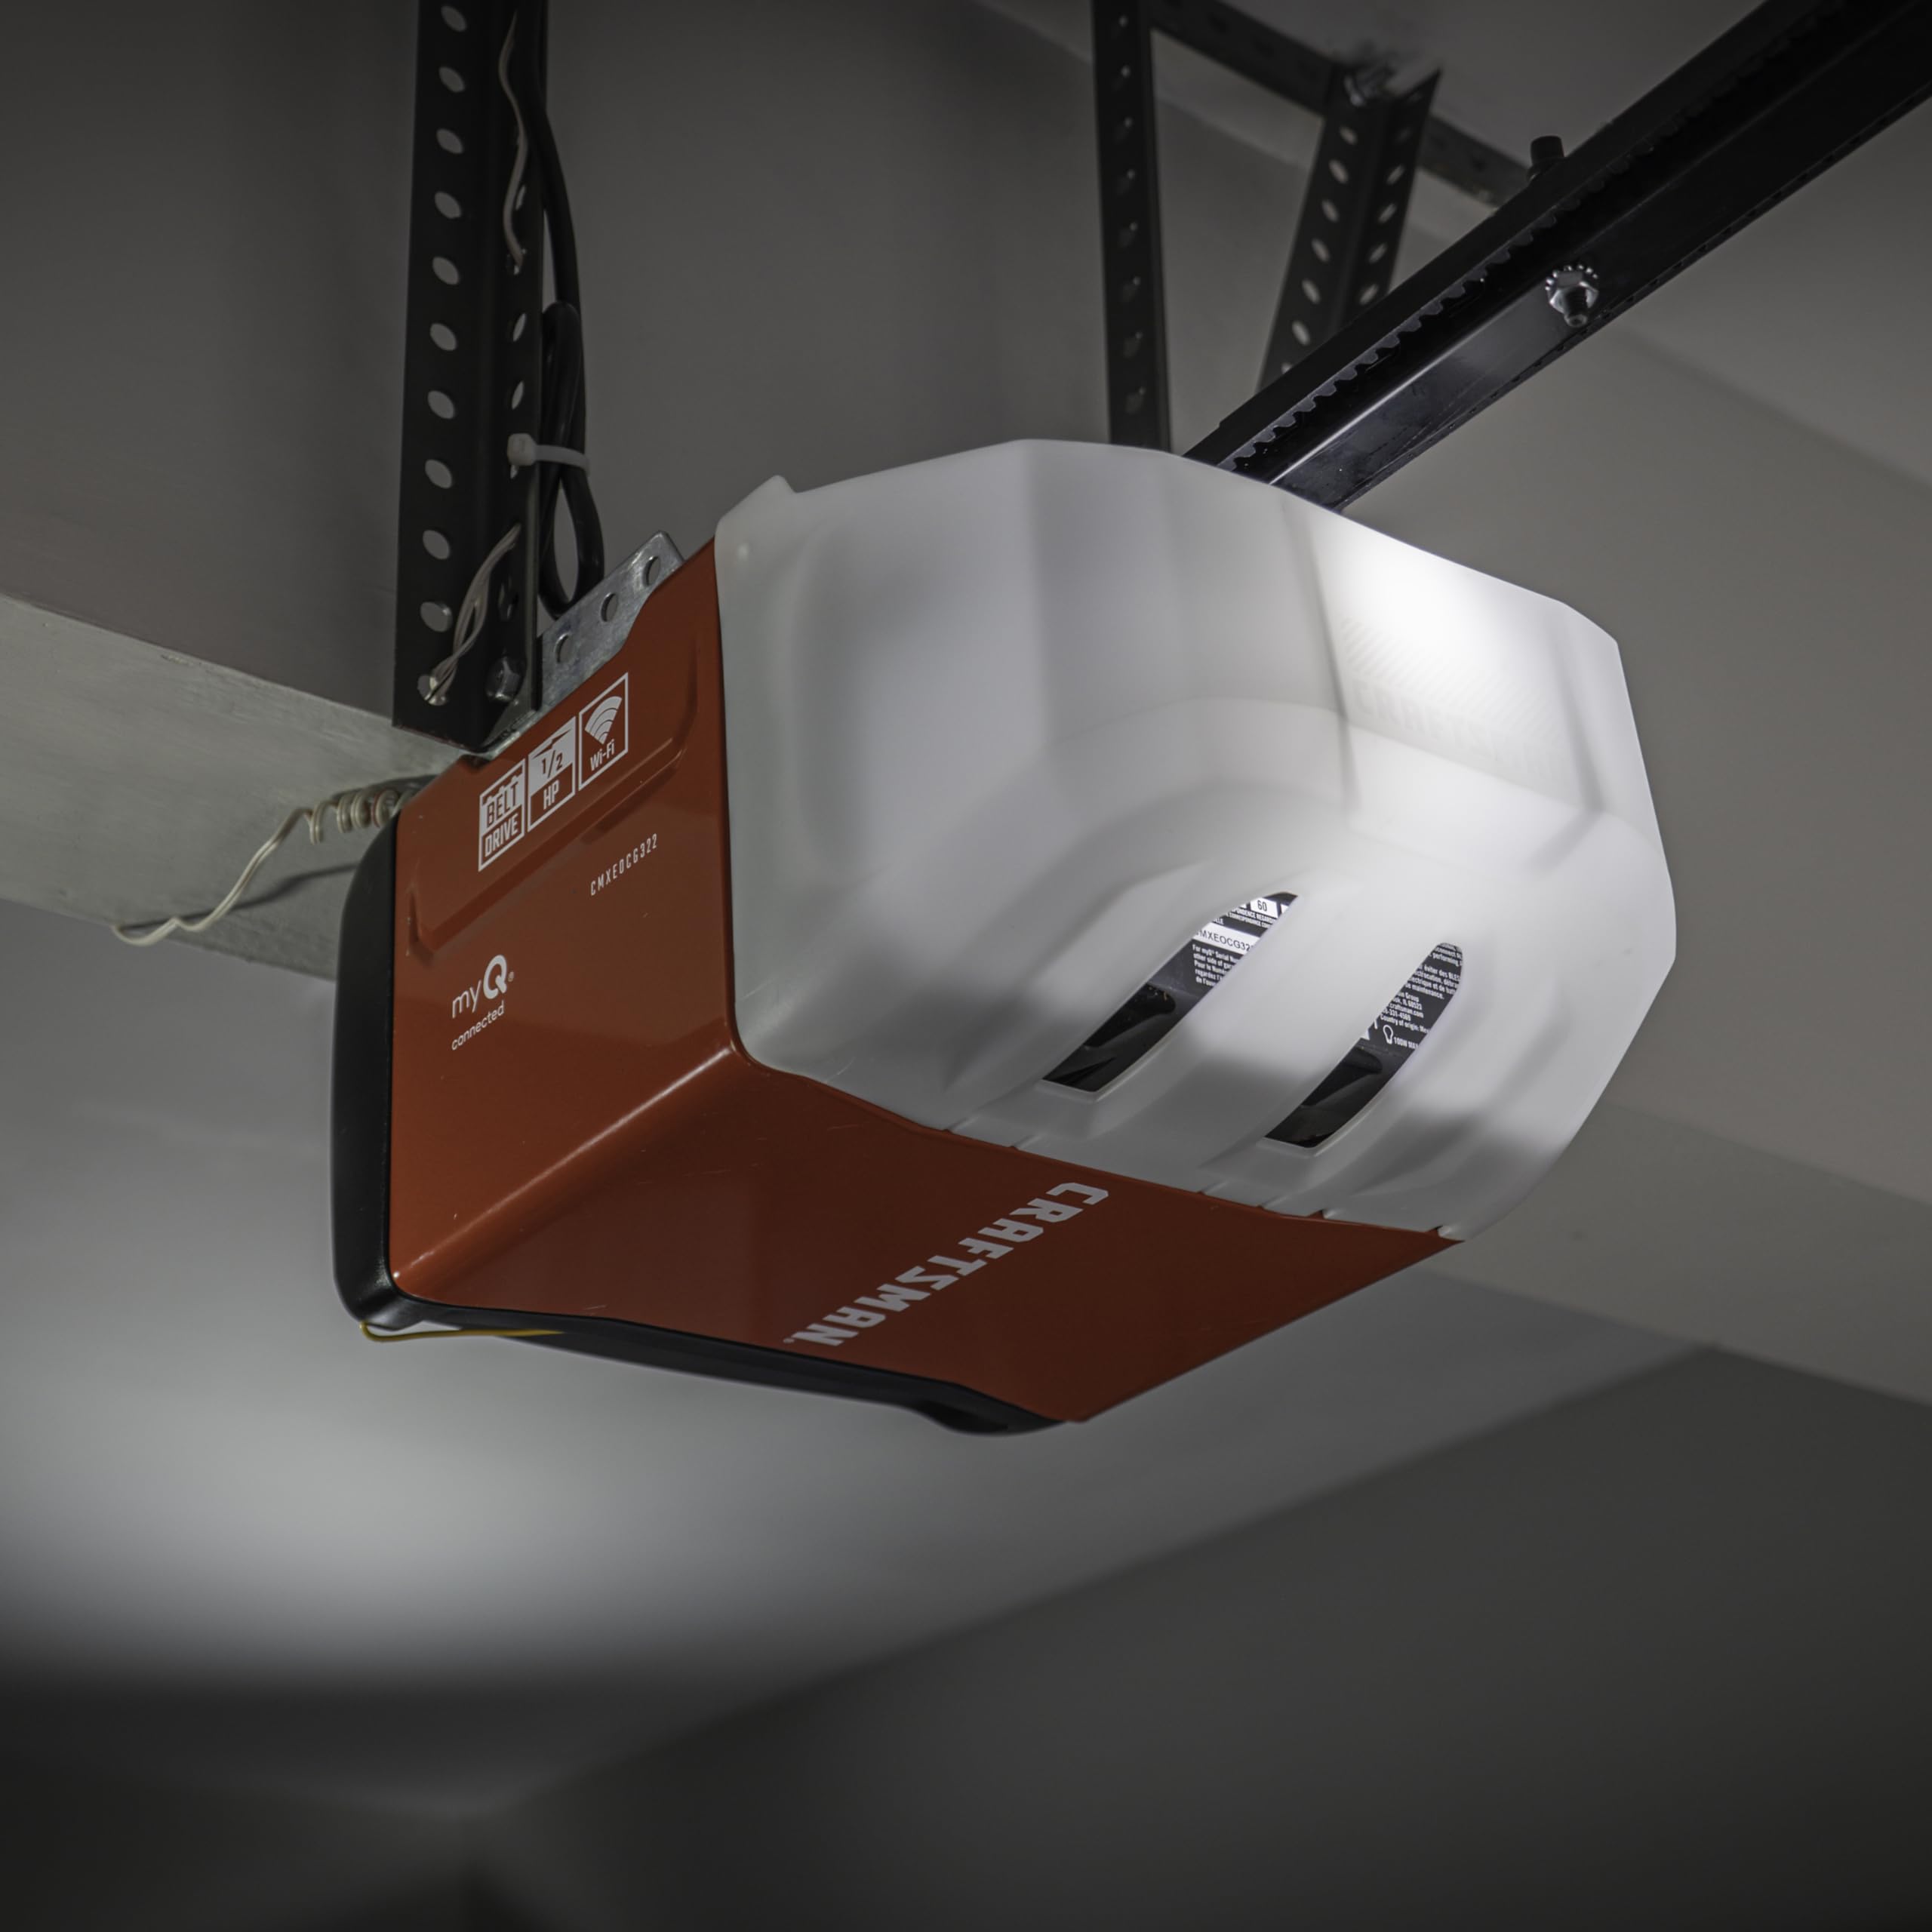
Image 2: Front view of the garage door opener head unit, showing the main components and controls.
4. Setup and Installation
Installation requires careful attention to detail. It is recommended to have assistance during certain steps.
4.1 Pre-Installation Checks
- Ensure your garage door is properly balanced.
- Verify that the garage door track is clear and unobstructed.
- Confirm that the opener is suitable for your door type and size (up to 7-ft high).
4.2 Assembling the Rail and Attaching the Opener Head
- Assemble the rail sections according to the diagrams in the included manual. Ensure all connections are secure. Note that the trolley threaded shaft is keyed and must be oriented correctly to fit into the trolley's orifice.
- Attach the assembled rail to the opener head unit.
- Mount the opener to the ceiling using appropriate hardware, ensuring it is centered with the garage door.
4.3 Installing Safety Reversing Sensors
Mount the safety reversing sensors on each side of the garage door, no higher than 6 inches from the floor. Ensure they are aligned and the indicator lights confirm proper connection and alignment. These sensors create an invisible beam; if interrupted, the closing door will automatically reverse.
4.4 Wiring the Wall Control
Connect the standard doorbell wall control to the opener head unit. Mount the wall control in a location that is visible from the garage door but out of reach of small children (at least 5 feet above the floor).
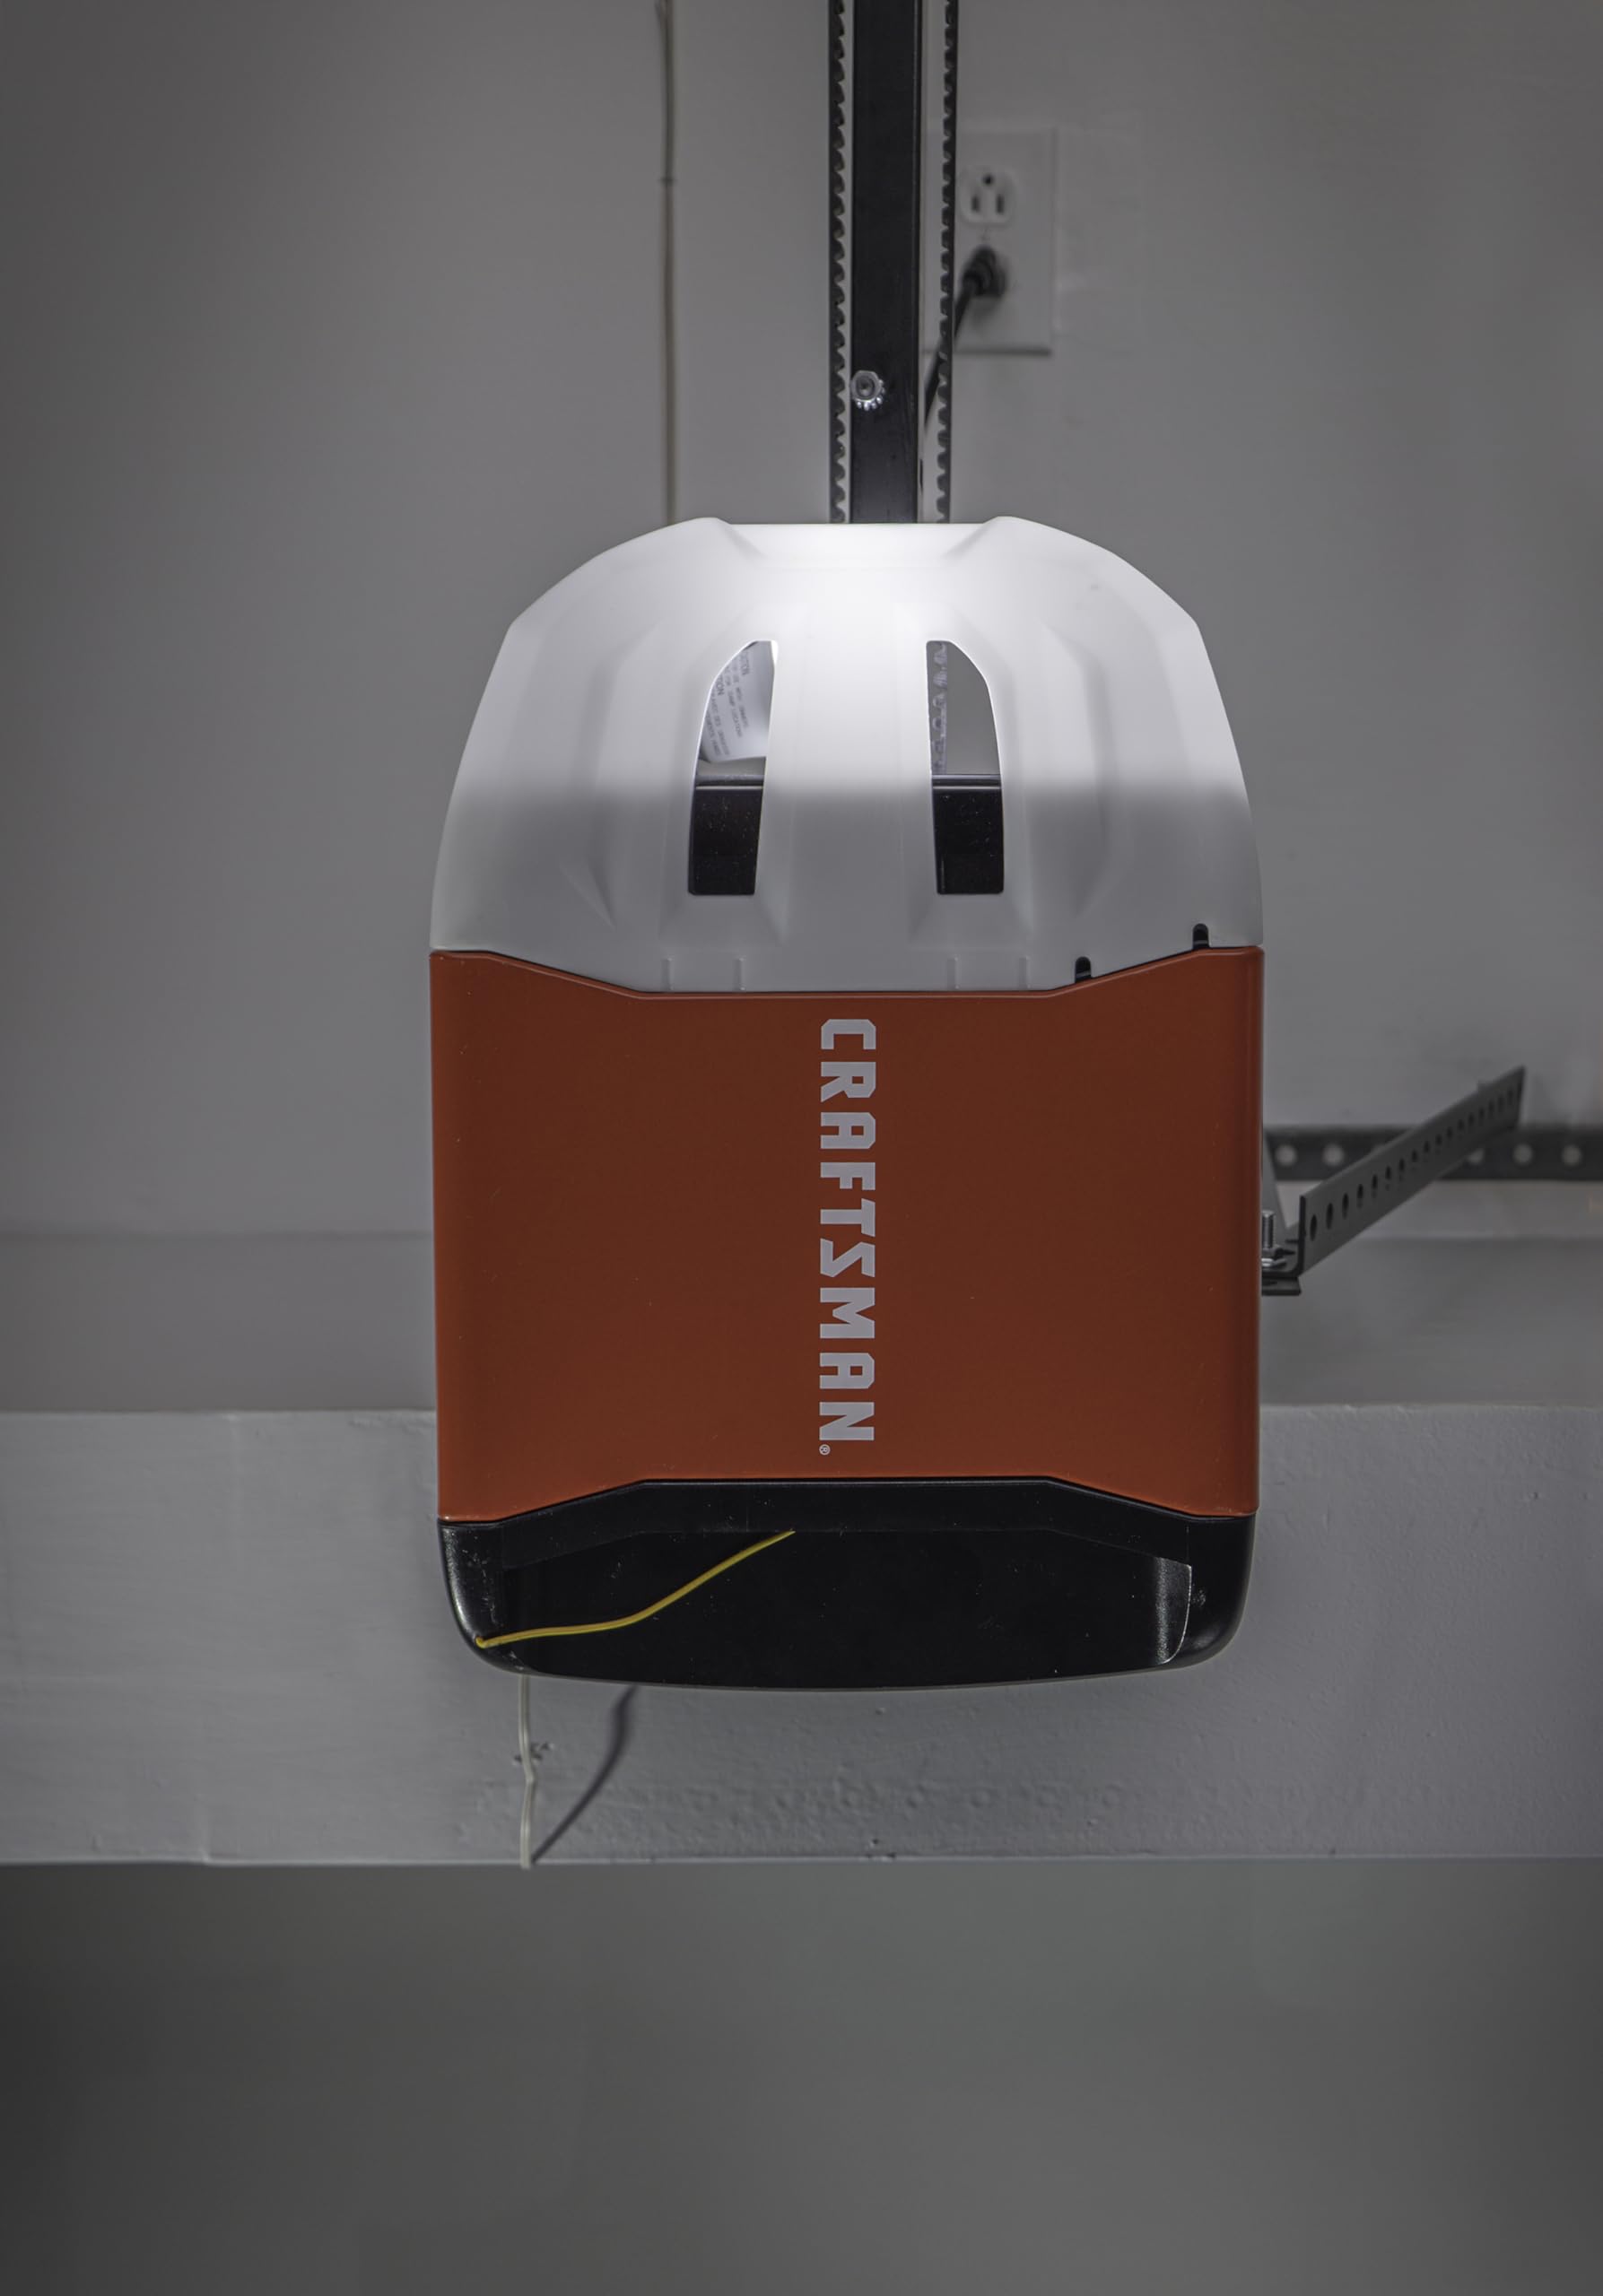
Image 3: Side view of the garage door opener installed, showing the rail and motor unit.
5. Operating Instructions
5.1 Using the 3-Button Remote Control
The included 3-button remote can be programmed to operate up to three garage door openers. It offers a range of up to 1,500 feet. To program the remote:
- Locate the 'Learn' button on your garage door opener head unit. This button is typically found near the wiring terminals or under the light cover.
- Press and release the 'Learn' button. The LED indicator will light up.
- Within 30 seconds, press and hold the desired button on your remote control until the opener's light flashes or you hear two clicks.
- Release the button. The remote is now programmed.
Note: This opener uses Security+ 2.0 technology, which is not natively compatible with older HomeLink systems without an additional bridge device.
5.2 Using the Standard Doorbell Wall Control
Press the large button on the wall control to open or close the garage door. Press the smaller button to turn the opener's light on or off.
5.3 Smartphone Control with myQ App
The opener features built-in Wi-Fi and Bluetooth for seamless integration with the myQ App. This allows you to monitor and control your garage door from anywhere.
- Download the myQ App from your device's app store.
- Create a myQ account or log in.
- Follow the in-app instructions to connect your garage door opener. The integrated Bluetooth technology simplifies the initial setup process.
- Once connected, you can open/close the door, receive real-time alerts, and manage access from your smartphone.
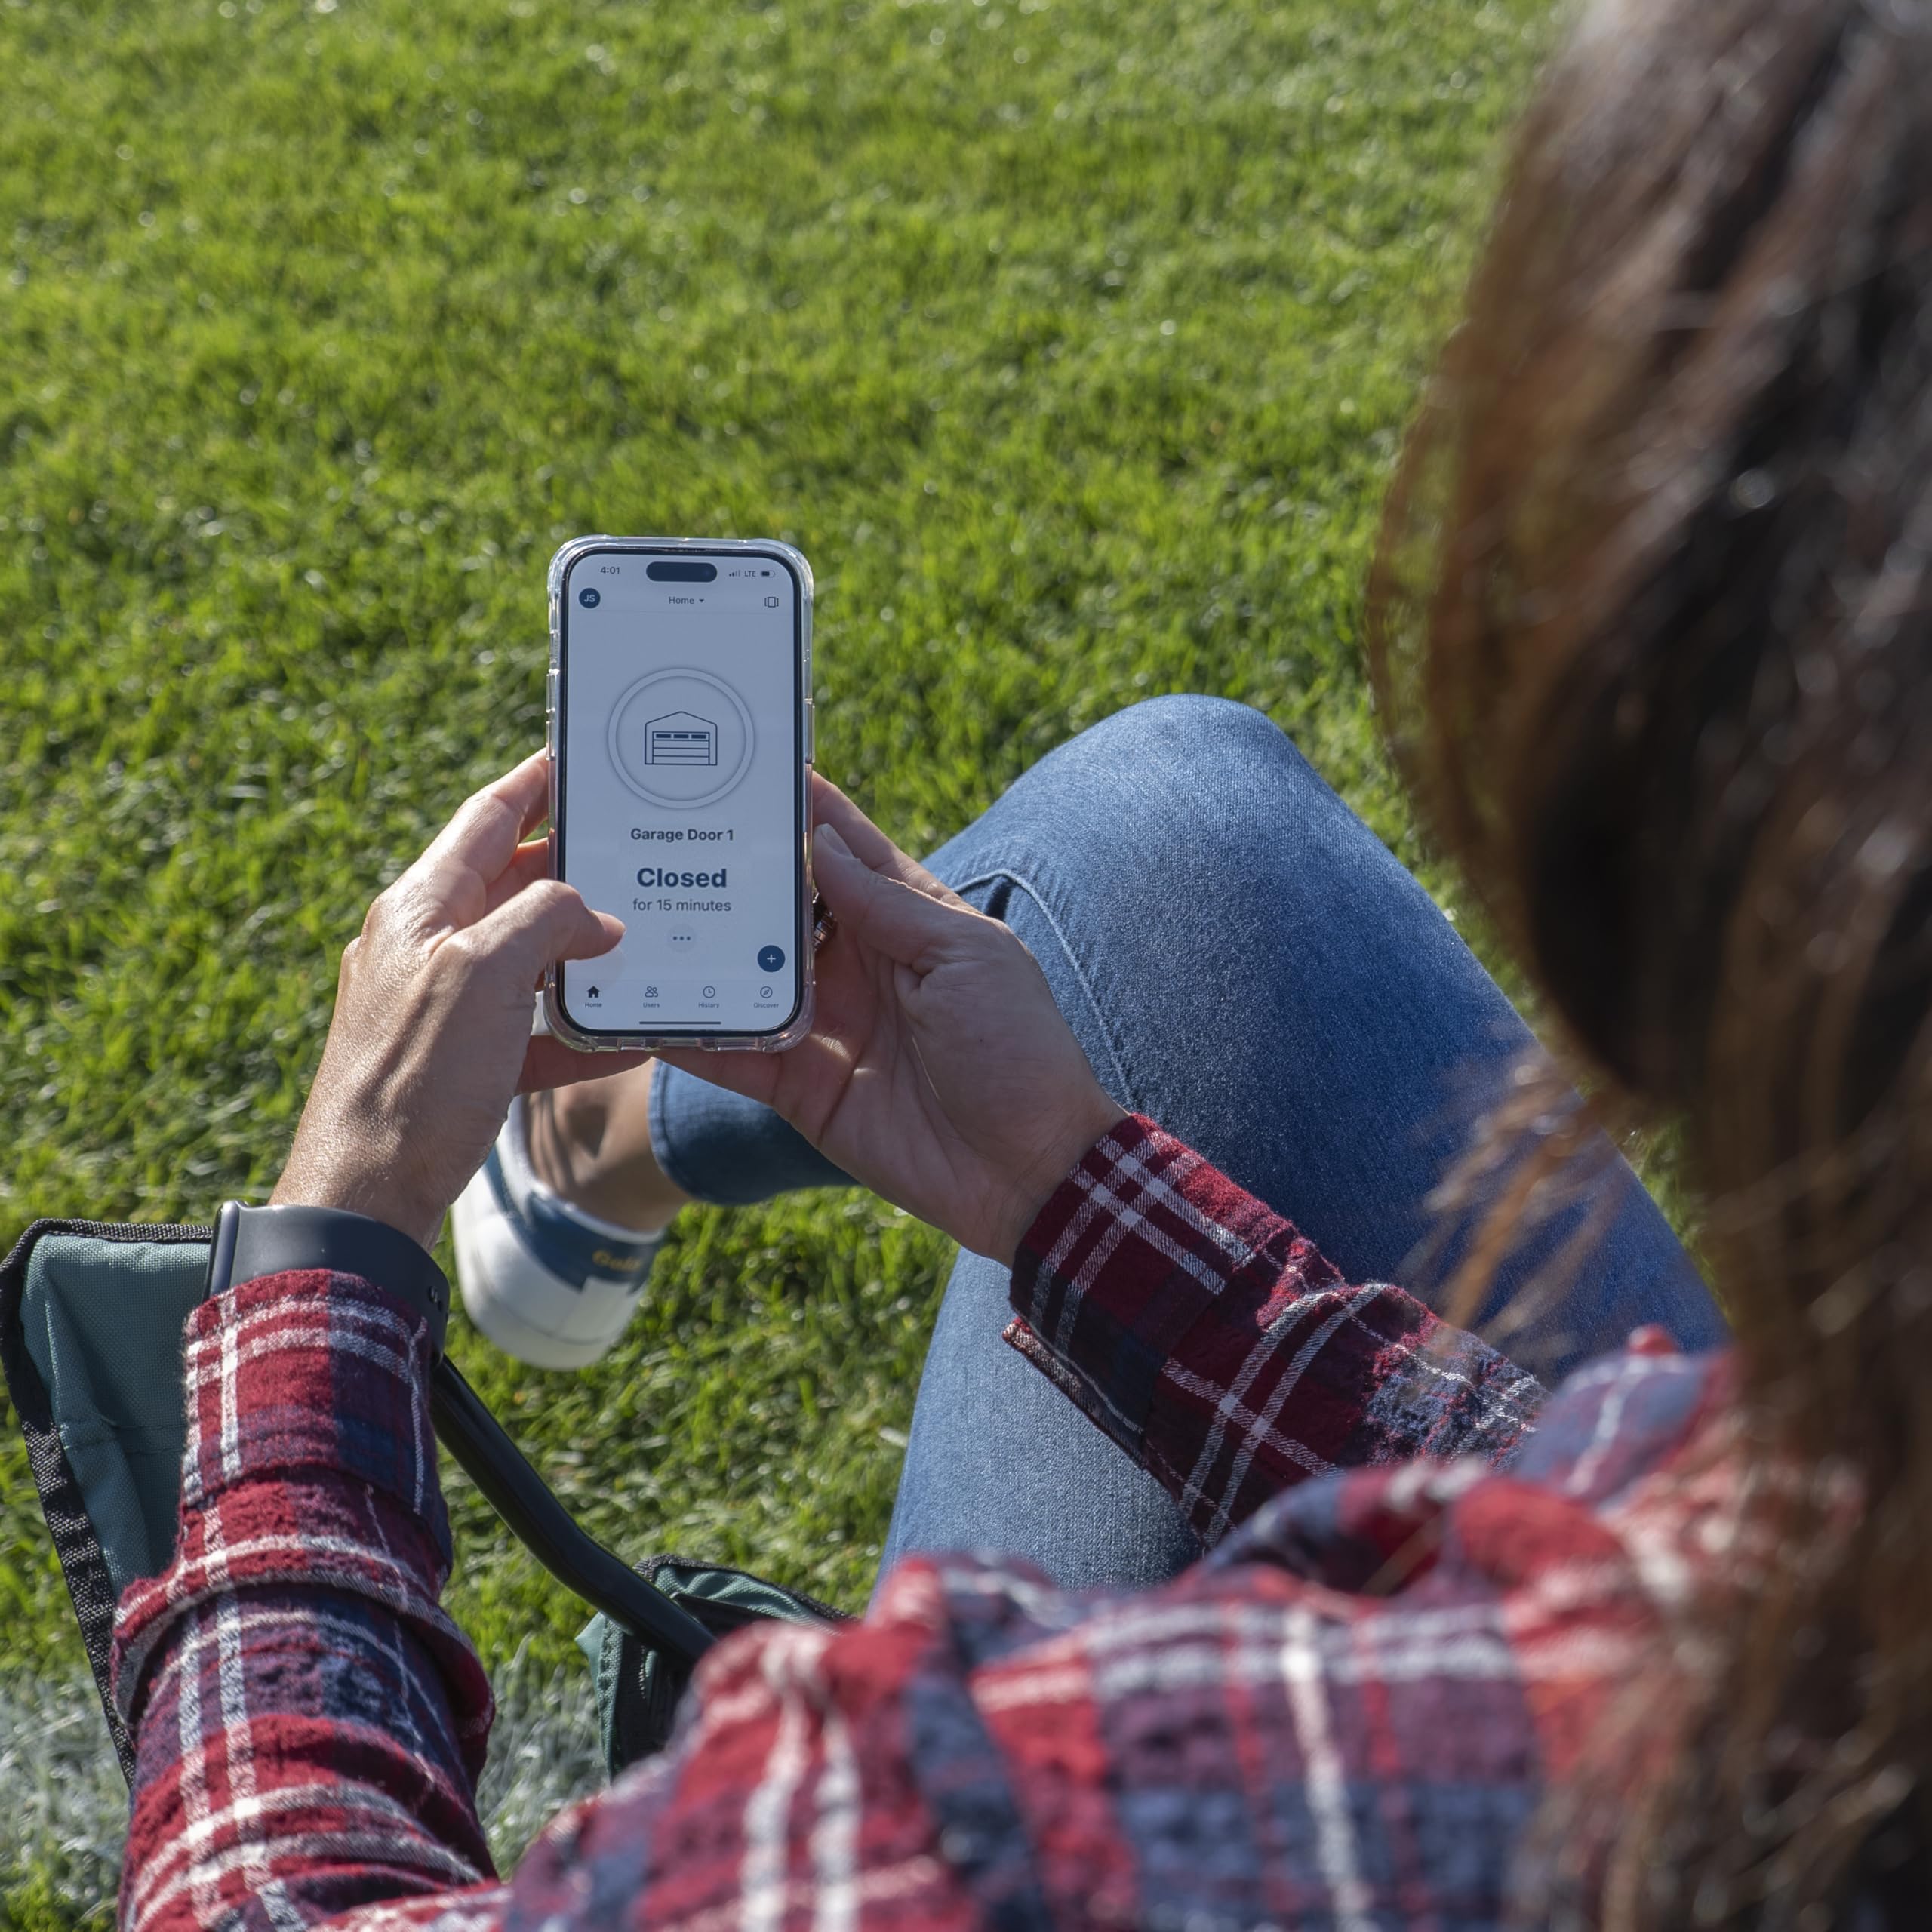
Image 4: A person operating the garage door using the myQ app on a smartphone.
6. Maintenance
Regular maintenance ensures optimal performance and longevity of your garage door opener.
- Monthly: Test the safety reversing sensors. Ensure the door reverses when the beam is interrupted.
- Monthly: Test the auto-reverse function by placing a 2x4 board flat on the floor in the door's path. The door should reverse upon contact.
- Annually: Inspect the belt drive for wear and tension. Adjust if necessary according to the main instruction manual.
- Annually: Lubricate rollers, hinges, and bearings with a garage door lubricant. Do not lubricate the belt.
- Periodically: Clean the safety sensor lenses to ensure clear operation.
7. Troubleshooting
Refer to the following table for common issues and their solutions:
| Problem | Possible Cause | Solution |
|---|---|---|
| Opener does not respond to remote/wall control. | No power; remote battery dead; remote not programmed; safety sensors obstructed. | Check power supply; replace remote battery; reprogram remote (see Section 5.1); clear sensor path. |
| Door reverses unexpectedly or does not close. | Safety sensors misaligned or obstructed; force settings too high/low. | Align sensors, clear obstructions; adjust force settings (refer to main manual). |
| Opener makes rattling or humming noise. | Loose components; motor mount vibration; track not rigid enough. | Inspect and tighten all fasteners; consider adding rubber shock absorbers to motor mount if vibration persists; ensure track sections are securely joined. |
| Trolley misaligns with door coupler. | Insufficient track rigidity; improper installation. | Ensure track sections are firmly bolted together, not just tab-connected; verify proper alignment during installation. |
| myQ App connectivity issues. | Wi-Fi signal weak; incorrect myQ setup. | Ensure strong Wi-Fi signal near opener; re-run myQ App setup process; check router settings. |
8. Specifications
- Model Number: CMXEOCG322
- Manufacturer: Chamberlain Group
- Lift Power: 1/2 HP
- Drive Type: Belt Drive
- Product Dimensions: 26.75 x 13.38 x 8.06 inches
- Item Weight: 35.4 pounds
- Connectivity: Integrated Wi-Fi, Bluetooth, myQ App compatible
- Security: Security+2.0
- Included Components: Opener, 3-Button Remote, Wall Control, Safety Sensors, Battery Backup
- Battery Type: Lead Acid (for backup)
9. Warranty Information
For detailed warranty information regarding your CRAFTSMAN 1/2-HP Smart Belt Drive Garage Door Opener, please refer to the official warranty documentation included with your product packaging or visit the CRAFTSMAN official website. Warranty terms typically cover specific components for a defined period from the date of purchase.
10. Support
If you encounter issues not covered in this manual or require further assistance, please contact CRAFTSMAN customer support. Contact information can typically be found on the manufacturer's website or in the documentation provided with your product.


