1. Important Safety Information
Please read and understand this entire manual before attempting to assemble, operate, or install the product. Failure to follow the instructions could result in electric shock, fire, or serious personal injury.
- Always disconnect power at the main circuit breaker before installation or maintenance.
- All electrical connections must be in accordance with local codes, ordinances, and the National Electric Code (NEC). If you are unfamiliar with proper electrical wiring connections, obtain the services of a qualified electrician.
- Ensure the installation site allows the fan blades to rotate without obstruction.
- Do not bend the fan blades when installing, balancing, or cleaning the fan.
- Keep hands, feet, and other objects clear of the rotating fan blades.
2. Package Contents
Verify that all parts are present before beginning assembly. If any part is missing or damaged, do not attempt to assemble or install the product.
- Fan body assembly
- Canopy
- Mounting Bracket
- Horn hood
- Downrod & Hanger ball (4 inch and 8 inch)
- Screws (various sizes)
- Lampshade sheets (4 pieces)
- Connecting pieces
- Remote control
- Instruction Manual

Image: All components included in the Asyko ceiling fan package.
3. Setup and Installation
Follow these steps for proper installation. For a visual guide, please refer to the installation video below.
3.1 Assembling the Outer Lampshade
- Carefully attach the four lampshade sheets to the fan body using the provided screws. Ensure they are securely fastened.
- Connect the lampshade sections with the connecting pieces, tightening all screws.

Image: Close-up view of fan blades, enhanced sturdier structure, and E26 light sockets.
3.2 Attaching the Downrod
- Select either the 4-inch or 8-inch downrod based on your ceiling height preference.
- Feed the fan wires through the chosen downrod.
- Secure the downrod to the fan body using the provided screws and pins.
3.3 Mounting Bracket and Wiring
- Install the mounting bracket to your ceiling junction box. Ensure it is securely fastened to a structural beam.
- Carefully lift the fan assembly and hang it from the mounting bracket.
- Connect the fan's electrical wires to your household wiring according to the wiring diagram in the full manual. Use wire nuts to secure connections.
3.4 Final Assembly
- Slide the canopy up to the ceiling, covering the mounting bracket and wiring. Secure it in place.
- Install four E26 base bulbs (not included) into the light sockets.
Installation Video Guide:
Video: Detailed step-by-step installation guide for the Asyko Caged Ceiling Fan.
4. Operating Instructions
Your Asyko ceiling fan is operated by the included remote control. Ensure the remote has working batteries.

Image: Remote control layout with buttons for fan speed, light, and timing functions.
4.1 Fan Speed Control
- Press the 'FAN OFF' button to turn the fan off.
- Press buttons '1' through '6' to select desired fan speed, from lowest (1) to highest (6).
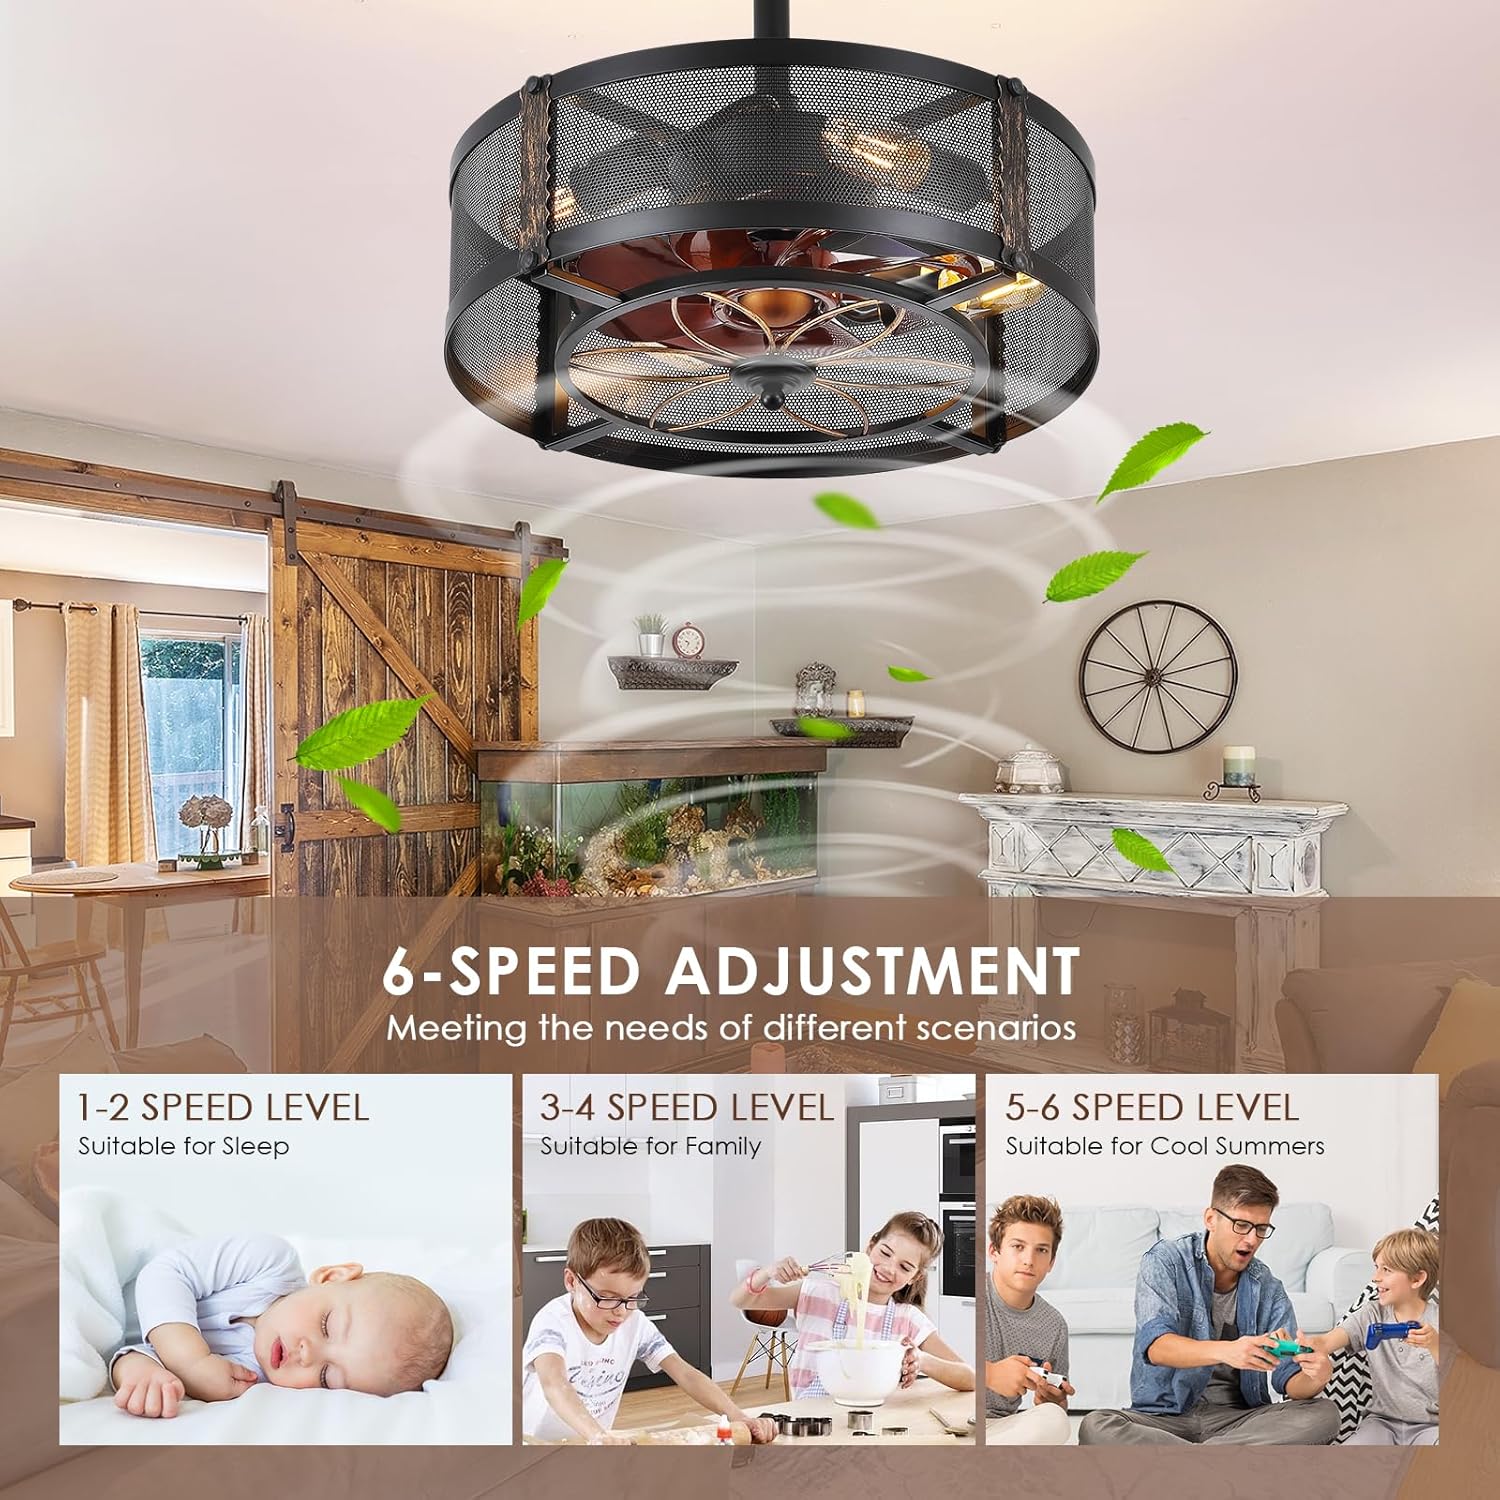
Image: Visual representation of 6-speed adjustment levels for various scenarios.
4.2 Light Control
- Press the 'LIGHT ON/OFF' button to toggle the light on or off.

Image: Demonstrates light modes: off, on, and on at night.
4.3 Timing Function
- Press '1H', '2H', or '4H' buttons to set the fan to automatically turn off after 1, 2, or 4 hours respectively.
4.4 Reversible Function (Seasonal Use)
- Press the 'R/F' button on the remote to change the direction of the fan blades.
- Summer Mode: Downward airflow provides a cooling breeze.
- Winter Mode: Upward airflow promotes air circulation, distributing warm air.
Operating Video Guide:
Video: Demonstrates the fan's low profile design, light operation, and fan speeds.
5. Maintenance
Regular maintenance ensures optimal performance and longevity of your ceiling fan.
- Cleaning: Use a soft, damp cloth to clean the fan. Do not use abrasive cleaners or solvents.
- Bulb Replacement: Ensure power is off before replacing bulbs. Use E26 standard sockets, maximum 40W per bulb.
- Regular Checks: Periodically check all screws and connections for tightness.
6. Troubleshooting
If you experience issues with your fan, refer to the following common problems and solutions.
| Problem | Possible Cause | Solution |
|---|---|---|
| Fan does not start | No power to the fan; Remote battery low/dead; Incorrect wiring. | Check circuit breaker; Replace remote battery; Verify wiring connections. |
| Fan is noisy | Loose screws; Unbalanced blades; Motor issue. | Tighten all screws; Check for balanced blades; Contact customer support if motor noise persists. |
| Remote not working | Remote battery low/dead; Remote not paired. | Replace remote battery; Refer to remote pairing instructions in the full manual. |
| Insufficient airflow | Incorrect blade direction (winter mode); Fan speed too low. | Switch to summer mode (downward airflow); Increase fan speed. |
7. Specifications
| Feature | Detail |
|---|---|
| Brand | Asyko |
| Model Name | A6631 |
| Color | Black-2 |
| Material | Metal |
| Product Dimensions | 15 x 8 x 10 inches |
| Item Weight | 10.78 pounds |
| Voltage | 110 Volts (AC) |
| Wattage | 40 Watts |
| Control Method | Remote Control |
| Number of Speeds | 6 |
| Down-rods Included | 4 inch and 8 inch |
| Bulb Base | E26 (Bulbs Not Included) |
8. Warranty and Support
Asyko is committed to providing high-quality products and excellent customer service.
- 12-Month Replacement: Asyko provides a 12-month replacement service for damaged parts.
- Lifetime Service Support: Enjoy lifetime service support for your farmhouse ceiling fan.
- Contact Us: If the fan has any quality defects or you have any questions, please feel free to contact our 24-online service team.


