1. Introduction
The AUTOUTLET OBD2 diagnostic tool is designed to assist with vehicle maintenance by quickly and accurately reading and clearing vehicle error codes. It helps users understand vehicle issues and take necessary repair actions, reducing the need for frequent workshop visits. This device provides clear and precise definitions for error codes, supports 10 languages, and is compatible with 99% of OBDII compliant vehicles manufactured from 1996 (US), 2000 (EU), and 2000 (Asia).
2. Safety Information
Please read and follow these safety precautions carefully before using the device:
- Ensure vehicle testing is performed in a safe environment.
- Do not connect or disconnect test equipment when the ignition is on or the engine is running.
- Place the gear selector in 'PARK' (automatic transmission) or 'NEUTRAL' (manual transmission) and ensure the parking brake is engaged.
- Keep the test tools dry, clean, and free from oil or grease. Use a mild detergent on a clean cloth to clean the exterior if necessary.
- Place wheel chocks in front of the drive wheels and never leave the vehicle unattended during testing.
- Keep clothing, hair, hands, tools, and test equipment away from all hot or moving engine parts.
3. Product Features
The AUTOUTLET OBD2 Diagnostic Code Reader offers the following key features:
- Professional OBD2 Diagnostic Tool: Quickly reads and clears vehicle error codes.
- DTC Definition Display & 10 Languages: Provides clear and precise definitions for error codes directly on the screen. Supports English, French, German, Dutch, Spanish, Chinese, Italian, Polish, Finnish, and Portuguese.
- Wide Compatibility: Supports 9 OBD protocols, compatible with 99% of OBDII compliant vehicles (US 1996+, EU 2000+, Asia 2000+).
- 9 OBD-II Protocols Supported:
- SAE J1850 PWM (41.6 Kbaud)
- SAE J1850 VPW (10.4 Kbaud)
- ISO9141-2 (5 baud init, 10.4 Kbaud)
- ISO14230-4 KWP (5 baud init, 10.4 kbaud)
- ISO14230-4 KWP (fast init, 10.4 kbaud)
- ISO15765-4 CAN (11 bit ID, 500 Kbaud)
- ISO15765-4 CAN (29bit ID, 500 Kbaud)
- ISO15765-4 CAN (11 bit ID, 250 Kbaud)
- ISO15765-4 CAN (29 bit ID, 251 Kbaud)
- Special Functions: Retrieves freeze frame data, vehicle information (VIN), turns off Check Engine Light, and checks I/M readiness for emissions testing.
4. Setup
Follow these steps to set up your AUTOUTLET OBD2 Diagnostic Code Reader:
- Locate the OBD-II Port: The 16-pin OBD-II Data Link Connector (DLC) is usually located under the dashboard on the driver's side. Refer to your vehicle's manual if you cannot find it.
- Connect the Device: Plug the diagnostic tool's 16-pin connector securely into the vehicle's OBD-II port.
- Turn on Ignition: Turn the vehicle's ignition to the ON position. The engine should be off. The device will power on automatically.
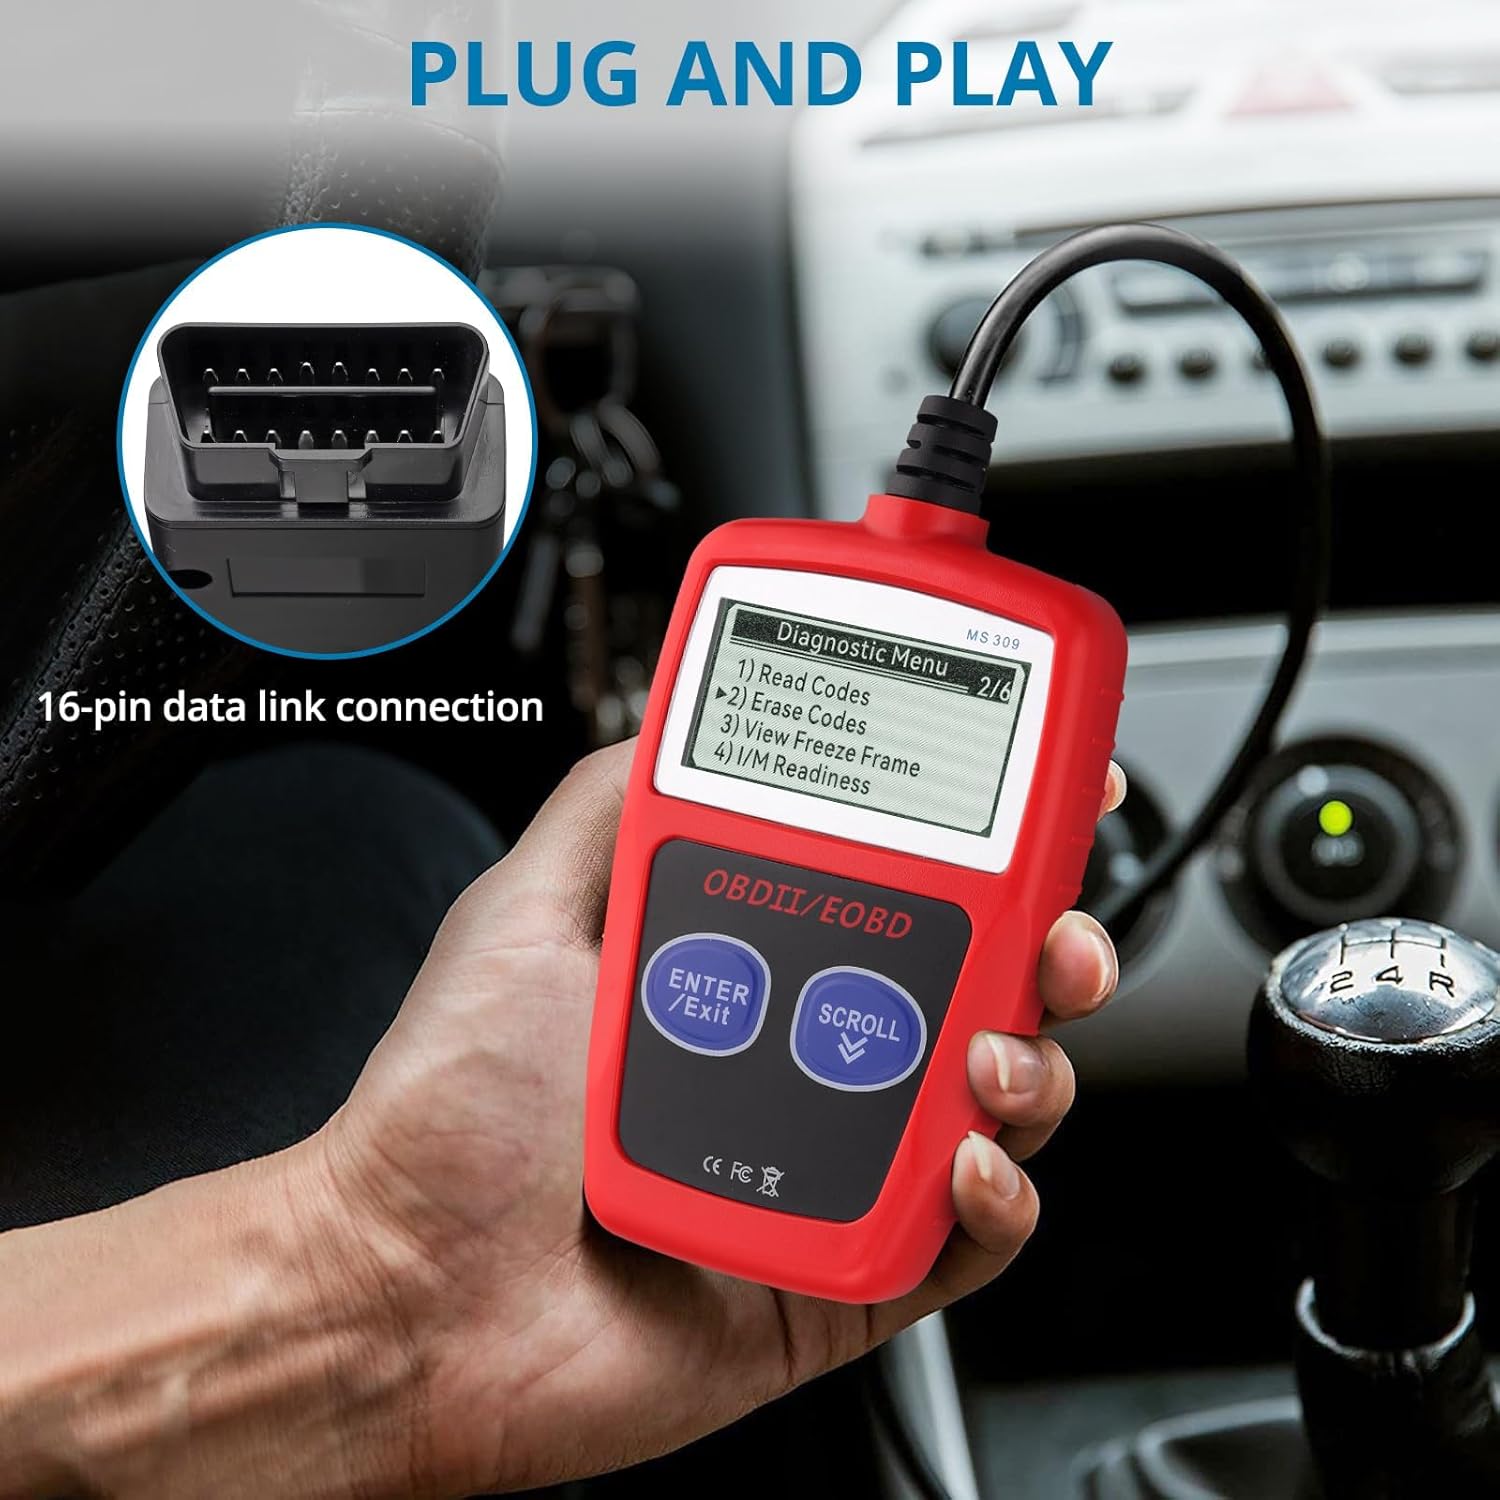
Image: The AUTOUTLET OBD2 Diagnostic Tool connected to a vehicle's 16-pin data link connector, illustrating the 'Plug and Play' functionality.
5. Operating Instructions
Once the device is set up, you can begin diagnosing your vehicle:
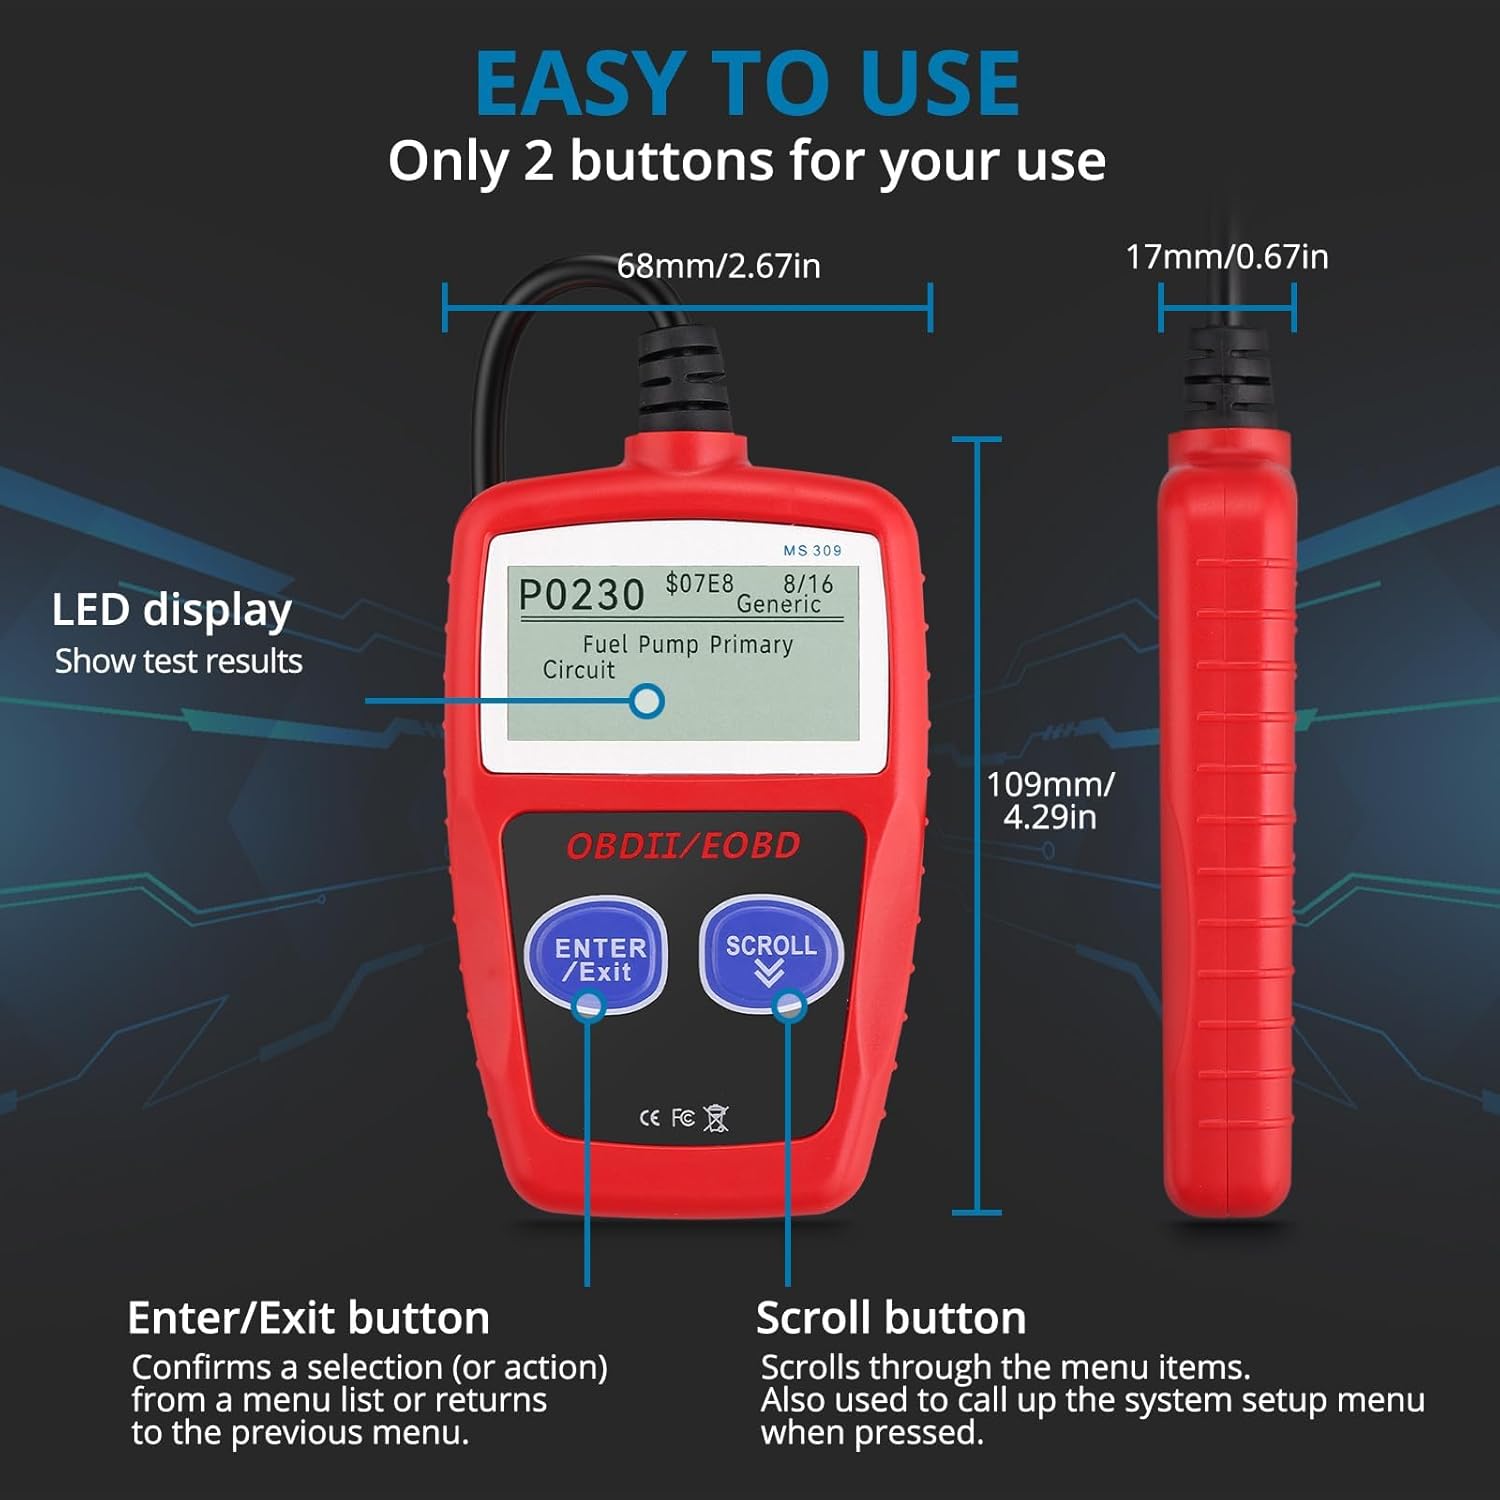
Image: The AUTOUTLET OBD2 Diagnostic Tool highlighting its LED display and the two primary control buttons: 'ENTER/Exit' and 'SCROLL'.
- Navigation: Use the ENTER/Exit button to confirm selections or return to the previous menu. Use the SCROLL button to move through menu items.
- Read Codes: From the main menu, select "Read Codes" to retrieve Diagnostic Trouble Codes (DTCs). The device will display the code and its definition on the screen.
- Erase Codes: After addressing the underlying issue, select "Erase Codes" to clear the DTCs and turn off the Check Engine Light.
- View Freeze Frame: Access "View Freeze Frame" to see vehicle parameters (e.g., engine RPM, vehicle speed, coolant temperature) recorded at the exact moment an emission-related fault occurred.
- I/M Readiness: Check "I/M Readiness" to determine if the vehicle's emission systems are ready for inspection. This is crucial for annual emissions tests.
- Vehicle Information: Retrieve important vehicle details such as the Vehicle Identification Number (VIN), Calibration ID, and Calibration Verification Number (CVN) from the "Vehicle Information" menu.

Image: A visual guide demonstrating the four main steps for using the diagnostic tool: switching on ignition, connecting to the DLC, waiting for the scan, and reading error codes.
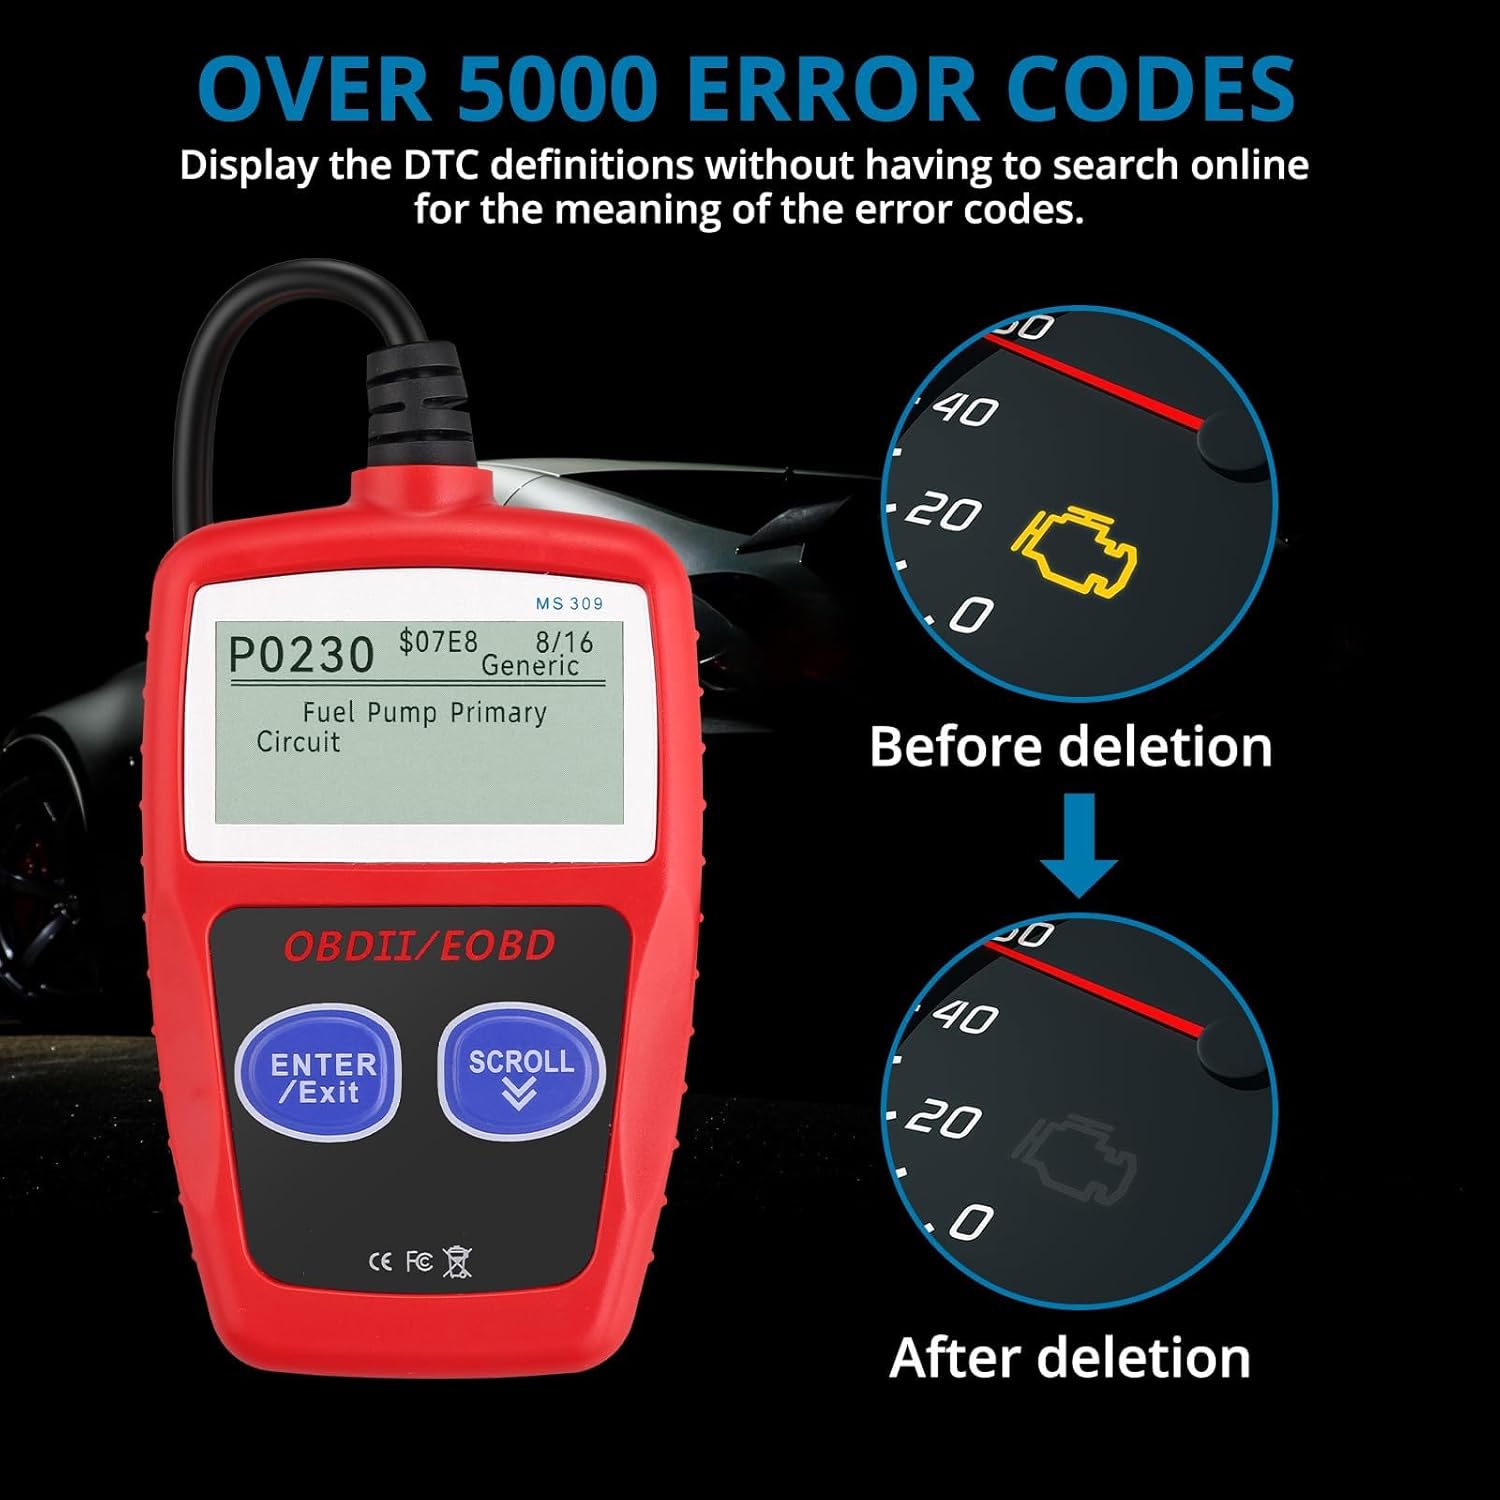
Image: The diagnostic tool displaying error code P0230 (Fuel Pump Primary Circuit), with a visual comparison of a check engine light being on before deletion and off after deletion.
6. Maintenance
To ensure the longevity and proper functioning of your AUTOUTLET OBD2 Diagnostic Code Reader, follow these maintenance guidelines:
- Cleaning: Keep the device clean and dry. Use a soft, damp cloth with a mild detergent to wipe the exterior. Avoid harsh chemicals or abrasive cleaners.
- Storage: Store the device in a safe place away from extreme temperatures, direct sunlight, and high humidity.
- Handling: Handle the device with care. Do not drop it or subject it to strong impacts.
- No Disassembly: Do not attempt to disassemble or repair the device yourself. This may void your warranty and cause damage.
7. Troubleshooting
If you encounter issues while using your diagnostic tool, refer to the following common problems and solutions:
- Device does not power on: Ensure the diagnostic tool's connector is securely plugged into the vehicle's OBD-II port. Verify that the vehicle's ignition is in the ON position. Check the vehicle's battery for sufficient power.
- Cannot connect to vehicle: Confirm that your vehicle is OBDII compliant. Ensure the ignition is ON and the engine is OFF. Try connecting to a different OBDII compliant vehicle to rule out a vehicle-specific issue.
- Cannot detect manufacturer-specific data (e.g., ABS, SAS, ESP, TPMS): This tool uses common international OBD protocols and is not designed to read manufacturer-specific, non-OBDII compliant data from systems like ABS, SAS, ESP, EPS, TPMS, gearbox, DPF, battery reset, oil service reset, EPB brake pad change, or accelerator throttle position.
- Not compatible with diesel cars or certain trucks: This tool supports 12V gasoline cars and light trucks. It is not compatible with diesel vehicles or other trucks that use different communication protocols.
- Function affected after vehicle modification or faulty OBD interface: If your vehicle has been modified or if you suspect a faulty OBD interface, the diagnostic function may be affected. Please contact customer support for further assistance.
8. Specifications
| Feature | Specification |
|---|---|
| Display | 2.4 inches, 128 x 64 pixels |
| Operating Temperature | 0°C to 60°C (32°F to 140°F) |
| Storage Temperature | -20°C to 70°C (-4°F to 158°F) |
| Power Supply | 5V to 18V via vehicle battery |
| Dimensions (L x W x H) | 105 x 70 x 20 mm (4.13 x 2.76 x 0.79 inches) |
| Net Weight | 121.5 g (0.27 lbs) |
| Supported Protocols | SAE J1850 PWM, SAE J1850 VPW, ISO9141-2, ISO14230-4 KWP (5 baud init), ISO14230-4 KWP (fast init), ISO15765-4 CAN (11 bit ID, 500 Kbaud), ISO15765-4 CAN (29bit ID, 500 Kbaud), ISO15765-4 CAN (11 bit ID, 250 Kbaud), ISO15765-4 CAN (29 bit ID, 251 Kbaud) |
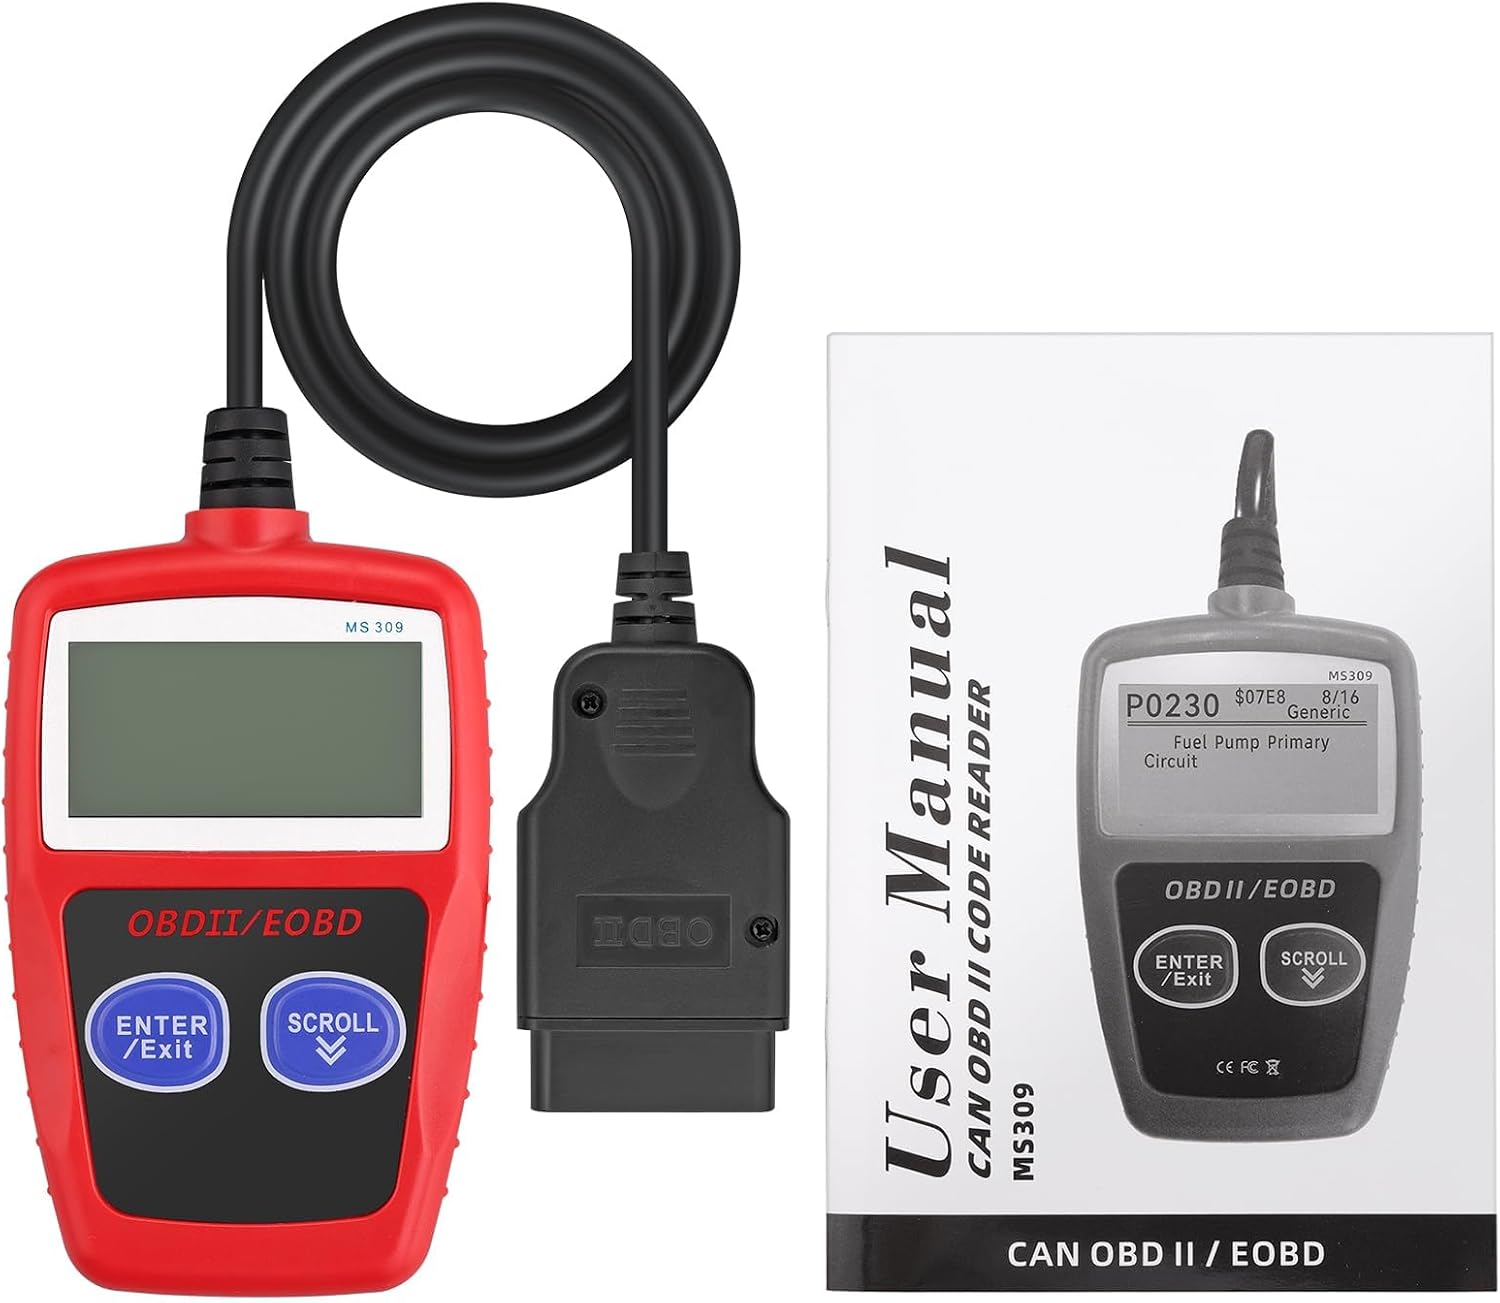
Image: The AUTOUTLET OBD2 Diagnostic Tool shown alongside its connecting cable and a physical user manual.
9. Warranty
AUTOUTLET products typically come with a standard manufacturer's warranty. For specific warranty details, duration, and terms, please refer to the product packaging or contact AUTOUTLET customer service directly. Keep your proof of purchase for warranty claims.
10. Support
For technical assistance, troubleshooting, or any product-related inquiries, please contact AUTOUTLET customer support. You can usually find contact information on the official AUTOUTLET website or through the retailer where you purchased the product. Please have your product model and purchase details ready when contacting support.