Bnineteenteam Bnineteenteam92mo3t5f8i
Electric Bicycle Battery Charging Plug & Port Socket User Manual
Model: Bnineteenteam92mo3t5f8i
1. Product Overview
This manual provides instructions for the installation, operation, and maintenance of the Bnineteenteam Electric Bicycle Battery Charging Plug and Port Socket. This product is designed to provide a reliable and efficient charging solution for electric bicycles.
Key features include:
- Easy Installation: Designed for straightforward setup without requiring professional assistance.
- Durable Material: Constructed from strong and wear-resistant plastic for long-term reliability.
- Compact Design: Lightweight and portable, suitable for various cycling needs.
- Waterproof Cover: Equipped with a waterproof cover to protect against harsh weather conditions.

Figure 1.1: Overview of the Electric Bicycle Battery Charging Plugs and Port Sockets.
2. Package Contents
Please verify that all items listed below are included in your package:
- 4 x Electric Bicycle Charging Port Socket
- 2 x Connection Cable
3. Setup and Installation
The charging plug and port socket are designed for easy installation. Follow these steps for proper setup:
- Identify Components: Separate the charging port sockets from the connection cables. Note the different types of sockets (e.g., orange and black, as shown in product images).
- Prepare Installation Area: Ensure the area on your electric bicycle where the charging port will be installed is clean and dry.
- Connect Wiring: Carefully connect the wires from the charging port socket to the corresponding wiring on your electric bicycle's battery system. Ensure correct polarity (red for positive, black for negative). If unsure, consult a qualified technician or your bicycle's wiring diagram.
- Secure the Socket: Mount the charging port socket securely in its designated location on the bicycle. Use appropriate fasteners if provided or required by your bicycle's design.
- Attach Connection Cable: If using the provided connection cables, attach them firmly to the charging port socket.
- Waterproof Cover: Ensure the waterproof cover is properly seated over the charging port when not in use to prevent moisture and debris ingress.

Figure 3.1: Detail of a charging plug, showing wire connections.
4. Operating Instructions
Using the electric bicycle charging port is straightforward:
- Access the Port: Open the waterproof cover of the charging port.
- Connect Charger: Insert your electric bicycle's charger plug into the charging port socket. Ensure a firm and secure connection.
- Charge Battery: Follow the instructions provided with your electric bicycle's battery charger for the charging process.
- Disconnect Charger: Once charging is complete, carefully disconnect the charger plug from the port.
- Close Waterproof Cover: Immediately close the waterproof cover over the charging port to protect it from environmental elements.
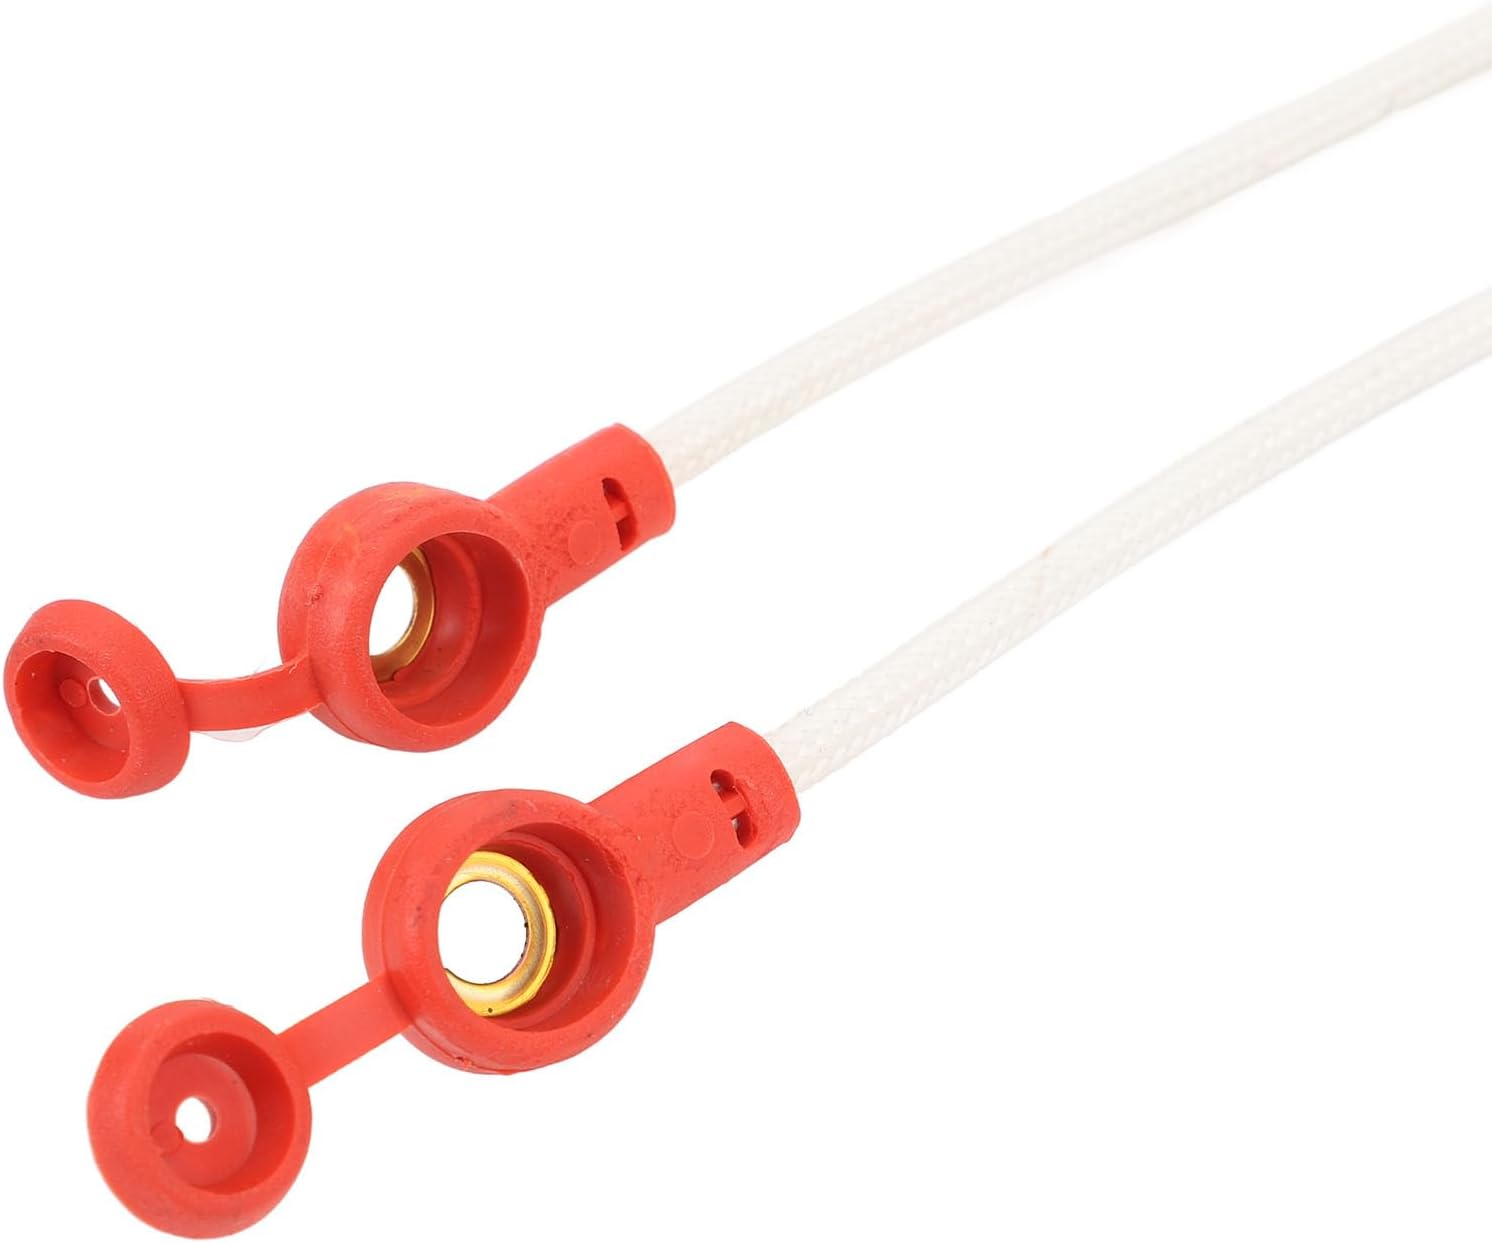
Figure 4.1: Waterproof covers for the charging ports.
5. Maintenance and Care
To ensure the longevity and optimal performance of your charging plug and port socket, follow these maintenance guidelines:
- Regular Cleaning: Periodically wipe the charging port and plug with a clean, dry cloth to remove dust and dirt. Avoid using abrasive cleaners or solvents.
- Inspect for Damage: Regularly check the plastic housing, wires, and waterproof cover for any signs of wear, cracks, or damage. Replace components if significant damage is observed.
- Waterproof Cover: Always ensure the waterproof cover is securely closed when the port is not in use to prevent water and debris from entering.
- Storage: If storing your electric bicycle for an extended period, ensure the charging port is clean, dry, and covered.
6. Troubleshooting
If you encounter issues with your charging plug or port socket, consider the following common solutions:
- No Charging:
- Ensure the charger is properly connected to both the wall outlet and the bicycle's charging port.
- Check the charger's indicator lights to confirm it is receiving power and functioning correctly.
- Inspect the charging port and plug for any visible damage or debris obstructing the connection.
- Loose Connection:
- Ensure the plug is fully inserted into the socket.
- Check for any bent pins or foreign objects within the port or plug.
- Water Ingress:
- Verify that the waterproof cover is always securely closed when the port is not in use.
- If water has entered, disconnect power immediately and allow the port to dry completely before use.
If problems persist after attempting these steps, please contact customer support.
7. Specifications
| Feature | Detail |
|---|---|
| Item Type | Electric Bicycle Charging Port Socket |
| Material | Plastic |
| Weight | Approx. 115 g / 4.1 oz |
| Model Number | Bnineteenteam92mo3t5f8i |
| Package Dimensions | 26 x 14 x 3 cm |
| Origin | China |
8. Warranty and Support
This product comes with a standard manufacturer's warranty. For specific warranty terms and conditions, please refer to the documentation provided with your purchase or contact the seller directly.
For technical support, troubleshooting assistance, or inquiries regarding replacement parts, please contact Bnineteenteam customer service through their official channels or the retailer from whom you purchased the product.
Please retain your proof of purchase for warranty claims.
no relevant documents