1. Introduction
This manual provides comprehensive instructions for the safe and efficient operation, maintenance, and troubleshooting of your new Cordless Automatic Robotic Pool Cleaner. Please read this manual thoroughly before initial use and retain it for future reference.
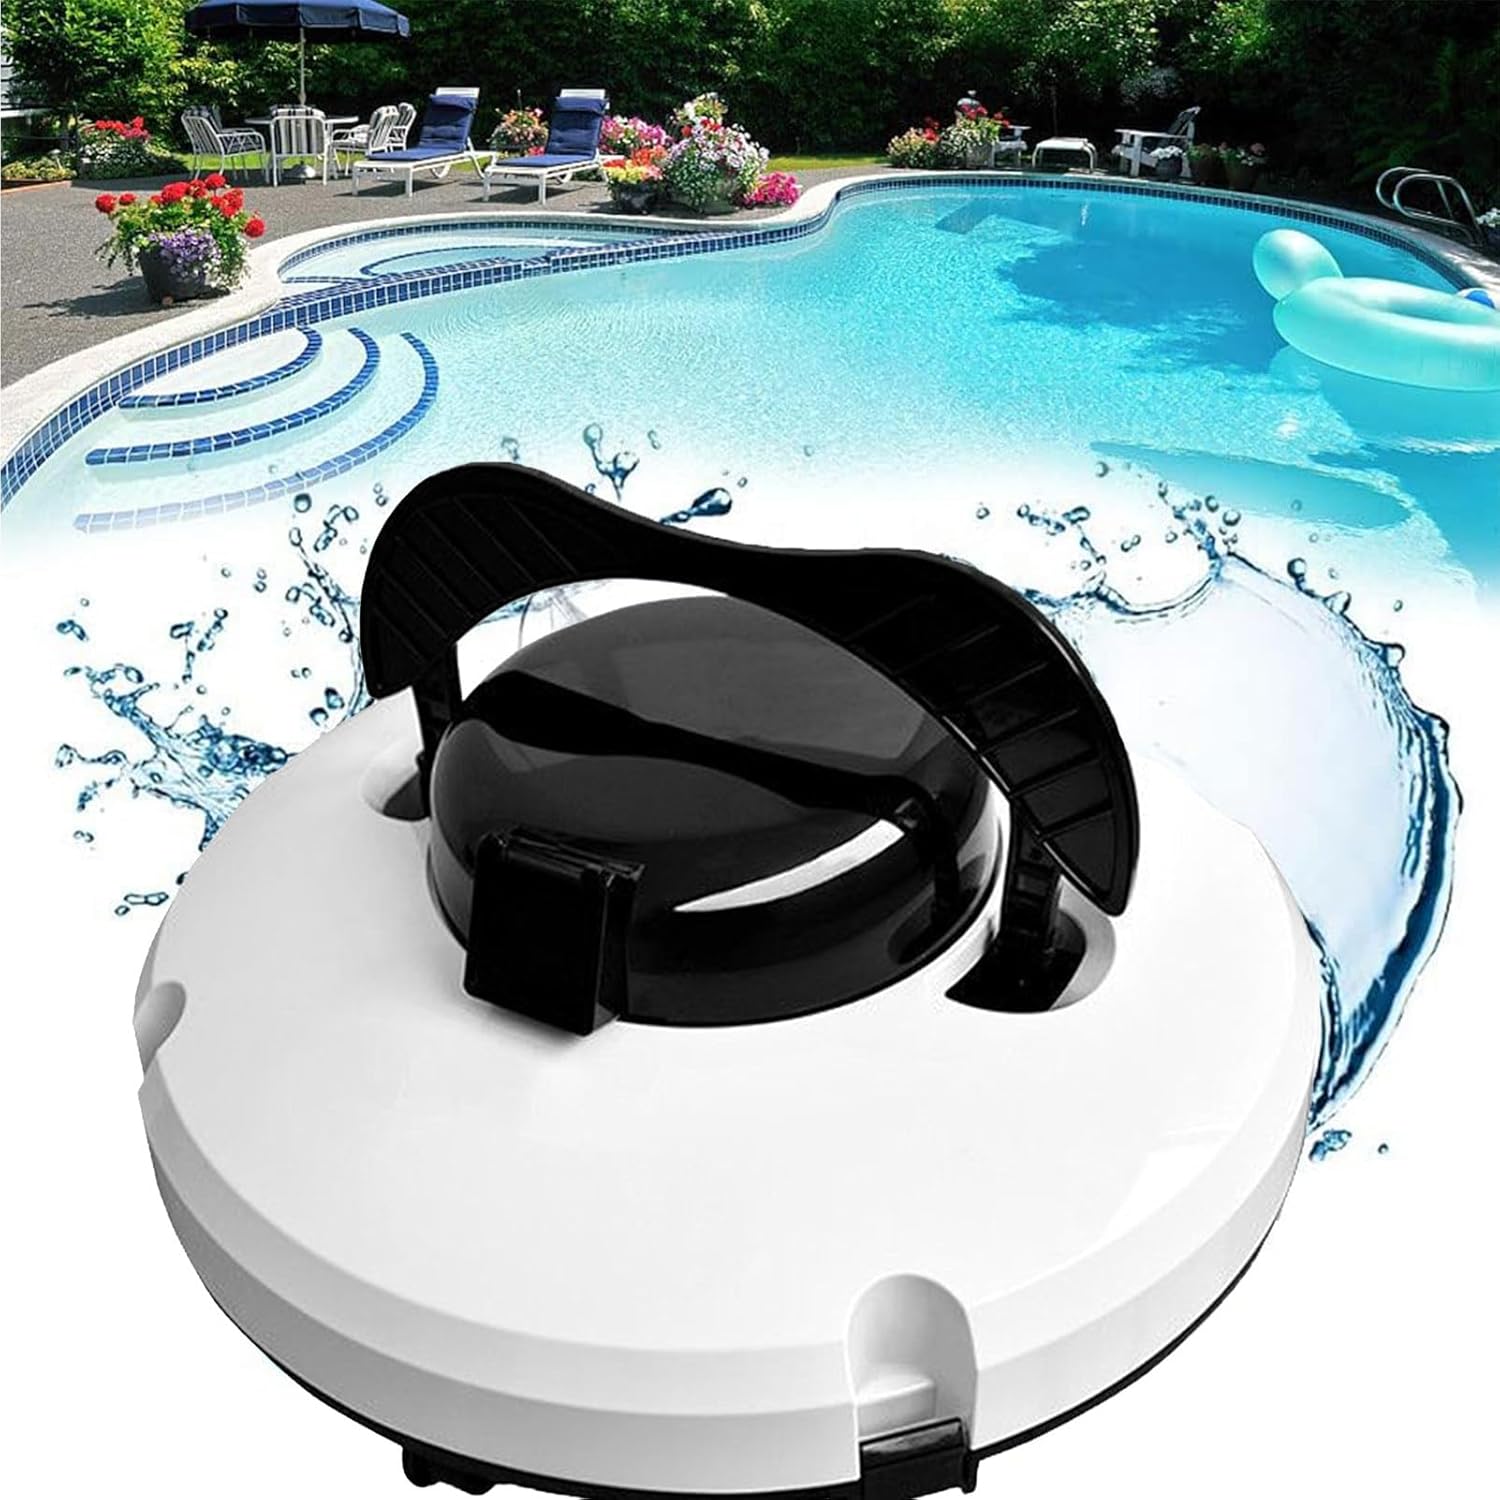
Figure 1: The Cordless Automatic Robotic Pool Cleaner in a pool environment.
2. Safety Precautions
Adhering to these safety guidelines is crucial for preventing damage to the unit and ensuring user safety:
- Charging Pin Care: After each use, ensure the charging pin is completely dry using a paper towel or cotton swab. Allow the unit to air dry for several minutes before connecting to the charger.
- Immediate Submersion: Place the pool cleaner into the water immediately after switching it on. Delaying submersion will cause the unit to beep.
- Power Off When Out of Water: Always turn off the power switch when the cleaner is not in the water. This protects the internal battery and motor from damage.
- Charging Environment: Charge the pool cleaner in a cool, well-ventilated area. Do not cover the unit during charging, as this can lead to overheating and damage to electrical components.
- Avoid Stairs: Do not use the pool cleaner to clean pool stairs. The unit is designed for flat pool surfaces and may be damaged by uneven surfaces or steps.

Figure 2: The cleaner automatically stops and signals low battery for easy retrieval.
3. Product Features
Your Cordless Automatic Robotic Pool Cleaner is engineered with advanced features for superior pool cleaning:
- Cordless Operation: Provides unrestricted movement and eliminates tangled cords.
- Advanced Debris Cleaning System: Equipped with double powerful motors and two debris suction holes for thorough cleaning.
- Ultra-Fine Filter: Features an upgraded 180 micron filter density for capturing fine particles.
- Extended Working Time: Offers approximately 120 minutes of continuous cleaning on a single charge.
- Efficient Mobility: Utilizes 4 travelling wheels suitable for various swimming pool surfaces.
- Large Filter Canister: An extra-large, easy-to-clean filter canister simplifies maintenance.
- Automatic Retrieval: Automatically pulls over to the edge when the battery is low, making retrieval and recharging convenient.
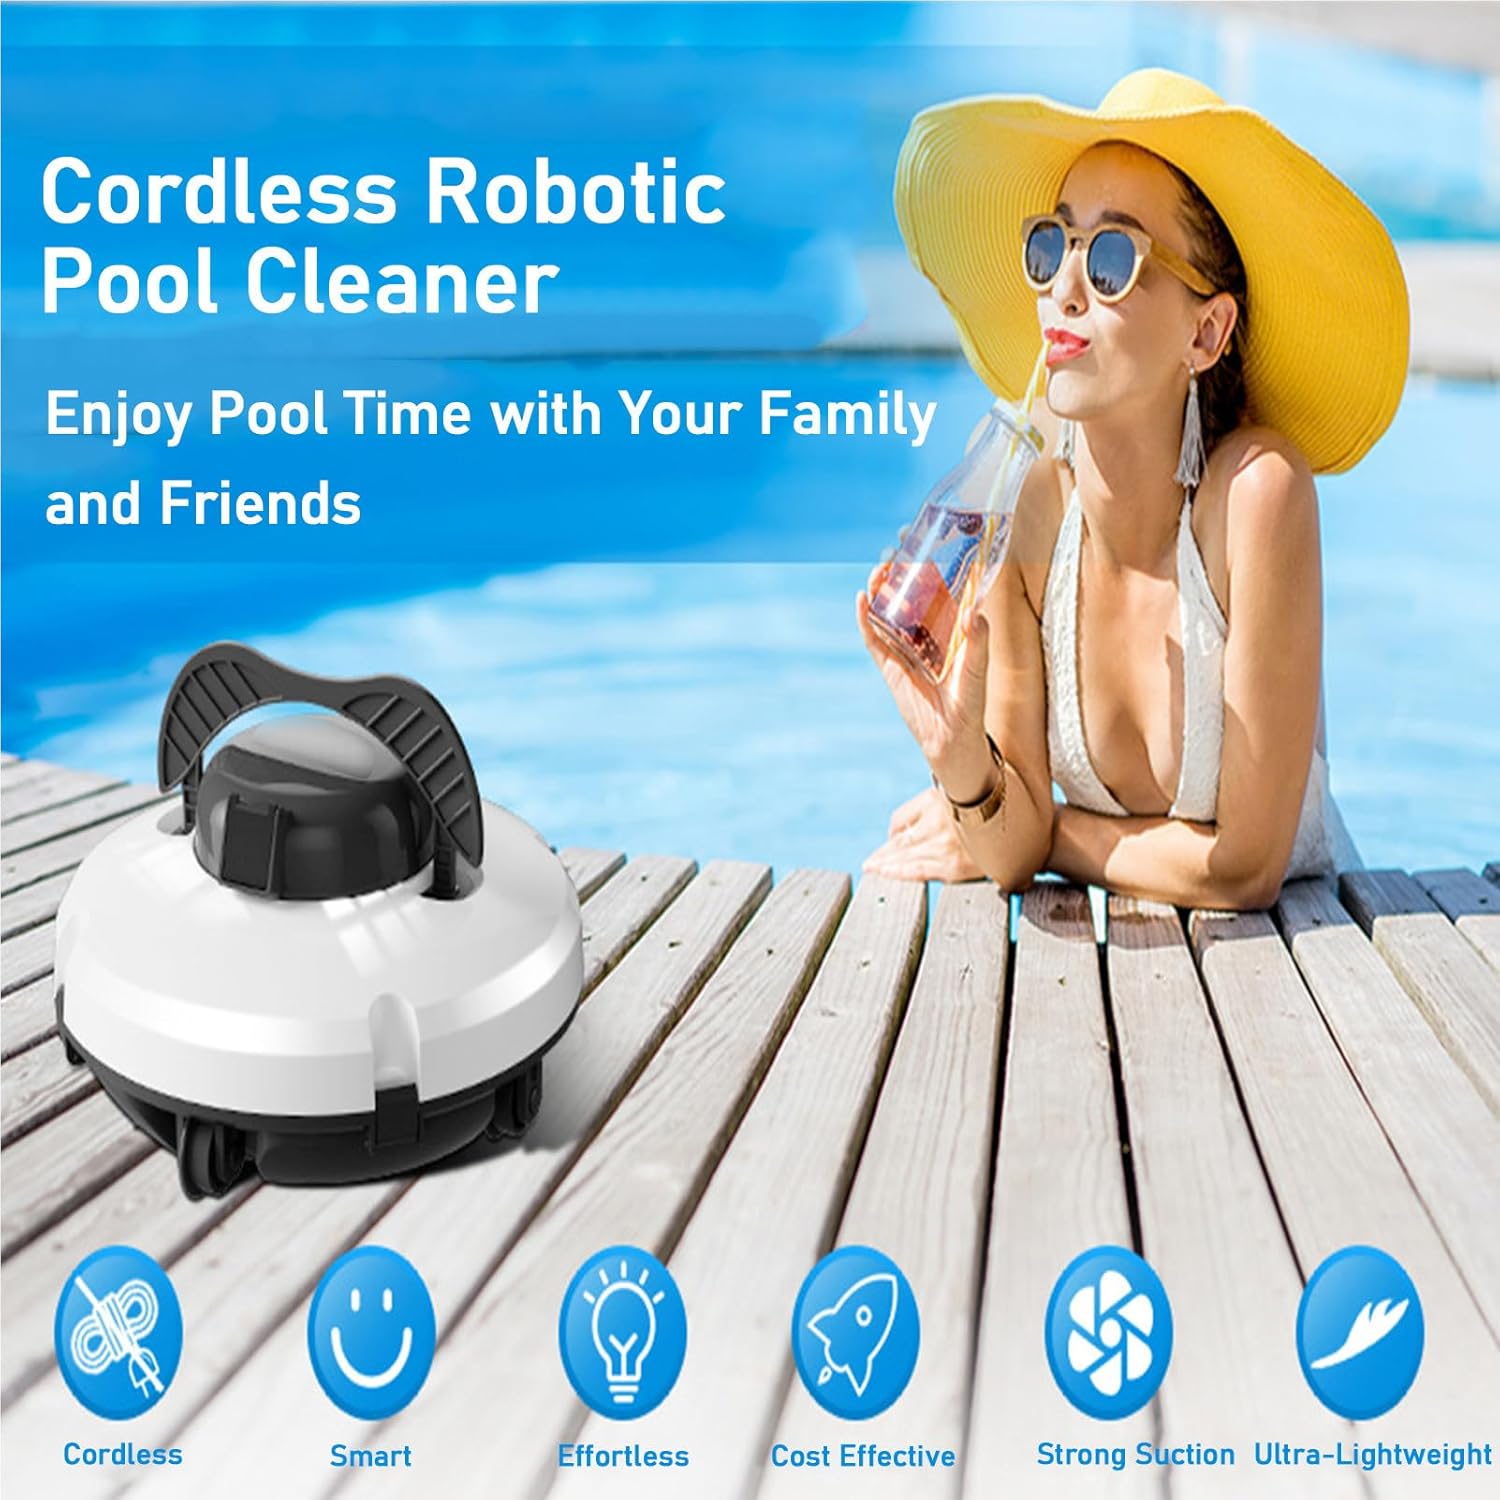
Figure 3: Key features of the robotic pool cleaner.

Figure 4: The advanced debris cleaning system with dual motors and suction holes.
4. Components and Structure
Familiarize yourself with the main components of your pool cleaner:
- Main Unit Body: Houses the motors, battery, and control system.
- Filter Canister: Collects debris and is easily removable for cleaning.
- Charging Port: Located on the unit for connecting the charger.
- Power Switch: Controls the unit's power.
- Travelling Wheels: Four wheels for movement across pool surfaces.
- Blade Brushes: Two brushes for scrubbing pool surfaces.
- Retrieval Hook Handle: A handle designed for easy lifting of the unit from the pool.

Figure 5: Details of the larger debris inlet and the 4 travelling wheels.
5. Setup and Charging
- Initial Charge: Before first use, fully charge the pool cleaner. Connect the charger to the unit's charging port and plug it into a power outlet. The charging time is approximately 4-5 hours.
- Charging Environment: Ensure the unit is in a cool, dry place during charging. Do not cover the unit.
- Post-Use Drying: After each cleaning cycle, dry the charging pin thoroughly before recharging to prevent corrosion.
6. Operating Instructions
- Power On: Locate the power switch on the unit and turn it to the "ON" position.
- Submersion: Immediately after powering on, gently place the pool cleaner into the water. Ensure it is fully submerged.
- Cleaning Cycle: The cleaner will begin its automatic cleaning cycle, navigating the pool floor. The work cycle is approximately 120 minutes.
- Automatic Stop: When the battery is low, the cleaner will automatically move to the edge of the pool and stop, indicating it's ready for retrieval and recharging.
- Retrieval: Use the retrieval hook handle to carefully lift the cleaner out of the pool.
- Power Off: Once retrieved, turn the power switch to the "OFF" position before performing any maintenance or charging.

Figure 6: The cleaner is equipped with a retrieval hook for easy access from the pool.
7. Maintenance
Regular maintenance ensures optimal performance and longevity of your pool cleaner:
- Filter Cleaning: After each use, remove the filter canister and empty collected debris. Rinse the filter thoroughly with clean water. The filter is designed for easy cleaning.
- Unit Cleaning: Wipe down the exterior of the cleaner with a soft, damp cloth. Do not use harsh chemicals or abrasive materials.
- Charging Port Drying: Always dry the charging pin and port completely before charging.
- Storage: When not in use for extended periods, store the cleaner in a cool, dry place, away from direct sunlight and extreme temperatures. Ensure the battery is partially charged (around 50%) before long-term storage.
8. Troubleshooting
| Problem | Possible Cause | Solution |
|---|---|---|
| Cleaner beeps immediately after turning on. | Not submerged in water quickly enough. | Turn off the unit, then turn it on and immediately place it into the pool. |
| Cleaner does not move or stops prematurely. | Low battery; Obstruction; Filter full. | Recharge the unit; Check for and remove any obstructions; Clean the filter canister. |
| Poor cleaning performance. | Filter is dirty or clogged. | Clean the filter canister thoroughly. |
| Unit does not charge. | Charging pin is wet; Charger not properly connected; Faulty charger/battery. | Ensure charging pin is dry; Check all connections; Contact customer support if issue persists. |
9. Specifications
| Specification | Value |
|---|---|
| Work Cycle | Approx. 120 Minutes |
| Battery Capacity | 5200mAh |
| Charging Time | 4-5 hours |
| Maximum Cleaning Area | 100 Square Metres (approx. 1076 Square Feet) |
| Filter Density | 180 Micron |
| IP Rating | IPX8 |
| Maximum Water Depth | 3 Metres |
| Dimensions | 36 x 36 x 18 Cm |
| Weight | 4kg |
10. Warranty and Support
For any questions, concerns, or technical support regarding your Cordless Automatic Robotic Pool Cleaner, please contact our customer service team. We are committed to providing the best service and will reply to your inquiries as soon as possible.
Please refer to your purchase documentation for specific warranty terms and contact information.