1. Introduction
This manual provides essential instructions for the safe assembly, operation, and maintenance of your Twinky Evolutionary High Chair, Model C8. Please read this manual thoroughly before use and retain it for future reference. This high chair is designed for children from 0 to 36 months.
2. Safety Information
WARNING: Failure to follow these warnings and instructions could result in serious injury or death.
- Always use the safety harness. Ensure your child is securely fastened in the 5-point harness at all times.
- Never leave the child unattended.
- Always use the restraint system. Ensure it is correctly fitted and adjusted.
- Do not use the high chair if any part is broken, torn, or missing.
- Keep children away from the product during assembly and disassembly.
- Ensure all locking devices are engaged before use.
- Do not use accessories or replacement parts other than those approved by the manufacturer.
- Be aware of the risk of open fires and other sources of strong heat, such as electric bar fires, gas fires, etc., in the near vicinity of the high chair.
- Be aware of the risk of tilting if your child pushes against the table with their feet.
3. Product Components
Before assembly, verify that all components are present and undamaged. Refer to the image below for a visual guide to the included parts.

Figure 3.1: Included Components. This image displays all parts of the Twinky high chair: Wheels (4), Floor Protectors (4), Seat Unit, Seat Cushion, Footrest, Dining Table, Play Table, Play Set, Chair Legs, and Safety Straps. Ensure all items are present before proceeding with assembly.
- Wheels: For easy mobility.
- Floor Protectors: For use when wheels are removed, to prevent floor scratches.
- Seat Unit & Cushion: The main seating area for the child.
- Footrest: Provides support for the child's feet.
- Dining Table: Main tray for meals.
- Play Table: Smaller, removable tray for play.
- Play Set: Attachable toy for entertainment.
- Chair Legs: Structural support for the high chair.
- Straps: 5-point safety harness.
4. Assembly and Setup
The Twinky high chair is designed for straightforward assembly. Follow these general steps:
- Attach Legs: Securely connect the chair legs to the main seat unit. Ensure they click into place.
- Install Wheels or Floor Protectors: Decide whether to use the wheels for mobility or the floor protectors for a stationary setup. Insert them firmly into the bottom of the chair legs.
- Attach Footrest: Slide the footrest into its designated slots on the chair frame.
- Insert Seat Cushion: Place the seat cushion into the seat unit.
- Attach Tray: Slide the dining table or play table onto the chair's front attachment points until it locks securely.
- Adjust Height: The high chair offers two height settings. To adjust, locate the height adjustment mechanisms on the legs and follow the instructions to switch between the high and low configurations.
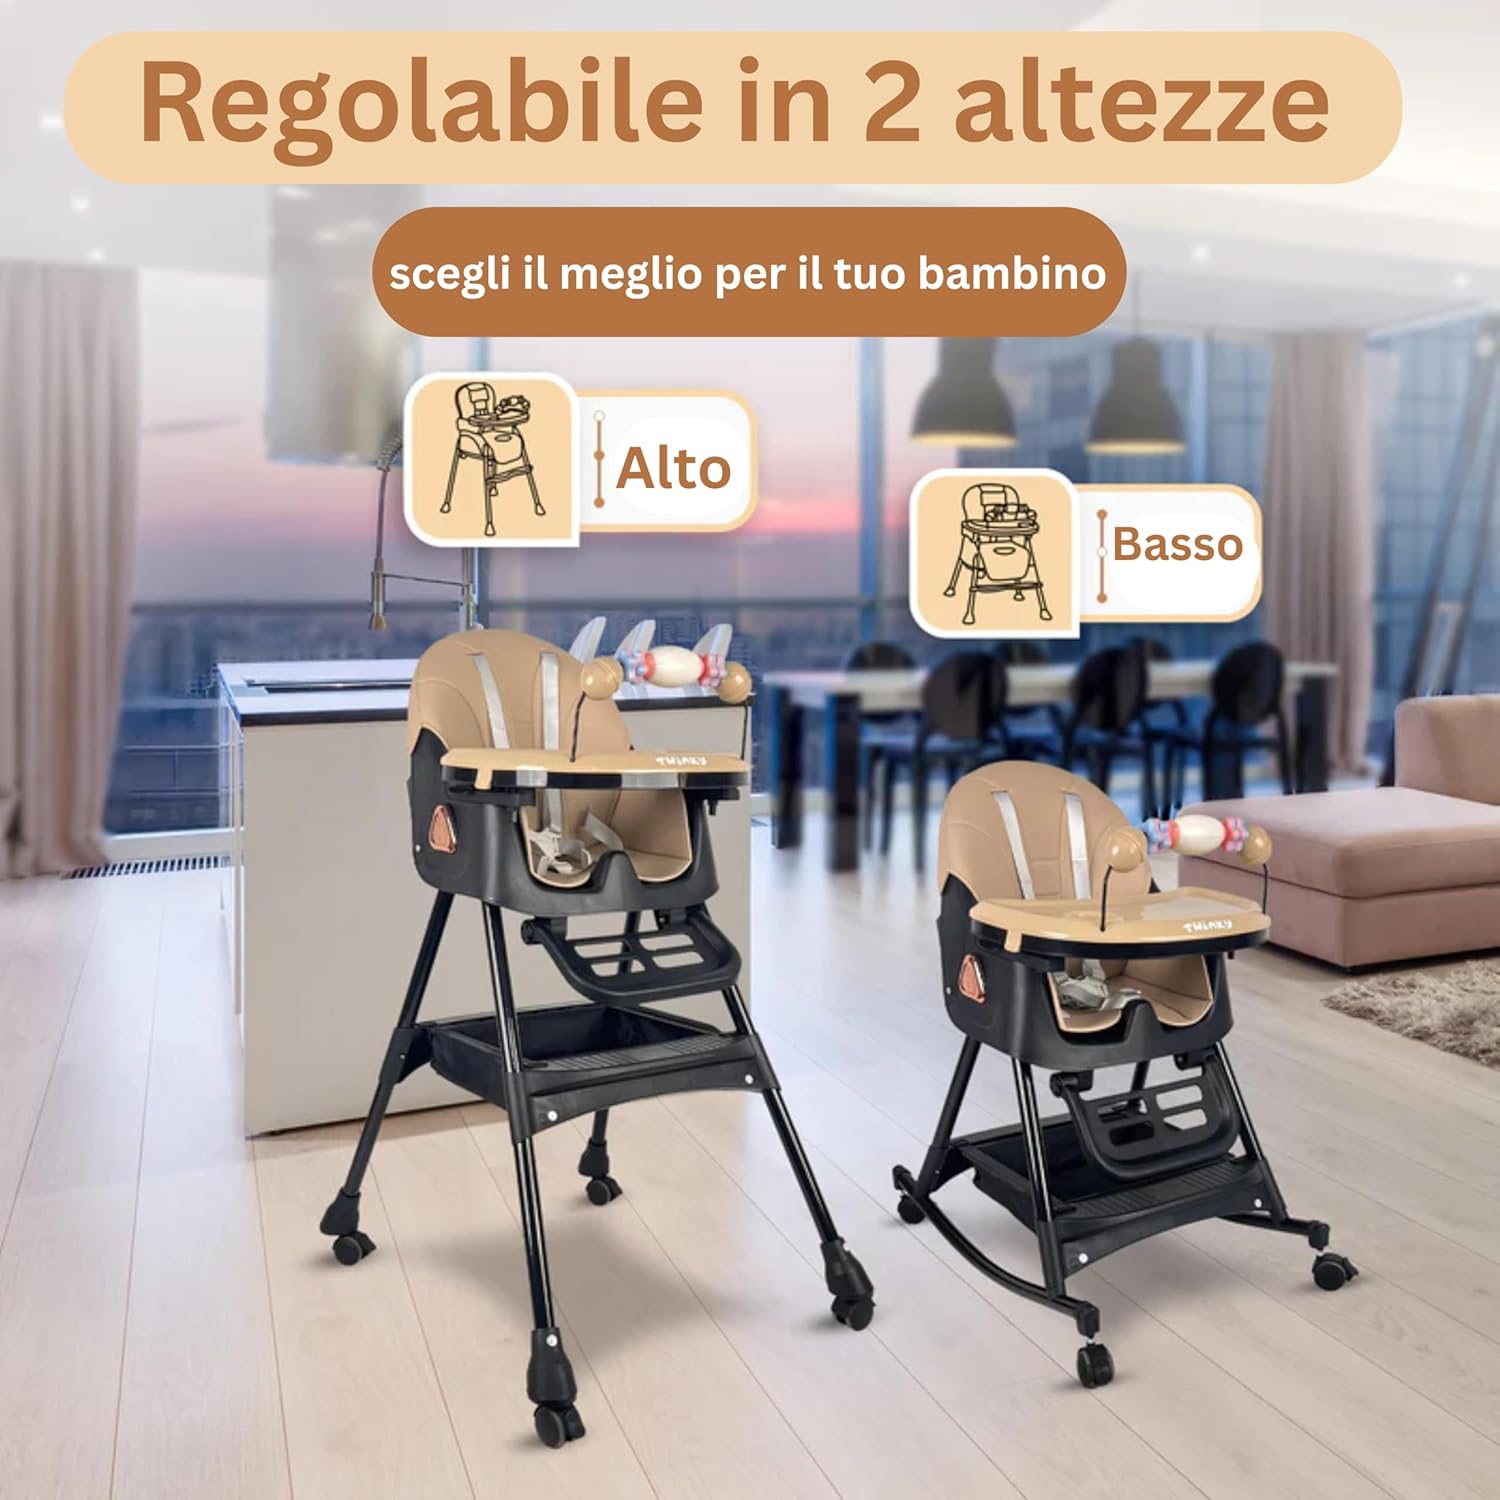
Figure 4.1: Adjustable Height. The high chair can be configured to two different heights to suit various needs and table levels.

Figure 4.2: Removable Wheels and Foldable Design. The wheels can be removed for a stationary setup, and the chair can be completely folded for compact storage.
5. Operating Instructions
5.1. Adjusting the High Chair
- Height Adjustment: As shown in Figure 4.1, the high chair can be set to two different heights. Refer to the assembly section for details on how to adjust.
- Footrest Adjustment: The footrest can be adjusted to multiple positions to provide optimal comfort and support for your child as they grow.
- Tray Adjustment: The dining and play tables can be adjusted forward and backward to accommodate your child's size and provide easy access.

Figure 5.1: Adjustable Tray. The tray can be moved closer or further from the child for comfort and safety.
5.2. 2-in-1 Functionality
This high chair can transform into a lower chair suitable for older toddlers, allowing them to sit at a standard table. To convert, adjust the height as described in Section 4 and remove the tray if desired.
5.3. Portability and Storage
The high chair features wheels for easy movement around the house. For compact storage, the chair can be completely folded. Refer to Figure 4.2 for a visual representation of the folded state.

Figure 5.2: Folded Dimensions. The high chair folds to a compact size of approximately 37cm for easy storage.
5.4. Rocking Function
The high chair can also be used in a rocking mode, providing a soothing motion for your child. Ensure the wheels are locked or removed when using this function.

Figure 5.3: Rocking Mode. The high chair can be converted to a rocking chair for gentle motion.
5.5. Wheel Locks
Each wheel is equipped with a locking mechanism to prevent unintended movement. Always engage the wheel locks when the high chair is stationary or when placing/removing your child.

Figure 5.4: Wheel Lock. Engage the lock on each wheel to secure the high chair in place.
6. Maintenance
Regular cleaning and maintenance will ensure the longevity and hygiene of your Twinky high chair.
- Cleaning: The high chair is made from high-quality plastic and is easy to clean. Wipe down all surfaces with a damp cloth and mild soap. Rinse thoroughly and dry completely.
- Seat Cushion: The seat cushion can be removed for cleaning. Follow the care instructions on the cushion label.
- Trays: The dining and play tables are removable and can be washed separately, either by hand or in a dishwasher (top rack recommended).
- Harness: Clean the safety harness straps with a damp cloth and mild soap. Allow to air dry completely before reattaching or using.
- Inspection: Periodically check all screws, bolts, and locking mechanisms to ensure they are secure. Inspect for any signs of wear, damage, or loose parts. Replace any damaged parts immediately.
7. Troubleshooting
- Chair feels unstable: Ensure all legs are fully extended and locked into place. Verify that the wheels are either securely attached and locked, or the floor protectors are firmly in place.
- Tray not attaching securely: Check for any obstructions in the attachment slots. Ensure the tray is aligned correctly and pushed in until it clicks into position.
- Difficulty folding: Ensure all adjustment levers are disengaged and the chair is in the correct position for folding. Do not force the mechanism.
- Harness not securing child: Ensure the harness straps are correctly threaded through the seat unit and adjusted snugly around your child.
If you encounter any issues not covered here, please contact Twinky customer support.
8. Specifications
| Feature | Specification |
|---|---|
| Model | C8 |
| Dimensions (High) | Approximately 60 x 75 x 105 cm (24 x 30 x 41 inches) |
| Dimensions (Low) | Approximately 60 x 60 x 85 cm (24 x 24 x 33 inches) |
| Folded Dimensions | Approximately 37 cm height |
| Weight | 4 kg (8.8 lbs) |
| Material | Plastic |
| Age Range | 0-36 Months |
| Portability | Yes (with wheels) |

Figure 8.1: Product Dimensions. This image illustrates the approximate dimensions of the high chair in its high and low settings.
9. Warranty and Support
Twinky offers a 5-year spare parts guarantee, demonstrating confidence in the product's quality and durability. For warranty claims, spare parts, or any product-related inquiries, please contact Twinky customer support through their official channels or the retailer where the product was purchased.
For further assistance, please visit the Twinky Store on Amazon.