1. Introduction
This manual provides detailed instructions for the installation and use of the NuIth Double DIN Radio Installation Dash Kit. This kit is designed to facilitate the installation of an aftermarket 4-inch tall (Double-DIN) radio into specific Subaru vehicle dashboards, ensuring a seamless fit and integration with your vehicle's interior.
2. Package Contents
The NuIth Double DIN Radio Installation Dash Kit includes the following components:
- Double DIN Radio Installation Dash Kit (1)
- Radio Wiring Harness (1)

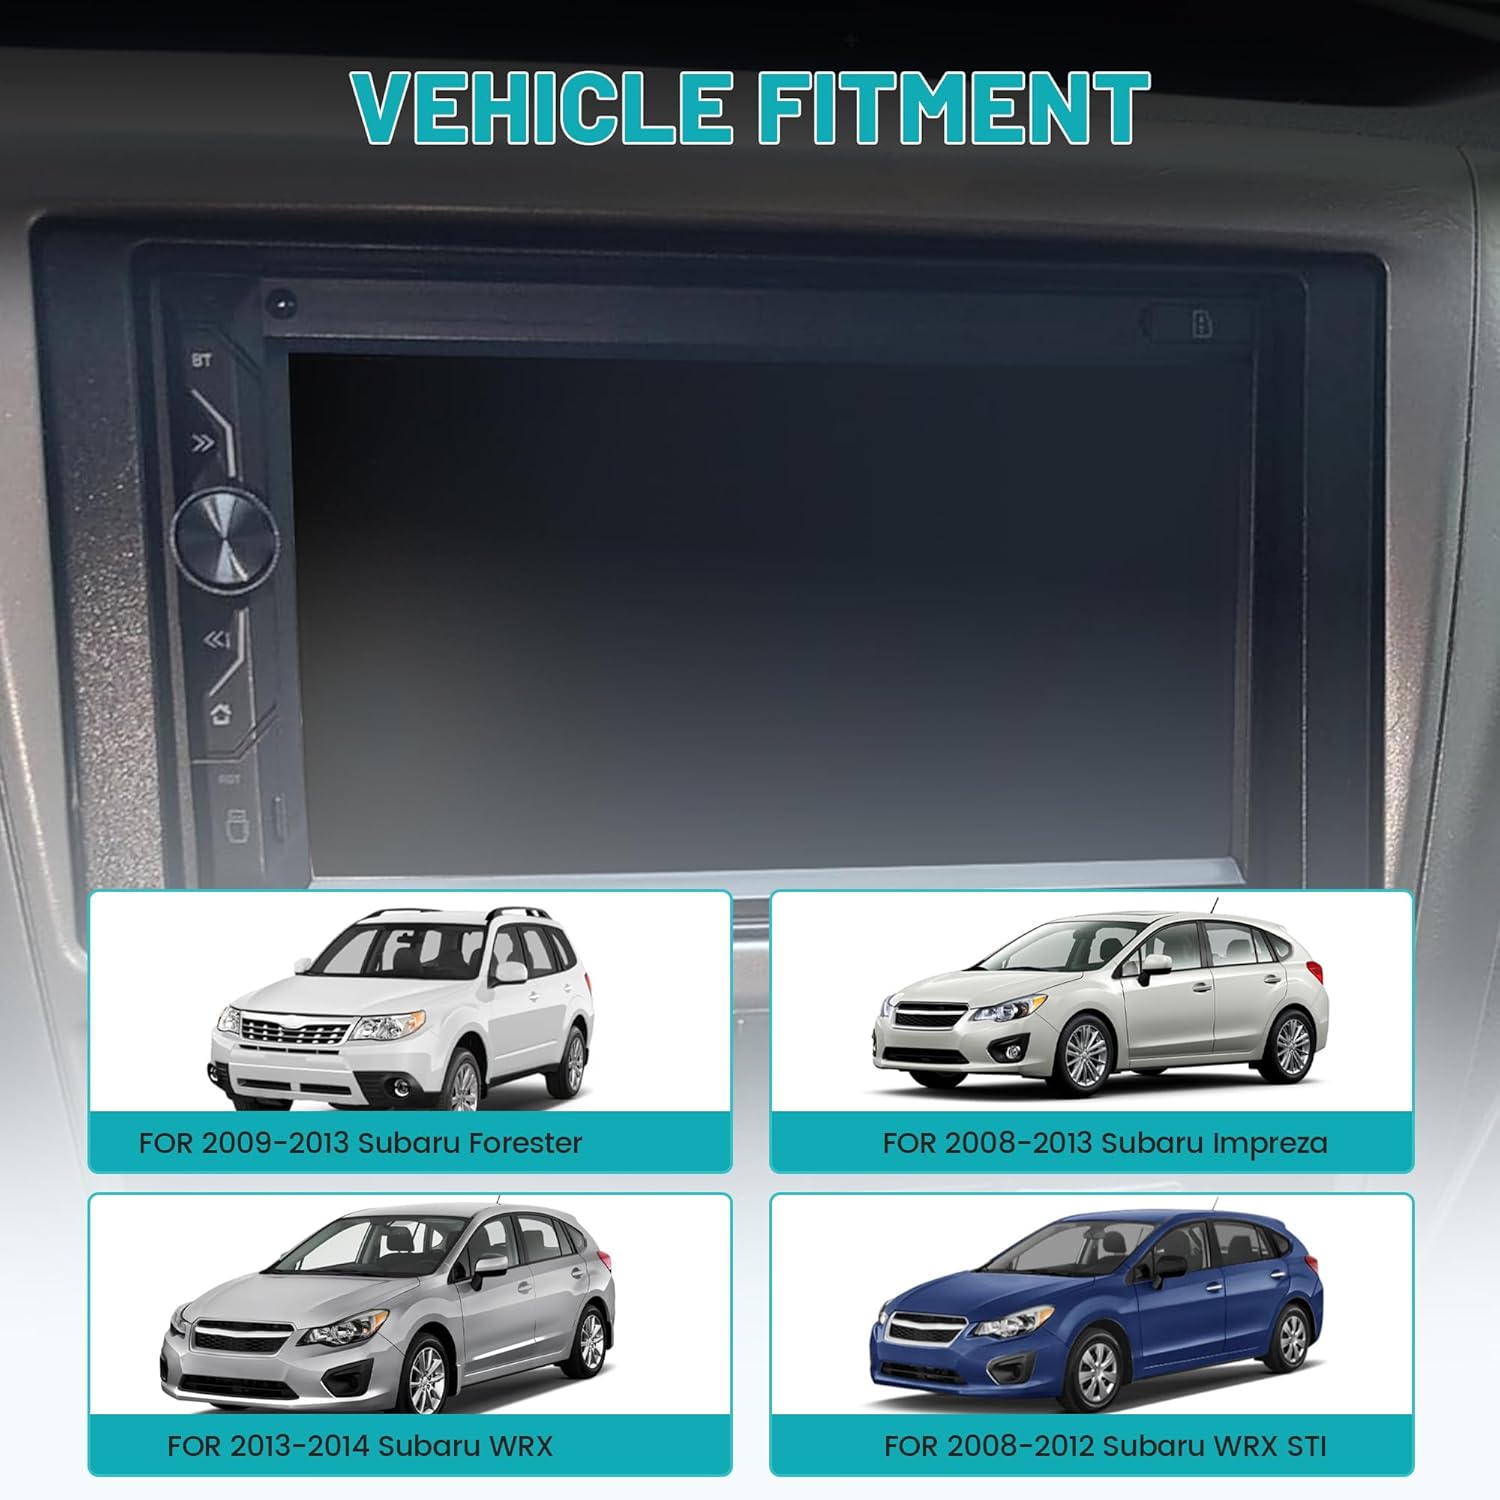
3. Compatibility
This dash kit is specifically engineered for a precise fit in the following Subaru vehicle models:
- Subaru Forester: 2009-2013
- Subaru Impreza: 2008-2013
- Subaru WRX: 2013-2014
- Subaru WRX STI: 2008-2012
4. Product Specifications
| Specification | Value |
|---|---|
| Item Weight | 5 ounces |
| Package Dimensions | 8.46 x 4.57 x 1.46 inches |
| ASIN | B0D4F1T18B |
| Manufacturer | NuIth |
| Material | Heavy-duty ABS plastic (frame), Pure copper wire (harness) |


5. Installation Guide
Before beginning the installation, ensure your vehicle's battery is disconnected to prevent electrical shorts or damage.
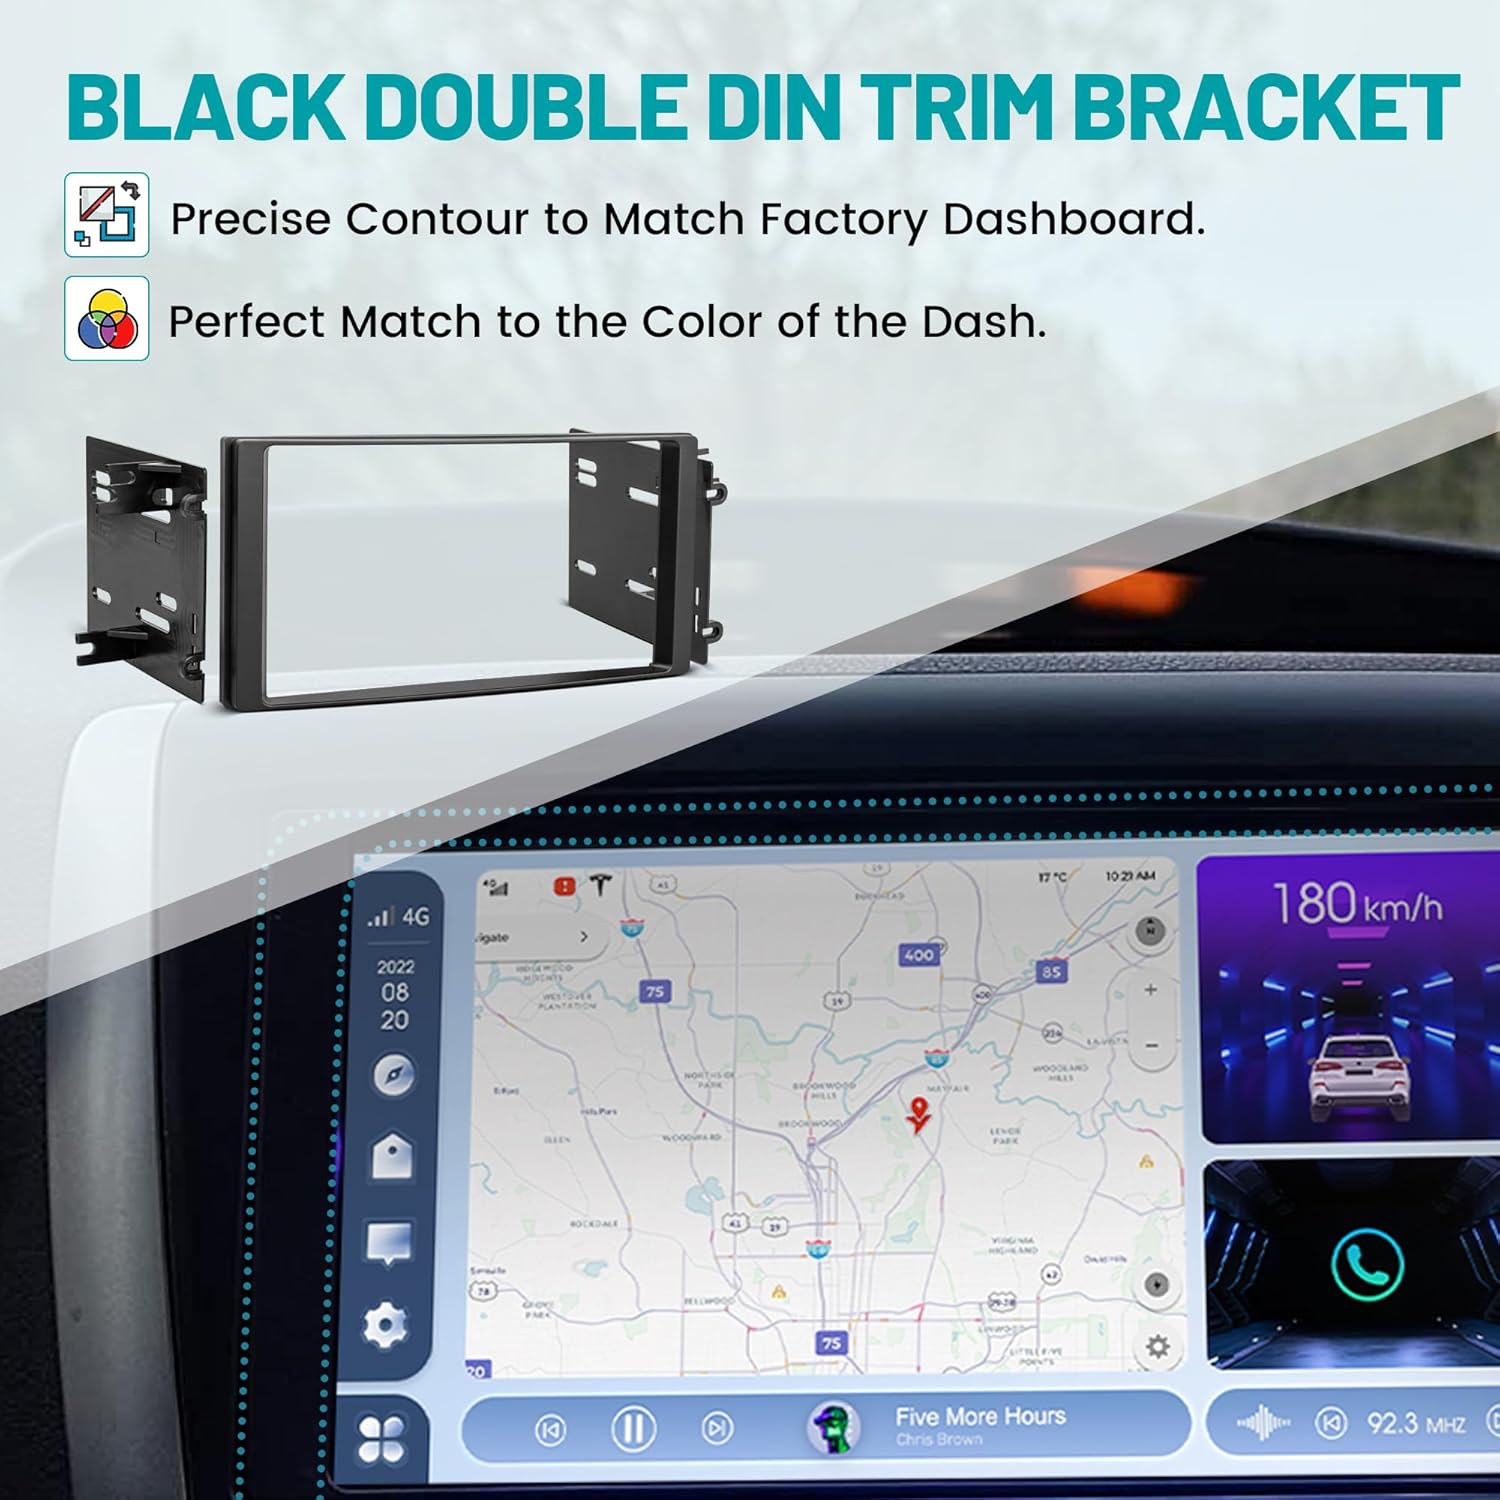
5.1. Components Overview
The kit provides the necessary components to seamlessly integrate an aftermarket double DIN radio into your vehicle's dashboard. The dash bezel ensures a factory-like finish, while the mounting brackets securely hold the radio in place.
5.2. Step-by-Step Installation
- Remove Factory Radio: Carefully remove the existing factory radio from your vehicle's dashboard. Refer to your vehicle's service manual for specific instructions on dash disassembly.
- Attach Aftermarket Radio to Brackets: Secure your new aftermarket double DIN radio to the provided mounting brackets using the screws that came with your head unit. Ensure the radio is centered and flush with the bracket's opening.
- Connect Wiring Harness: Connect the included radio wiring harness to your aftermarket radio's wiring. The harness is designed to plug directly into your vehicle's factory connector, eliminating the need to cut any original wiring. Match the wires according to the color coding or pinout provided with your aftermarket radio.
- Insert Assembly into Dash: Carefully slide the assembled radio and bracket into the dashboard opening. Ensure all wires are tucked away and not pinched.
- Secure Brackets: Secure the mounting brackets to the vehicle's dash using appropriate screws. Ensure the radio is firmly in place.
- Install Dash Bezel: Snap the dash bezel around the new radio. This bezel is designed to cover any gaps and provide a clean, integrated look that matches the original vehicle's dashboard.
- Reconnect Battery and Test: Reconnect the vehicle's battery. Turn on the vehicle and test the new radio's functionality, including power, audio, and any other features.


6. Maintenance and Care
The NuIth Double DIN Radio Installation Dash Kit is constructed from durable materials designed for long-lasting performance. To ensure its longevity and maintain its appearance:
- Cleaning: Clean the dash bezel and visible components with a soft, damp cloth. Avoid using harsh chemicals, abrasive cleaners, or solvents, as these can damage the finish.
- Connection Checks: Periodically inspect the wiring harness connections to ensure they remain secure and free from corrosion, especially if you experience any intermittent electrical issues with your radio.
- Environmental Factors: While designed for automotive use, extreme temperatures or prolonged direct sunlight can affect plastic components over time. Parking in shaded areas or using sunshades can help preserve the interior.
7. Troubleshooting
If you encounter any issues during or after the installation of your NuIth Double DIN Radio Installation Dash Kit, refer to the following common troubleshooting steps:
7.1. Radio Not Powering On
- Wiring Connections: Double-check all connections on the radio wiring harness. Ensure that the power (constant and accessory), ground, and remote turn-on wires are correctly connected and secure.
- Vehicle Fuses: Inspect the vehicle's fuse box for any blown fuses related to the radio or accessory power. Replace any blown fuses with a fuse of the correct amperage.
- Battery Connection: Confirm that your vehicle's battery is fully charged and its terminals are clean and securely connected.
7.2. Poor Fitment or Gaps After Installation
- Radio Seating: Ensure the aftermarket radio is fully and correctly seated within the mounting brackets.
- Bracket Alignment: Verify that the mounting brackets are properly aligned with the screw points in your vehicle's dash. Due to slight variations in aftermarket radio designs or vehicle manufacturing tolerances, minor adjustments or careful positioning of the brackets may be necessary.
- Bezel Placement: Confirm that the dash bezel is fully snapped into place around the radio and flush with the dashboard.
7.3. No Radio Signal (AM/FM)
- Antenna Adapter: This kit does not include an antenna adapter. If your aftermarket radio requires a different antenna connector type than your vehicle's factory antenna, a separate antenna adapter cable must be purchased and installed. Ensure the antenna cable is securely connected to both the radio and the vehicle's antenna input.
8. Warranty and Support
This NuIth product comes with a 30-day warranty from the date of purchase, covering manufacturing defects.
For technical support, warranty claims, or any questions regarding your NuIth Double DIN Radio Installation Dash Kit, please contact NuIth customer service through the retailer where the product was purchased. You may also visit the official NuIth brand store on Amazon for additional information and support resources: