1. Introduction
This manual provides detailed instructions for the safe and effective use of your new Cimizi Kids Instant Digital Camera P79. This camera is designed to capture both digital photos and instant black-and-white prints, offering a fun and creative experience for children. Please read this manual thoroughly before operating the device and retain it for future reference.
2. What's in the Box
Carefully unpack your camera and check that all items listed below are present and in good condition:
- 1x Kids Instant Print Camera (Purple)
- 3x Printer Paper Rolls
- 1x Exquisite Gift Packing Box (packaging)
- 1x USB Charging Cable
- 1x 32GB SD Card (pre-installed in the SD slot)
- 1x Hanging Lanyard
- 1x User Manual (this document)

Figure 2.1: Included Accessories. This image displays the purple instant print camera, three rolls of thermal paper, a 32GB SD card, a USB charging cable, a lanyard, and the user manual, all packaged within the product box.
3. Product Overview
Familiarize yourself with the main components of your instant digital camera:
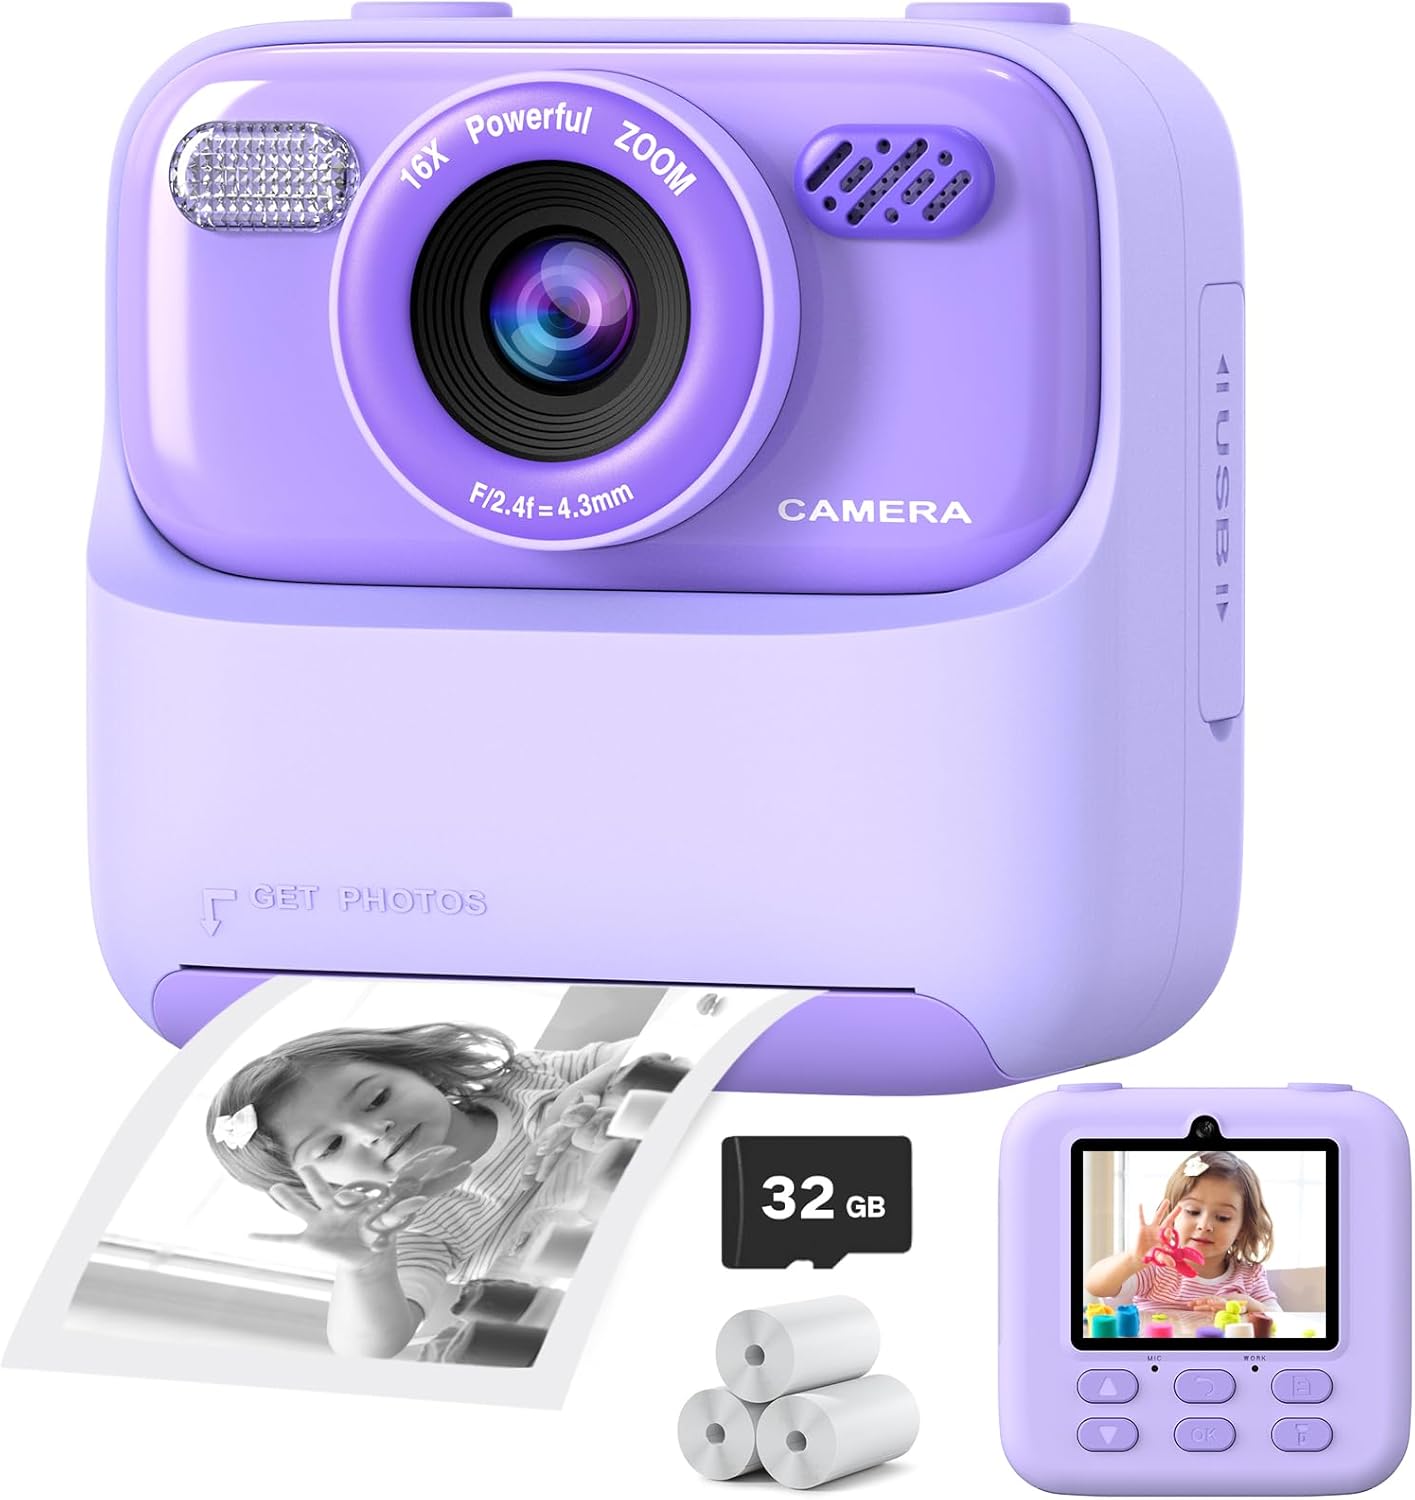
Figure 3.1: Front View of the Camera. This image highlights the camera's main lens, flash, speaker, USB port, and the instant print output slot. A printed black-and-white photo is shown emerging from the slot, alongside a 32GB SD card and additional paper rolls.
Key Components:
- Main Lens: For capturing standard photos and videos.
- Front/Selfie Lens: For taking self-portraits.
- Flash: Provides illumination in low-light conditions.
- Display Screen: 2.4-inch LCD for viewing photos, videos, and navigating menus.
- Control Buttons: Power, Shutter, Navigation (Up/Down/Left/Right), OK, Menu, Print.
- Print Output Slot: Where instant black-and-white photos emerge.
- USB Port: For charging and data transfer.
- SD Card Slot: For memory expansion (32GB card pre-installed).
- Speaker: For audio playback (e.g., MP3 music).
4. Setup
4.1. Charging the Battery
The camera features a built-in rechargeable lithium-polymer battery. Before first use, fully charge the camera using the provided USB charging cable. Connect the small end of the USB cable to the camera's USB port and the larger end to a standard USB power adapter (not included) or a computer's USB port. The charging indicator light will typically show the charging status and turn off or change color when fully charged. A full charge provides approximately 3-4 hours of continuous use.
4.2. SD Card Installation
Your camera comes with a 32GB SD card pre-installed. If you need to remove or replace it, gently push the SD card into its slot until it clicks, then release to eject. Ensure the camera is powered off before inserting or removing the SD card.
4.3. Installing Print Paper
The camera uses thermal print paper for instant black-and-white photos. Follow these steps to install a new roll:
- Locate the latch on the print paper storage bin, usually on the side or bottom of the camera.
- Push the latch and open the cover of the paper compartment.
- Place a new roll of print paper into the storage bin. Ensure the smooth, thermal-sensitive side of the paper is facing upwards, ready to feed into the printing mechanism.
- Pull a small section of paper out of the paper outlet, then close the cover securely.

Figure 4.1: Print Paper Installation. This diagram visually guides you through the process of loading thermal paper into the camera's printing compartment.
5. Operating Instructions
5.1. Power On/Off
Press and hold the Power button to turn the camera on or off.
5.2. Taking Photos and Videos
Use the navigation buttons to select between photo and video modes on the display. Press the Shutter button to capture a photo or start/stop video recording.

Figure 5.1: Selfie Mode vs. Photo Mode. The camera supports both front-facing (selfie) and rear-facing (photo) lenses for versatile capture.
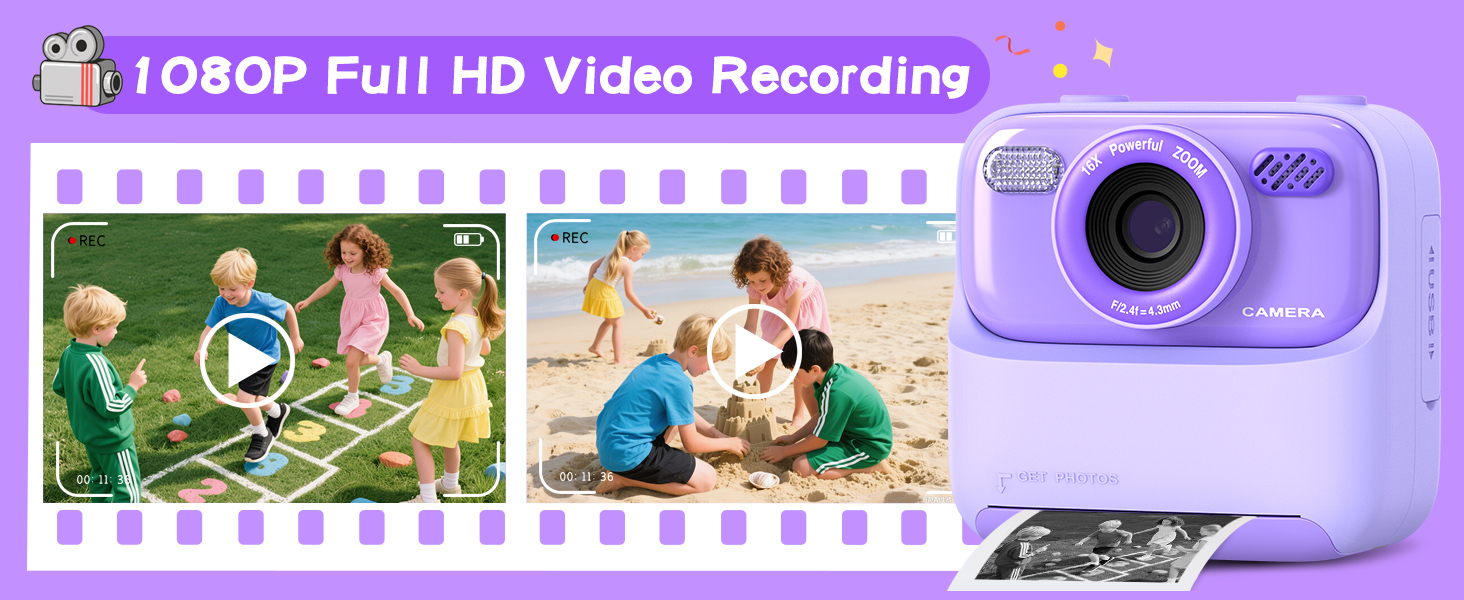
Figure 5.2: 1080P Full HD Video Recording. The camera is capable of recording high-definition videos, capturing dynamic moments.
5.3. Instant Printing
After taking a photo, you can choose to print it instantly. The camera offers two print modes: grayscale and dot matrix, with three levels of color depth (low, middle, high) for black-and-white prints. Digital color photos are saved to the SD card.
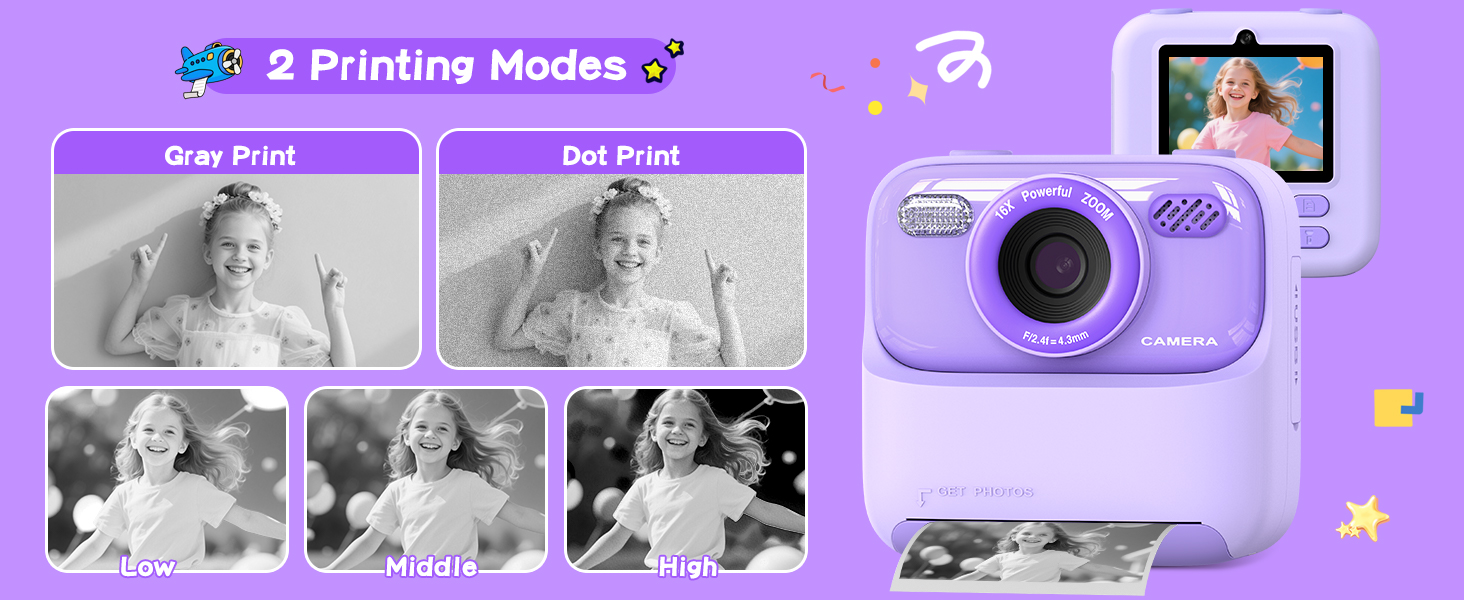
Figure 5.3: Printing Modes. This image demonstrates the available grayscale and dot matrix printing options, along with adjustable print density.
5.4. Games and Music Player
The camera includes 3 puzzle games for entertainment. It also features an MP3 music player. Navigate to the respective icons on the menu to access these functions.

Figure 5.4: Games and Music Player. The camera offers built-in puzzle games and an MP3 music playback function for additional entertainment.
5.5. Filters and Frames
Enhance your photos with 6 creative filters and 28 fun photo frames. These options can be applied before or after taking a picture, depending on the camera's settings.

Figure 5.5: Filters and Frames. This image illustrates the variety of filters and decorative frames that can be applied to photos.
5.6. Flashlight Function
The camera is equipped with a built-in flashlight to assist in low-light photography. Activate or deactivate the flashlight through the camera's menu settings.

Figure 5.6: Flashlight On/Off. This comparison shows the effect of using the camera's built-in flashlight in low-light conditions.
6. Maintenance
- Cleaning: Use a soft, dry cloth to clean the camera body. For the lens, use a specialized lens cleaning cloth. Avoid using liquid cleaners or abrasive materials.
- Storage: Store the camera in a cool, dry place away from direct sunlight and extreme temperatures. Remove the SD card if storing for extended periods.
- Battery Care: To prolong battery life, avoid fully discharging the battery frequently. Charge the camera regularly, even if not in use, to maintain battery health.
- Print Paper: Store print paper in a dry place. Ensure the paper compartment is closed to protect the paper from dust and moisture.
7. Troubleshooting
| Problem | Possible Cause | Solution |
|---|---|---|
| Camera does not power on. | Battery is depleted. | Charge the camera using the USB cable. |
| Cannot take photos/videos. | SD card is full or not inserted correctly. | Check SD card insertion. Delete unnecessary files or replace the SD card. |
| Prints are blank or faded. | Print paper installed incorrectly (non-thermal side up) or paper roll is empty. | Ensure the smooth, thermal-sensitive side of the paper faces up. Replace the paper roll if empty. |
| Camera freezes or becomes unresponsive. | Software glitch or low battery. | Press and hold the Power button for 10 seconds to force a restart. If issue persists, ensure battery is charged. |
8. Specifications
| Feature | Detail |
|---|---|
| Model Name | P79 |
| Brand | Cimizi |
| Color | Purple |
| Display Type | LCD |
| Screen Size | 2.4 Inches |
| Photo Sensor Resolution | 5 MP |
| Effective Still Resolution | 30 MP |
| Video Resolution | 1080p |
| Optical Zoom | 8x |
| Image Stabilization | Digital |
| Memory Storage Capacity | 32 GB (SD Card included) |
| Battery Type | Lithium-polymer rechargeable battery |
| Battery Average Life | 3 Hours |
| Connectivity Technology | USB |
| Material | Plastic |
| Item Weight | 0.36 Kilograms |
| Water Resistance Level | Not Water Resistant |
9. Warranty and Support
This product comes with a 1-year warranty from the date of purchase, covering manufacturing defects. Please retain your proof of purchase for warranty claims.
For any questions, technical support, or service inquiries regarding your Cimizi Kids Instant Digital Camera, please contact our customer service team. We are committed to providing prompt and effective solutions to ensure your satisfaction.
Contact Information: Please refer to the contact details provided on the product packaging or the official Cimizi website for the most up-to-date support information.