
1. Introduction
This manual provides essential information for the installation, operation, and troubleshooting of the XXHCML WB24X799 Steam Gas Sensor, a replacement part compatible with various GE microwave oven models. This sensor is designed to detect steam and humidity levels within the microwave cavity, enabling functions such as sensor cooking and preventing error messages related to steam sensing.
2. Product Overview
The WB24X799 Steam Gas Sensor is a critical component for the proper functioning of your GE microwave's advanced cooking features. When a microwave displays an error message indicating an 'OPEN steam sensor' or similar, it often signifies a malfunction of this part. Replacing the sensor can restore full functionality to your appliance.
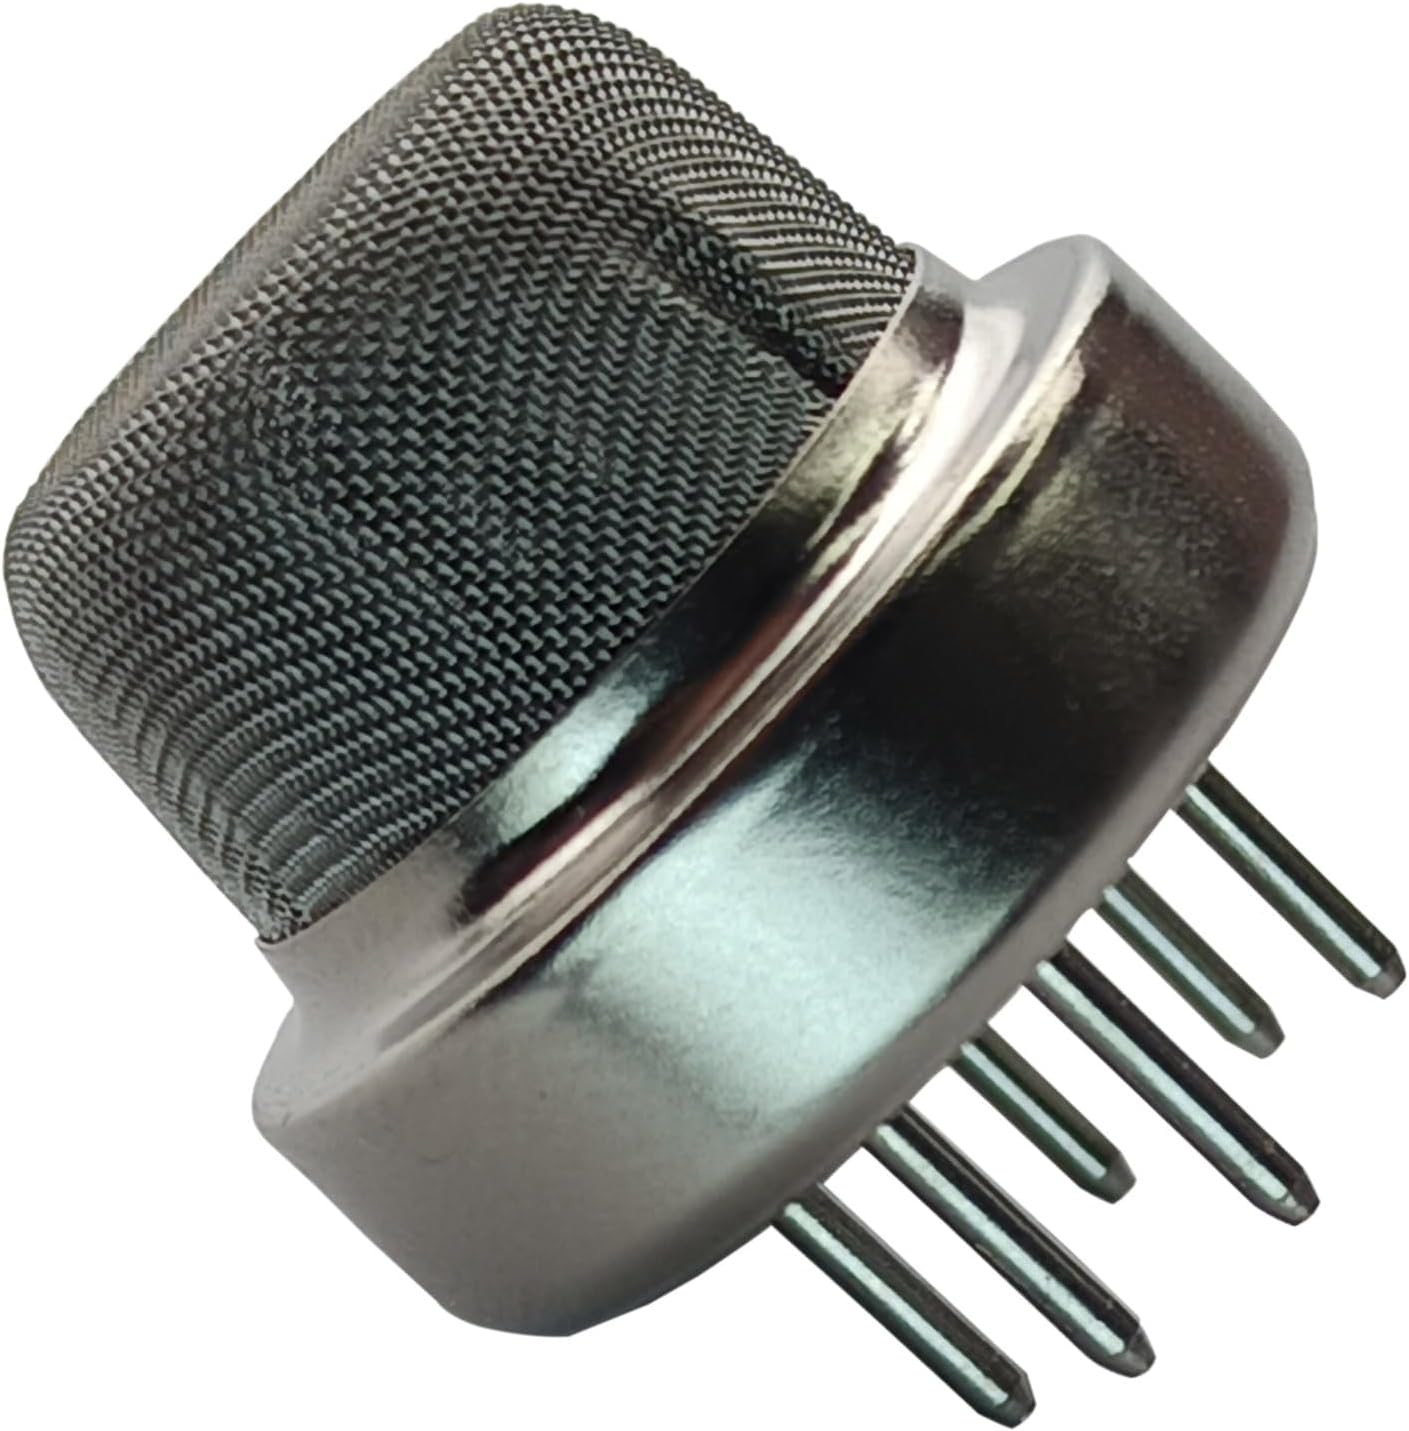
Figure 2.1: Close-up view of the WB24X799 Steam Gas Sensor, showing its metallic mesh cap and electrical pins.
3. Compatibility and Replacement Part Numbers
The WB24X799 Steam Gas Sensor is compatible with a range of GE microwave oven models. It replaces the following part numbers: AP2024309, 253789, AH237391, EA237391, PS237391, and WB24x0799.
Compatible Models include, but are not limited to:
- CVM517P2M1S1, CVM517P2M2S1, CVM517P3M1D1, CVM517P3M2D1, CVM517P4M1W2, CVM517P4M2W2, CVM521P2M1S1
- CVM9179EL1DS, CVM9179SL1SS, CVM9179SL2SS, CVM9215SL1SS, CVM9215SL2SS
- DVM7195BL1TS, DVM7195BL2TS, DVM7195DF1BB, DVM7195DF1WW, DVM7195DK1BB, DVM7195DK1WW, DVM7195DK2BB, DVM7195DK2WW, DVM7195EF1ES, DVM7195EK1ES, DVM7195EK2ES, DVM7195EK3ES, DVM7195EK4ES, DVM7195FL1DS, DVM7195FL2DS, DVM7195SF1SS, DVM7195SK1SS, DVM7195SK2SS, DVM7195SK3SS, DVM7195SK4SS
- JNM6171DF1BB, JNM6171DF1WW, JNM7196BL1TS, JNM7196BL2TS
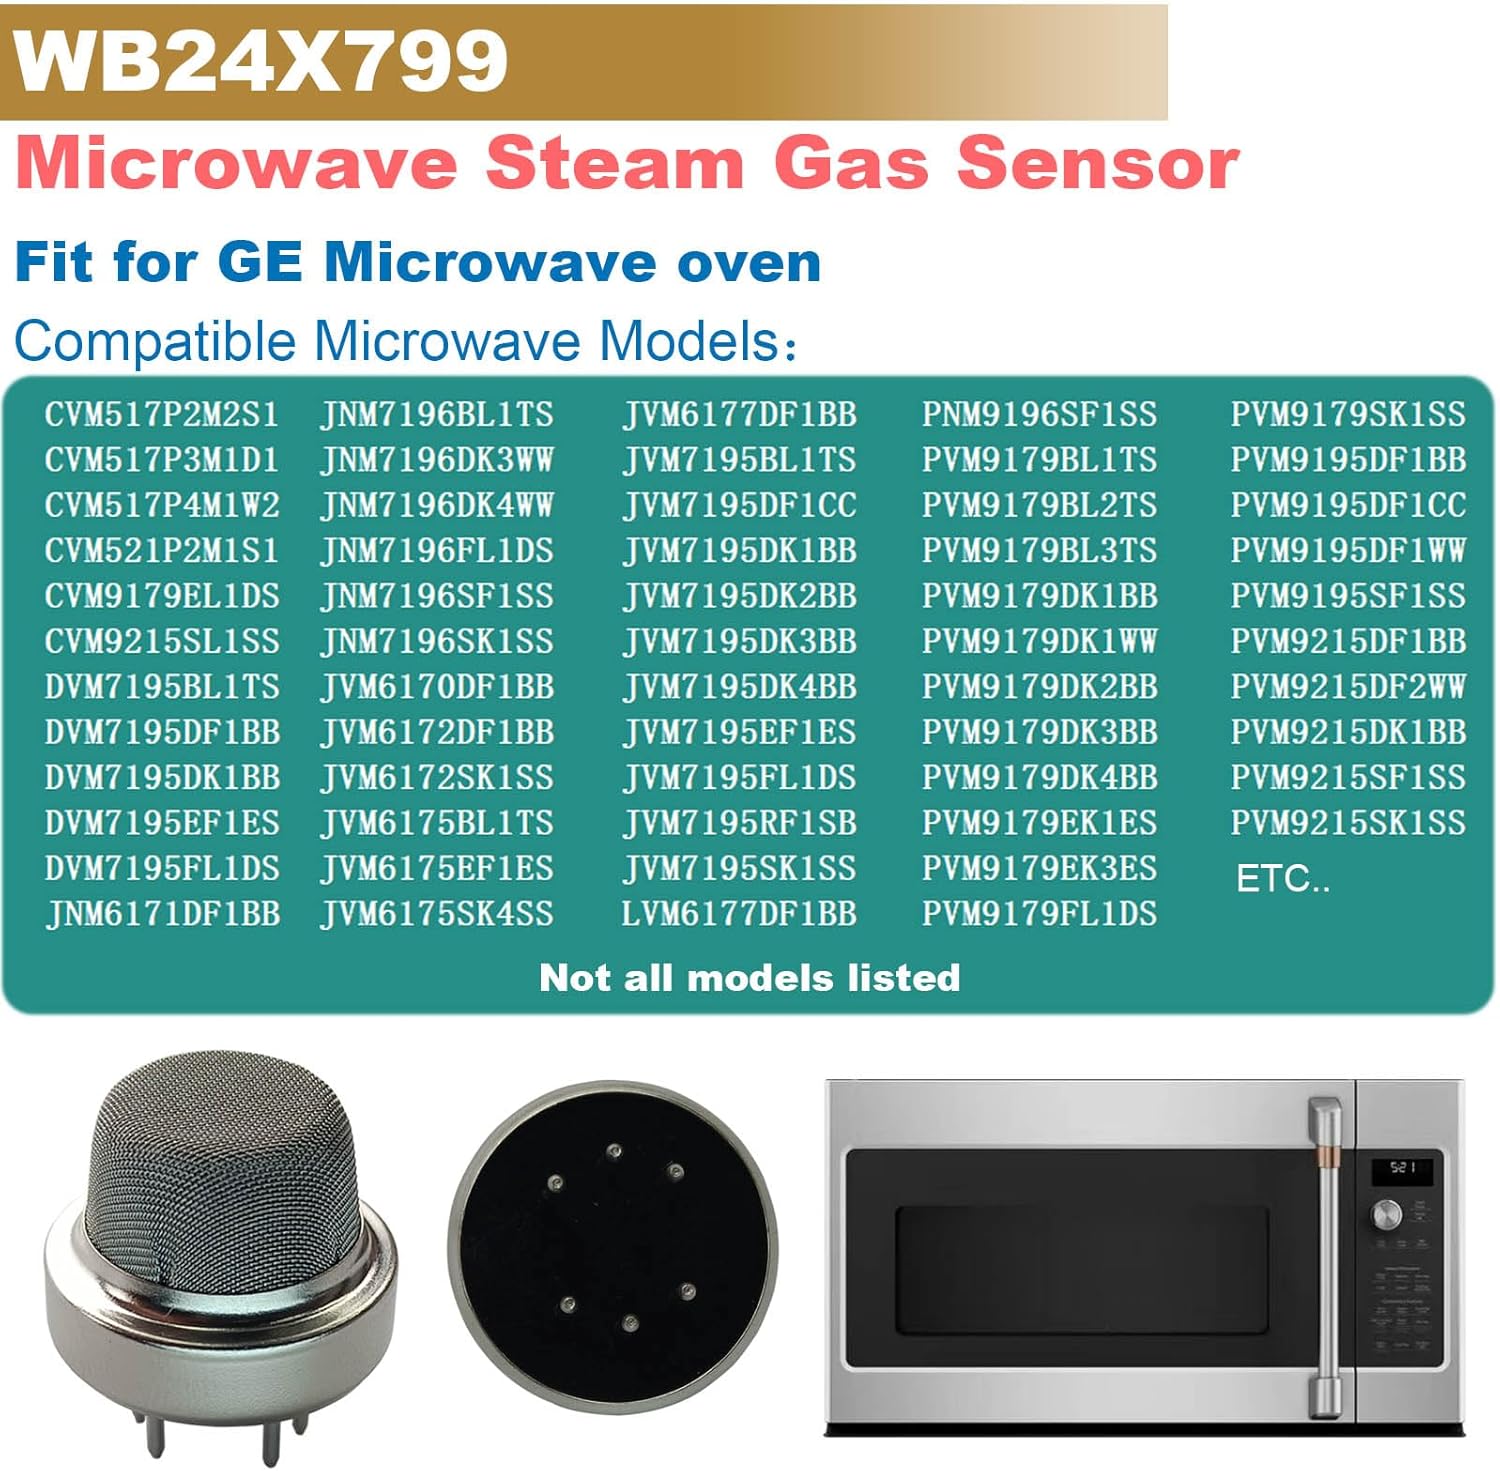
Figure 3.1: Partial list of compatible GE microwave models.
4. Specifications
| Specification | Value |
|---|---|
| Brand | XXHCML |
| Model Number | WB24X799 |
| Sensor Type | Electrochemical |
| Material | Metal |
| Product Dimensions (D x W x H) | 0.75" x 0.75" x 0.83" |
| Item Weight | 0.16 ounces (4.54 g) |
| Voltage | 24 Volts |
| Wattage | 835 Milliwatts |

Figure 4.1: Dimensional diagram of the WB24X799 sensor.
5. Installation Instructions (Setup)
Replacing the steam gas sensor is a repair that can often be performed by individuals with basic technical skills. However, always prioritize safety and consult a qualified technician if you are unsure.
Safety Precautions:
- Always unplug the microwave oven from the power outlet before beginning any repair work.
- Wear appropriate personal protective equipment, such as gloves.
- Handle components carefully to avoid damage.
Step-by-Step Installation:
- Disconnect Power: Ensure the microwave oven is completely unplugged from the electrical outlet.
- Access the Sensor: Depending on your specific GE microwave model, you may need to remove the outer casing, control panel, or internal components to access the steam gas sensor. Refer to your microwave's service manual for exact access procedures. The sensor is typically located near the top or side of the microwave cavity, often behind a vent or panel.
- Locate the Old Sensor: Identify the existing WB24X799 sensor. It will have a metallic mesh cap and several electrical pins connected to a wiring harness.
- Disconnect Wiring: Carefully disconnect the electrical wiring harness from the old sensor. Note the orientation of the wiring if it is not keyed.
- Remove Old Sensor: Unmount the old sensor from its position. This may involve unscrewing it or releasing clips.
- Install New Sensor: Position the new XXHCML WB24X799 sensor in the same location and secure it.
- Connect Wiring: Reconnect the electrical wiring harness to the new sensor, ensuring a secure connection.
- Reassemble Microwave: Carefully reassemble any panels or casings that were removed. Ensure all screws and fasteners are tightened.
- Test Functionality: Plug the microwave back into the power outlet. Test the microwave's functions, particularly those that rely on the steam sensor, such as sensor reheat or steam cooking modes.
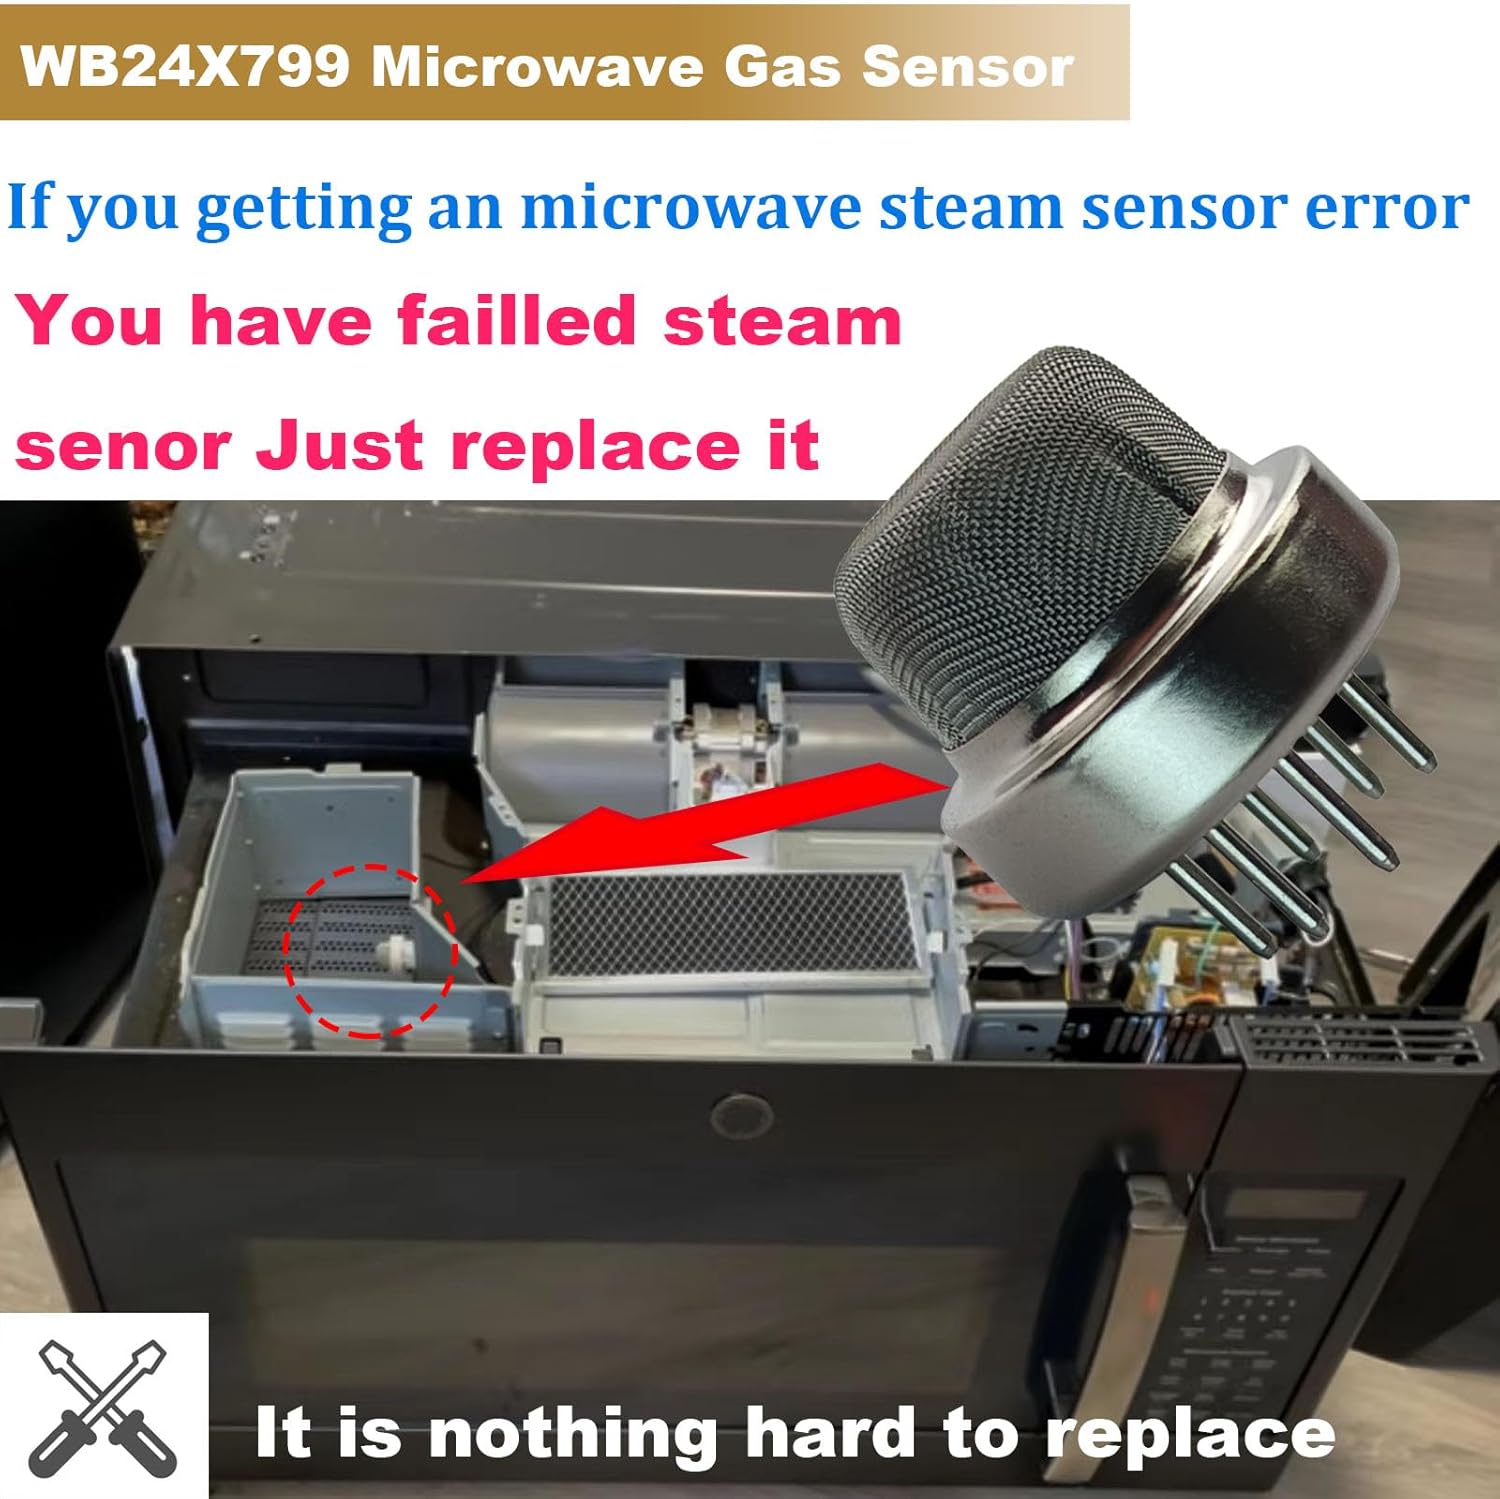
Figure 5.1: Illustrative image of a steam sensor being positioned within a microwave oven.
6. Operating the Microwave with the New Sensor
Once the WB24X799 Steam Gas Sensor is correctly installed, your GE microwave oven's sensor-based functions should operate as intended. These functions typically include:
- Sensor Reheat: Automatically reheats food to an optimal temperature based on detected steam.
- Sensor Cook: Cooks various foods by monitoring humidity levels to determine doneness.
- Steam Cook: Utilizes steam for specific cooking tasks.
Refer to your GE microwave oven's user manual for specific instructions on how to use these sensor-enabled features.
7. Maintenance
The WB24X799 Steam Gas Sensor is designed for durability and typically requires minimal maintenance. However, to ensure its longevity and accurate performance:
- Keep Clean: Periodically inspect the area around the sensor for food debris or grease buildup. Clean gently with a soft, damp cloth if necessary, ensuring no moisture enters the sensor itself.
- Avoid Obstruction: Ensure that the sensor's mesh cap is not obstructed by food, containers, or other items within the microwave cavity, as this can impair its ability to detect steam.
8. Troubleshooting
If you encounter issues after installing the WB24X799 Steam Gas Sensor, consider the following troubleshooting steps:
Common Issue: "Steam Sensor OPEN" Error Persists
- Check Connections: Ensure all electrical connections to the new sensor are secure and correctly oriented. A loose connection can prevent the sensor from communicating with the microwave's control board.
- Verify Part Compatibility: Double-check that the WB24X799 is the correct replacement part for your specific GE microwave model. While this sensor is widely compatible, some models may require a different part.
- Inspect for Damage: Visually inspect the new sensor for any physical damage that might have occurred during shipping or installation.
- Reset Microwave: Unplug the microwave for a few minutes and then plug it back in to perform a hard reset. This can sometimes clear persistent error codes.
If the problem persists after these steps, it is recommended to consult a qualified appliance repair technician.

Figure 8.1: A professional technician can assist with complex issues.
9. Safety Information
- Always disconnect power to the appliance before servicing.
- Do not attempt repairs if you are not comfortable with electrical work or appliance disassembly.
- Ensure all components are correctly installed and secured before restoring power.
- Keep children and pets away from the appliance during repair.
10. Warranty and Support
For warranty information or technical support regarding your XXHCML WB24X799 Steam Gas Sensor, please contact the manufacturer directly through their official channels. Keep your purchase receipt as proof of purchase.