1. Introduction
This manual provides detailed instructions for the setup, operation, and maintenance of your AIYIMA A07 MAX Bridge Mono Amplifier and AIYIMA T3 PRO MM/MC Phono Preamp bundle. Please read this manual thoroughly before using the products to ensure proper functionality and to prevent damage.
The AIYIMA A07 MAX is a versatile Class D amplifier featuring a TPA3255 chip, capable of operating in stereo or bridged mono mode. The AIYIMA T3 PRO is a professional phono preamplifier designed to support both Moving Magnet (MM) and Moving Coil (MC) cartridges, providing a dedicated input for turntables.
2. Safety Information
- Do not expose the devices to rain, moisture, or extreme temperatures.
- Ensure proper ventilation to prevent overheating. Do not block ventilation holes.
- Use only the specified power adapters for each device. The A07 MAX requires DC 24-48V, and the T3 PRO requires AC12V.
- Do not open the casing of the devices. Refer all servicing to qualified personnel.
- Keep out of reach of children.
- Disconnect power before making any connections or disconnections.
3. Package Contents
Please check that all items are present in your package:
- AIYIMA A07 MAX Amplifier
- AIYIMA T3 PRO Phono Preamp
- Power Adapter for A07 MAX (DC 24-48V)
- Power Adapter for T3 PRO (AC12V)
- User Manual (this document)
- RCA Cables (may vary by bundle)
4. Product Overview: AIYIMA A07 MAX Amplifier
4.1 Front Panel
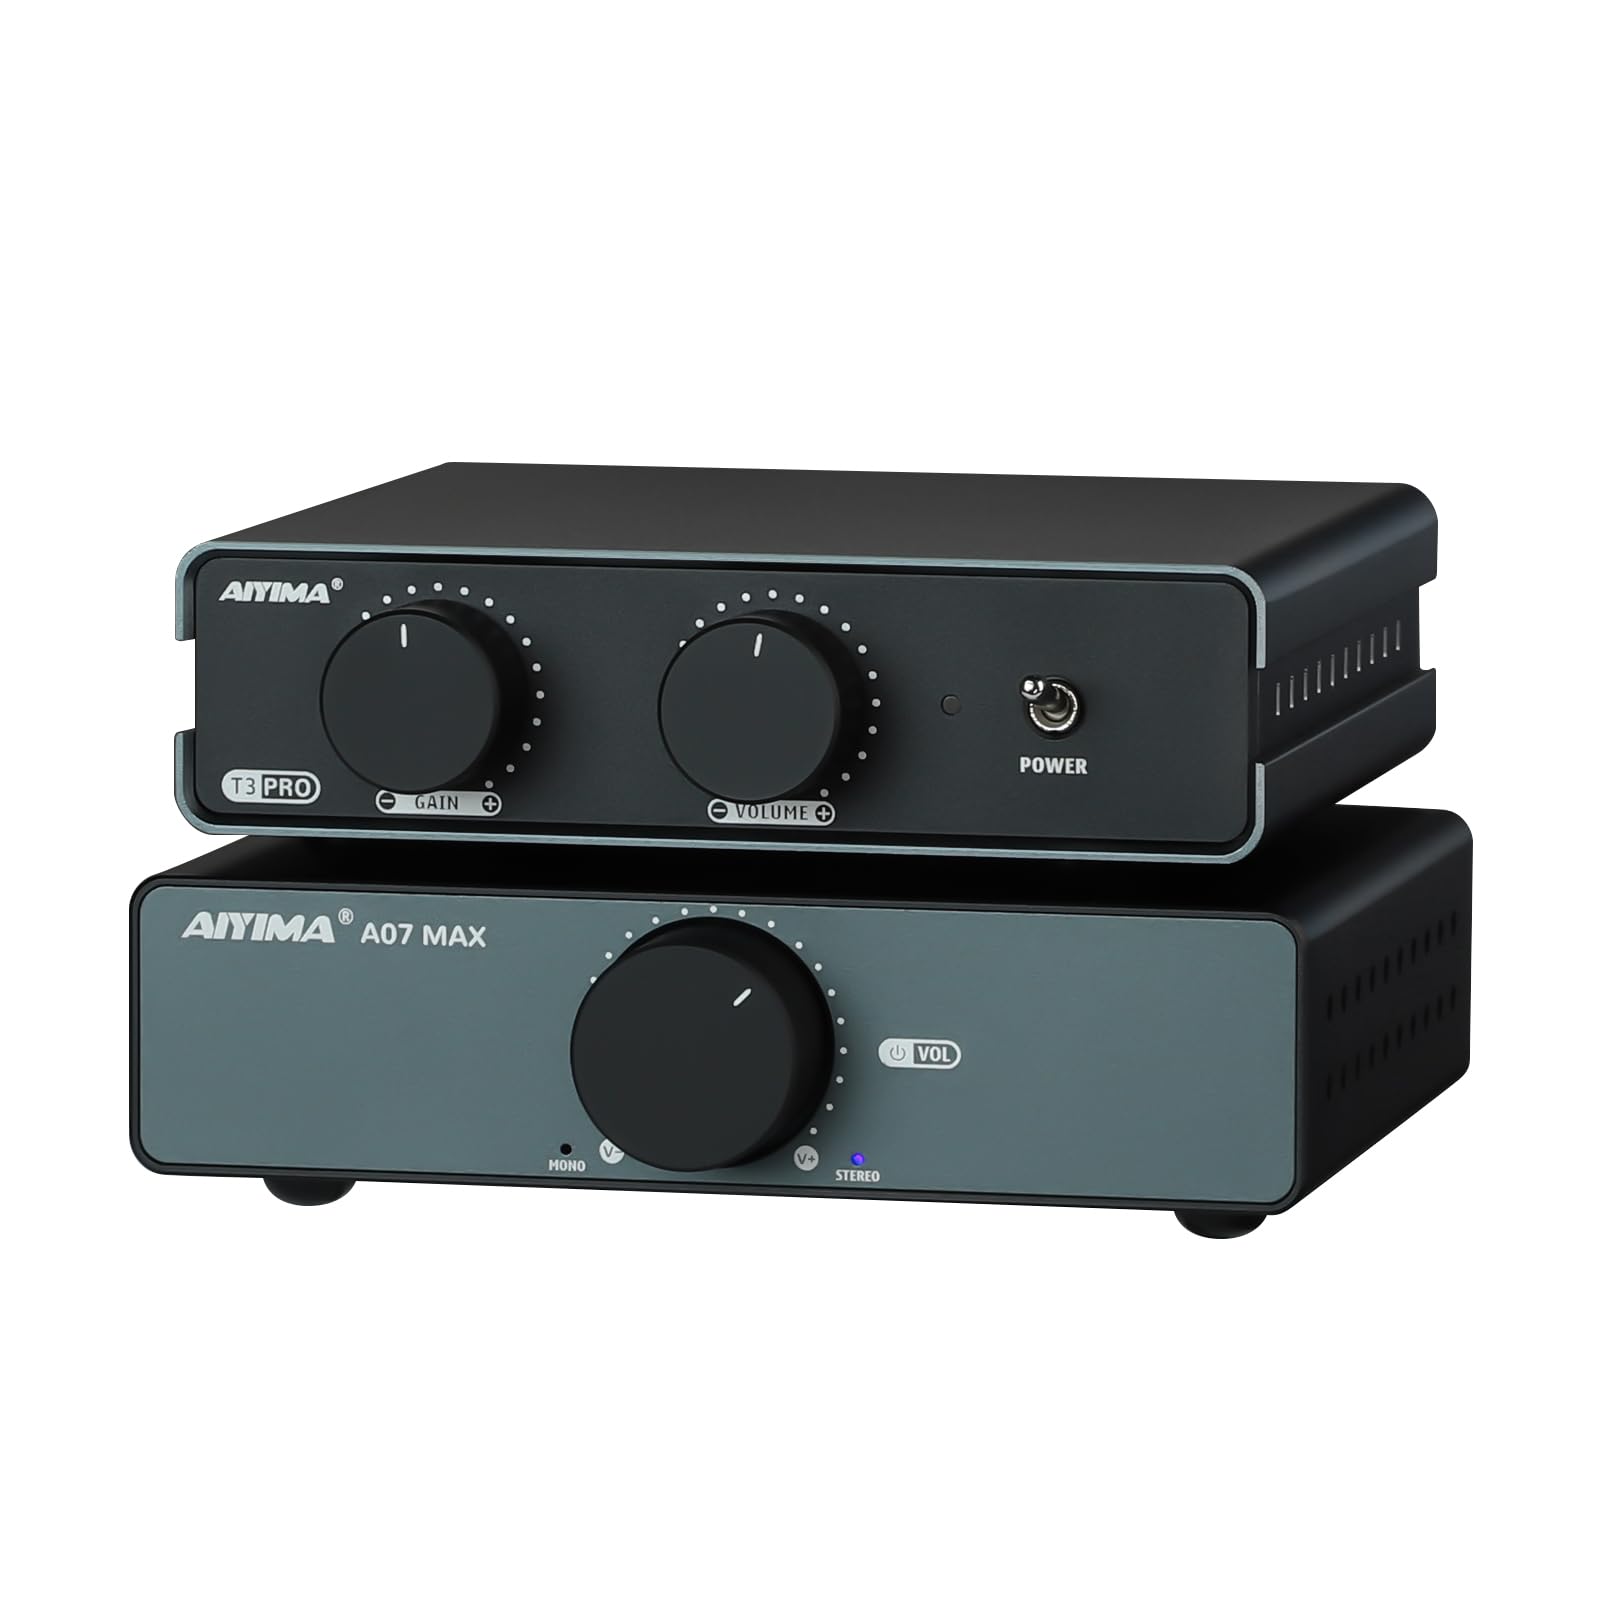
Figure 4.1: Front view of the AIYIMA A07 MAX Amplifier, showing the large volume knob and power indicator.

Figure 4.2: Detailed diagram of the AIYIMA A07 MAX front and rear panels.
- Volume Control / Power Switch: Rotates to adjust volume. Press to turn the unit ON/OFF.
- Mono Mode Indicator: Illuminates when the amplifier is operating in bridged mono mode.
- Stereo Mode Indicator: Illuminates when the amplifier is operating in stereo mode.
4.2 Rear Panel
- RCA Audio Input (L/R): Connect your audio source (e.g., T3 PRO preamp, CD player, DAC) using RCA cables.
- AUX Out (3.5mm): Provides a line-level output for connecting to another active device or another A07 MAX amplifier for a dual-channel system.
- Speaker Output (L/R): Connect passive speakers using banana plugs or bare wire. Ensure correct polarity.
- Power Input (DC 24-48V): Connect the provided DC power adapter.
4.3 Bottom Panel
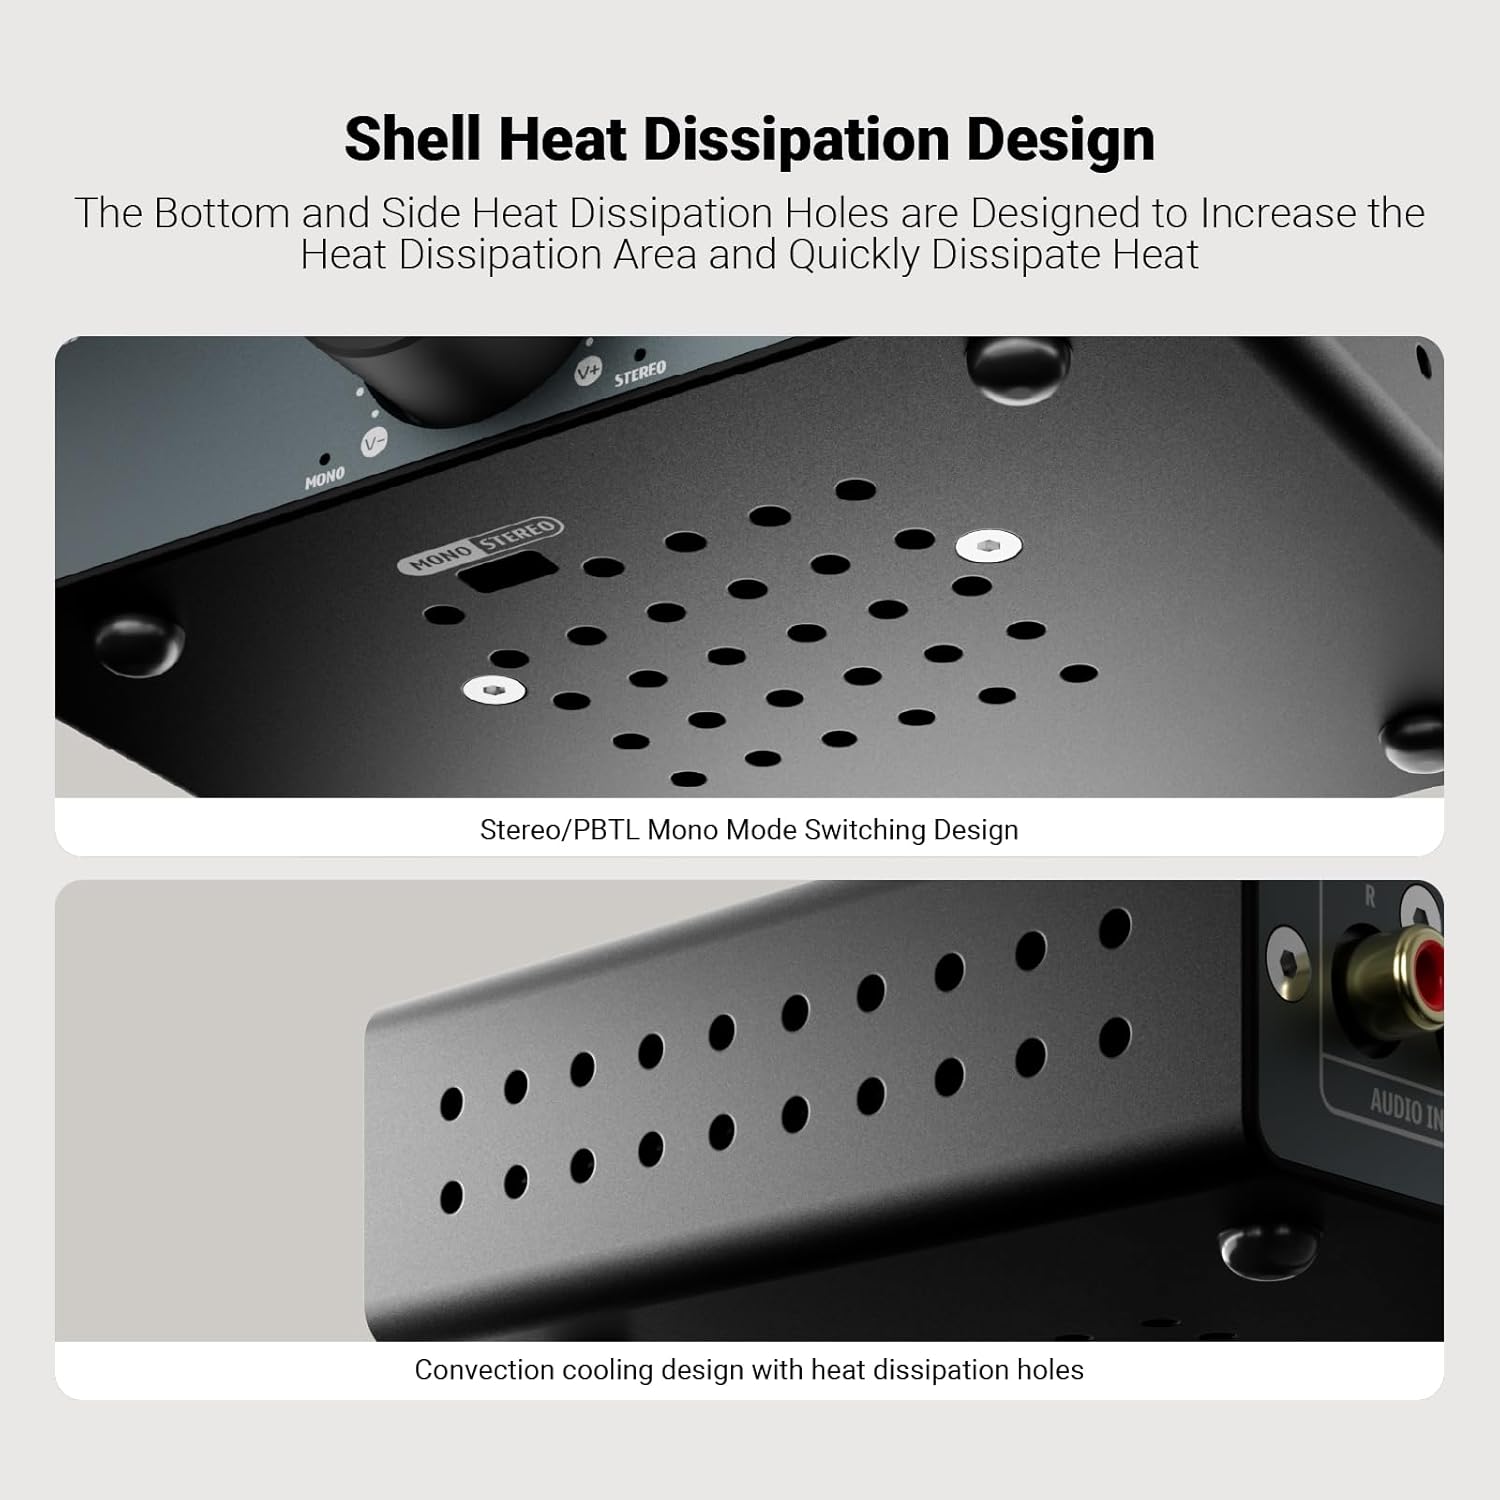
Figure 4.3: Bottom view of the AIYIMA A07 MAX, highlighting the Stereo/PBTL Mono Mode Switching Design and heat dissipation holes.
- Stereo/PBTL Mono Mode Switch: A physical switch located on the bottom of the unit to select between stereo and bridged mono operation.
- Heat Dissipation Holes: Designed for efficient cooling of the internal components.
5. Product Overview: AIYIMA T3 PRO Phono Preamp
5.1 Front Panel

Figure 5.1: Detailed diagram of the AIYIMA T3 PRO front and rear panels.
- Gain Control: Adjusts the input gain for MM/MC cartridges (0-39dB settings).
- Total Volume Control: Adjusts the overall output volume.
- Power Indicator: Illuminates when the unit is powered on.
- ON/OFF Switch: Toggles the power for the unit.
5.2 Rear Panel
- MM/MC Phono Input (RCA): Connect your turntable's RCA output.
- GND Terminal: Connect your turntable's ground wire to reduce hum.
- Audio Output (RCA): Connect to the RCA input of your amplifier (e.g., A07 MAX) or active speakers.
- Power Input (AC12V): Connect the provided AC12V power adapter.
6. Setup and Connections
Follow these steps to set up your AIYIMA A07 MAX and T3 PRO:
6.1 Connecting the AIYIMA T3 PRO Phono Preamp
- Ensure both the T3 PRO and A07 MAX are powered off and unplugged.
- Connect your turntable's RCA output cables to the MM/MC Phono Input on the rear of the T3 PRO.
- Connect your turntable's ground wire to the GND Terminal on the T3 PRO.
- Connect the Audio Output (RCA) of the T3 PRO to the RCA Audio Input of the A07 MAX amplifier using RCA cables.
- Connect the AC12V power adapter to the Power Input (AC12V) of the T3 PRO. Do not plug into a wall outlet yet.
6.2 Connecting the AIYIMA A07 MAX Amplifier

Figure 6.1: Connection diagrams for AIYIMA A07 MAX in Stereo and Bridge Mono modes.
- Select Operating Mode: Before connecting speakers, decide whether to use the A07 MAX in Stereo or Bridge Mono mode. Locate the Stereo/PBTL Mono Mode Switch on the bottom of the A07 MAX and set it accordingly.
- Connect Speakers (Stereo Mode): If in Stereo mode, connect your passive speakers to the Speaker Output (L/R) terminals. Ensure positive (+) terminals on the amplifier connect to positive (+) terminals on the speakers, and negative (-) to negative (-).
- Connect Speakers (Bridge Mono Mode): If in Bridge Mono mode, you will typically use two A07 MAX units for a stereo setup, with each unit driving one speaker. For a single A07 MAX in mono, connect a single passive speaker to the designated mono output terminals (refer to Figure 6.1 for specific wiring).
- Connect the DC 24-48V power adapter to the Power Input (DC 24-48V) of the A07 MAX. Do not plug into a wall outlet yet.
6.3 Powering On
- Once all audio connections are secure, plug both power adapters into their respective wall outlets.
- Turn on the AIYIMA T3 PRO using its front panel ON/OFF switch. The power indicator will illuminate.
- Turn on the AIYIMA A07 MAX by pressing its volume control knob. The mode indicator (Stereo or Mono) will illuminate.
7. Operating Instructions
7.1 AIYIMA T3 PRO Phono Preamp
- Gain Control: Adjust the Gain Control knob on the front panel to match the output level of your MM or MC cartridge. Start with a lower setting and increase gradually until you achieve a clear, undistorted sound.
- Volume Control: Use the Total Volume Control knob to adjust the output level sent to the A07 MAX amplifier.
7.2 AIYIMA A07 MAX Amplifier
- Volume Control: Rotate the large Volume Control knob on the front panel to adjust the overall listening volume.
- Mode Indicators: Observe the Mono or Stereo indicator lights to confirm the current operating mode.
8. Specifications
8.1 AIYIMA A07 MAX Amplifier
| Feature | Specification |
|---|---|
| Chips | TPA3255+NE5532P |
| Stereo Max. Output Power | 2x300 W (@4 Ohm) |
| Mono Max. Output Power | 1x600 W (@2 Ohm) |
| 3.5mm AUX Max Output Level | 1V |
| Frequency Response | 20 Hz - 20 KHz (±1dB) |
| S/N Ratio | 110 dB |
| THD+N | 0.007% (@1W) |
| Working Voltage | DC 24-48V |
| Number of Channels | 2 (Stereo), 1 (Mono Bridged) |
8.2 AIYIMA T3 PRO Phono Preamp
| Feature | Specification |
|---|---|
| Chipset | NE5532+JAR2608 |
| Replacement Op-Amp Chip Support | OPA2604, OPA2134, LM4562, JRC5532, etc. |
| Frequency Response | Reference RIAA characteristics ±3dB |
| Distortion | 0.02% |
| Signal-to-Noise Ratio | 76dB |
| Output Level (MM mode) | 5mV |
| Output Level (MC mode) | 0.5mV |
| Maximum Output Amplitude | 450mV |
| Input Mode | MM/MC Phono |
| Supported Input Devices | MM/MC Phono Amplifier |
| Output Mode | Active Speaker, Amplifier + Passive Speaker |
| Working Power Supply | AC12V |
9. Troubleshooting
- No Sound:
- Ensure both units are powered on and their respective power indicators are lit.
- Check all audio cables (RCA, speaker wires) for secure connections and correct polarity.
- Verify the A07 MAX is in the correct Stereo or Mono mode for your speaker setup.
- Increase the volume on both the T3 PRO and A07 MAX gradually.
- Confirm your turntable is functioning correctly and its output is connected to the T3 PRO's phono input.
- Humming or Buzzing Noise:
- Ensure the turntable's ground wire is securely connected to the T3 PRO's GND terminal.
- Check for loose cable connections.
- Move audio cables away from power cables to reduce interference.
- Test different power outlets.
- Distorted Sound:
- Reduce the volume on both units.
- Adjust the Gain Control on the T3 PRO. If the gain is too high for your cartridge, it can cause distortion.
- Ensure your speakers are correctly connected and not overloaded.
- Unit Overheating:
- Ensure adequate ventilation around both units. Do not place them in enclosed spaces.
- Check that the impedance of your speakers matches the amplifier's specifications.
10. Maintenance
- Cleaning: Use a soft, dry cloth to clean the exterior of the units. Do not use liquid cleaners or solvents.
- Storage: If storing the units for an extended period, disconnect them from power and store them in a cool, dry place.
- Ventilation: Regularly check that the ventilation holes are free from dust and obstructions.
11. Warranty and Support
AIYIMA products are designed for reliability and performance. For warranty information, please refer to the documentation provided at the time of purchase or contact your retailer. For technical support, please visit the official AIYIMA website or contact their customer service department.
AIYIMA Official Website: www.aiyima.com


