1. Introduction
Thank you for choosing the dgtenk GT329 2-Zone Smart Programmable Watering Timer. This device is designed to automate your garden and lawn irrigation, providing efficient and flexible watering schedules for up to two independent zones. Please read this manual thoroughly before installation and operation to ensure proper use and longevity of your product.
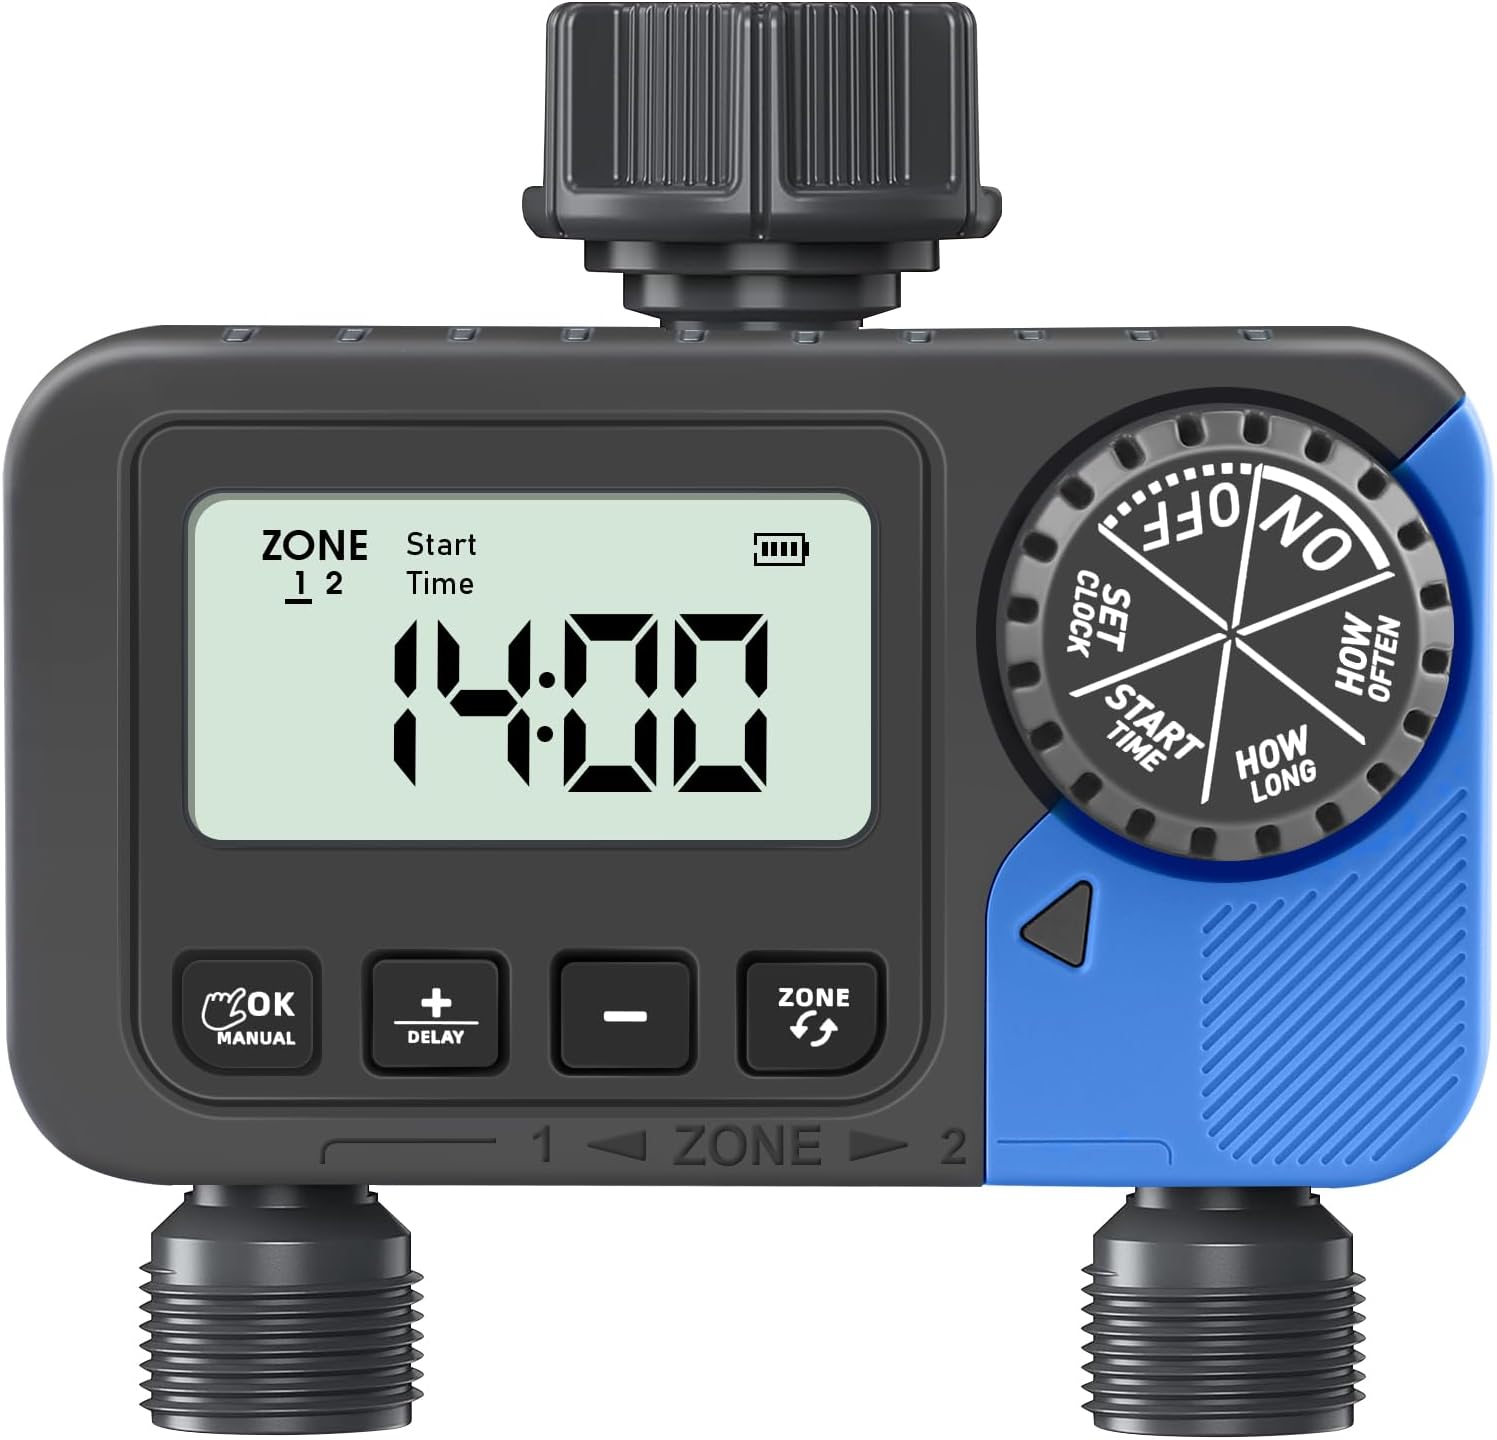
Image: The dgtenk GT329 2-Zone Smart Programmable Watering Timer, featuring a digital display and control dial.
2. Product Overview
2.1 Key Features
- Dual-Zone Control: Independently manage watering schedules for two separate areas.
- Flexible Scheduling: Set watering duration from 1 minute to 3 hours 59 minutes, and frequency from 1-12 hours or 1-7 days.
- Rain Delay Function: Suspend watering for 24, 48, or 72 hours to conserve water during rainfall.
- Durable & Waterproof: IP54 rated for outdoor use, featuring a sealed battery compartment.
- 360° Rotatable Interface: Easy installation with standard 3/4 inch hose threads, gasket, and filter.
- Low-Battery Warning: Automatic valve closure to prevent leakage when battery is low.
2.2 Package Contents
- 1 x dgtenk GT329 2-Zone Watering Timer
- 1 x User Manual
- 2 x 3/4 inch Gaskets
- 2 x 3/4 inch Filters
2.3 Component Identification

Image: Detailed diagram of the watering timer, highlighting the Timer Dial, Filter Washer, Fitting 3/4" Faucet, Large LCD Screen, OK/Manual button, Increase/Delay button, Reduce button, Zone Button, and Fitting 3/4" Hose.
- Timer Dial: Used to select different settings (ON/OFF, SET CLOCK, START TIME, HOW LONG, HOW OFTEN).
- LCD Screen: Displays current time, program settings, and battery status.
- OK/Manual Button: Confirms selections or initiates manual watering.
- +/- Buttons: Adjust values for time, duration, and frequency. The '+' button also functions as the Delay button.
- Zone Button: Switches between Zone 1 and Zone 2 for programming.
- Fittings: Standard 3/4 inch threads for faucet and hose connections.
3. Setup
- Install Batteries: Open the battery compartment on the back of the timer. Insert two (2) AAA 1.5-volt alkaline batteries (not included), ensuring correct polarity. Close the compartment securely to maintain the waterproof seal. The low battery indicator will appear when batteries need replacement.
- Connect to Faucet: Screw the timer onto your outdoor faucet. Ensure the included filter and gasket are properly seated to prevent leaks. The 360° rotatable interface allows for easy positioning.
- Connect Hoses: Attach your garden hoses to the two outlets at the bottom of the timer.

Image: The durable dgtenk hose timer, highlighting its IP54 waterproof rating and sealed battery compartment, shown in a garden setting.

Image: Close-up of the watering timer's connection point, showing the 3/4 inch gasket and filter designed to prevent leaks and filter impurities.
4. Operating Instructions
The timer features a rotary dial and three buttons (+, -, OK/Manual, Zone) for easy programming. Always ensure the dial is turned to the correct setting before pressing buttons.
4.1 Setting the Current Time (SET CLOCK)
- Turn the dial to SET CLOCK.
- The display will show '24H' or '12H'. Use the '+' or '-' buttons to select your preferred time format, then press 'OK' to confirm.
- The hour will flash. Use the '+' or '-' buttons to adjust the hour. Press 'OK' to confirm.
- The minutes will flash. Use the '+' or '-' buttons to adjust the minutes. Press 'OK' to confirm.
- Turn the dial to 'ON' or any other setting to save changes.
Video: Demonstrates how to set the current time and 12/24-hour format on the watering timer.
4.2 Setting Start Time (START TIME)
- Turn the dial to START TIME.
- Press the 'ZONE' button to select either Zone 1 or Zone 2.
- The hour will flash. Use the '+' or '-' buttons to set the desired start hour. Press 'OK' to confirm.
- The minutes will flash. Use the '+' or '-' buttons to set the desired start minutes. Press 'OK' to confirm.
- Repeat for the other zone if needed.
- Turn the dial to 'ON' or any other setting to save changes.
4.3 Setting Watering Duration (HOW LONG)
- Turn the dial to HOW LONG.
- Press the 'ZONE' button to select either Zone 1 or Zone 2.
- The display will show '00H 00M'. Use the '+' or '-' buttons to set the desired watering duration (from 1 minute to 3 hours 59 minutes). Press 'OK' to confirm.
- Repeat for the other zone if needed.
- Turn the dial to 'ON' or any other setting to save changes.

Image: The watering timer display showing options for setting 'How Long' (duration) and 'How Often' (frequency) for irrigation.
4.4 Setting Watering Frequency (HOW OFTEN)
- Turn the dial to HOW OFTEN.
- Press the 'ZONE' button to select either Zone 1 or Zone 2.
- The display will show 'Every 0 Days' or 'Every 0 Hours'. Use the '+' or '-' buttons to set the desired watering frequency (from 1-12 hours or 1-7 days). Press 'OK' to confirm.
- Repeat for the other zone if needed.
- Turn the dial to 'ON' or any other setting to save changes.

Image: Illustration of the two independent watering zones, demonstrating Hour Cycle Mode (e.g., every 3 hours) and Day Cycle Mode (e.g., every 3 days) for different plant needs.
4.5 Manual Watering
- Turn the dial to ON.
- Press and hold the 'OK/MANUAL' button for 3 seconds to enter manual watering mode.
- Use the '+' or '-' buttons to adjust the manual watering duration (from 1 minute to 8 hours).
- Press 'OK' to start manual watering.
- To stop manual watering, press and hold the 'OK/MANUAL' button again for 3 seconds. The timer will then revert to its programmed automatic schedule.
Video: Instructions on how to use the manual watering function and activate the rain delay feature.

Image: Comparison showing the timer enabling both automatic sprinkler watering and manual hose watering for different garden needs.

Image: A child and a dog enjoying manual watering, illustrating the timer's flexibility for tasks beyond automated irrigation.
4.6 Rain Delay Mode
The rain delay function allows you to temporarily pause your watering schedule to avoid overwatering during rainy periods, helping to conserve water.
- Turn the dial to ON.
- Press and hold the 'DELAY' button (which is the '+' button) for 3 seconds to enter rain delay mode.
- Use the '+' or '-' buttons to select a delay time of 24 hours, 48 hours, or 72 hours.
- Press 'OK' to activate the delay function. All watering plans will be skipped for the selected duration.
- Once the delay period is over, the watering timer will automatically resume its original programmed schedule.
- To cancel the rain delay prematurely, press and hold the 'DELAY' button for 3 seconds again.
Video: Demonstrates how to activate and cancel the rain delay function on the watering timer.

Image: The watering timer displaying the Rain Delay Mode, offering 24H, 48H, and 72H options to conserve water.

Image: A calendar graphic illustrating how the Rain Delay feature pauses programmed watering schedules for 1-7 days to prevent overwatering.
5. Maintenance
- Battery Replacement: Replace AAA batteries when the low battery indicator appears. Ensure the battery compartment is sealed tightly after replacement.
- Filter Cleaning: Periodically check and clean the filter washer located at the faucet connection point to prevent debris from entering the timer and affecting water flow.
- Winter Storage: Before the first frost, disconnect the timer from the faucet and store it indoors in a dry, frost-free location. Remove batteries if storing for extended periods.
- General Cleaning: Wipe the timer with a damp cloth. Do not use abrasive cleaners or submerge the unit in water.
6. Troubleshooting
| Problem | Possible Cause | Solution |
|---|---|---|
| Timer not watering. | Low battery, incorrect program, faucet off, water pressure too low. | Check/replace batteries. Verify program settings (start time, duration, frequency). Ensure faucet is fully open. Check water pressure (must be 7.25-116 psi). |
| Water leaking from connections. | Loose connection, missing/damaged gasket, worn hose. | Tighten connections. Ensure gaskets are properly seated and undamaged. Replace worn hoses. |
| Display is blank or dim. | Dead or low batteries. | Replace batteries with new AAA alkaline batteries. |
| Timer not responding to button presses. | Unit is locked, or internal error. | Try removing and reinserting batteries to reset. If problem persists, contact customer support. |
| Watering occurs at wrong times. | Incorrect clock setting or program. | Re-set the current time and verify all program settings for both zones. |
7. Specifications
- Model: GT329
- Material: Plastic
- Color: Blue
- Product Dimensions: 2.75"D x 5.15"W x 5.1"H
- Item Weight: 1.12 pounds (0.51 Kilograms)
- Number of Zones: 2
- Watering Duration: 1 minute to 3 hours 59 minutes
- Watering Frequency: Every 1-12 hours or Every 1-7 days
- Water Pressure Range: 7.25-116 psi (0.5-8 bar)
- Max Flow Rate: 10 gallons/minute (35 liters/minute)
- Power Source: 2 x AAA 1.5-volt alkaline batteries (not included)
- Battery Life Expectancy: 6 to 8 months
- Waterproof Rating: IP54
8. Warranty and Support
The dgtenk GT329 2-Zone Smart Programmable Watering Timer comes with a standard manufacturer's warranty against defects in materials and workmanship. For specific warranty details, please refer to the warranty card included with your purchase or contact dgtenk customer support.
If you encounter any issues or have questions regarding your product, please contact our customer support team:
- Email: support@dgtenk.com (Example)
- Phone: 1-800-XXX-XXXX (Example)
- Website: www.dgtenk.com (Example)
Please have your model number (GT329) and purchase date available when contacting support.