1. Introduction
The cooidea Toslink Automatic Digital Optical Switcher (Model T01) is designed to expand the optical audio input capabilities of your audio system. This device allows you to connect up to three digital optical audio sources to a single optical input on your amplifier, soundbar, or other audio receiving device. It features both automatic and manual switching modes, ensuring seamless audio integration.
2. Product Features
- 3-in-1 Out Automatic Switching: Automatically detects active audio signals from up to three sources and switches to the active channel.
- Wireless Remote Control: Provides convenient manual switching between input sources from a distance.
- High-Quality Audio Support: Supports sampling rates up to 192kHz/24Bit and is compatible with LPCM2.0, DTS, and Dolby-AC3 5.1 Channel audio formats.
- Compact and Durable Design: Features an open design with a delicate appearance, measuring 6.3cm x 4.2cm x 1.8cm, making it space-efficient.
- Wide Compatibility: Connects to any digital audio device with a TOSLINK/OPTICAL port, including Sound Bars, STBs, Xbox, PlayStation, Blu-ray players, HDTVs, Amplifiers, and Speakers.
3. Package Contents
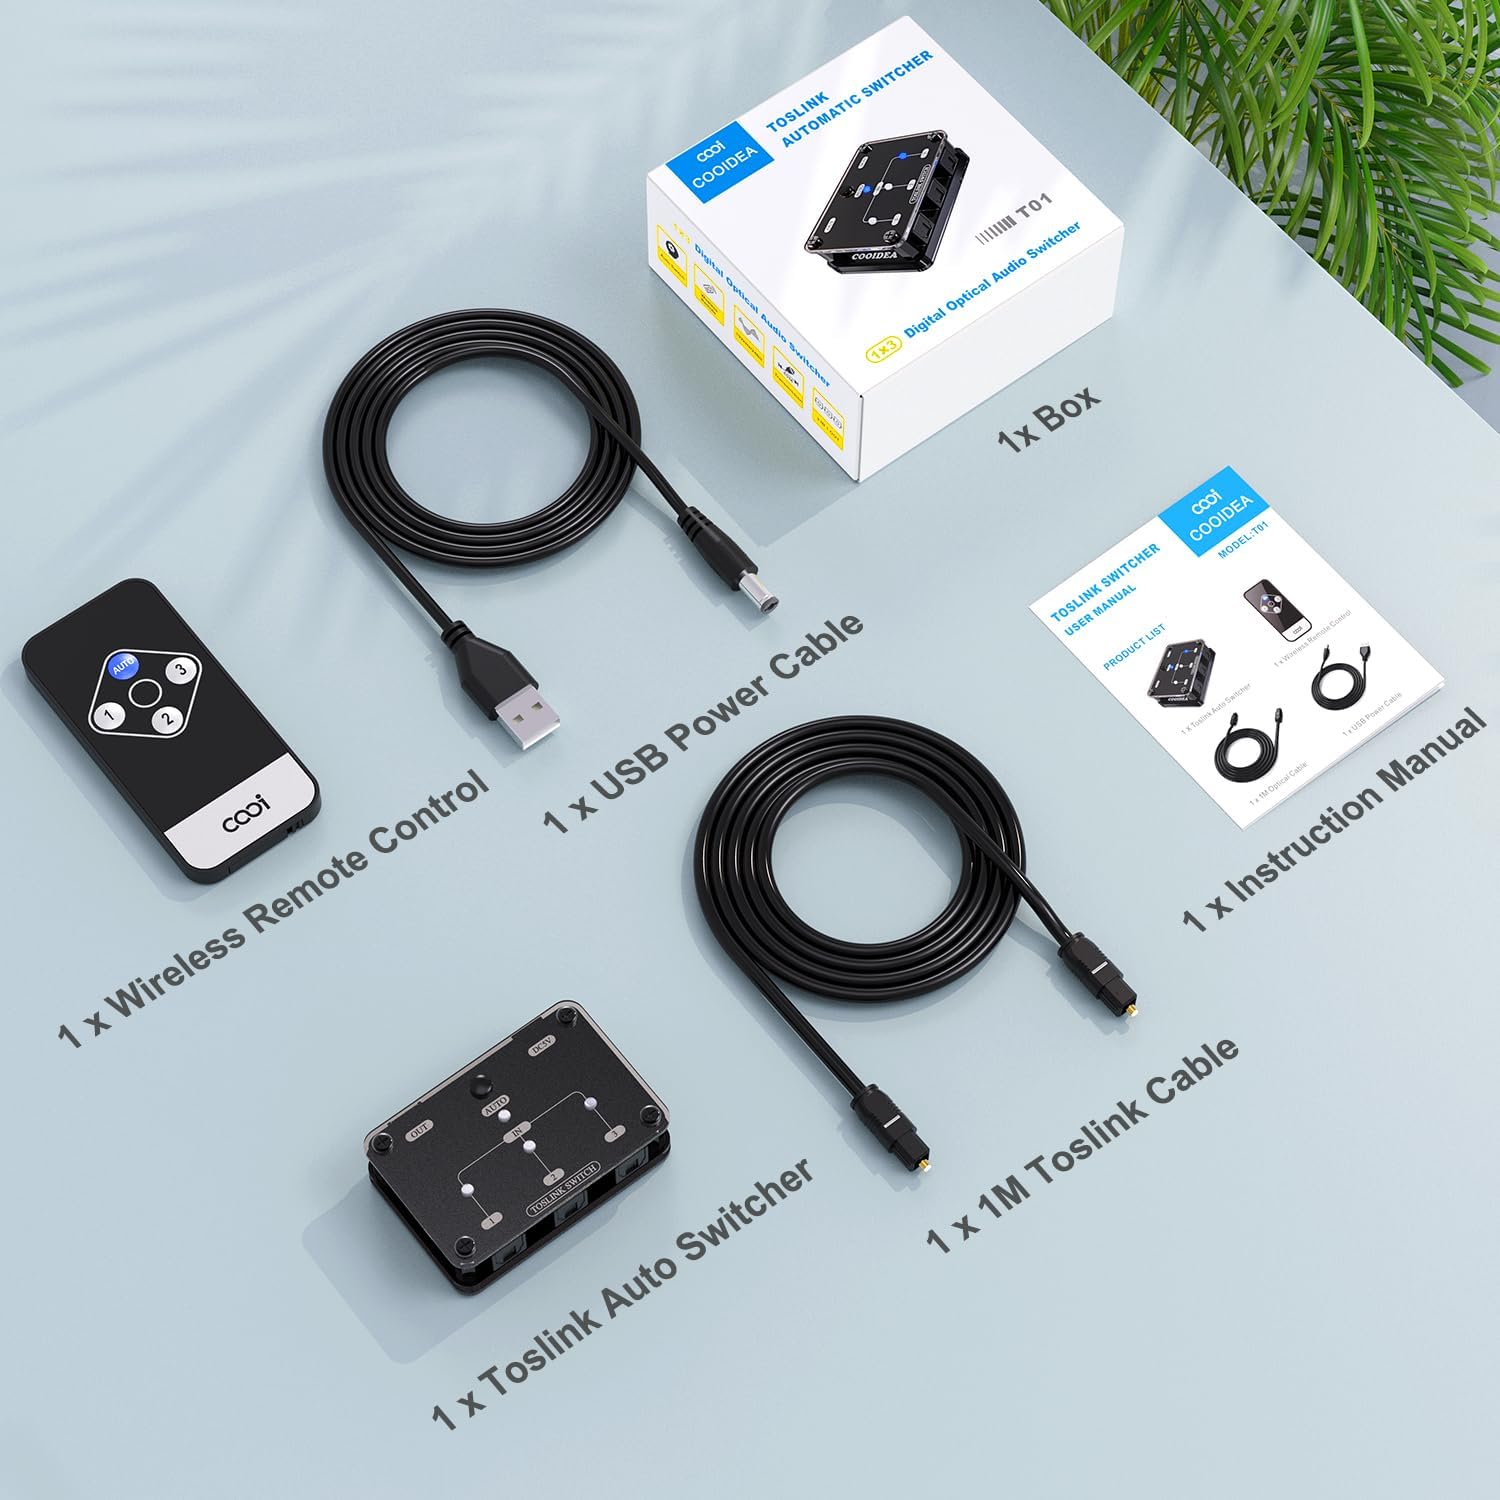
Image: Package contents of the cooidea Toslink Automatic Digital Optical Switcher.
- 1 x cooidea Toslink Automatic Switcher (Model T01)
- 1 x Wireless Remote Control
- 1 x USB Power Cable
- 1 x 1-meter Toslink Optical Cable
- 1 x Operation Manual
4. Product Overview
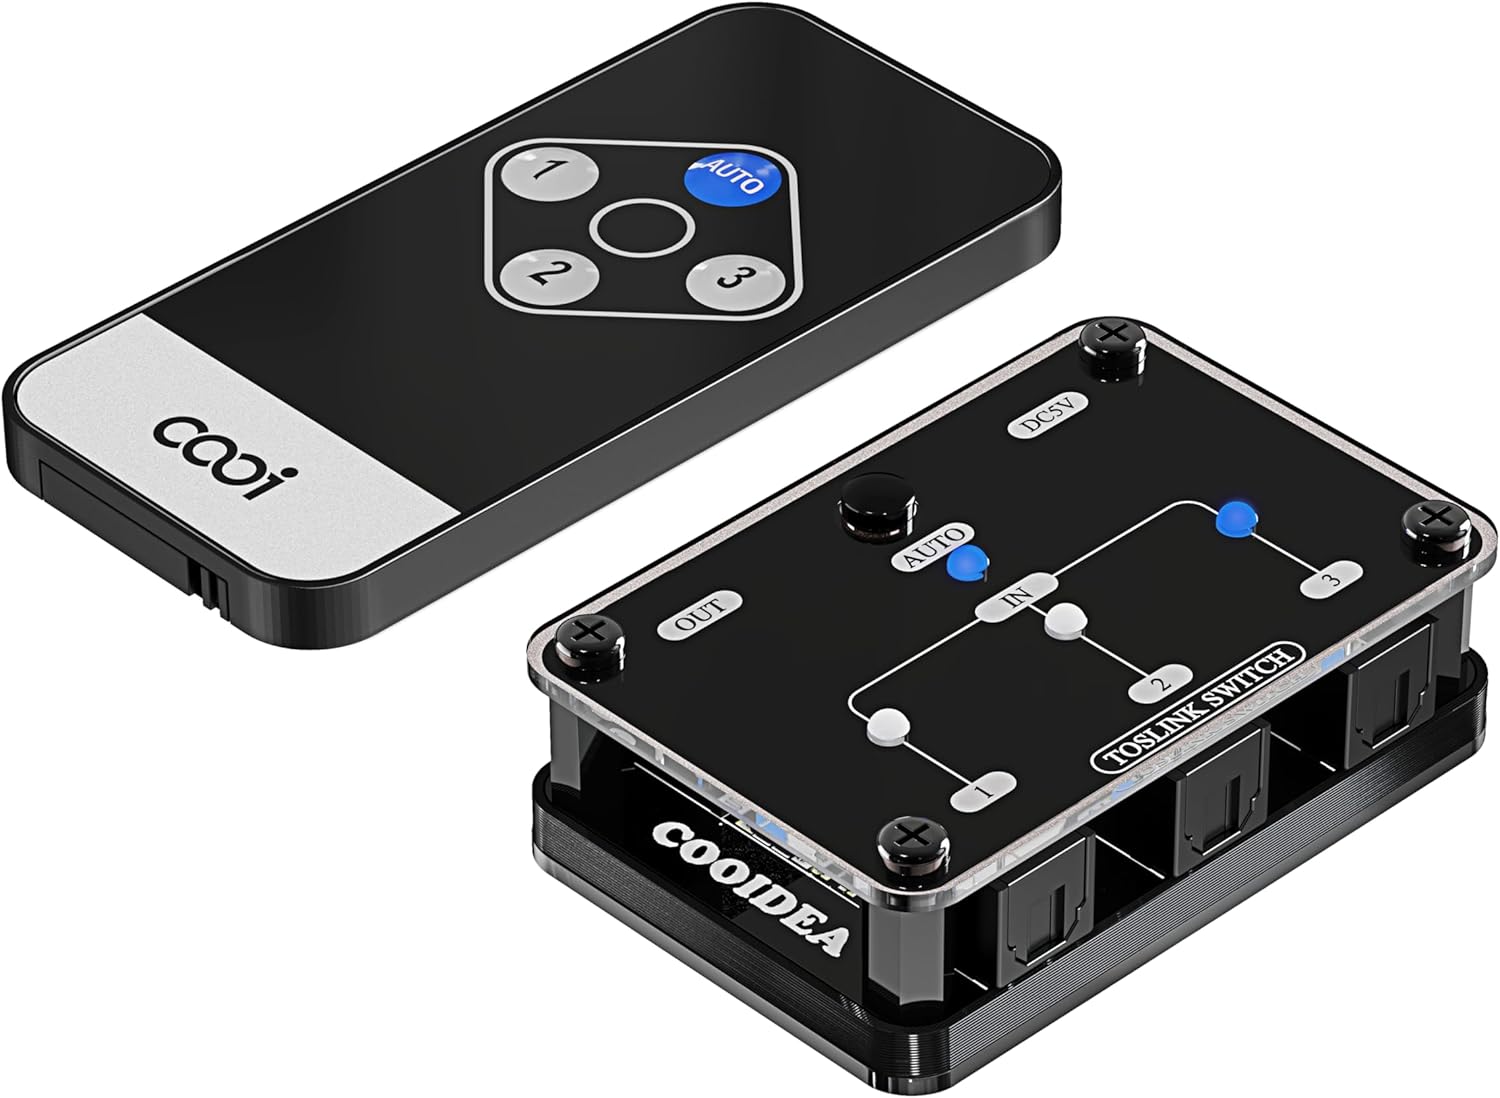
Image: Switcher unit and remote control.

Image: Dimensions and automatic switching feature.

Image: Wireless Remote Control for input selection.

Image: Supported SPDIF Digital Audio Formats.
5. Setup Instructions
Follow these steps to set up your cooidea Toslink Automatic Digital Optical Switcher:
- Connect Input Devices: Use Toslink optical cables to connect your audio source devices (e.g., HDTV, Xbox, PlayStation, Blu-ray player) to the IN1, IN2, and IN3 ports on the switcher.
- Connect Output Device: Connect your audio receiving device (e.g., soundbar, amplifier, speakers) to the OUT port on the switcher using a Toslink optical cable.
- Connect Power: Plug the provided USB power cable into the DC5V port on the switcher and connect the other end to a USB power source (e.g., TV USB port, USB wall adapter). The power indicator LED will illuminate.
- Power On Devices: Ensure all connected audio source and receiving devices are powered on.

Image: Typical connection diagram for the switcher.
Setup Demonstration Video
Video: Demonstration of connecting and setting up a Digital Audio Switcher. This video illustrates the general connection process for optical audio switchers.
6. Operating Instructions
Automatic Switching Mode
The switcher is designed to automatically detect active audio signals. When an audio device connected to one of the input channels becomes active (e.g., starts playing audio), the switcher will automatically switch to that channel. If the current active channel becomes inactive (e.g., muted or powered off), the switcher will scan for other active channels and switch accordingly.
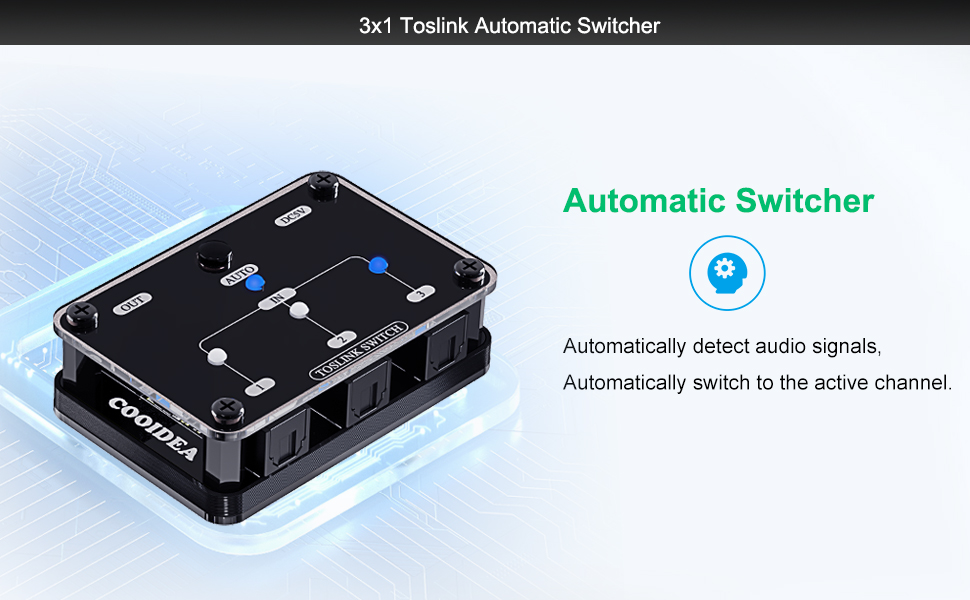
Image: Automatic switching functionality.
Manual Switching Mode
You can manually select an input channel using either the button on the switcher unit or the provided wireless remote control.
- Using the Switcher Button: Press the 'AUTO' button on the switcher unit to cycle through the input channels (IN1, IN2, IN3) or to activate/deactivate automatic mode.
- Using the Remote Control: Use the 'AUTO' button for automatic mode, or directly select input channels using buttons '1', '2', or '3' on the remote. The remote control allows operation from up to 30 meters in a straight line, even if the switcher is out of sight.

Image: Remote control usage for manual switching.
Audio Format Compatibility
The switcher supports various digital audio formats, including LPCM2.0, DTS, and Dolby-AC3 5.1 Channels. Ensure your source device is configured to output one of these supported formats for optimal performance.
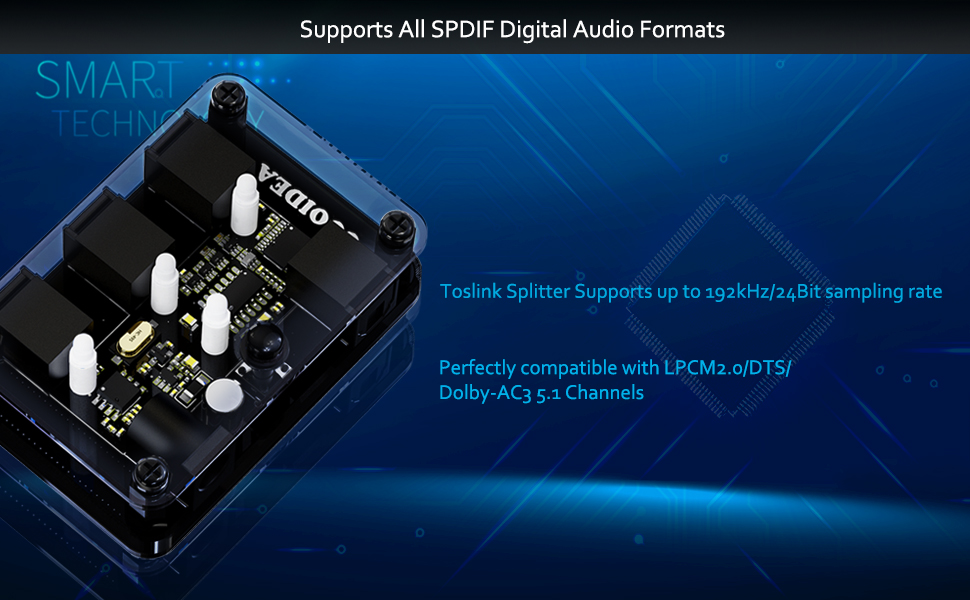
Image: Supported audio formats.
Operating Demonstration Video
Video: Demonstration of a 3x1 Toslink Optical Switch, showing manual and remote control switching between devices.
7. Maintenance
To ensure the longevity and optimal performance of your cooidea Toslink Automatic Digital Optical Switcher, follow these maintenance guidelines:
- Cleaning: Use a soft, dry cloth to clean the exterior of the device. Avoid using liquid cleaners or abrasive materials, as they may damage the finish or internal components.
- Port Care: Keep the optical ports clean and free of dust. When not in use, ensure the protective caps are placed over the optical cable ends and ports to prevent dust accumulation.
- Storage: Store the switcher in a cool, dry place away from direct sunlight, high temperatures, and humidity.
- Handling: Handle the device and optical cables with care. Avoid bending or twisting optical cables sharply, as this can damage the fiber optic core.
8. Troubleshooting
If you encounter issues with your cooidea Toslink Automatic Digital Optical Switcher, refer to the following common troubleshooting steps:
| Problem | Possible Cause | Solution |
|---|---|---|
| No audio output |
|
|
| Automatic switching not working |
|
|
| Remote control not responding |
|
|
9. Specifications
- Product Dimensions: 2.48 x 1.65 x 0.71 inches (6.3 x 4.2 x 1.8 cm)
- Item Weight: 3.87 ounces (110g)
- Audio Format Support: LPCM2.0 / DTS / Dolby-AC3
- Sampling Frequency: Up to 192 KHz
- Output Cable Distance: ≤40m (using optical fiber cable with loss less than 0.2Db/m)
- Power Supply: USB 5V
- Inputs: 3 x Toslink Optical
- Outputs: 1 x Toslink Optical
- Control: Manual button, Wireless Remote Control

Image: Product dimensions.
10. Warranty and Support
For warranty information and technical support, please refer to the official cooidea website or contact their customer service directly. The operation manual included in the package also contains detailed contact information and warranty terms.