1. Introduction
The cudinham X2 Thermal Mini Printer is a portable, inkless sticker maker designed for printing notes, receipts, pictures, and DIY projects. It utilizes thermal printing technology and connects wirelessly via Bluetooth to iOS and Android devices. This manual provides essential information for setting up, operating, maintaining, and troubleshooting your printer.
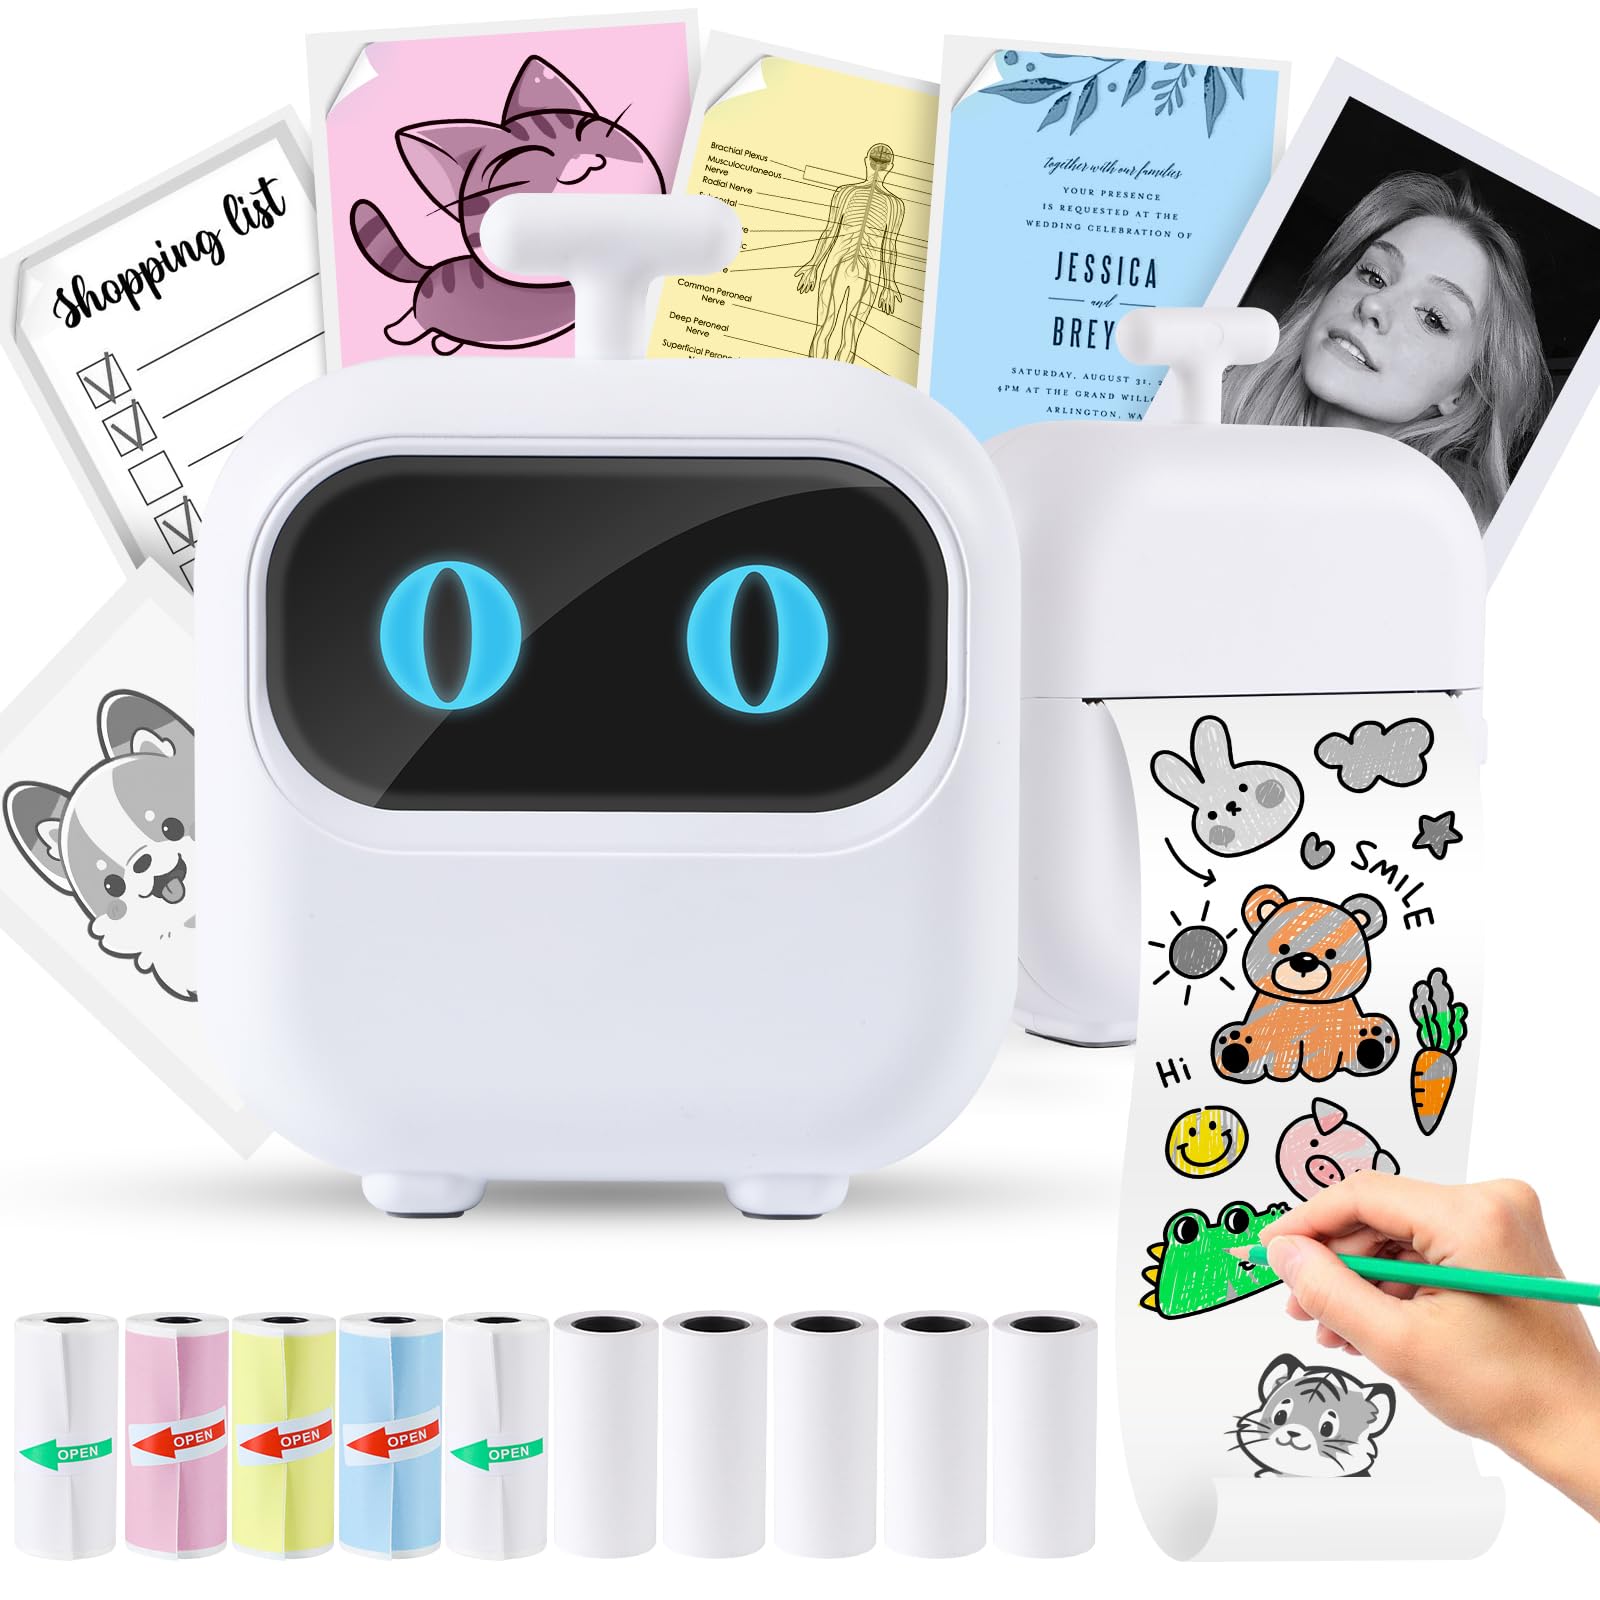
2. Package Contents
Verify that all items are present in your package:
- Mini Printer (1 unit)
- Thermal Paper (5 rolls)
- Adhesive Printing Paper (5 rolls)
- Type-C Power Cord (1 unit)
- User Manual (1 unit)

3. Setup Guide
3.1. Charging the Printer
Before first use, fully charge the printer using the provided Type-C power cord. Connect the cable to the printer's charging port and a compatible USB power source. The printer has a built-in 1200mAh lithium-ion battery.
3.2. Loading Thermal Paper
Proper paper loading is crucial for clear prints. Follow these steps:
- Open the paper loading compartment: Gently open the printer's top cover to access the paper compartment.
- Insert the paper roll: Place the thermal paper roll into the printer. Ensure the printed side faces down. The arc part of the paper roll should face down into the printer.
- Pull out paper and close lid: Pull out a small portion (approximately 1 cm) of the paper from the slot and then close the printer lid securely.
- Start printing: The printer is now ready for use.


3.3. App Installation and Bluetooth Connection
The cudinham X2 printer operates via the "Tiny Print" mobile application.
- Download the App: Search for "Tiny Print" in your device's app store (compatible with Android 4.0 and iOS 9.0 or higher).
- Power On: Press and hold the power button on the printer to turn it on. The printer's eyes will illuminate blue when working normally.
- Connect via Bluetooth: Open the "Tiny Print" app, navigate to the device connection section, and select the X2 printer model (e.g., "X2h-80D8") from the list of available Bluetooth devices.

4. Operating the Printer
4.1. Basic Printing
Once connected, you can print directly from the "Tiny Print" app:
- Select the desired content (e.g., photo, text, template) within the app.
- Adjust print settings such as print mode (high definition, high speed) and print depth if available.
- Tap the "Print" button to send the data to the printer.
4.2. App Features
The "Tiny Print" app offers a variety of features to enhance your printing experience:
- Photo Printing: Print black and white photos directly from your phone's gallery.
- Graphic Editing: Utilize tools for basic image adjustments.
- Templates: Access numerous free templates for notes, labels, to-do lists, and more.
- OCR Function: Optical Character Recognition to extract text from images.
- Text Editing: Customize text with various fonts and styles.
- Web Page Printing: Print content directly from web pages.
- Files Printing: Print documents and other files.

5. Maintenance
5.1. Cleaning the Print Head
If print quality degrades or prints become unclear after repeated use, the print head (laser bar) may need cleaning.
- Turn off the printer and open the paper loading compartment.
- Locate the laser bar inside the compartment.
- Gently wipe the laser bar with a cotton swab lightly dampened with alcohol.
- Allow it to dry completely before closing the lid and resuming use.
6. Troubleshooting
6.1. Unclear Prints
If your prints are consistently unclear or faded, refer to the Cleaning the Print Head section. A dirty print head is a common cause of poor print quality.
6.2. Bluetooth Disconnection Issues
If the printer frequently disconnects from your device via Bluetooth:
- Ensure the printer is fully charged.
- Make sure your device is within close proximity to the printer.
- Try restarting both your printer and your mobile device.
- In the "Tiny Print" app, try reconnecting multiple times if the first attempt fails.
6.3. Blank Prints / Incorrect Paper Loading
If the printer produces blank paper or prints are not visible, it is likely due to incorrect paper loading. Thermal paper has a specific side that reacts to heat. Ensure the printed side faces down when loading the roll into the printer. Refer to the Loading Thermal Paper section for detailed instructions.
7. Product Specifications
| Feature | Specification |
|---|---|
| Brand | cudinham |
| Model Name | X2 |
| Connectivity Technology | Bluetooth |
| Printing Technology | Thermal |
| Special Features | Bluetooth 5.0, Inkless Printing, Portable, Powerful App with AI |
| Color | White |
| Printer Output | Monochrome |
| Max Print Speed Monochrome | 1 ppm |
| Product Dimensions (D x W x H) | 1.77"D x 3.35"W x 3.35"H |
| Controller Type | Android, iOS |
| Resolution | 200 x 200 dpi |
| Compatible Devices | Smartphones |
| Ink Color | Black (thermal) |
| Control Method | App |
| Maximum Media Size | 57 X 350 mm |
| Paper Size | 57 X 25 Millimeters |
| UPC | 730198251525 |
8. Warranty and Support
8.1. Warranty Information
The cudinham X2 Thermal Mini Printer comes with a 1-Year Warranty from the date of purchase. This warranty covers manufacturing defects and malfunctions under normal use. Please retain your proof of purchase for warranty claims.
8.2. Customer Support
For technical assistance, troubleshooting, or warranty inquiries, please contact cudinham customer support through the retailer's platform or the official cudinham website. Ensure you have your model number (X2) and purchase details ready when contacting support.