RJ-C120501C
RJTianye 12V 6A Intelligent Pulse Repair Charger User Manual
Model: RJ-C120501C
1. Introduction
The RJTianye 12V 6A Intelligent Pulse Repair Charger is an advanced battery charger and maintainer designed for a wide range of 12V lead-acid batteries. This includes Calcium, GEL, AGM, Wet, and EFB battery types commonly found in cars, trucks, motorcycles, lawn mowers, and marine vehicles. Featuring intelligent microprocessor control, an LCD display, and multiple protection functions, this charger ensures safe, efficient, and optimized battery charging and maintenance.
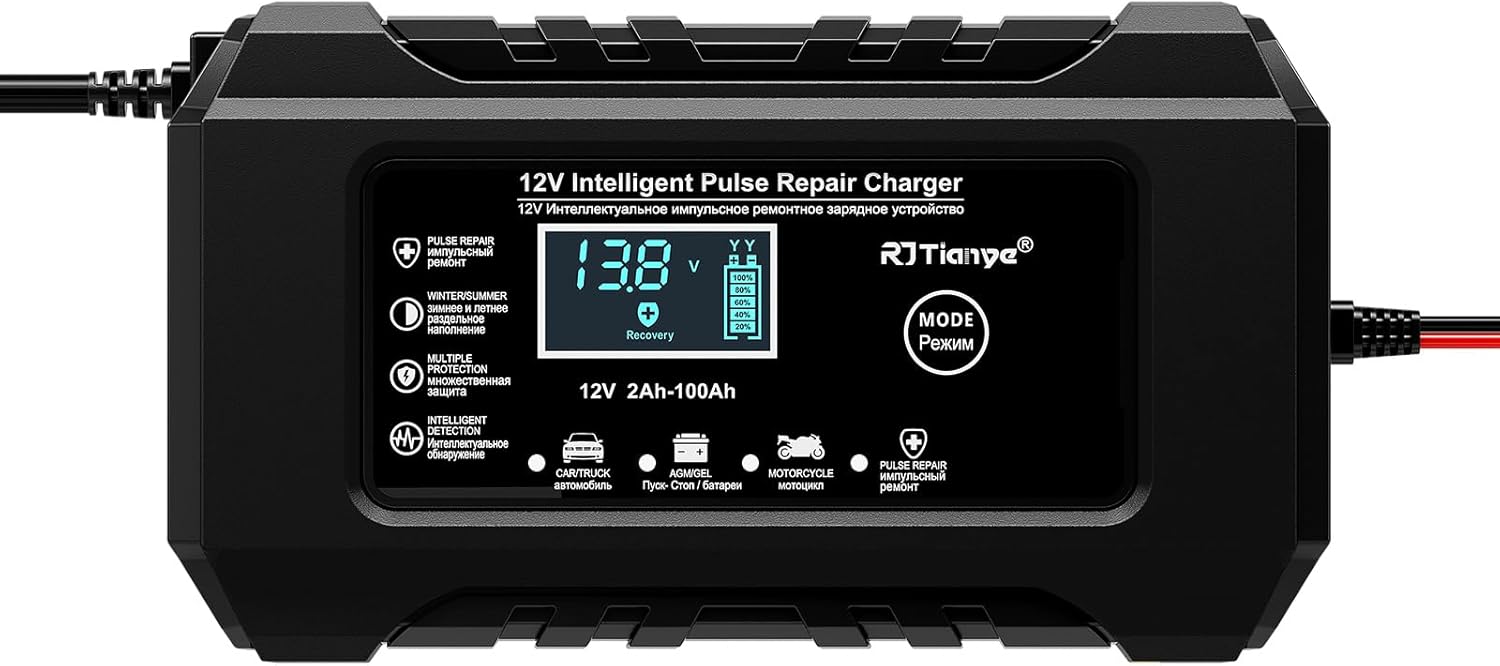
Image: The RJTianye 12V 6A Intelligent Pulse Repair Charger, showcasing its compact design and clear LCD screen.
2. Safety Information
Please read and understand all safety warnings and instructions before using this product. Failure to follow these instructions may result in electric shock, fire, or serious injury.
- Ventilation: Ensure adequate ventilation during charging. Batteries can produce explosive gases.
- Eye and Face Protection: Always wear eye protection and protective clothing when working near batteries.
- Connection Order: Connect the charger to the battery terminals first, then plug the charger into the power outlet. Disconnect in reverse order.
- Polarity: Ensure correct polarity (+ to + and - to -) before connecting. The charger includes polarity protection.
- Indoor Use: This charger is designed for indoor use. Avoid exposure to rain or moisture.
- Children and Pets: Keep the charger and battery out of reach of children and pets.
- Battery Removal: For optimal safety and to prevent potential damage to vehicle electronics, it is recommended to remove the battery from the vehicle before charging, especially for extended charging periods.
- Charging Duration: Avoid charging for more than 12 hours continuously without supervision.
- Damaged Charger: Do not operate the charger if it has been damaged in any way.

Image: Visual representation of the charger's safety features, emphasizing all-wrapped clamps, an internal cooling fan, and fireproof construction.
3. Product Overview
The RJTianye Intelligent Pulse Repair Charger is equipped with several key features for efficient and safe battery management:
- LCD Display: Provides real-time information including voltage, temperature, charging status, and selected mode.
- Mode Button: Allows selection between different charging modes (Car/Truck, AGM/GEL, Motorcycle, Pulse Repair).
- Intelligent Microprocessor: Automatically detects battery type and condition, adjusting charging parameters accordingly.
- Temperature Compensation: Adjusts charging voltage based on ambient temperature for optimal performance in summer and winter.
- Multiple Protections: Includes voltage detection, switchmode technology, polarity protection, output short protection, non-battery link protection, over voltage protection, and over temperature protection.
- Built-in Cooling Fan: Prevents overheating during operation, extending the charger's lifespan.
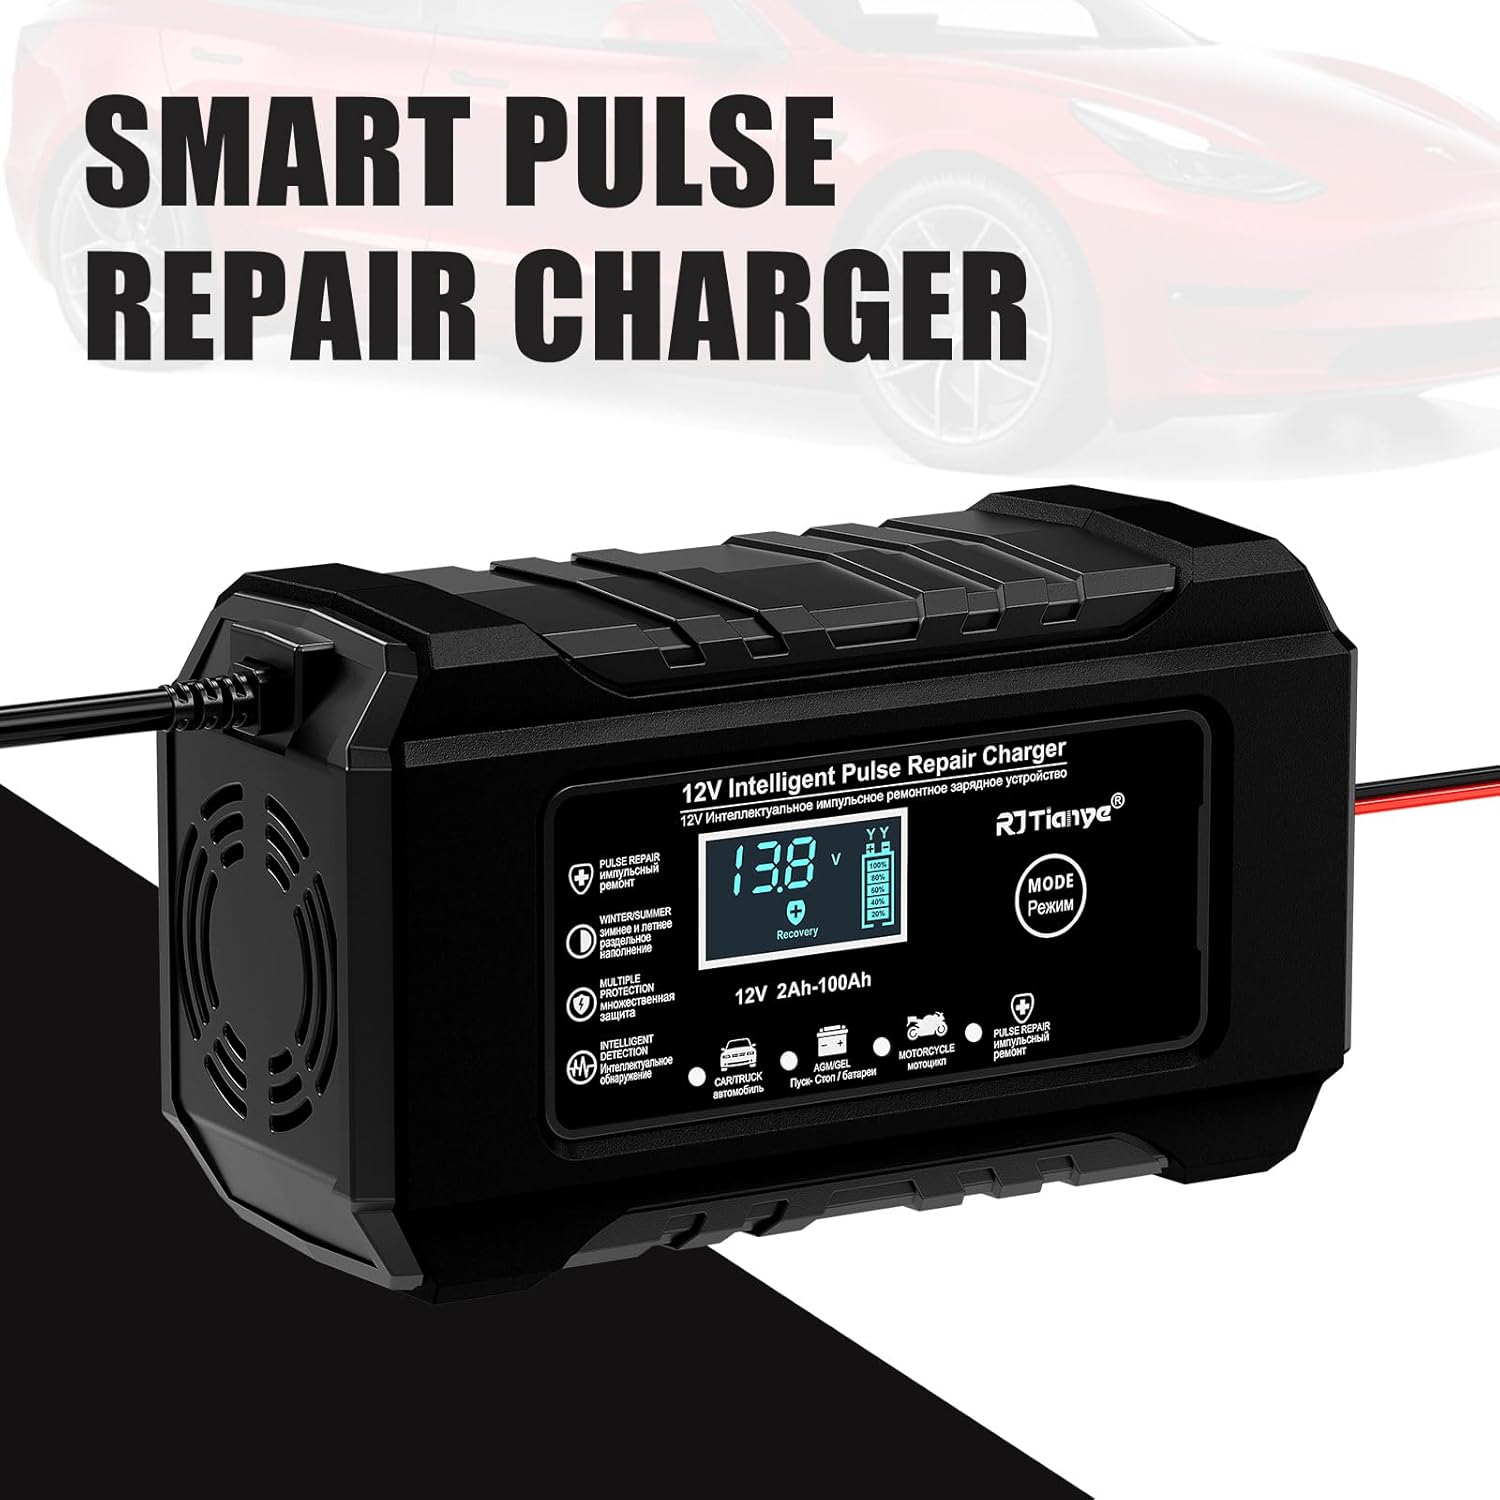
Image: The charger with "SMART PULSE REPAIR CHARGER" text, illustrating its advanced capabilities.
4. Setup
Follow these steps to set up your RJTianye battery charger:
- Prepare the Battery: Ensure the battery terminals are clean and free of corrosion. If necessary, clean them with a wire brush.
- Connect Clamps:
- Connect the red (+) positive clamp to the positive battery terminal.
- Connect the black (-) negative clamp to the negative battery terminal.
Ensure a secure connection. The charger has polarity protection, but correct connection is always recommended.
- Connect to Power: Plug the charger's power cord into a standard AC 110-265V power outlet. The LCD display will illuminate.
- Initial Display: The charger will display the current battery voltage and ambient temperature.

Image: The charger connected to a car battery, demonstrating proper clamp attachment.
5. Operating Instructions
The charger features four main operating modes, selectable via the "MODE" button:
- Automatic Charging Mode (Car/Truck):
This is the default mode for most 12V lead-acid batteries (4Ah-100Ah) found in cars and trucks. The charger automatically detects the battery type and condition, then applies the appropriate charging current and voltage.
- AGM/GEL Mode:
Specifically designed for AGM (Absorbed Glass Mat) and GEL batteries. This mode provides a tailored charging profile to optimize the lifespan and performance of these battery types.
- Motorcycle Mode:
Ideal for smaller 12V batteries, such as those found in motorcycles, ATVs, and lawn mowers. This mode delivers a lower, more controlled charging current suitable for smaller capacities.
- Pulse Repair Mode:
Used for desulfating and recovering old, idle, or slightly damaged batteries. This mode sends pulsating currents to break down sulfate crystals that accumulate on battery plates, potentially restoring battery capacity. It is recommended to run this mode for 1-2 hours before regular charging for severely discharged batteries.
To Select a Mode: Press the "MODE" button repeatedly until the desired mode indicator (Car/Truck, AGM/GEL, Motorcycle, Pulse Repair) is highlighted on the LCD screen.
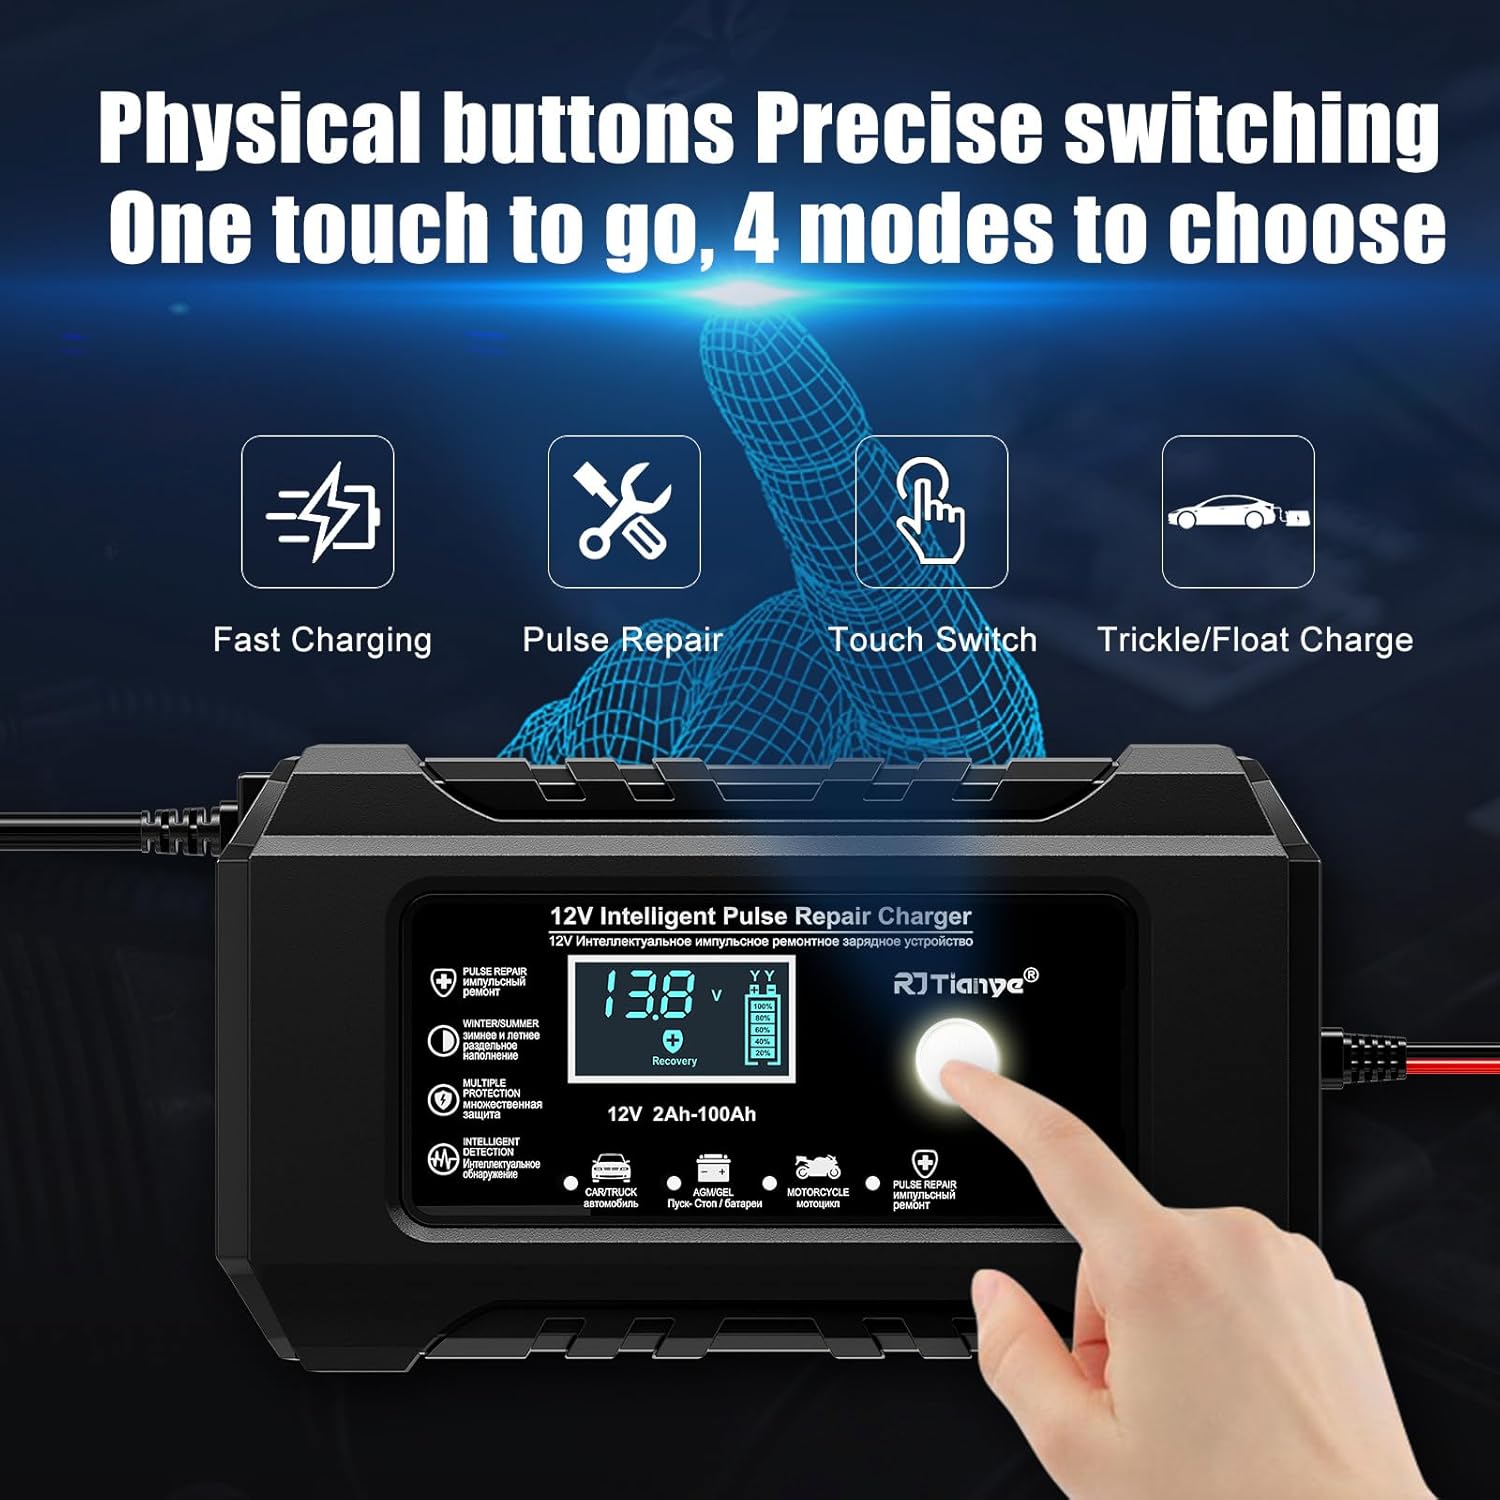
Image: A hand interacting with the charger's mode button, illustrating the ease of switching between charging options.
Automatic Temperature Compensation
The charger automatically adjusts its charging voltage based on the ambient temperature. This ensures optimal charging performance and extends battery life, preventing overcharging in hot conditions (Summer Mode, above 82°F) and ensuring full charge in cold conditions (Winter Mode, below 50°F).

Image: Diagram illustrating the automatic temperature compensation feature for optimal charging in different climates.
Video: Way of Working
Video: A demonstration of the RJTianye charger in operation, showing the connection process and display changes during charging.
6. Maintenance
Proper maintenance ensures the longevity of your charger and batteries:
- Cleaning: Wipe the charger's exterior with a soft, dry cloth. Do not use harsh chemicals or abrasives.
- Storage: Store the charger in a cool, dry place when not in use. Ensure cables are neatly coiled to prevent damage.
- Battery Terminals: Regularly inspect battery terminals for corrosion and clean as needed.
- Cooling Fan: The built-in fan helps dissipate heat. Ensure the fan vents are not obstructed during operation.

Image: An illustration highlighting the charger's silent cooling fan and its role in heat dissipation.
7. Troubleshooting
If you encounter issues, refer to the following common problems and solutions:
| Problem | Possible Cause | Solution |
|---|---|---|
| Charger not turning on / LCD blank | No power from outlet; loose connection; charger malfunction. | Check power outlet; ensure power cord is securely plugged in. |
| "E++" or "Reverse" displayed | Reverse polarity connection. | Disconnect charger, then reconnect red clamp to positive (+) and black clamp to negative (-) battery terminals. |
| Charger not charging | Battery fully charged; battery severely damaged; poor connection. | Check battery charge level; try Pulse Repair mode for damaged batteries; ensure clamps are firmly attached. |
| Charger gets hot | Normal operation; obstructed fan vents; prolonged high-current charging. | Ensure proper ventilation around the charger; clear any obstructions from vents. The built-in fan should manage heat. |
If the issue persists after attempting these solutions, please contact customer support.
8. Specifications
| Feature | Detail |
|---|---|
| Model | RJ-C120501C |
| Input Voltage | AC 110-265V (50-60Hz) |
| Output Voltage | DC 13.8-15.5V |
| Output Current | 6A (Max) |
| Battery Capacity Range | 12V 2Ah-100Ah |
| Compatible Battery Types | Lead-Acid (Calcium, GEL, AGM, Wet, EFB) |
| Product Dimensions | 5.9 x 2.4 x 3.3 inches (150 x 85 x 62 mm) |
| Item Weight | 14.9 ounces (390g) |
| Certifications | CE, FCC, ROHS, CMA, UL |
| Output Line Length | 65 cm |
| Input Line Length | 90 cm |
Note: This charger is mainly used for lead-acid batteries. Lithium batteries are not supported.

Image: Illustration showing the charger's wide voltage input compatibility (AC 110-265V).
9. Warranty and Support
Specific warranty information for this product is not provided in the available data. For warranty claims, technical support, or further inquiries, please refer to the contact information provided with your product packaging or contact the seller directly through the platform where the product was purchased.
Ask a question about this manual
Ask about setup, troubleshooting, compatibility, parts, safety, or missing instructions. Manuals+ will review the question and use this page’s manual context to help answer it.