1. Introduction
This manual provides detailed instructions for the installation, configuration, and operation of the Sodola SL-SG0024W Easy Web Managed Ethernet Switch. This device is designed to enhance network connectivity with its hybrid speed capabilities and web-based management features, suitable for both home and small office environments.
2. Product Overview
2.1 Package Contents
- Sodola SL-SG0024W 6-Port 2.5G Managed Ethernet Switch
- Power Cord
- User Manual (this document)
2.2 Hardware Features
The Sodola SL-SG0024W switch features a robust metal casing and offers a versatile port configuration for high-speed networking.

Figure 1: Front view of the Sodola SL-SG0024W switch, showing six RJ45 ports and indicator lights.
The switch is equipped with:
- 4x 2.5GBase-T RJ45 Ports: For connecting devices requiring multi-gigabit speeds.
- 2x 10GBase-T RJ45 Ports: For high-bandwidth uplinks or connections to servers/NAS.
- Total Backplane Bandwidth: Up to 60Gbps for efficient data transfer.

Figure 2: Rear view of the switch, highlighting the Reset Button, Power Indicator, Mode Switching Dial, Ground Screw, DC 12V Input, and Heat Sink.
Key components on the rear panel include the DC 12V power input, a ground screw for electrical safety, a reset button, and a mode switching dial to select between 'DUMB' (unmanaged) and 'WEB' (managed) modes. The device also features a heat sink design for passive cooling, ensuring silent operation.
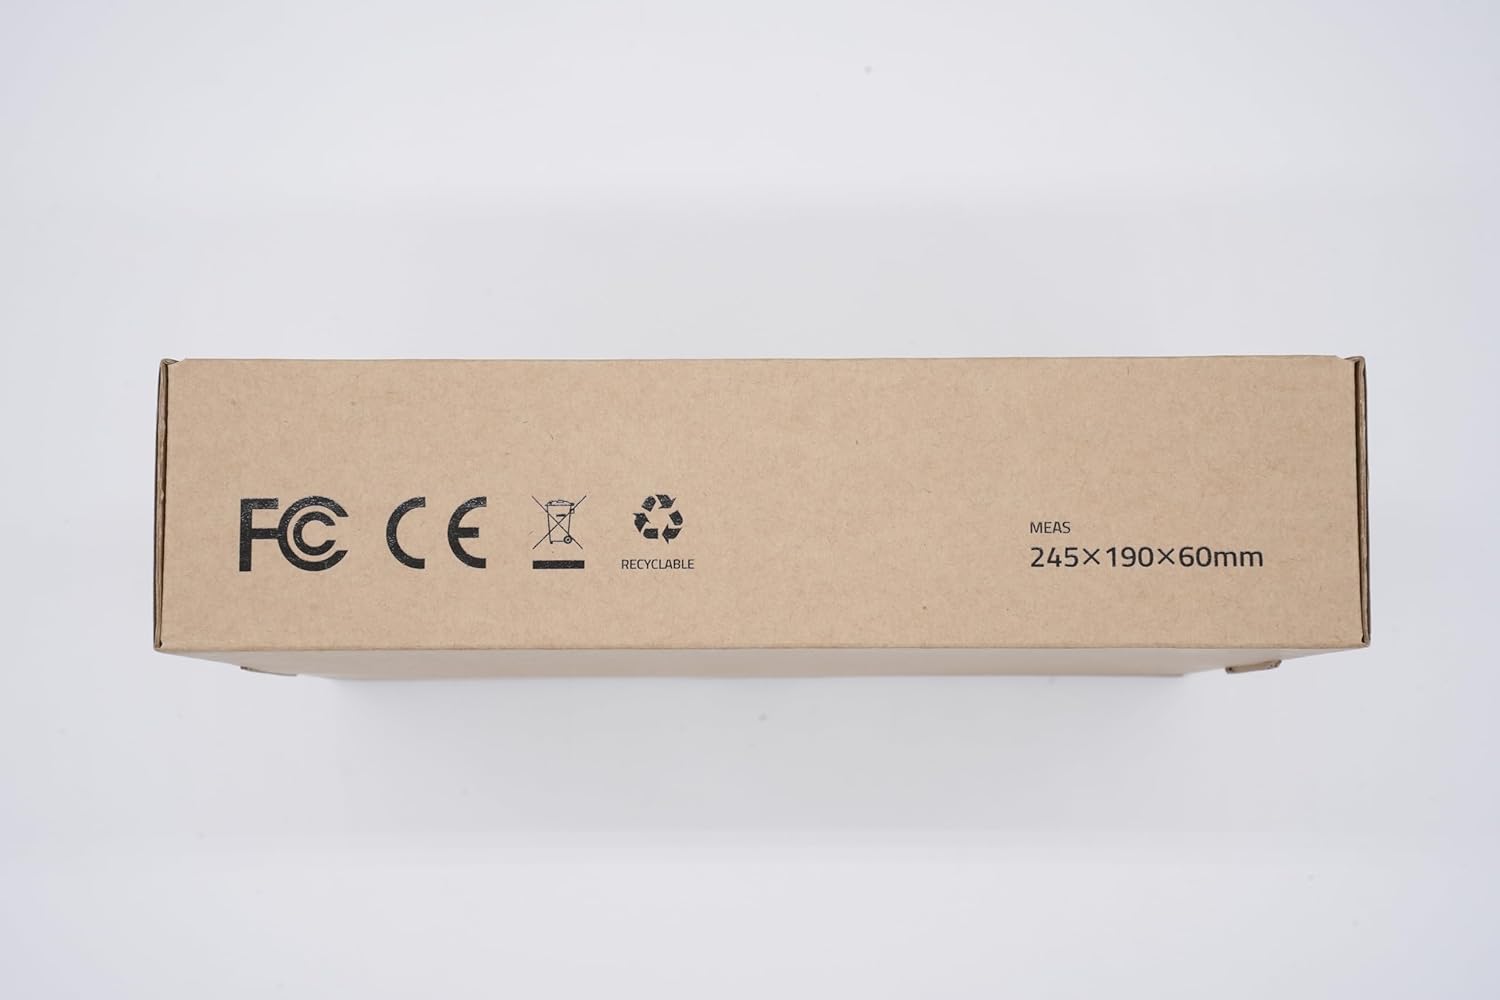
Figure 3: Port indicator lights. For ports 1-4, the left light indicates 2.5G (orange) or 1G (green), and the right light indicates Link/Activity (green). For ports 5-6, the left light indicates 10G/5G (orange) or 2.5G (green), and the right light indicates Link/Activity (green).
3. Setup
3.1 Physical Installation
- Placement: Position the switch on a stable, flat surface or mount it to a wall. Ensure adequate ventilation around the device.
- Power Connection: Connect the provided power cord to the DC 12V input on the switch and then to a power outlet.
- Network Connections: Connect your network devices (computers, NAS, routers, etc.) to the RJ45 ports using standard Ethernet cables.

Figure 4: The switch supports both desktop placement and wall mounting. Dimensions are 160mm (length) x 112mm (width) x 30mm (height).

Figure 5: Detail of the keyhole slot for wall mounting, allowing secure installation.
4. Operating Modes
The Sodola SL-SG0024W switch offers two operating modes, selectable via the 'DUMB/WEB' dial on the rear panel:
- DUMB Mode (Plug-and-Play): In this mode, the switch functions as an unmanaged switch. No configuration is required; simply connect your devices, and they will communicate. Features like Link Aggregation, VLAN, IGMP, and QoS are not active in this mode.
- WEB Mode (Managed): This mode enables access to the web management interface, allowing you to configure advanced network features such as Link Aggregation, VLAN, IGMP, QoS, Loop Prevention, and more.

Figure 6: Visual comparison of features available in DUMB (unmanaged) versus WEB (managed) modes.
5. Web Management Interface
To access the web management interface, ensure the switch is set to 'WEB' mode using the dial on the rear panel.
5.1 Accessing the Interface
- Clear Browser Cache: It is recommended to clear your web browser's cache before attempting to access the interface.
- Adjust Network Settings: Ensure your PC's IPv4 settings are configured to be on the same subnet as the switch. The default IP address of the switch is 192.168.0.1. You may need to temporarily set your PC's IP address (e.g., 192.168.0.10) and subnet mask (255.255.255.0).
- Login: Open a web browser and navigate to
http://192.168.0.1. - Credentials: Enter the default username
adminand passwordadmin.

Figure 7: Visual guide for setting your PC's IP address to match the switch's subnet and accessing the web interface.
5.2 Configuration and Saving
After making any changes to the switch's parameters within the web interface, it is crucial to apply and save these settings to ensure they persist after a reboot.
- Apply Changes: After modifying a setting, click the 'Apply' button within that specific configuration section.
- Save Configuration: Navigate to the 'Save Configuration' or 'System' section and click the 'Save' button to permanently store all applied changes. If you do not save, changes will be lost upon power cycle.

Figure 8: Illustration of applying parameters and saving the configuration within the web management interface.
6. Advanced Features
The web management interface provides access to a range of advanced networking features:
- Link Aggregation (LACP): Combine multiple physical links into a single logical link for increased bandwidth and redundancy.
- VLAN Management: Create Virtual Local Area Networks to segment network traffic and enhance security.
- Spanning Tree Protocol (RSTP): Prevent network loops and ensure network stability.
- IGMP Snooping: Optimize multicast traffic delivery, useful for streaming and IPTV.
- Quality of Service (QoS): Prioritize network traffic for critical applications.
- Loop Prevention: Detect and prevent network loops.
- Storm Control: Limit broadcast, multicast, or unknown unicast traffic to prevent network storms.
- Port Mirroring: Monitor network traffic by sending a copy of packets from one port to another.
- DHCP Snooping: Enhance network security by filtering untrusted DHCP messages.
- Jumbo Frame Support: Improve efficiency for large data transfers.

Figure 9: Example of Link Aggregation with a Network Attached Storage (NAS) device, utilizing the 2.5Gbps RJ45 ports for increased throughput.

Figure 10: Overview of various web management features including Link Aggregation, VLAN Management, Spanning Tree Protocol, Storm Control, Port Mirroring, DHCP, RSTP, LACP, LOOP, Multicast, MAC Address, Jumbo Frame, Snooping, and QoS.
7. Specifications
| Feature | Description |
|---|---|
| Model Number | SL-SG0024W |
| Interface Type | 4 x 2.5G Base-T Ports, 2 x 10G RJ45 Ports |
| Data Transfer Rate | 2500 Megabytes Per Second (per 2.5G port) |
| Number of Ports | 6 |
| Case Material | Metal |
| Item Weight | 1.76 pounds |
| Package Dimensions | 10.51 x 8.98 x 2.72 inches |
| Included Components | User Manual, 6 Port 2.5G Managed Ethernet Switch, 1 Power Cord |
| Color | Black |
| Compatible Devices | Computer, NAS, Network Switch, Router |
8. Troubleshooting
8.1 No Power
- Ensure the power cord is securely connected to both the switch and a working power outlet.
- Verify the power outlet is functional by plugging in another device.
8.2 No Link Light / No Network Connectivity
- Check that Ethernet cables are properly connected to both the switch and the connected device.
- Ensure the Ethernet cables are not damaged. Try a different cable.
- Verify the connected device is powered on and functioning correctly.
- If in WEB mode, ensure port settings (e.g., VLANs) are correctly configured for the connected device.
8.3 Cannot Access Web Management Interface
- Confirm the switch is set to 'WEB' mode using the dial on the rear panel.
- Ensure your PC's IPv4 address is on the same subnet as the switch (default 192.168.0.1). For example, set your PC's IP to 192.168.0.10 with subnet mask 255.255.255.0.
- Clear your web browser's cache.
- Try a different web browser.
- Verify the default username (admin) and password (admin) are entered correctly.
- If the IP address has been changed and forgotten, a factory reset may be necessary (refer to the Reset section).
8.4 Settings Not Saving
- After making any changes in the web interface, ensure you click 'Apply' for the specific setting and then navigate to the 'Save Configuration' section to permanently save all changes. Unsaved changes will be lost upon reboot.
8.5 Resetting the Switch
To restore the switch to factory default settings, press and hold the 'Reset' button on the rear panel for approximately 5-10 seconds while the device is powered on. Release the button once the indicator lights flash or the device reboots. This will erase all custom configurations.
9. Warranty and Support
Sodola provides a one-year warranty for the SL-SG0024W switch, covering manufacturing defects and hardware malfunctions under normal use. For technical support, warranty claims, or further assistance, please contact Sodola customer service through their official channels or the retailer where the product was purchased. Please have your model number (SL-SG0024W) and purchase information ready when contacting support.