ExpertPower IVV48V10KW-3
ExpertPower 10KW 48V Hybrid Solar Inverter User Manual
Model: IVV48V10KW-3
1. Introduction
This manual provides essential information for the safe and efficient operation of your ExpertPower 10KW 48V Hybrid Solar Inverter. This inverter is designed for both off-grid and grid-tied residential or commercial applications, offering robust power conversion and management capabilities for solar energy systems.
It features a built-in MPPT solar charger, dual PV inputs, and supports various battery types. The inverter is capable of parallel operation for increased capacity and includes advanced connectivity for remote monitoring.
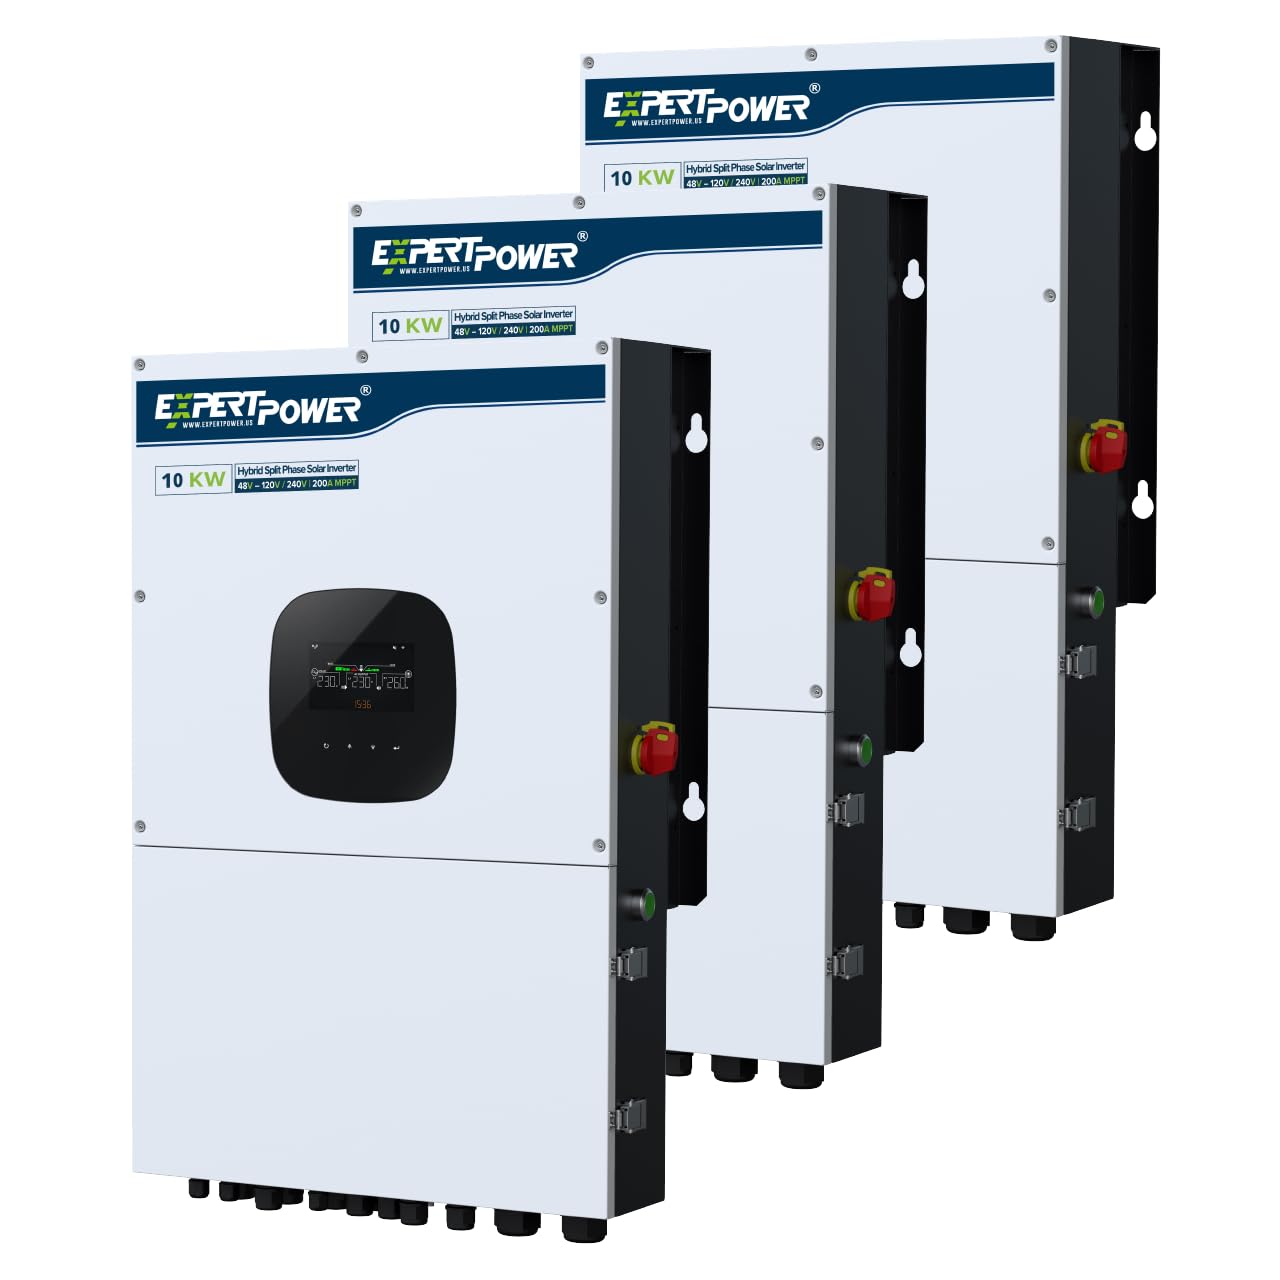
Figure 1: ExpertPower 10KW Hybrid Solar Inverter main unit.
2. Safety Information
Read all instructions and warnings carefully before installation and operation. Failure to follow these instructions may result in electric shock, fire, serious injury, or death. Keep this manual for future reference.
- Installation must be performed by qualified personnel in accordance with all local and national electrical codes.
- The inverter is heavy (approximately 108 lbs). Ensure adequate lifting support during installation to prevent injury.
- Do not disassemble the inverter. There are no user-serviceable parts inside. Refer all servicing to qualified service personnel.
- Ensure all connections are secure and properly insulated to prevent short circuits.
- Verify correct voltage and polarity before connecting to batteries or solar panels.
- The inverter is IP65 waterproof, but proper installation and sealing of connections are crucial for maintaining this rating.

Figure 2: Inverter protection features for safe operation.

Figure 3: Key safety features of the inverter.
3. Setup and Installation
3.1 Unpacking and Inspection
Carefully unpack the inverter and inspect it for any shipping damage. Report any damage to your supplier immediately. Ensure all components listed in the packing list are present.
3.2 Mounting the Inverter
Select a suitable mounting location that is well-ventilated, protected from direct sunlight and moisture, and capable of supporting the inverter's weight (approximately 108 lbs). Ensure sufficient clearance around the unit for proper airflow and access to connections.
3.3 Electrical Connections
Refer to the wiring diagram for detailed connection instructions. All wiring must comply with local and national electrical codes.
- PV Input: The inverter supports two 6000W PV inputs, each handling up to 600V open circuit voltage. Connect solar panel arrays to the designated PV terminals.
- Battery Connection: Connect your battery bank (SLA, AGM, GEL, or Lithium LiFePO4) to the battery terminals. Observe correct polarity.
- AC Grid Connection: For grid-tied operation, connect the AC grid input to the appropriate terminals.
- AC Output (Load Connection): Connect your loads (appliances, HVAC systems) to the AC output terminals. The inverter provides 120V and 240V split-phase output.
- Generator Input: If using a generator as an auxiliary power source, connect it to the generator input.

Figure 4: Inverter connection diagram and physical layout.
3.4 Parallel Operation
Up to six units can be connected in parallel to achieve a maximum system capacity of 60KW. This allows for single-phase, split-phase, or 3-phase configurations to meet diverse energy requirements.

Figure 5: Parallel connection setup for multiple inverters.
4. Operating Instructions
4.1 Initial Power-Up
After all connections are verified, switch on the battery breaker, then the PV switch, and finally the AC input breaker (if applicable). The inverter will initiate its startup sequence. The detachable LCD control module will display operational status and settings.
4.2 System Preferences and Settings
The inverter allows customization of various operational parameters through the LCD display or the mobile application. Key settings include:
- Charging Priority: Configure how the battery bank is charged from solar, AC input, or a combination.
- Load Priority: Determine the power source for your loads (PV, battery, or AC grid).
- Grid-Tie/Off-Grid Modes: Select the appropriate operating mode for your system.
- Charging Profiles: Adjust settings for different battery types.
- AC Charging/Discharging Time Intervals: Optimize energy usage based on time-of-use rates.

Figure 6: Charging and Load Priority settings.

Figure 7: Grid-tie with Backup system preferences.

Figure 8: Off-Grid system preferences.
4.3 Wi-Fi Monitoring
The inverter includes built-in Wi-Fi for remote monitoring and management via a dedicated app on iOS or Android devices. Registration may be required to access these features. This allows you to monitor system performance and adjust settings from anywhere.

Figure 9: Remote monitoring via Wi-Fi.
5. Maintenance
Regular maintenance ensures optimal performance and longevity of your inverter. Always disconnect all power sources (PV, battery, AC grid) before performing any maintenance.
- Cleaning: Keep the inverter's exterior clean and free of dust and debris. Ensure ventilation openings are not obstructed.
- Connection Checks: Periodically inspect all electrical connections for tightness and signs of corrosion.
- Firmware Updates: Check the manufacturer's website or app for available firmware updates to ensure your inverter has the latest features and bug fixes.
- Battery Health: Monitor your battery bank's health and charge levels regularly, especially for lead-acid batteries.
6. Troubleshooting
This section provides guidance for common issues. For complex problems, contact ExpertPower technical support.
| Problem | Possible Cause | Solution |
|---|---|---|
| Inverter not powering on | No power from battery or PV; main breaker tripped. | Check battery connections and voltage. Verify PV input. Reset main breakers. |
| Low power output | Insufficient solar input; battery low; overload. | Check solar panel performance. Charge batteries. Reduce load. |
| Error message on LCD | Internal fault; incorrect settings; external issue. | Note the error code and consult the full manual or contact support. Review system settings. |
| Wi-Fi connectivity issues | Weak signal; incorrect network settings; app issues. | Ensure inverter is within Wi-Fi range. Reconfigure network settings in the app. Restart inverter and router. |
| Issues with CT settings (Current Transformers) | Incorrect installation or configuration of CTs. | Verify CT wiring and orientation. Consult with technical support for proper configuration, as these settings can be complex. |
7. Specifications
| Feature | Detail |
|---|---|
| Model Number | IVV48V10KW-3 |
| Rated Output Power | 10000 Watts (10KW) |
| Peak Output Power | 20000 Watts (20KW surge) |
| Input Voltage | 48 Volts (DC) |
| Output Voltage | 120 Volts, 240 Volts (AC) |
| Electrical Output Waveform | Pure Sine Wave |
| Max. Solar Input | 12KW (two 6000W PV inputs, up to 600V open circuit voltage each) |
| MPPT Charge Controllers | Dual 100A |
| Utility Battery Charger | 200A |
| Parallel Capability | Up to 6 units (Max. 60KW) |
| Battery Compatibility | SLA, AGM, GEL, Lithium LiFePO4 |
| Display Type | LCD (detachable control module) |
| Connectivity | Built-in Wi-Fi, RS485, CAN-BUS, RS232 |
| Product Dimensions (L x W x H) | 20.3" x 20.3" x 31.4" |
| Weight | 108.03 lbs |
| Certifications | UL1741, IEEE1547 |
| Color | Black |

Figure 10: Inverter certifications for grid interconnection.
8. Warranty
The ExpertPower 10KW 48V Hybrid Solar Inverter comes with a 2-Year Warranty. Please retain your proof of purchase for warranty claims. For detailed warranty terms and conditions, refer to the official ExpertPower website or contact customer support.
9. Support
For technical assistance, troubleshooting, or warranty inquiries, please contact ExpertPower customer support. They are available to help with setup, configuration, and any operational questions you may have.
You can also visit the official ExpertPower Store for additional resources and product information: ExpertPower Store
Ask a question about this manual
Ask about setup, troubleshooting, compatibility, parts, safety, or missing instructions. Manuals+ will review the question and use this page’s manual context to help answer it.