Introduction
The EarHugger EH HD Speaker Microphone is designed for simple, safe, and reliable communication with Harris XL45, XL95, XG15, XG25, and XG75 radios. This industrial-grade remote speaker microphone (RSM) allows users to listen and transmit without removing their radio from its holder. It features a high-quality microphone and speaker for clear audio and includes a 3.5 mm audio jack for earpiece use, enhancing privacy. This manual provides essential information for the proper use and maintenance of your speaker microphone.
What's in the Box
- Microphone Head
- Heavy-Duty Coiled Cable
- Radio Connector

Image: The EarHugger HD Speaker Microphone, including the microphone head, heavy-duty coiled cable, and radio connector, shown alongside its product packaging.
Product Features
- Compatibility: 100% compatible with original equipment manufacturer (OEM) Harris XL45, XL95, XG15, XG25, XG75 radios.
- Audio Quality: Features a premium-quality speaker and a full-range, noise-cancelling microphone for superb audio clarity.
- Push-to-Talk (PTT) Button: Large, easy-to-use PTT button on the side of the mic head provides tactile and audible feedback when pressed.
- Rotating Mic Clip: Includes a rotating mic clip for optimal positioning. The clip is field-replaceable without specialized tools.
- Durable Construction: Heavy-duty coiled cord and strain relief at both the mic head and radio connector ensure long life and trouble-free operation.
- Accessory Jack: A 3.5mm headphone jack with a silicone dust cover is located on the side of the mic head, compatible with standard headphones and earpieces.
- Rugged Design: Constructed with quality, heavy-duty materials for a rugged design and extended useful life.
Setup
- Connect to Radio: Align the radio connector of the speaker microphone with the accessory port on your Harris radio. Gently push until it clicks securely into place. Ensure a firm connection to prevent signal loss.
- Positioning: Use the rotating mic clip to attach the speaker microphone to your uniform, vest, or belt at a convenient location, typically near your shoulder or chest. Adjust the position for optimal microphone proximity and speaker audibility.
- Optional Earpiece: If using an earpiece for privacy, lift the silicone dust cover on the side of the mic head and insert the 3.5mm plug of your earpiece. Ensure the earpiece is securely connected.

Image: A user demonstrating the proper placement of the speaker microphone on their uniform, clipped to the shoulder area for easy access.
Operating Instructions
- Receiving Audio: Audio from your radio will be routed through the speaker microphone. If an earpiece is connected, audio will be directed to the earpiece for private listening.
- Transmitting (Push-to-Talk): To transmit, press and hold the large Push-to-Talk (PTT) button located on the side of the microphone head. Speak clearly into the microphone. Release the PTT button to stop transmitting and return to receive mode. You will feel and hear a click when the button is pressed and released, confirming activation.
- Volume Control: Adjust the volume directly on your connected Harris radio. The speaker microphone does not have independent volume controls.

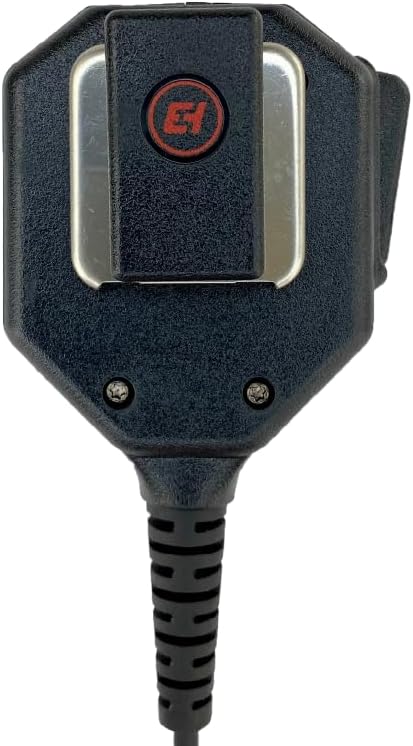
Image: A close-up side view of the speaker microphone, clearly showing the large, textured Push-to-Talk (PTT) button for easy operation.
Maintenance
- Cleaning: Wipe the exterior of the speaker microphone with a damp cloth. Do not use harsh chemicals or abrasive cleaners. Ensure the 3.5mm jack's dust cover is closed when not in use to prevent debris entry.
- Storage: Store the speaker microphone in a cool, dry place away from direct sunlight and extreme temperatures. Avoid tightly coiling the cable to prevent damage.
- Clip Replacement: The rotating mic clip is designed for easy field replacement. If the clip becomes damaged, it can be removed and replaced without specialized tools.
Troubleshooting
- No Audio from Speaker Mic:
- Ensure the speaker microphone connector is fully seated in the radio's accessory port.
- Check the radio's volume level.
- If an earpiece is connected, ensure it is fully inserted and functional. Audio will route to the earpiece when connected.
- Cannot Transmit:
- Verify the speaker microphone is securely connected to the radio.
- Ensure the PTT button is fully pressed and held during transmission. Listen for the tactile click.
- Check your radio's settings and ensure it is in a transmit-enabled mode.
- Distorted Audio:
- Check the radio's volume; it might be set too high or too low.
- Ensure the microphone is not obstructed and you are speaking clearly into it.
- Inspect the cable and connectors for any visible damage.
Specifications
| Model Number | EH-RSM-M-1018 |
| Brand | EarHugger |
| Compatible Devices | Harris XL45, XL95, XG15, XG25, XG75 Radios |
| Microphone Form Factor | Handheld |
| Connectivity Technology | Wired |
| Connector Type | Radio-specific connector, 3.5 mm Jack for earpiece |
| Special Features | Rotating Clip, Waterproof (not submersible) |
| Item Weight | 4 ounces (0.25 Pounds) |
| Signal-to-Noise Ratio | 115 dB |
| Color | Black |
Warranty and Support
The EarHugger EH HD Speaker Microphone comes with a 90-day complete manufacturer's warranty. This warranty covers defects in materials and workmanship under normal use. For warranty claims or technical support, please contact EarHugger Safety Products directly. The product is designed for a long useful life, typically exceeding one year with normal use.
Product Images


Product Videos
EarHugger Heavy-Duty Speaker Microphone Overview
This video provides a comprehensive overview of the EarHugger Heavy-Duty Speaker Microphone, demonstrating its features, design, and ease of use. It highlights key aspects such as the durable construction, PTT button, and accessory port.