Nimbus 104208
Nimbus WaterMaker 5 Replacement Water Filter Kit User Manual
Model: 104208, 104592, 101803
Introduction
This manual provides essential information for the installation, operation, and maintenance of your Nimbus WaterMaker 5 Replacement Water Filter Kit. This kit is designed to produce high-quality drinking water by reducing Total Dissolved Solids (TDS), arsenic, cysts, fluoride, and lead, ensuring a continuous supply of clean, great-tasting water.

Figure 1: The Nimbus WaterMaker 5 Replacement Water Filter Kit, including the 4-Stage Desalinator and the Stage 5 GAC Post Filter.
Safety Information
- Always turn off the water supply to the system before attempting any installation or maintenance.
- Depressurize the system before removing old filters.
- Ensure all connections are secure to prevent leaks.
- Do not use with water that is microbiologically unsafe or of unknown quality without adequate disinfection before or after the system.
- Keep out of reach of children.
Setup and Installation
This section outlines the steps for replacing the filters in your Nimbus WaterMaker 5 Reverse Osmosis system. It is recommended to replace filters annually for optimal performance.
Required Tools:
- Bucket or towel for minor water spills.
- Gloves (optional).
Filter Replacement Procedure:
- Turn off Water Supply: Locate the cold water supply line to your RO system and turn off the shut-off valve.
- Depressurize System: Open the RO faucet to relieve pressure from the system. Allow water to drain until it stops flowing.
- Remove Old Filters:
- Identify the 4-Stage Desalinator filter (Part #104592) and the Stage 5 GAC Post Filter (Part #101803).
- For the 4-Stage Desalinator, gently twist and pull to disconnect it from its fittings. Some models may require pressing a collet to release the tubing.
- For the Stage 5 GAC Post Filter, note the flow direction indicated on the filter. Disconnect the tubing from both ends by pressing the collets and pulling the tubing out.
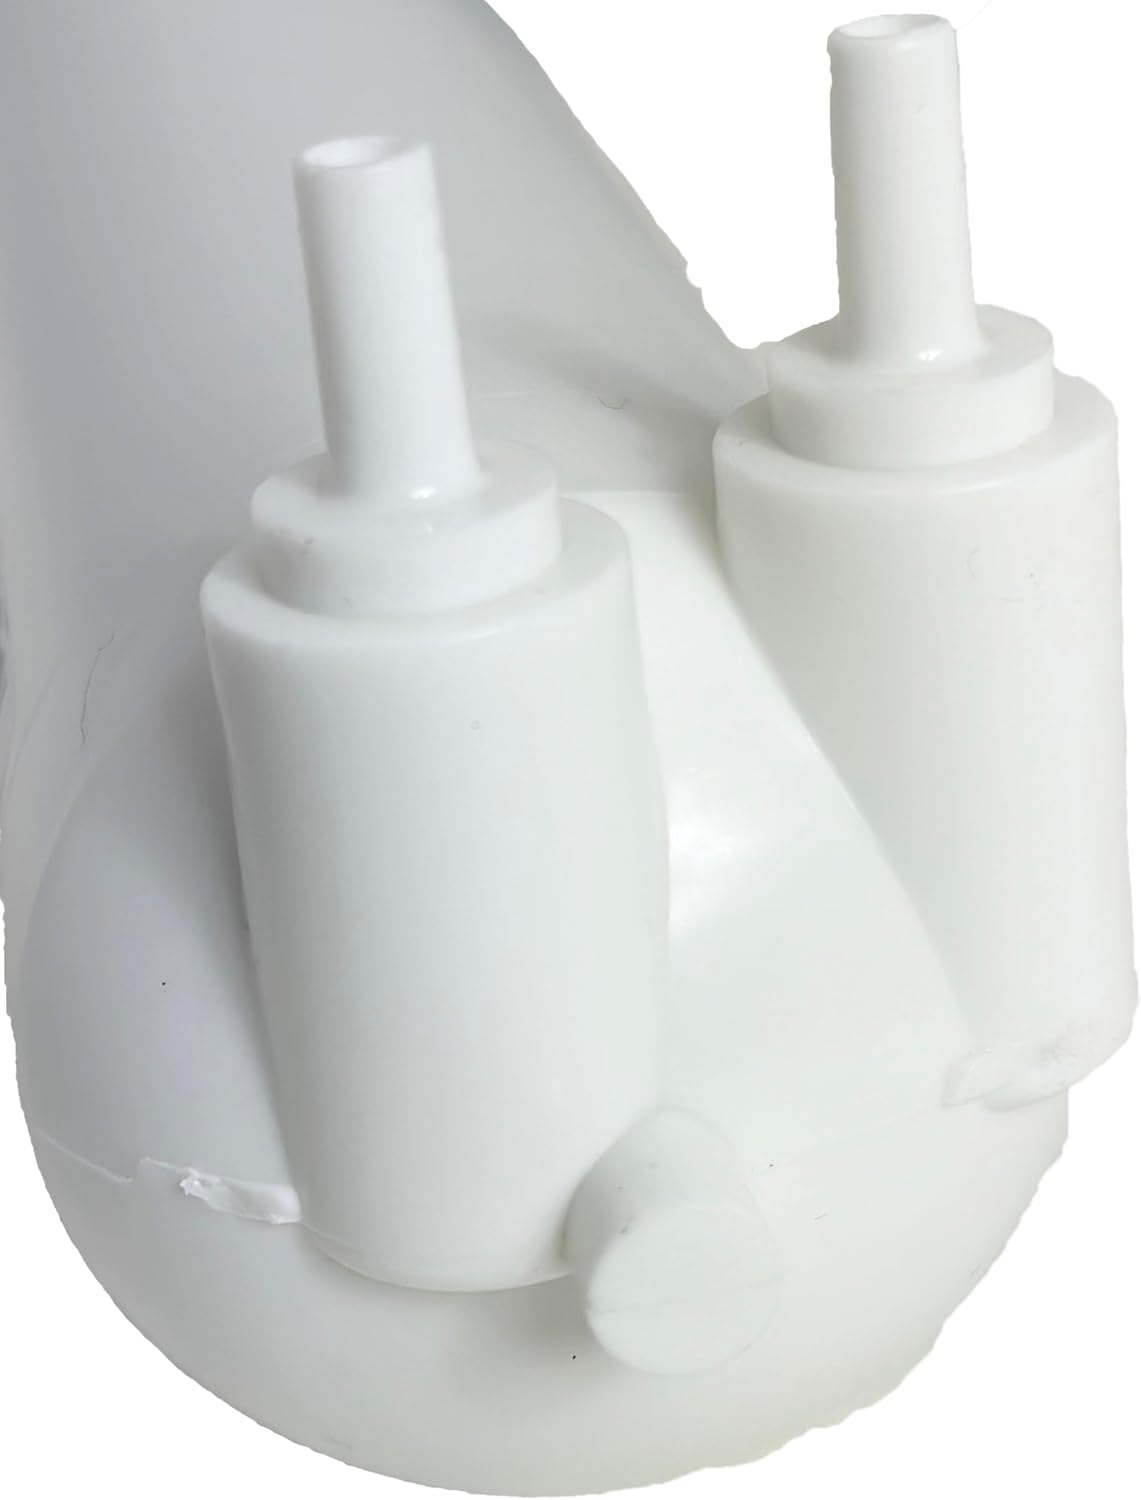
Figure 2: Top connections of the 4-Stage Desalinator filter, showing the inlet and outlet ports.
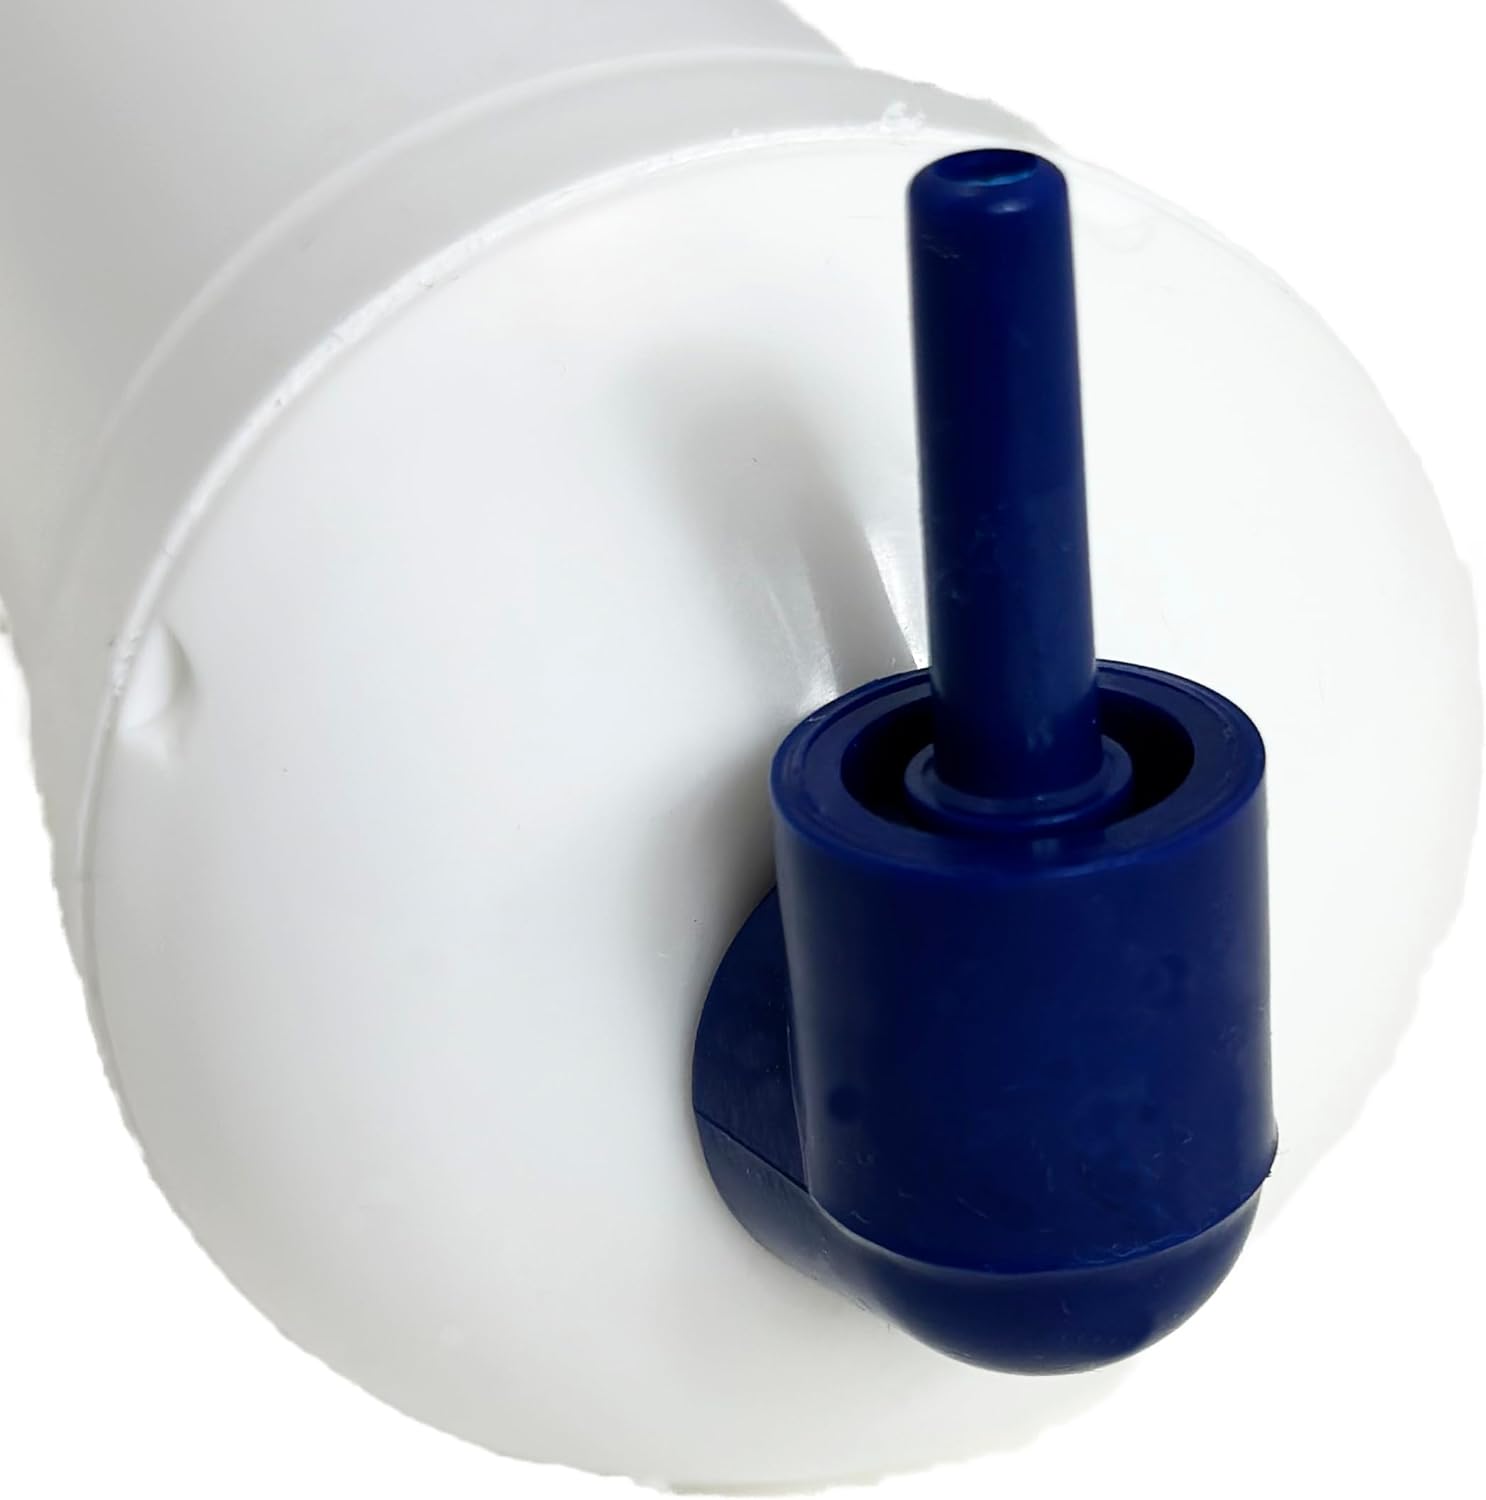
Figure 3: Bottom connection of the 4-Stage Desalinator filter, typically for waste water or drain line.

Figure 4: Connection point of the Stage 5 GAC Post Filter, showing the push-fit connector.
- Install New Filters:
- Insert the new 4-Stage Desalinator filter into the system, ensuring a secure fit.
- Connect the tubing to the new Stage 5 GAC Post Filter, observing the flow direction arrows on the filter. Push the tubing firmly into the quick-connect fittings until seated.

Figure 5: Label on the 4-Stage Desalinator filter, indicating "WaterMaker FIVE" and part number 104592.
- Restore Water Supply: Slowly turn on the cold water supply valve to the RO system.
- Flush System: Open the RO faucet and allow the system to flush for at least 10-15 minutes. This flushes out any carbon fines and air from the new filters. The water may appear cloudy initially; this is normal.
- Check for Leaks: Carefully inspect all connections for any signs of leaks. Tighten connections if necessary.
- Close Faucet: Once the water runs clear and all air is purged, close the RO faucet. The system will begin to fill the storage tank.
Operating Instructions
The Nimbus WaterMaker 5 system operates automatically once installed. When the RO faucet is opened, purified water flows from the storage tank. When the faucet is closed, the system will automatically produce more purified water to refill the tank.
- Initial Fill: After installation, allow 2-3 hours for the storage tank to completely fill. The first tank of water should be drained completely to ensure proper flushing of the new filters.
- Water Taste: The system is designed to provide clean, great-tasting water. If you notice any unusual taste or odor, refer to the Troubleshooting section.
- Flow Rate: The system delivers 30% higher flow from the faucet compared to older models. Flow rate may decrease as filters approach the end of their lifespan.
Maintenance
Regular maintenance ensures the longevity and optimal performance of your Nimbus WaterMaker 5 system.
- Filter Replacement: The replacement filter kit (Part #104208) should be replaced annually. This includes the 4-Stage Desalinator (Part #104592) and the Stage 5 GAC Post Filter (Part #101803). Annual replacement ensures consistent water quality and system efficiency.
- System Cleaning: Periodically wipe down the exterior of the system and tubing with a clean, damp cloth. Do not use harsh chemicals.
- Leak Checks: Routinely check all connections for any signs of leaks, especially after filter replacement.
Troubleshooting
| Problem | Possible Cause | Solution |
|---|---|---|
| No water from faucet or very slow flow. |
|
|
| Unpleasant taste or odor in water. |
|
|
| Water leaking from connections. |
|
|
Specifications
| Attribute | Detail |
|---|---|
| Product Model Numbers | 104208 (Kit), 104592 (4-Stage Desalinator), 101803 (Stage 5 GAC Post Filter) |
| Material | Plastic |
| Product Dimensions | 5"D x 16"W x 4"H (Approximate kit dimensions) |
| Item Weight | 2 Pounds |
| External Testing Certification | NSF/ANSI Standard 58, WQA |
| Product Benefits | Reduces TDS, Arsenic V, Cysts, Fluoride, Lead, Chlorine, Chloramine, Silica. Inhibits Lime-Scale Growth. |
| Manufacture Year | 2024 |
| Unit Count | 1 Kit |
Warranty and Support
For warranty information or technical support regarding your Nimbus WaterMaker 5 Replacement Water Filter Kit, please contact Nimbus customer service. Refer to the original system manual or the manufacturer's website for specific contact details and warranty terms.
Note: Using non-genuine replacement parts may void your system's warranty.
Related Documents - 104208
 |
Nimbus WaterMaker Five WM5-50: 5-Stage Reverse Osmosis System for Home Water Purification Discover the Nimbus WaterMaker Five WM5-50, a certified 5-stage reverse osmosis system designed for efficient home water purification. Learn about its features, eco-friendly design, and performance. |
 |
Nimbus Q FOUR Ceiling Downlight Installation Guide Detailed installation and mounting instructions for the Nimbus Q FOUR ceiling downlight, covering various mounting options and electrical connections. |
 |
Emergency Key Override and User Instructions for Nimbus Digital Combination Locks 396- Comprehensive user instructions for Lowe & Fletcher's Nimbus 396- series digital combination locks. This guide details public and private mode operation, emergency key override procedures, and user code management. Visit www.lowe-and-fletcher.co.uk for full fitting, operating, and programming details. |
 |
Nimbus Lighting Pad Q 600: Installation and Mounting Guide Detailed installation and mounting instructions for the Nimbus Lighting Pad Q 600 sound-absorbing acoustic luminaire. Includes wiring, safety precautions, and accessory information. |
 |
Nimbus Eastlake Jacket Size Guide and Measurement Instructions Detailed size charts and measurement guide for the Nimbus Eastlake jacket for men and women, including how to measure chest, waist, hip, and neck. |
 |
Nimbus Lighting Pad Q 900 Installation Guide: Mounting and Wiring Comprehensive installation and wiring guide for the Nimbus Lighting Pad Q 900 sound-absorbing acoustic luminaire. Includes step-by-step instructions, safety warnings, and technical specifications. |
Ask a question about this manual
Ask about setup, troubleshooting, compatibility, parts, safety, or missing instructions. Manuals+ will review the question and use this page’s manual context to help answer it.