
1. Introduction
Thank you for choosing the YXJPP PTC Wall Mounted Heater. This appliance is designed to provide efficient and versatile heating for various indoor spaces, including bathrooms, living rooms, and home offices. Featuring PTC ceramic heating technology, remote control operation, and a multi-purpose design, this heater offers a comfortable and safe heating solution. Please read this manual thoroughly before installation and operation to ensure proper use and maintenance.
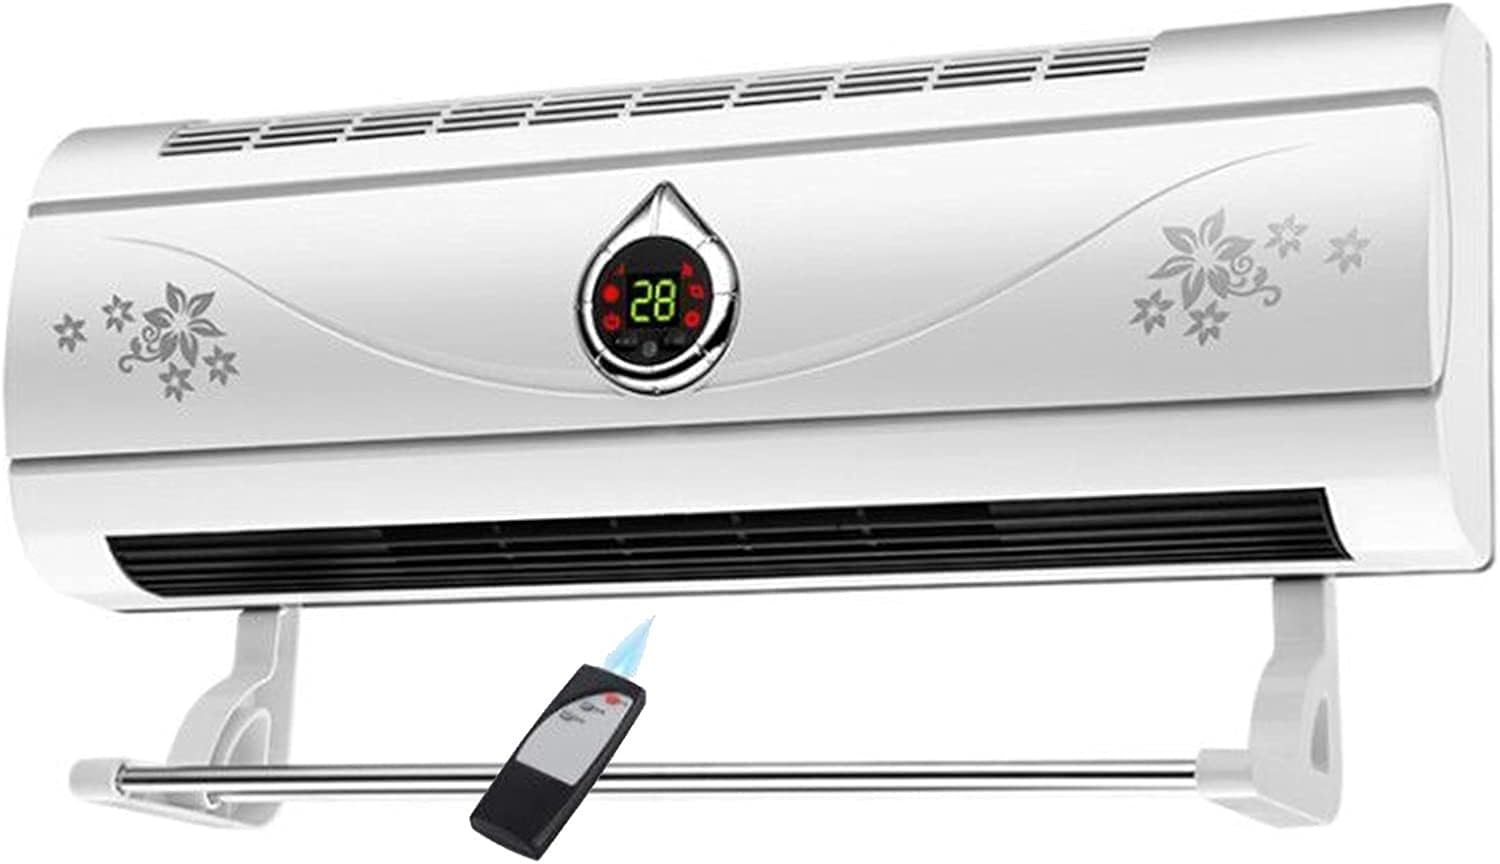
Image 1.1: The YXJPP PTC Wall Mounted Heater with its remote control. The heater is white with decorative patterns and a central digital display showing '28'. A towel bar is attached below.
2. Safety Instructions
To reduce the risk of fire, electric shock, or injury, always follow these basic precautions:
- Read all instructions before using this heater.
- Do not use this heater in areas where flammable liquids or vapors are stored.
- Keep combustible materials, such as furniture, pillows, bedding, papers, clothes, and curtains at least 3 feet (0.9 meters) from the front of the heater and keep them away from the sides and rear.
- Always unplug the heater when not in use.
- Do not operate any heater with a damaged cord or plug or after the heater malfunctions, has been dropped or damaged in any manner.
- Do not run cord under carpeting. Do not cover cord with throw rugs, runners, or similar coverings. Arrange cord away from traffic area and where it will not be tripped over.
- This heater is hot when in use. To avoid burns, do not let bare skin touch hot surfaces.
- Use this heater only as described in this manual. Any other use not recommended by the manufacturer may cause fire, electric shock, or injury to persons.
- This heater is equipped with an automatic power-off function in case of overheating.
- The waterproof function allows for safe use in bathrooms, but avoid direct water spray onto the unit.
3. Product Features
- PTC Ceramic Heating Element: Provides fast heating without open flame, ensuring high thermal efficiency and constant temperature.
- Multi-purpose Functionality: Includes a detachable drying rack for clothes, towels, and socks.
- Waterproof Design: Suitable for use in bathrooms, offering warmth in cold conditions.
- Safety Features: Constructed with flame-retardant material, high-temperature resistance, automatic power-off for overheating, and delayed shutdown for sufficient heat dissipation.
- Remote Control: Convenient operation from a distance.
- LED Digital Display: Real-time temperature display for easy monitoring.
- Multiple Power Adjustments: Offers various heating levels for different environmental needs.

Image 3.1: A close-up view of the PTC heating ceramic body, highlighting its rapid heating and energy-saving properties.
4. Specifications
| Feature | Description |
|---|---|
| Special Feature | Fast Heating, Remote Control |
| Mounting Type | Wall Mount |
| Heating Method | Forced Air, Fan & Forced Air, Radiant |
| Room Type | Home Office, Patio, Study Room, Bathroom |
| Dimensions (Approx.) | 580mm (Length) x 200mm (Height) x 110mm (Depth) |
| Manufacturer | YXJPP |

Image 4.1: Diagram illustrating the dimensions of the heater: 580mm length, 200mm height, and 110mm depth. The towel bar extends 460mm.
5. Installation
5.1 Wall Mounting
- Choose Location: Select a suitable wall location, ensuring it is away from curtains and other flammable materials. Ensure there is a power outlet nearby.
- Mark Drilling Points: Use the provided mounting template or measure the distance between the mounting holes on the back of the heater. Mark these points on the wall.
- Drill Holes: Drill holes at the marked points using an appropriate drill bit for your wall type. Insert wall anchors if necessary.
- Secure Brackets: Attach the mounting brackets (if separate) or directly mount the heater to the wall using screws. Ensure the heater is level and securely fastened.
- Attach Drying Rack: If desired, attach the detachable drying rack to the designated points below the heater.
5.2 Desktop Placement (Optional)
While primarily designed for wall mounting, the heater can also be placed on a stable, flat surface such as a desktop or table. Ensure adequate clearance around the unit for proper airflow and safety.

Image 5.1: The heater displayed in two usage scenarios: wall-mounted (01/Wall Use) and placed on a surface (02/Desktop Placement), indicating its versatility.
6. Operation
6.1 Power On/Off
- Plug the heater into a suitable power outlet.
- Press the Power button on the remote control or the unit to turn the heater on or off.
6.2 Temperature and Mode Adjustment
- Use the Temperature Up/Down buttons on the remote to set your desired temperature. The LED display will show the current and target temperature.
- Press the Mode button to cycle through different heating modes (e.g., Low Heat, High Heat, Fan Only).
6.3 Timer Function
- Press the Timer button on the remote control to set an operating duration. Each press typically increases the timer by one hour.
- The heater will automatically turn off once the set time has elapsed.
6.4 Multi-Purpose Drying
- Hang clothes, towels, or socks on the detachable drying rack for efficient drying.
- Ensure items do not block the heater's air vents.

Image 6.1: A close-up of the heater's LED digital display, showing the real-time temperature (28) and various control icons for power, timer, and fan settings.

Image 6.2: The heater with text indicating its 3 power adjustment modes: Cool Air (circulating air), Low Temperature (gentle warmth), and High Temperature (rapid heating).

Image 6.3: The heater shown with towels hanging on its detachable drying rack, demonstrating its multi-purpose functionality for drying clothes, socks, and towels.
7. Maintenance
7.1 Cleaning
- Always unplug the heater and allow it to cool completely before cleaning.
- Wipe the exterior surfaces with a soft, damp cloth. Do not use abrasive cleaners or solvents.
- Periodically clean the air intake and exhaust vents with a vacuum cleaner or a soft brush to remove dust and debris.
- Ensure no water enters the internal components.
7.2 Storage
When not in use for extended periods, store the heater in a cool, dry place, preferably in its original packaging, to protect it from dust and damage.
8. Troubleshooting
| Problem | Possible Cause | Solution |
|---|---|---|
| Heater does not turn on | No power supply; Power button not pressed; Overheat protection activated. | Check power cord connection and outlet; Press power button; Unplug, wait 30 minutes, then plug back in. |
| No heat output | Heater in fan-only mode; Temperature setting too low. | Select a heating mode; Increase the temperature setting. |
| Heater turns off unexpectedly | Overheat protection activated; Timer function engaged. | Unplug, wait 30 minutes, clear any obstructions; Check timer settings. |
9. Warranty and Support
This product is covered by a standard manufacturer's warranty. For specific warranty details, please refer to the documentation included with your purchase or contact the retailer. For technical support or service inquiries, please reach out to the manufacturer or your point of purchase.