1. Introduction
This manual provides detailed instructions for the safe and efficient operation of your KITWLEMEN KITWLEMEN-CV-001 Portable Camping Fan with LED Lantern. Please read this manual thoroughly before first use and retain it for future reference. This device is designed to provide cooling airflow and illumination in various indoor and outdoor settings, including camping, tents, RVs, and home use.
2. Safety Instructions
- Do not immerse the fan in water or other liquids.
- Keep fingers, hair, and loose clothing away from the fan blades during operation.
- Do not block the air intake or outlet.
- Use only the provided charging cable or a certified USB charger.
- Do not attempt to disassemble or repair the unit yourself. Contact qualified service personnel.
- Keep out of reach of children and pets.
- Avoid exposing the battery to extreme temperatures or direct sunlight for extended periods.
3. Package Contents
- KITWLEMEN Portable Camping Fan with LED Lantern
- USB Charging Cable
- Aroma Diffuser Pads (pre-installed or separate)
- User Manual
4. Product Features
- Integrated fan, LED lantern, and aroma diffuser.
- Built-in 5000mAh rechargeable battery.
- Three fan speed settings.
- Three LED brightness levels.
- 360-degree manual rotation (vertical and horizontal).
- Versatile mounting options: hanging hook, desktop stand, wall mount.
- USB-C charging port.
5. Component Identification
Refer to the image below for a visual guide to the fan's components.

Figure 1: Front and side views of the KITWLEMEN Portable Camping Fan. This image displays the main fan unit with its integrated hanging hook, alongside two smaller views illustrating the fan positioned on its stable base, demonstrating its versatility for both hanging and tabletop use.
- Fan Blades / Grille
- LED Light Panel (behind grille)
- Power/Fan Speed Button
- Light Mode Button
- USB-C Charging Port
- Hanging Hook (foldable)
- Stable Base
- Aroma Diffuser Slot (if applicable, usually behind the grille or on the side)
6. Setup
6.1 Initial Charge
Before first use, fully charge the fan. Connect the provided USB charging cable to the fan's USB-C port and the other end to a compatible USB power source (e.g., wall adapter, power bank, computer USB port). The charging indicator light will show charging status (e.g., red for charging, green/off for fully charged).

Figure 2: Charging the fan. This image illustrates various methods to power and charge the fan, including connecting it to a PC, power bank, wall adapter, or car charger via its USB port. A battery icon indicates the 5000mAh built-in battery and a 3-hour full charge time.
6.2 Aroma Diffuser (Optional)
If you wish to use the aroma diffuser function, locate the aroma pad slot (typically behind the fan grille or on the side). Add a few drops of your preferred essential oil to the provided aroma pad and insert it into the slot. The fan's airflow will then gently diffuse the scent.
7. Operating Instructions
7.1 Fan Operation
- Press the Power/Fan Speed Button once to turn on the fan at Low speed.
- Press the button again to cycle through Mid speed, High speed, and then Off.

Figure 3: Fan airflow and speed settings. This image visually represents the fan's strong airflow capability, detailing three speed levels (Low, Mid, High) with corresponding air velocities and approximate battery runtimes.
7.2 LED Lantern Operation
- Press the Light Mode Button once to turn on the LED lantern at its lowest brightness setting.
- Press the button again to cycle through Medium brightness, High brightness, and then Off.
The fan and LED lantern can be operated independently or simultaneously.

Figure 4: LED Lantern in use. This image highlights the fan's integrated LED light feature, showing it illuminating a room where a mother is feeding a baby, emphasizing its "Super Bright" capability with 12 LED bulbs and 3 brightness levels.
7.3 Adjusting Fan Direction
The fan head can be manually rotated 360 degrees both vertically and horizontally to direct airflow as needed.
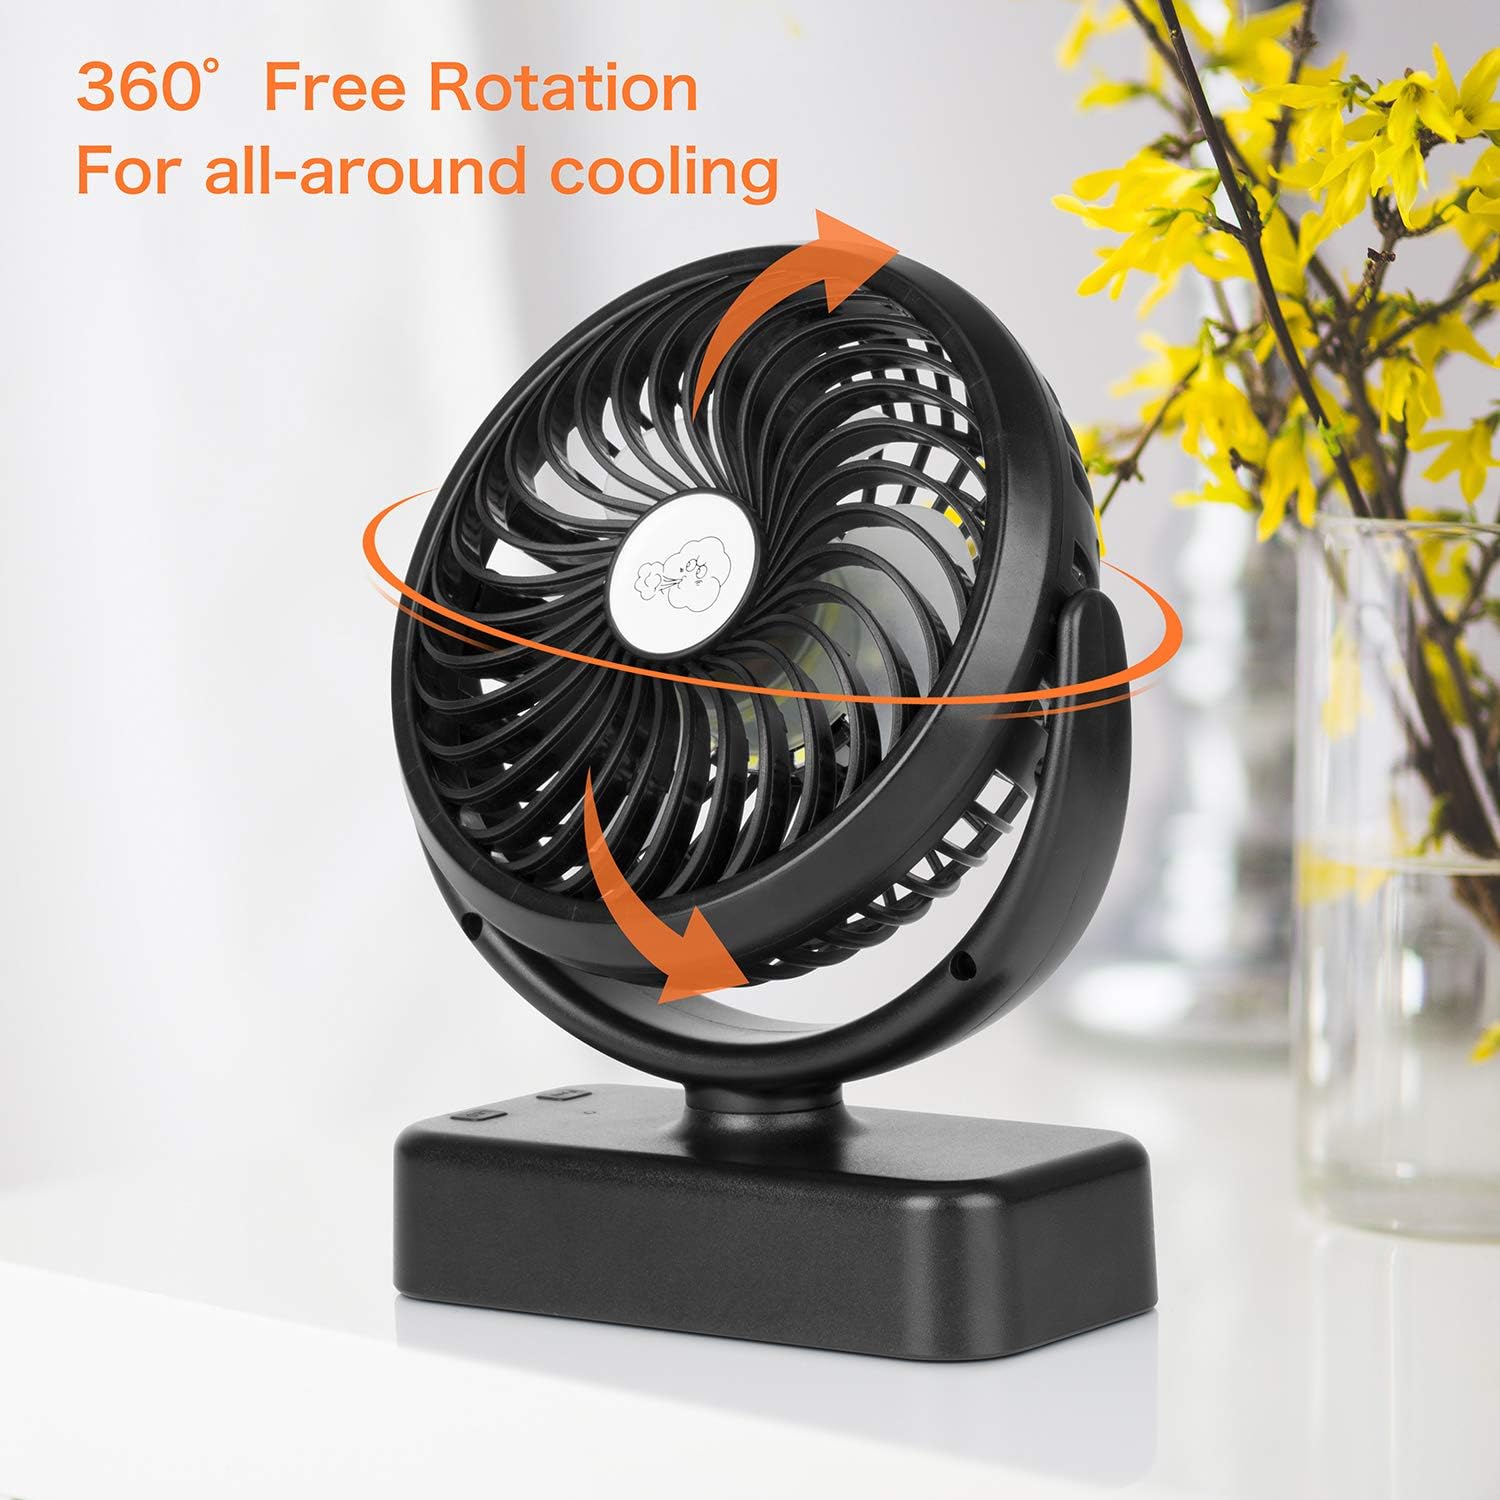
Figure 5: 360-degree rotation. This image illustrates the fan's ability to rotate freely 360 degrees, allowing for all-around cooling and flexible positioning.
7.4 Mounting and Placement
- Hanging: Extend the integrated hook from the base and hang the fan from a tent pole, branch, or other suitable fixture.
- Desktop/Tabletop: Place the fan on its stable base on any flat surface.
- Wall Mount: The fan can be mounted on a wall using appropriate hardware (not included) through designated mounting points on the base.

Figure 6: Versatile usage scenarios. This image displays the fan being used in four different environments: hanging inside a tent for camping, hanging from a ceiling indoors for home use, held by hand for outdoor use, and placed on a desk for office use.

Figure 7: Additional placement examples. This image shows the fan in an office setting on a desk, hanging under a kitchen cabinet, and placed on a bedside table, further illustrating its adaptability.
8. Maintenance
8.1 Cleaning
- Ensure the fan is turned off and unplugged before cleaning.
- Wipe the exterior surfaces with a soft, damp cloth. Do not use abrasive cleaners or solvents.
- To clean the fan blades, gently wipe them with a dry cloth or use a soft brush to remove dust. Do not attempt to remove the front grille.
- If using the aroma diffuser, replace the aroma pads periodically or clean them as needed.
8.2 Storage
When not in use for extended periods, store the fan in a cool, dry place, away from direct sunlight and extreme temperatures. Ensure the battery is partially charged (around 50%) before storage to prolong its lifespan.
9. Troubleshooting
| Problem | Possible Cause | Solution |
|---|---|---|
| Fan does not turn on. | Battery is depleted. | Charge the fan using the USB cable. |
| LED light does not turn on. | Battery is depleted or light button not pressed. | Charge the fan. Press the Light Mode Button. |
| Weak airflow. | Fan is on low speed or battery is low. | Increase fan speed. Charge the fan. |
| Unusual noise during operation. | Obstruction in fan blades or unit not on a stable surface. | Turn off and check for obstructions. Place on a stable, flat surface. |
10. Specifications
- Model: KITWLEMEN-CV-001
- Dimensions: 14 x 18.3 x 6.4 cm
- Weight: 296 g
- Battery Capacity: 5000mAh Lithium Polymer
- Charging Time: Approximately 3 hours
- Fan Runtime: 5.5 - 40 hours (depending on speed)
- LED Runtime: 147 - 440 hours (depending on brightness)
- Wattage: 125 watts
- Material: Aluminium
- Power Source: Battery Powered (USB-C rechargeable)
11. Warranty and Support
For warranty information or technical support, please refer to the product packaging or contact KITWLEMEN customer service through the retailer where the product was purchased. Please have your model number (KITWLEMEN-CV-001) and purchase date available when contacting support.


