
1. Introduction
This manual provides detailed instructions for the assembly, operation, and maintenance of your MUPATER 20x20 FT Heavy Duty Metal Carport. Designed for durability and versatility, this carport offers robust protection for vehicles, boats, or serves as a spacious outdoor shelter for various activities. Please read all instructions carefully before beginning assembly to ensure safe and correct installation.
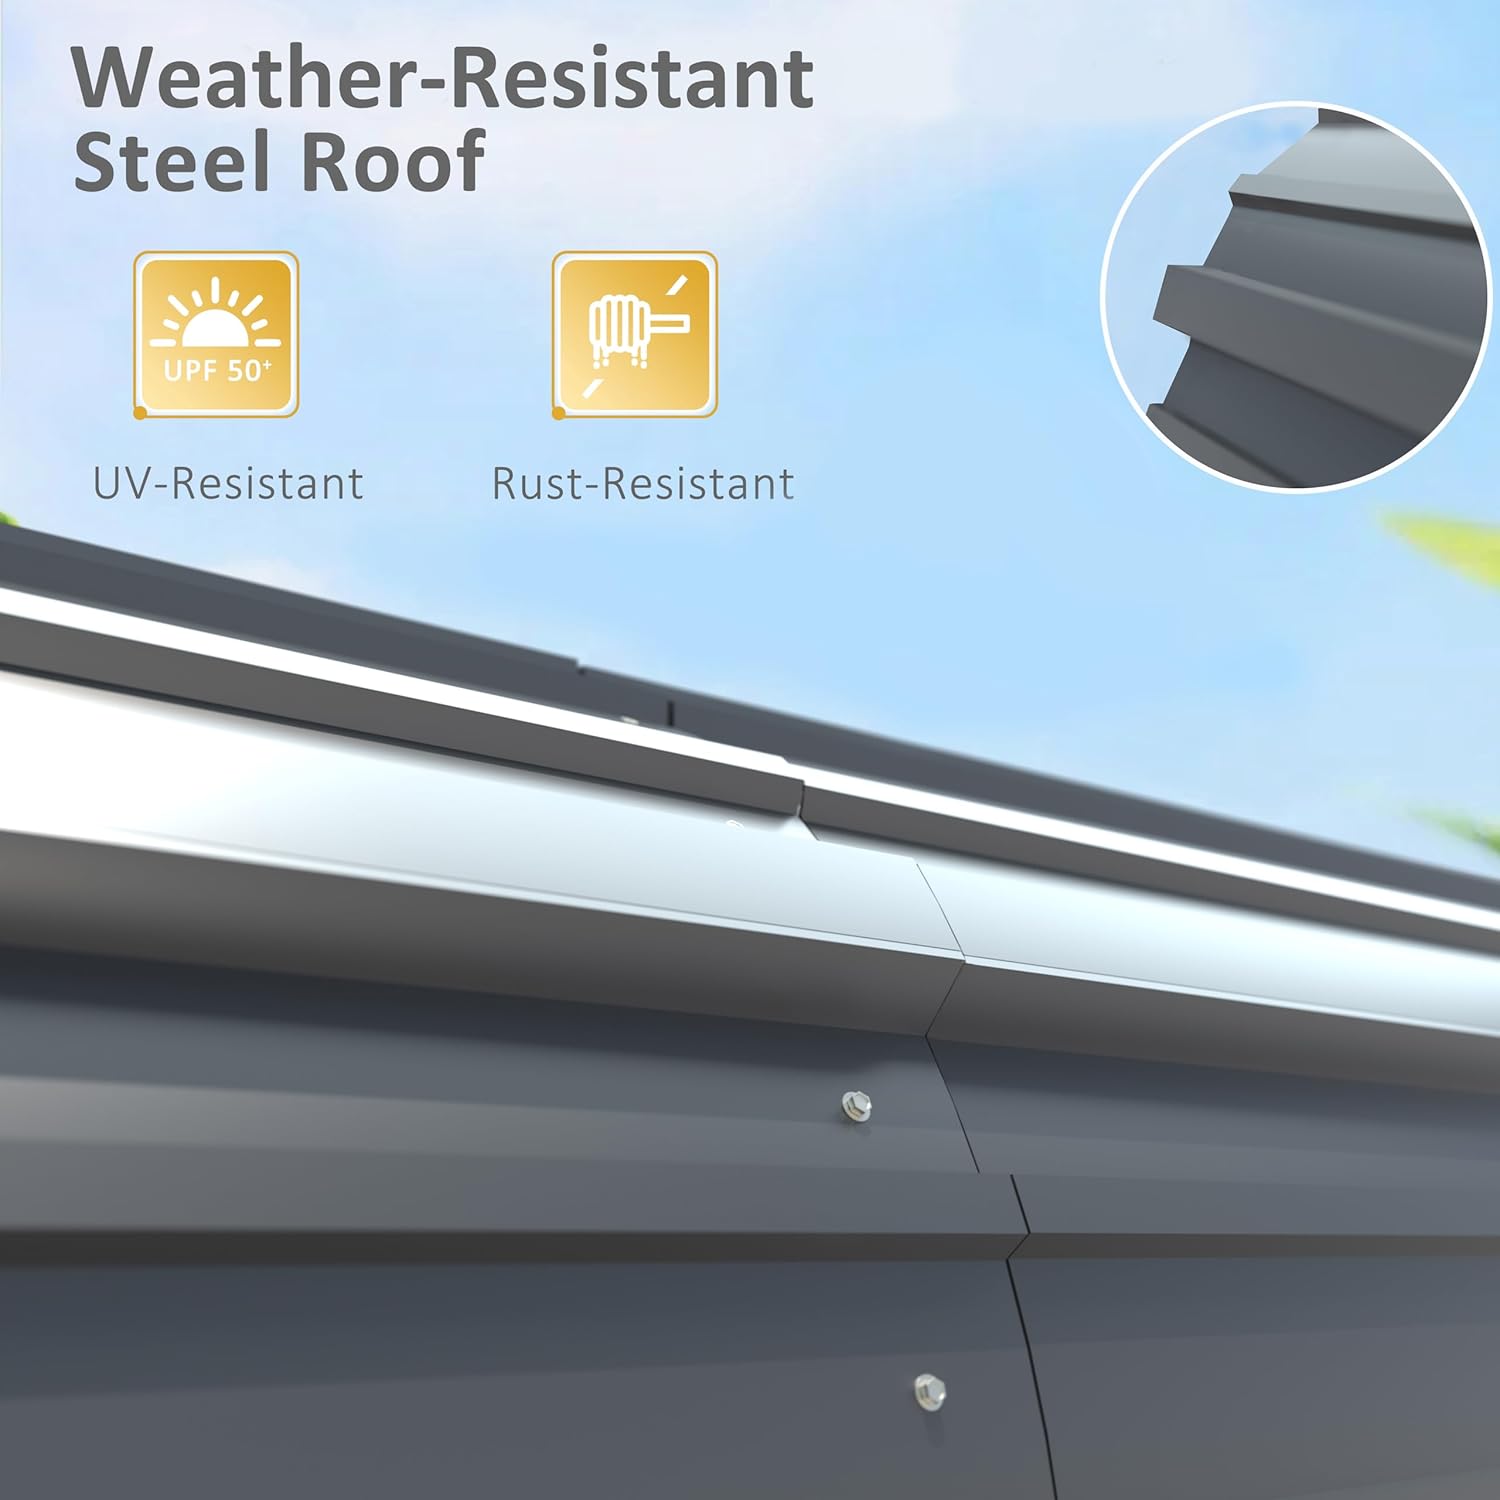
Image: MUPATER Heavy Duty Metal Carport compared to a standard carport, emphasizing its strong weather resistance and firm frame.

Image: Detail showing the 2"x2" diameter rust-resistant coated frame, indicating a 1.5mm thickness compared to a thinner 1mm frame.
2. Safety Information
WARNING: Always wear protective gloves during installation to prevent injury from screws and sharp metal panel edges. Ensure the installation area is clear of obstructions and level. Proper anchoring is critical for stability and safety, especially in windy conditions.
- Always assemble the carport on a flat, level surface.
- Securely anchor the carport to the ground using the provided anchor bolts or suitable alternatives for your ground type (concrete, asphalt, gravel, or soil). Failure to do so can result in the carport becoming a hazard in high winds.
- Do not climb on the carport structure during or after assembly.
- Keep children and pets away from the assembly area.
- Regularly inspect the carport for loose connections or damage, especially after severe weather.
3. Parts List
Before starting assembly, verify that all parts are present and undamaged. Refer to the included packing list for a complete inventory. Key components include:
- Heavy-duty galvanized steel frame components (tubes, connectors, support beams).
- Galvanized steel roof panels.
- Fasteners (screws, bolts, nuts).
- Anchor kits (8 heavy-duty anchor bolts included).
- High-density waterproof strip for roof seams.
4. Setup & Assembly
Assembly of the MUPATER carport is designed to be straightforward with its innovative adaptive spiral frame design. It is recommended to have at least two people for assembly.
4.1. Watch the Installation Video
Video: MUPATER 20 x 20 FT Heavy Duty Metal Carport Installation Video Guide. This video provides a visual step-by-step guide for assembling the carport frame and roof panels.
4.2. Frame Assembly
- Assemble Base Rails: Connect the base rail sections (J-1, K-1, K-2, J-2) as shown in the diagram, securing them with the provided screws (Ax2). Ensure all connections are tight.
- Assemble Roof Arches: Connect the roof arch sections (L-1, L-2, G) to form the complete arch. Secure these connections with screws (Ax2). Repeat for all arches.
- Assemble Vertical Posts: Connect the vertical post sections (H) using screws (Ax2).
- Connect Frame Components: Attach the vertical posts to the base rails and then connect the roof arches to the top of the vertical posts. Use screws (C) to secure these connections.
- Install Support Beams: Attach the reinforced support beam tubes to the roof arches using the provided plates (Nx2) and screws (Ex4). These beams enhance stability.

Image: Innovative Adaptive-Screw Tube Frame assembly process, illustrating how sections connect to reduce assembly time.

Image: Reinforced Support Beam Tubes, upgraded for better stability of the carport structure.
4.3. Roof Panel Installation
- Place First Panel: Carefully lift and place the first galvanized steel roof panel (M) onto the assembled frame. Align the pre-drilled holes with the frame.
- Secure Panels: Use screws (Ax2 or Ax3) to secure the roof panels to the frame. Ensure a snug fit.
- Overlap Panels: Overlap subsequent roof panels (M) with the previously installed panels (D) to ensure proper water drainage and weather resistance. Secure each overlapping section with screws.
- Apply Waterproof Strip: Apply the high-density waterproof strip along the seams of the roof panels to prevent water leakage.
4.4. Anchoring the Carport
Proper anchoring is crucial for the stability and safety of your carport. The carport must be installed on a level surface.
- Ground Surface: The carport can be installed on various surfaces including concrete, gravel, asphalt, or soil/grass.
- Anchor Bolts: Use the 8 heavy-duty anchor bolts provided to secure the base of the carport to your chosen ground surface. For concrete, asphalt, or hard surfaces, appropriate drilling and anchoring techniques must be used. For soil, ensure the anchors are driven deep enough for maximum hold.
- Additional Anchoring: In areas prone to high winds, consider additional anchoring methods such as pouring concrete piers around the base posts or using heavier-duty ground anchors.

Image: Various ground installation options for the carport, including concrete, gravel, asphalt, and soil, with the included 8 anchor kits. Installation must be on a level surface.
5. Operation
Your MUPATER 20x20 FT Heavy Duty Metal Carport is designed for versatile use:
- Vehicle Shelter: Provides ample space to protect cars, trucks, boats, or other vehicles from sun, rain, and snow.
- Outdoor Shelter: Can be used as a temporary or permanent shelter for outdoor gatherings, parties, or storage.
6. Maintenance
To ensure the longevity and optimal performance of your carport, regular maintenance is recommended:
- Cleaning: Periodically clean the roof panels and frame with mild soap and water to remove dirt, debris, and prevent buildup. Avoid abrasive cleaners.
- Fastener Check: Annually, or after severe weather, inspect all screws and bolts to ensure they are tight. Tighten any loose fasteners.
- Rust Prevention: The frame and roof are made of galvanized steel and powder-coated for rust resistance. However, inspect for any scratches or chips in the coating and touch up with rust-inhibiting paint if necessary to prevent corrosion.
- Waterproofing: Check the roof seams and waterproof strips for any signs of wear or damage. Replace or re-seal as needed to maintain water integrity.
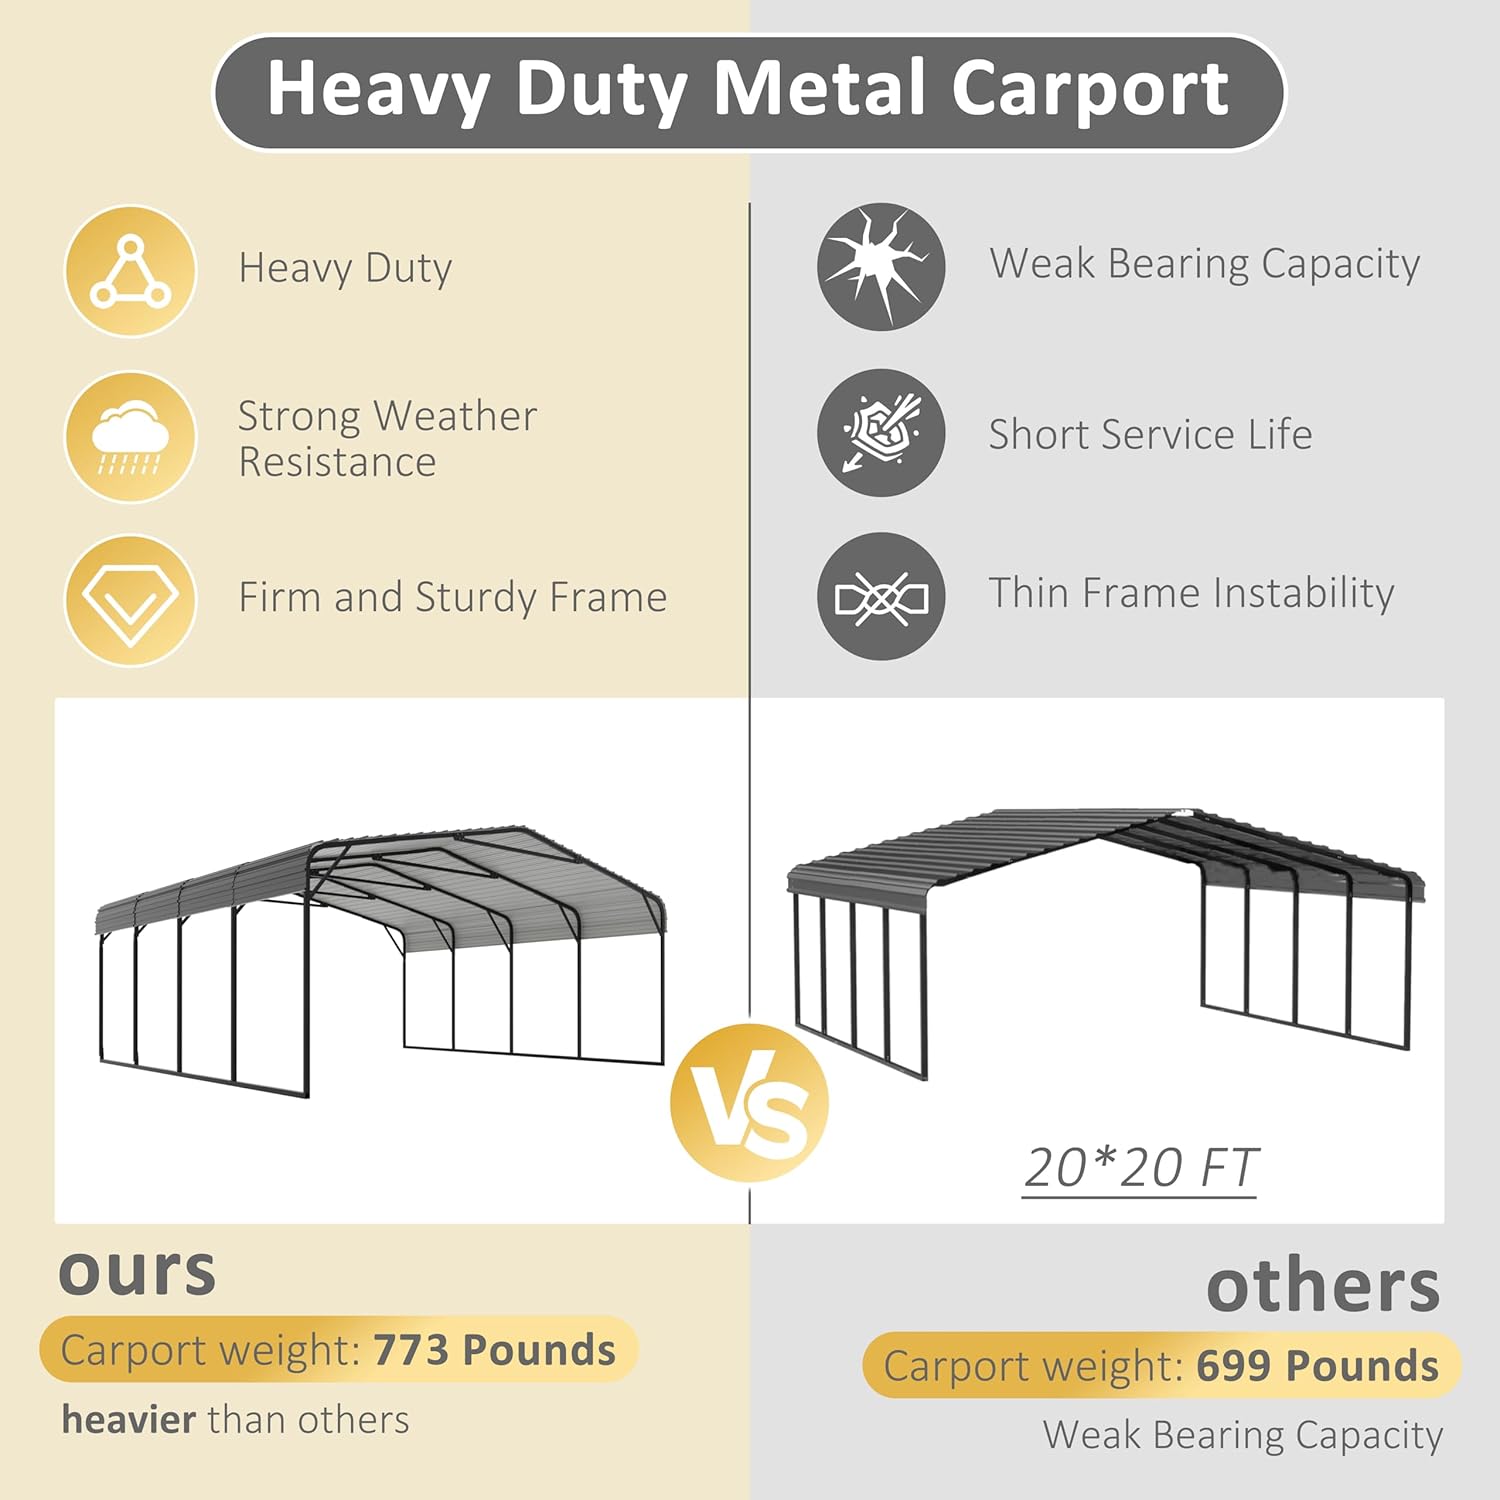
Image: Sloped roof design with high-density weatherstrip tape, ensuring effective rainwater drainage and preventing leaks.
7. Troubleshooting
| Problem | Possible Cause | Solution |
|---|---|---|
| Carport unstable or shakes in wind. | Insufficient anchoring; loose fasteners. | Ensure all 8 anchor bolts are securely installed. Consider additional ground anchors or concrete footings for increased stability. Tighten all frame fasteners. |
| Water leakage from roof. | Improperly overlapped roof panels; damaged waterproof strip; loose roof screws. | Check roof panel overlaps and ensure they are correctly interlocked. Inspect and re-apply or replace the high-density waterproof strip if damaged. Tighten all roof panel screws. |
| Rust appearing on metal parts. | Scratches or chips in the protective coating. | Clean the affected area and apply rust-inhibiting paint to prevent further corrosion. |
8. Specifications
| Feature | Detail |
|---|---|
| Overall Dimensions | 238.6"W x 238.2"D x 115.8"H (20' x 20' x 9.65') |
| Interior Dimensions | 234.6"W x 234.3"D x 115.8"H |
| Material | Galvanized Steel (Frame and Roof) |
| Frame Material | 2" x 2" Powder-Coated Metal |
| Item Weight | 791 Pounds |
| Water Resistance Level | Waterproof |
| UV Protection | Yes |
| Assembly Required | Yes |
| Color | Gray |
| Anchor Bolts | 8 heavy-duty anchor bolts included |

Image: Detailed dimensions of the MUPATER 20x20 FT carport, including total storage area of 381.71 sq.ft.
9. Warranty & Support
For warranty information, returns, or customer support, please refer to the purchase documentation or contact the seller directly. MUPATER products typically come with a return policy and customer support to assist with any issues or questions you may have regarding your carport.
Note: The product may be shipped in multiple packages which might arrive at different times. Please ensure you have received all packages before starting assembly.