1. Introduction
This manual provides detailed instructions for the operation and maintenance of your HotHat 12.5'' Portable DVD Player, Model 1900R-New. This device features a 10.1-inch HD swivel screen, a rechargeable battery, and supports various media formats, making it suitable for entertainment on the go.
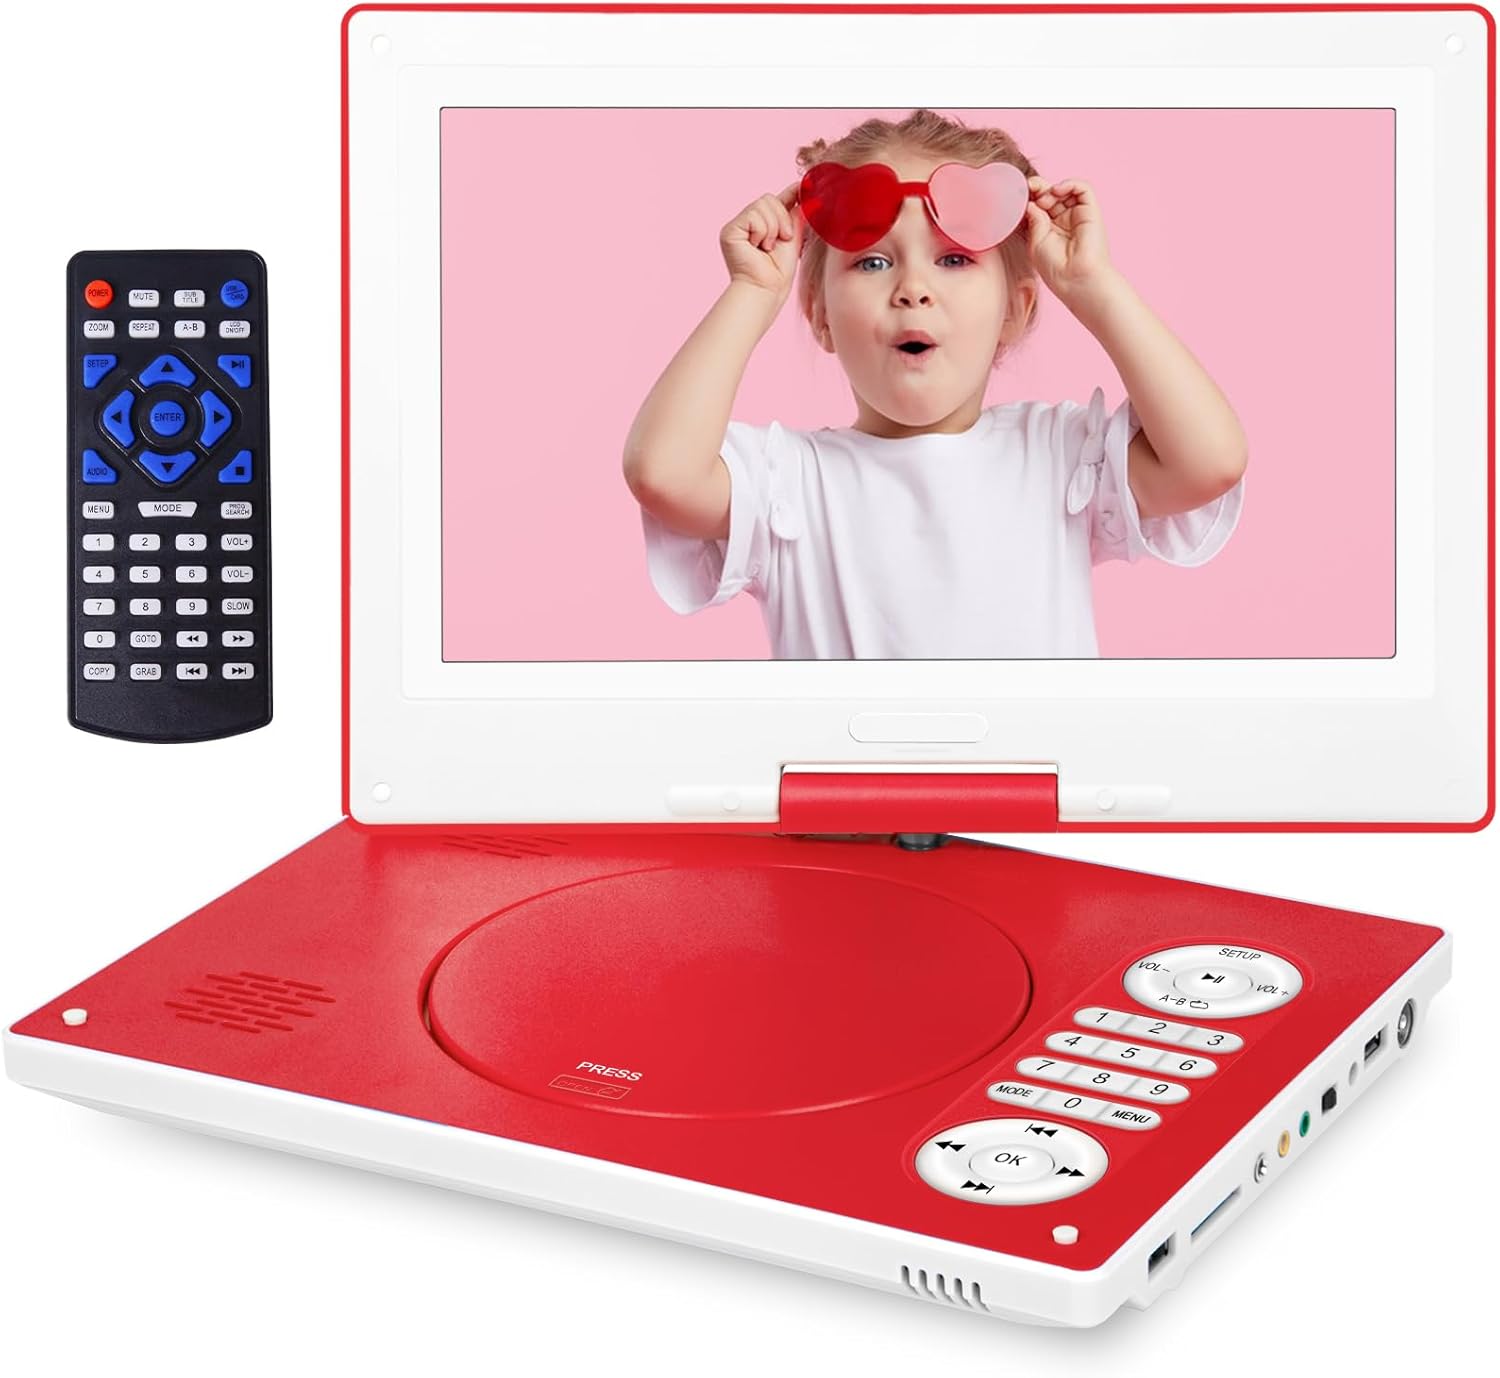
Image 1.1: The HotHat 12.5-inch Portable DVD Player with its included remote control. The player features a red base and a white screen bezel, with control buttons integrated into the base.
2. Package Contents
Please verify that all items listed below are included in your package:
- Portable DVD Player (1 unit)
- Remote Control (1 unit, batteries not included)
- DC Power Charger (1 unit)
- Car Charger (1 unit)
- 3-in-1 AV Cable (1 unit)
- Instruction Manual (1 unit)

Image 2.1: The accessories provided with the portable DVD player, including the remote control, RCA cable, DC adapter, and car charger.
3. Product Features
3.1 HD Rotating Display
The device features a 10.1-inch screen with a resolution of 1024x600 pixels. The screen can rotate 270 degrees and flip 180 degrees, allowing for flexible viewing angles and easy positioning in various environments.

Image 3.1: Demonstrates the 270-degree rotation and 180-degree flip capabilities of the screen, allowing for multiple viewing configurations.
3.2 Battery and Anti-shock Function
Equipped with a 3500mAh rechargeable battery, the player provides approximately 6 hours of playback time. An included UL car charger allows for extended use during travel. The anti-shock function helps maintain continuous playback by reducing video interruptions caused by movement or vibrations.
3.3 SYNC TV & High Volume
The player can connect to a larger TV or projector using the AV cable for an enhanced viewing experience. It includes an audio jack for headphones or external audio equipment, and dual built-in speakers provide clear sound.

Image 3.2: The portable DVD player connected to a television, demonstrating its ability to sync the screen content to a larger display for shared viewing or gaming.
3.4 Wide Compatibility
The device supports all region discs, including DVD, CD-R(RW), DVD-R(+R), DVD-RW(+RW), CVD(SVCD), VCD(DVCD), and CD. It also supports USB drives and SD cards up to 32GB. Blu-ray discs are not supported.

Image 3.3: An illustration of the various media formats supported by the player, including DVD, CD, USB, and SD card, along with a diagram of its input/output ports.
3.5 Break-Point Memory Function
The player features a break-point memory function, which allows it to resume playback from the last stopped position when powered on again.
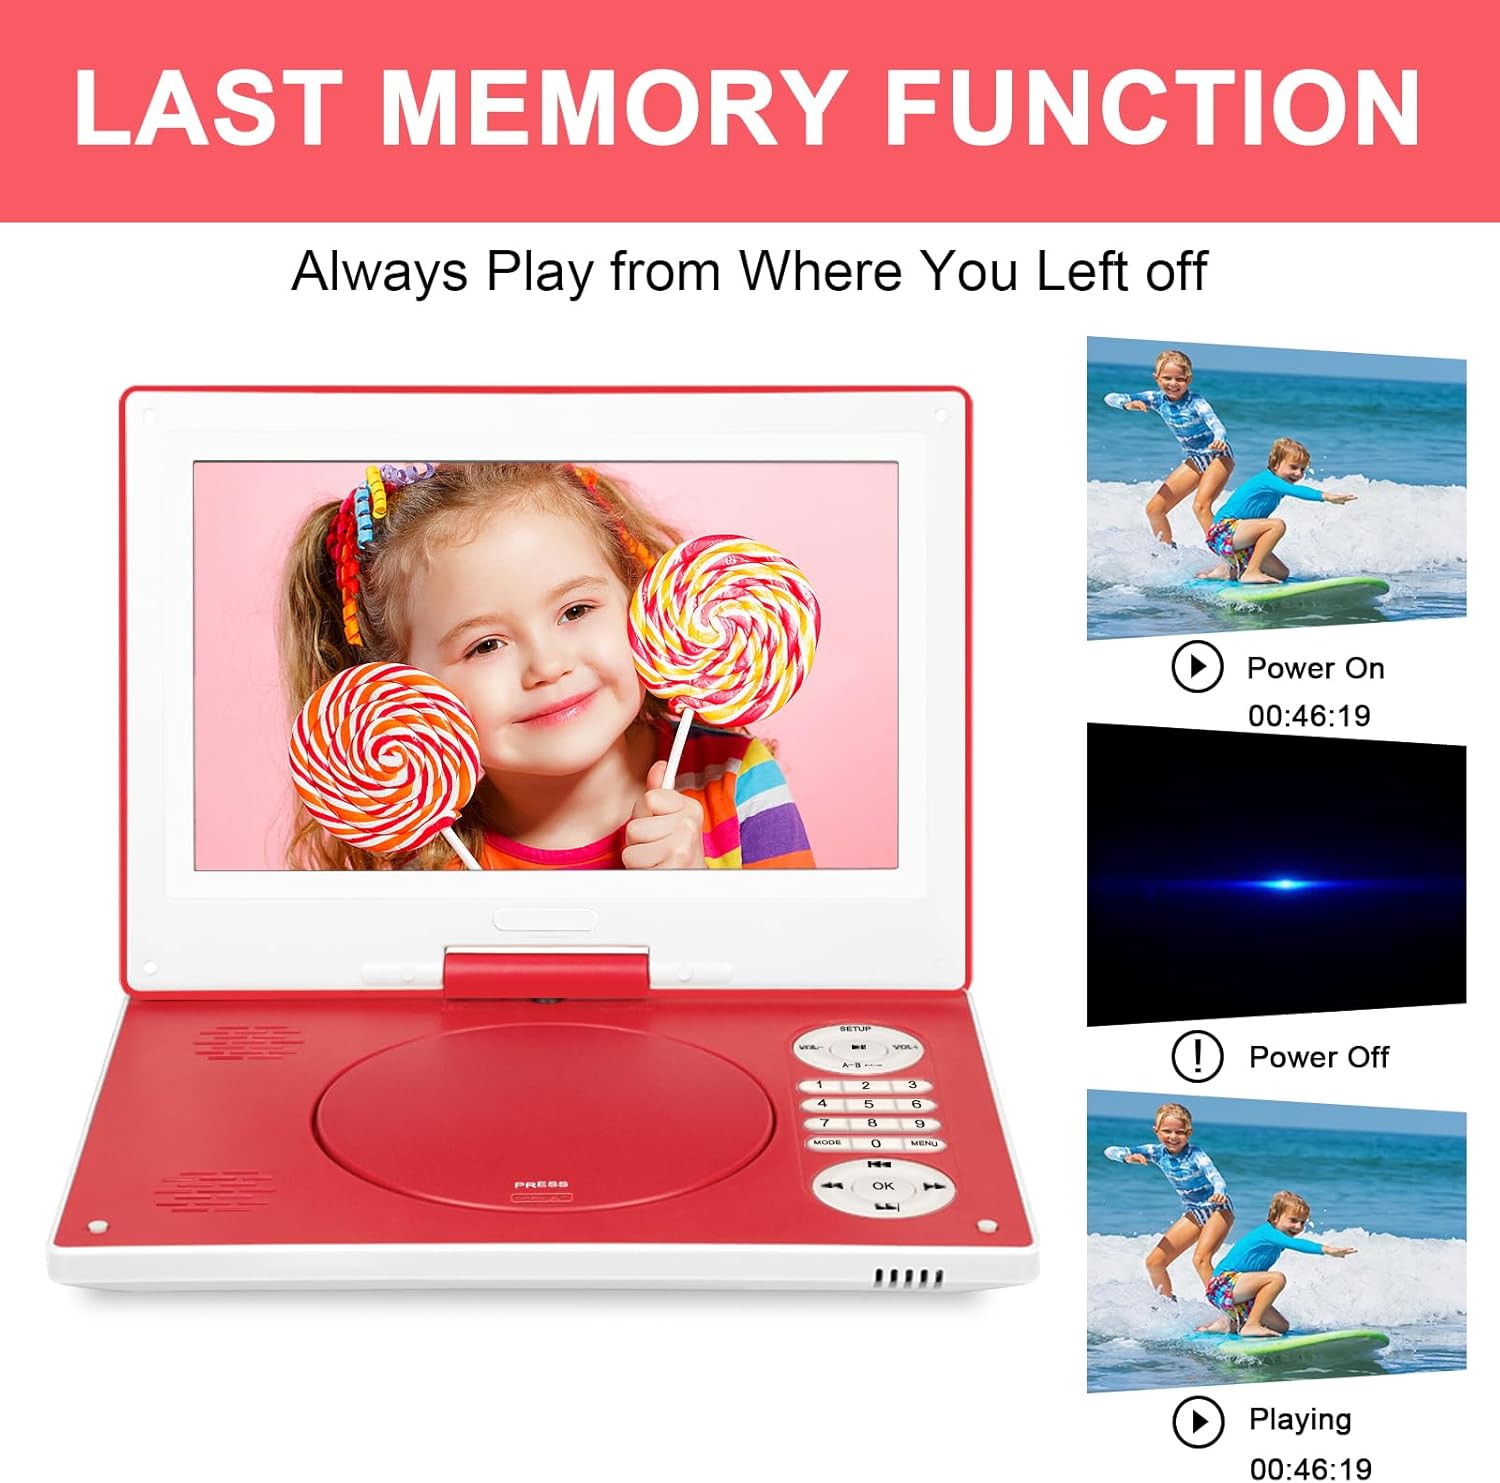
Image 3.4: Visual representation of the 'Last Memory Function', showing the player resuming a video from where it was last stopped after being powered off and on.
3.6 Dual Stereo Speakers
The device is equipped with two integrated speakers, designed to deliver clear and audible sound directly from the unit.

Image 3.5: An overhead view of the portable DVD player, highlighting the location of its dual stereo speakers on the screen panel.
4. Setup Guide
4.1 Charging the Device
- Connect the DC power charger to the 'DC IN' port on the player and plug it into a standard wall outlet.
- The charging indicator light will illuminate. A full charge typically takes several hours.
- For car use, connect the car charger to the 'DC IN' port and plug it into your vehicle's cigarette lighter socket.
4.2 Inserting a Disc
- Gently open the disc cover by pressing the 'PRESS' button located on the player's base.
- Place the disc onto the spindle with the label side facing up. Ensure the disc is securely seated.
- Close the disc cover until it clicks into place.
4.3 Powering On/Off
- To power on, slide the 'OFF/ON' switch to the 'ON' position. The screen will illuminate.
- To power off, slide the 'OFF/ON' switch to the 'OFF' position.
5. Operating Instructions
5.1 Basic Playback
- After inserting a disc and powering on, the player will automatically begin reading the disc.
- Use the PLAY/PAUSE, STOP, FF (Fast Forward), and REW (Rewind) buttons on the player or remote control to manage playback.
- Adjust volume using the VOL+ and VOL- buttons.
5.2 Using USB and SD Cards
- Insert a USB drive into the 'USB' port or an SD card into the 'SD CARD' slot.
- Use the MODE button on the player or remote to switch to USB or SD card mode.
- Navigate through files using the arrow keys and select with the OK button.
5.3 Adjusting the Screen
- The screen can be rotated up to 270 degrees horizontally and flipped 180 degrees vertically to achieve optimal viewing angles.
- Avoid excessive force when adjusting the screen to prevent damage.
5.4 Connecting to External Devices
- TV Connection: Use the provided 3-in-1 AV cable. Connect the yellow plug to the video input of your TV, and the red/white plugs to the audio inputs. Connect the other end to the 'AV OUT/IN' port on the DVD player. Switch your TV's input source to AV.
- Headphones: Plug 3.5mm headphones into the 'HEADPHONE' jack for private listening.
5.5 Remote Control Functions
The remote control provides full functionality for the DVD player. Insert two AAA batteries (not included) into the remote before use. Refer to the remote's labels for specific button functions such as menu navigation, chapter selection, and setup options.
6. Maintenance and Care
- Cleaning: Use a soft, dry cloth to clean the player's exterior. For the screen, use a specialized screen cleaning solution and a microfiber cloth. Do not use abrasive cleaners or solvents.
- Disc Care: Handle discs by their edges. Clean discs with a soft, lint-free cloth, wiping from the center outwards.
- Storage: Store the player in a cool, dry place away from direct sunlight and extreme temperatures.
- Battery: To prolong battery life, fully charge the device before long periods of non-use and recharge it periodically.
7. Troubleshooting
| Problem | Possible Cause | Solution |
|---|---|---|
| Player does not power on. | Battery is depleted; Power switch is off; Charger not connected properly. | Charge the battery; Ensure power switch is in 'ON' position; Verify charger connection. |
| Disc does not play or skips. | Disc is dirty or scratched; Disc is inserted incorrectly; Unsupported disc format. | Clean the disc; Reinsert disc correctly; Ensure disc format is supported (not Blu-ray). |
| No sound. | Volume is too low or muted; Headphones are connected; External device not configured correctly. | Increase volume; Disconnect headphones if using speakers; Check AV cable connections and TV input. |
| Remote control not working. | Batteries are dead or inserted incorrectly; Obstruction between remote and player. | Replace batteries; Ensure correct battery polarity; Remove obstructions. |
8. Product Specifications
| Feature | Specification |
|---|---|
| Brand Name | HotHat |
| Model Number | 1900R-New |
| Screen Size | 10.1 inches |
| Screen Resolution | 1024x600 |
| Screen Rotation | 270-degree swivel, 180-degree flip |
| Battery Type | Lithium Polymer |
| Battery Capacity | 3500mAh (approx. 6 hours playback) |
| Supported Disc Formats | DVD, CD-R(RW), DVD-R(+R), DVD-RW(+RW), CVD(SVCD), VCD(DVCD), CD |
| Supported USB/SD Card Capacity | Up to 32GB |
| Item Weight | 3.8 pounds |
| Package Dimensions | 15.27 x 9.02 x 3.11 inches |
9. Warranty and Support
This HotHat Portable DVD Player comes with a 1-year quality repair service and lifetime technical support. If you encounter any issues or require assistance, please refer to the contact information provided with your purchase documentation or visit the official HotHat support website.