1. Introduction
This instruction manual provides essential information for the proper installation, operation, and maintenance of the UFDIPLMY 564mm LED Backlight Strip. This product is designed as a replacement component for compatible 32-inch television models. Please read this manual thoroughly before proceeding with any installation or repair work.
2. Safety Information
WARNING: Television repair and component replacement should only be performed by qualified technicians. Improper installation can lead to electric shock, fire, or damage to the television and the new component.
- Always disconnect the television from the main power supply before beginning any repair work.
- Wear appropriate personal protective equipment, including anti-static gloves and eye protection.
- Handle LED strips carefully to avoid bending or damaging the circuit board and LEDs.
- Ensure all connections are secure and correctly aligned before reassembling the television.
- Do not attempt to modify the LED backlight strip.
3. Product Overview
The UFDIPLMY 564mm LED Backlight Strip is a high-quality replacement part for 32-inch LED LCD televisions. It features 5 LED lamps per strip and is designed for models such as 32E1A, 32X3, JL.D32051330-140BS-M_V01, Ptv3215iled, 32E381S, and 32K5. This component offers a long service life, typically exceeding 100,000 hours, and is energy-efficient.
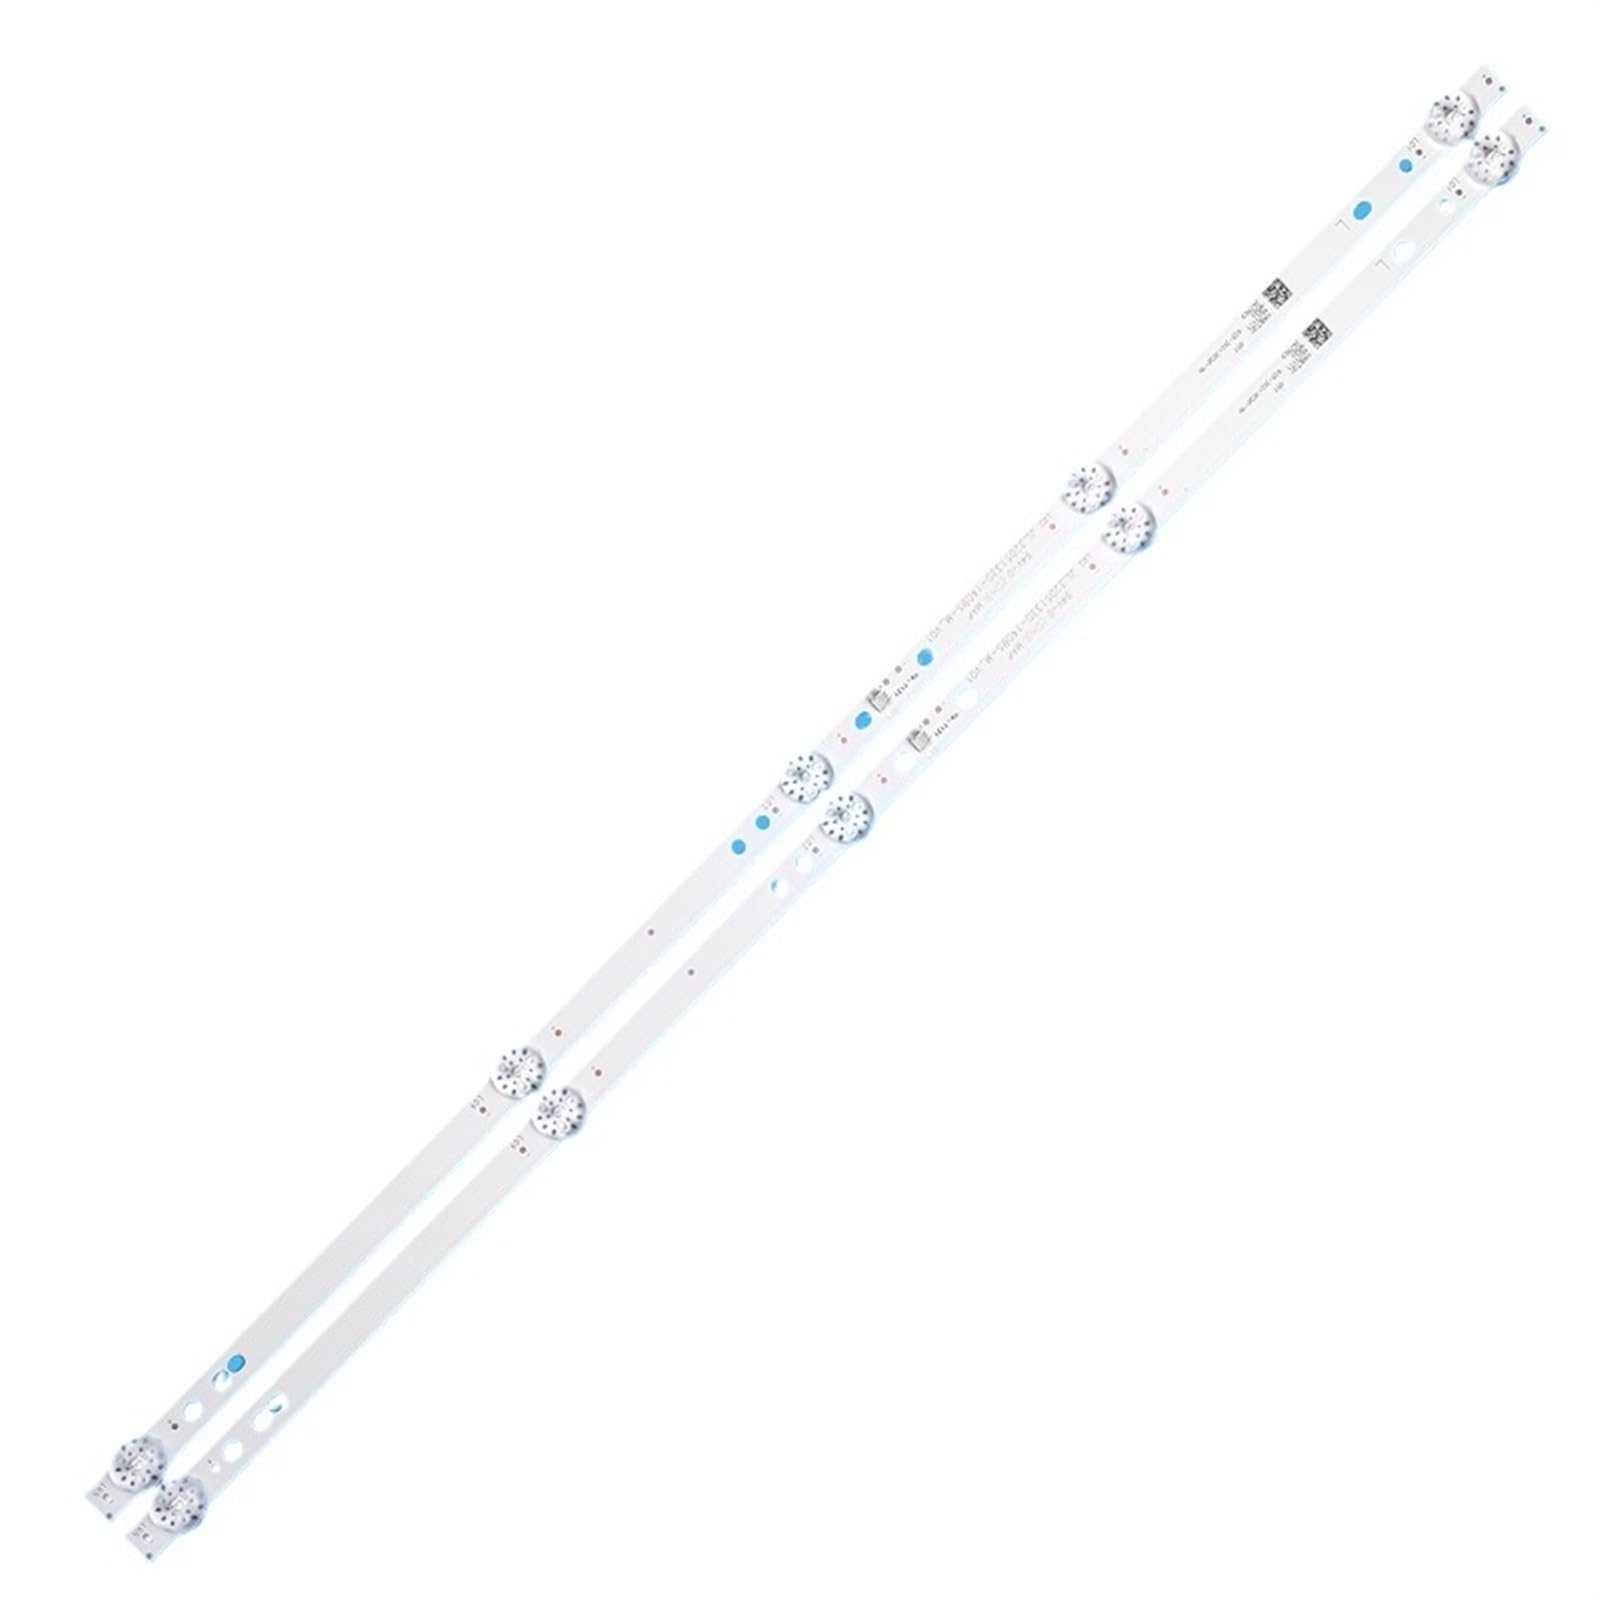
Figure 3.1: Overview of the 564mm LED Backlight Strip, indicating its 32-inch compatibility and 100% new condition.

Figure 3.2: Detailed view of the LED strip, highlighting the specific part number JL.D32051330-140BS-M_V01 for identification.
4. Setup and Installation
Installation of the LED backlight strip requires disassembling the television panel. It is highly recommended that this procedure be carried out by a professional television repair technician.
4.1 Pre-Installation Checks
- Verify the compatibility of the new LED strip with your TV model using the part numbers.
- Inspect the new LED strip for any physical damage before installation.
4.2 Installation Steps (General Guidelines)
- Power Disconnection: Ensure the TV is unplugged from the power outlet.
- Disassembly: Carefully remove the TV's back cover, stand, and any internal components necessary to access the display panel.
- Panel Removal: Gently detach the LCD panel and diffuser layers to expose the existing backlight strips.
- Old Strip Removal: Disconnect the power connector from the old LED strip and carefully peel it off the TV chassis.
- New Strip Placement: Align the new UFDIPLMY LED backlight strip in the correct position on the TV chassis. Ensure proper adhesion if adhesive backing is present.
- Connection: Connect the power cable to the new LED strip's connector.

Figure 4.1: Detail of the power connector on the LED backlight strip, showing the connection points.
- Testing: Before reassembling, temporarily connect the TV to power and test the new backlight to ensure all LEDs illuminate correctly.
- Reassembly: Carefully reassemble the diffuser layers, LCD panel, and TV casing in reverse order of disassembly.

Figure 4.2: Close-up view of an individual LED and its lens on the backlight strip, demonstrating the light source.
5. Operating Instructions
The UFDIPLMY LED Backlight Strip operates automatically as part of the television's internal lighting system. Once correctly installed, it will illuminate when the television is powered on and provide consistent backlighting for the display. No user interaction is required for its operation.
6. Maintenance
The LED backlight strip itself requires no routine maintenance. However, to ensure optimal performance and longevity of your television, consider the following:
- Keep the television in a clean, dust-free environment.
- Ensure adequate ventilation around the TV to prevent overheating, which can affect all internal components, including the backlight.
- Avoid exposing the TV to extreme temperatures or humidity.
7. Troubleshooting
If you encounter issues after installing the LED backlight strip, consider the following troubleshooting steps. Remember, professional assistance is recommended for internal TV repairs.
| Problem | Possible Cause | Solution |
|---|---|---|
| No backlight / Dark screen | Incorrect connection of the LED strip. Faulty power supply to the backlight. Damaged new LED strip. | Check all connections to ensure they are secure. Verify the TV's power supply unit is functioning correctly. Re-inspect the LED strip for any visible damage. |
| Flickering backlight | Loose connection. Incompatible power driver. | Ensure the LED strip connector is firmly seated. Confirm the TV's original backlight driver is compatible or replace if necessary. |
| Uneven brightness | Improper placement of diffuser layers. Damaged individual LEDs. | Carefully re-seat the diffuser layers. If individual LEDs are faulty, the entire strip may need replacement. |
If these steps do not resolve the issue, contact a qualified technician or the product manufacturer for further assistance.
8. Specifications
| Feature | Detail |
|---|---|
| Model Number | JL.D32051330-140BS-M_V01 |
| Brand | UFDIPLMY |
| Length | 564mm |
| Number of Lamps | 5 LEDs per strip |
| Compatible TV Size | 32 inches |
| Compatible TV Models | 32E1A, 32X3, Ptv3215iled, 32E381S, 32K5 |
| Light Source Type | LED |
| Color Temperature | 6000 Kelvin |
| Special Feature | Energy Efficient |
| Expected Lifespan | More than 100,000 hours |
| Item Weight | 50 Grams (approx. 1.76 ounces) |
9. Warranty and Support
For warranty information or technical support regarding your UFDIPLMY LED Backlight Strip, please refer to the purchase documentation or contact the seller directly. Ensure you have your purchase details and the product model number (JL.D32051330-140BS-M_V01) available when seeking support.