1. Introduction
This manual provides detailed instructions for the installation, operation, and maintenance of your Aquaboon 3-Stage Whole House Water Filter System. Please read this manual thoroughly before installation and retain it for future reference.

Image 1.1: The Aquaboon 3-Stage Whole House Water Filter System, including the main unit, three filter cartridges (sediment, polyphosphate, carbon block), and a filter wrench.
2. Safety Information
- Always shut off the main water supply before performing any installation or maintenance.
- Depressurize the system using the pressure release buttons before opening filter housings.
- Ensure all connections are secure to prevent leaks. Use appropriate thread sealant (e.g., Teflon tape) on threaded connections.
- Do not install the system where it will be exposed to freezing temperatures.
- Consult local plumbing codes and regulations before installation.
- Wear appropriate personal protective equipment (PPE) such as gloves and eye protection during installation and maintenance.
3. Components List
The Aquaboon 3-Stage Whole House Water Filter System typically includes the following components:
- 3-Stage Filter Housing Unit with Pressure Gauges
- Sediment Filter Cartridge (20" x 4.5")
- Polyphosphate Anti-Scale Filter Cartridge (20" x 4.5")
- Carbon Block Filter Cartridge (20" x 4.5")
- Iron Bracket for Wall Mounting
- Filter Wrench
- Installation Kit (may include screws, anchors, etc.)

Image 3.1: The three distinct filter cartridges included with the system, each designed for a specific filtration stage.
4. System Overview
The Aquaboon 3-Stage Whole House Water Filter System is designed to provide comprehensive water filtration for your entire home. It processes water through three distinct stages:
- Stage 1: Sediment Filtration
The first stage utilizes a sediment filter to remove larger particles such as sand, rust, dirt, and silt. This protects subsequent filters and plumbing from damage. - Stage 2: Polyphosphate Anti-Scale Treatment
The second stage employs a polyphosphate filter to inhibit scale formation and corrosion caused by calcium and magnesium. This helps protect pipes and appliances. - Stage 3: Carbon Block Filtration
The final stage uses an activated carbon block filter to reduce chlorine, unpleasant tastes, odors, and various chemical compounds, providing clean and refreshing water.

Image 4.1: Visual representation of the 3-stage filtration process, showing water entering from the right and exiting as purified water on the left.
5. Installation (Setup)
5.1 Pre-Installation Considerations
- Location: Install the system on the main water line after the water meter but before the water heater. Choose a location that is protected from freezing temperatures and direct sunlight, with sufficient space for filter changes.
- Water Pressure: Ensure your water pressure is within the system's operating limits.
- Tools Required: You will need basic plumbing tools, thread sealant (Teflon tape), a drill, and appropriate mounting hardware.
- Bypass Valve (Recommended): Consider installing a bypass valve to allow water flow to the house while the filter system is being serviced.
5.2 Installation Steps
- Shut Off Water Supply: Turn off the main water supply to your home. Open a faucet to relieve pressure and drain water from the pipes.
- Mount the Bracket: Securely mount the iron bracket to a sturdy wall stud or support beam using appropriate hardware. Ensure it is level.
- Install Filter Cartridges:
- Unwrap each filter cartridge.
- Ensure the O-rings are properly seated in the filter housings. Lubricate O-rings with food-grade silicone grease if necessary.
- Insert the Sediment filter into the first housing (typically the rightmost when facing the system, as per flow direction).
- Insert the Polyphosphate filter into the middle housing.
- Insert the Carbon Block filter into the third housing (leftmost).
- Hand-tighten the housings onto the manifold. Use the provided filter wrench for a final snug turn, but do not overtighten.
- Connect Plumbing:
- Connect the main water line to the "IN" port of the filter system (typically on the right).
- Connect the filtered water line from the "OUT" port (typically on the left) to your home's plumbing.
- Use Teflon tape on all threaded connections to ensure a leak-free seal. The system features 1" NPT ports.
- Check for Leaks: Slowly turn on the main water supply. Inspect all connections for leaks. If leaks occur, tighten connections slightly or re-seat O-rings.
- Flush the System: Open a cold water faucet in your home and let the water run for at least 10-15 minutes to flush out any carbon fines or air from the system. The water may appear cloudy initially; this is normal.

Image 5.1: The double O-ring seal mechanism, designed to ensure a secure, leak-free connection and facilitate easy cartridge replacement.
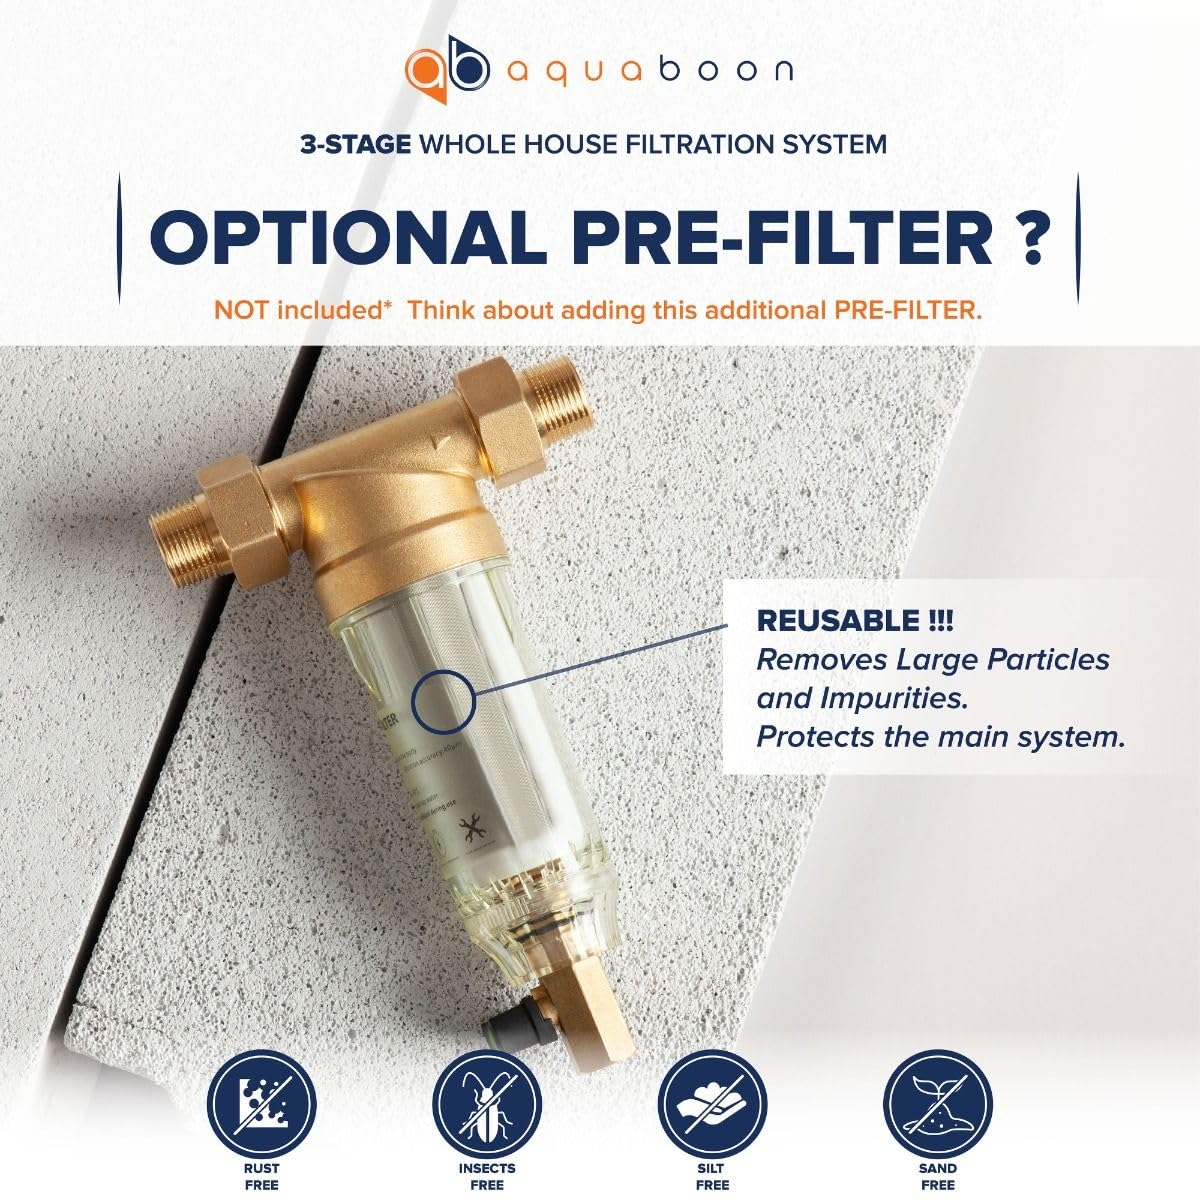
Image 5.2: An optional pre-filter, not included with the standard system, which can be installed to extend the life of the main filters by removing larger sediment.
6. Operation
6.1 Initial Startup
After installation and flushing, the system is ready for continuous operation. Water will flow through the three stages, providing filtered water to all connected outlets in your home.
6.2 Monitoring Pressure
The system is equipped with pressure gauges for each stage. These gauges allow you to monitor the water pressure before and after each filter. A significant drop in pressure across a filter indicates that the cartridge is becoming clogged and may need replacement.
- Normal Operation: Pressure gauges should show relatively consistent readings.
- Pressure Drop: If the pressure gauge after a filter shows a significantly lower reading than the gauge before it, the filter cartridge is likely exhausted.
7. Maintenance
7.1 Filter Replacement
Filter cartridges should be replaced regularly to maintain optimal water quality and system performance. The replacement frequency depends on your water quality and usage, but general guidelines are:
- Sediment Filter: Every 3-6 months, or when a noticeable pressure drop occurs.
- Polyphosphate Anti-Scale Filter: Every 6-12 months.
- Carbon Block Filter: Every 6-12 months, or when taste/odor returns.
Replacement Procedure:
- Shut Off Water: Turn off the main water supply to the filter system. If a bypass valve is installed, activate it.
- Depressurize: Press the red pressure release button on top of each housing to relieve internal pressure.
- Unscrew Housings: Use the provided filter wrench to unscrew the filter housings. Turn counter-clockwise.
- Remove Old Filters: Discard the used filter cartridges.
- Clean Housings: Rinse the filter housings with clean water. Inspect and clean the O-rings. Replace O-rings if they are cracked or damaged. Lubricate O-rings with food-grade silicone grease.
- Install New Filters: Insert new, unwrapped filter cartridges into their respective housings. Ensure they are centered.
- Reassemble: Hand-tighten the housings onto the manifold. Use the filter wrench for a final snug turn, but do not overtighten.
- Restore Water: Slowly turn on the main water supply (or deactivate the bypass valve). Check for leaks.
- Flush System: Open a cold water faucet and flush the system for 10-15 minutes to remove air and carbon fines.
8. Troubleshooting
| Problem | Possible Cause | Solution |
|---|---|---|
| Water Leaks |
|
|
| Low Water Pressure |
|
|
| Unpleasant Taste/Odor Returns |
|
|
| Scale Formation Continues |
|
|
9. Specifications
| Model Name | Anti-Scale |
| Product Dimensions | 18"L x 11"W x 24"H (45.7 cm L x 27.9 cm W x 61 cm H) |
| Item Weight | 35 Pounds (15.9 kg) |
| Installation Type | Permanent Installation (Wall Mounted) |
| Power Source | Manual (Water Pressure) |
| Maximum Flow Rate | 40 Gallons Per Minute (GPM) |
| Upper Temperature Rating | 100 Degrees Fahrenheit (37.8 Degrees Celsius) |
| Port Size | 1" NPT |
| Filter Cartridge Size | 20" x 4.5" |
10. Warranty and Support
For warranty information or technical support, please refer to the documentation included with your purchase or visit the official Aquaboon website.
Manufacturer: Aquaboon
Website: Visit the Aquaboon Store on Amazon (for general product information)


