1. Introduction
This manual provides detailed instructions for the installation, operation, and maintenance of the AERMEC TX wall-mounted thermostat. Please read this manual thoroughly before installation and use to ensure proper function and safety.
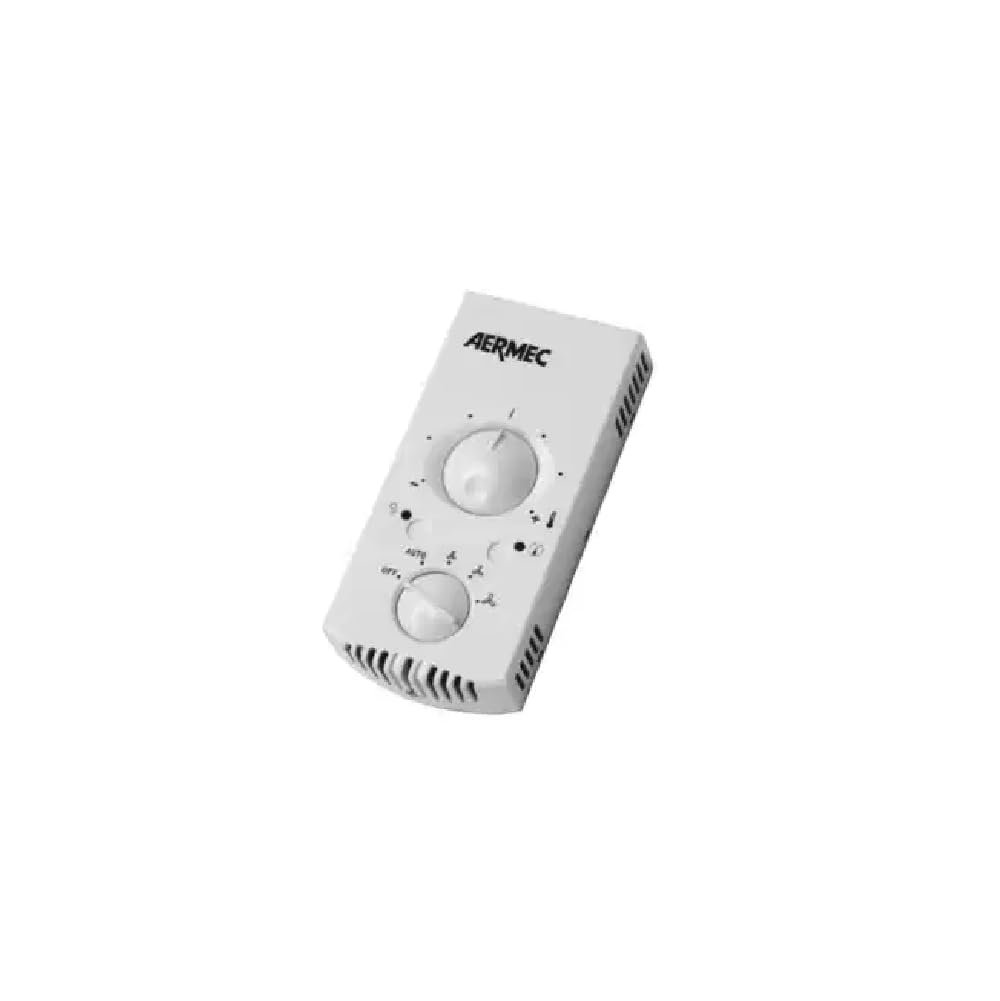
Image: AERMEC TX Wall Thermostat, front view. This image shows the compact design of the thermostat with its two control knobs.
2. Safety Information
Always observe the following safety precautions to prevent electric shock, injury, or damage to the thermostat or connected equipment:
- Installation must be performed by qualified personnel in accordance with local electrical codes.
- Disconnect power to the heating/cooling system at the main circuit breaker before installing or servicing the thermostat.
- Do not install the thermostat in locations exposed to direct sunlight, drafts, or heat sources, as this can affect temperature readings.
- Ensure the thermostat is installed in a dry, enclosed environment, protected from possible water splashes.
- Do not attempt to repair or modify the thermostat yourself. Contact qualified service personnel.
3. Product Overview
The AERMEC TX is a wall-mounted thermostat designed for controlling fan coil units. It features intuitive knob controls for temperature and fan speed selection, along with indicator lights for operational status.

Image: Diagram illustrating the controls and indicators of the AERMEC TX thermostat. It shows the positions of the fan speed selector, temperature selector, operating mode indicator, and fan request indicator.
Controls and Indicators:
- (A) Fan Speed Selector: Used to choose the desired fan speed (OFF, AUTO, V1, V2, V3, AUX).
- (B) Temperature Selector: Used to set the desired ambient temperature.
- (C) Operating Mode Indicator LED (Red/Blue/Magenta): Displays the HEATING/COOLING mode requested by the electronic thermostat and indicates if the heating system can fulfill the request.
- (D) Fan Request Indicator Light: Indicates a fan request from the electronic thermostat. A flashing light indicates standby status.
4. Installation
4.1 Positioning
Proper positioning is crucial for accurate temperature sensing and optimal performance. Follow these guidelines:
- Do not place the TX panel on a wall exposed to direct sunlight or heat from other sources (e.g., radiators, lamps).
- Avoid locations near windows, doors, or vents that may cause drafts.
- Install the panel in a closed, dry environment, protected from possible water splashes on a flat surface.
- Ensure the installation height is appropriate for accurate room temperature measurement, typically around 1.5 meters (5 feet) from the floor.

Image: Diagram illustrating recommended and prohibited installation locations for the AERMEC TX thermostat. It shows avoiding direct sunlight, heat sources like radiators, and maintaining appropriate distance from windows and doors.
4.2 Mounting
For correct installation, first fix the mounting plate to the wall, and then attach the thermostat cover.
- Separate the mounting plate from the thermostat unit.
- Position the mounting plate on the wall at the desired location.
- Mark the drilling points through the holes on the mounting plate.
- Drill holes and insert wall anchors if necessary.
- Secure the mounting plate to the wall using screws.
- Connect the electrical wiring to the terminals on the mounting plate as per the wiring diagram (refer to your fan coil unit's manual for specific wiring details).
- Carefully attach the thermostat cover to the mounting plate, ensuring it clicks securely into place.
5. Operation
The AERMEC TX thermostat provides simple controls for managing your fan coil unit.
5.1 Fan Speed Selection (Knob A)
- OFF: The fan coil unit is off. However, it can restart in Heating mode (Antifreeze function) if the ambient temperature drops below 7°C and the water temperature is suitable. In this case, the red LED will flash.
- AUTO: The thermostat maintains the set temperature by automatically adjusting the fan speed based on the difference between the ambient temperature and the set temperature.
- V1: The minimum fan speed remains active continuously, regardless of thermostat requests.
- V2: The medium fan speed remains active continuously, regardless of thermostat requests.
- V3: The maximum fan speed remains active continuously, regardless of thermostat requests.
- AUX: The minimum fan speed (V1) remains active continuously.
5.2 Temperature Selection (Knob B)
Rotate the temperature selector knob to set your desired ambient temperature. The thermostat will work to maintain this temperature.
5.3 Indicator Lights (C & D)
- Operating Mode Indicator LED (C): This LED changes color (Red/Blue/Magenta) to indicate whether the thermostat is requesting heating or cooling and if the system is actively fulfilling that request.
- Fan Request Indicator Light (D): This light illuminates when the electronic thermostat requests the fan to operate. If it is flashing, it indicates a standby status.
6. Maintenance
The AERMEC TX thermostat requires minimal maintenance. Follow these guidelines to ensure continued optimal performance:
- Cleaning: Gently wipe the thermostat's exterior with a soft, damp cloth. Do not use abrasive cleaners, solvents, or chemical sprays, as these can damage the plastic and electronic components.
- Inspection: Periodically check for any visible damage or loose connections. If any issues are found, contact a qualified technician.
- Power Source: If the thermostat uses batteries for specific functions (e.g., memory backup), replace them annually or when indicated by a low battery warning (if applicable). The primary power source is 230 Volts.
7. Troubleshooting
If you experience issues with your AERMEC TX thermostat, try the following basic troubleshooting steps:
- No Power/Display: Check the circuit breaker for your heating/cooling system. Ensure the thermostat is properly connected to the power supply.
- Incorrect Temperature Reading: Verify that the thermostat is not exposed to direct sunlight, drafts, or heat sources. Ensure it is installed at an appropriate height.
- Fan Not Operating: Check the fan speed selector (Knob A) to ensure it is not set to OFF. If in AUTO mode, ensure the set temperature requires fan operation.
- System Not Heating/Cooling: Ensure the temperature selector (Knob B) is set to a temperature that triggers heating or cooling. Check the operating mode indicator LED (C) for status.
- Flashing Fan Request Indicator (D): This indicates standby mode. The system may be waiting for conditions to be met before operating.
If these steps do not resolve the issue, contact a qualified HVAC technician for assistance.
8. Specifications
| Brand | AERMEC |
| Model Number | TX |
| Model Name | Termostato TX |
| Color | White |
| Voltage | 230 Volts |
| Power Source | Wired (230V), Battery powered (for specific functions/backup) |
| Item Weight | 1 Kilogram |
| Package Dimensions | 20 x 10 x 10 cm |
| Controller Type | Mechanical knob |
| Temperature Control Type | Manual |
| Connectivity Technology | Wired |
| Special Feature | Illuminated |
| Included Components | Wall mount |
| Product Specific Uses | Air conditioner (Fan Coil Units) |