
Introduction
Thank you for choosing the Bmi Muse M-15-GL PLL FM Dual Alarm Clock Radio. This manual provides essential information for the safe and efficient operation of your new device. Please read these instructions carefully before use and retain them for future reference.
The Muse M-15-GL features a PLL FM radio with 20 preset stations, a 0.9-inch white LED display, and a dual alarm function, allowing you to wake up to either radio or a buzzer. It also includes snooze and sleep functions for added convenience.
Important Safety Instructions
- Power Source: Ensure the power supply voltage matches the rating indicated on the unit (230V ~ 50Hz).
- Water and Moisture: Do not expose this appliance to dripping or splashing water. Do not place objects filled with liquids, such as vases, on the apparatus.
- Ventilation: Do not block any ventilation openings. Install in accordance with the manufacturer's instructions.
- Heat: Do not install near any heat sources such as radiators, heat registers, stoves, or other apparatus (including amplifiers) that produce heat.
- Cleaning: Clean only with a dry cloth.
- Batteries: Use only specified battery types (2x 1.5V AAA/R03/UM4, not supplied) for backup. Do not mix old and new batteries or different types of batteries.
- Servicing: Do not attempt to service this product yourself. Refer all servicing to qualified service personnel.
Product Overview
The Bmi Muse M-15-GL is designed for ease of use and reliability. Familiarize yourself with its components:
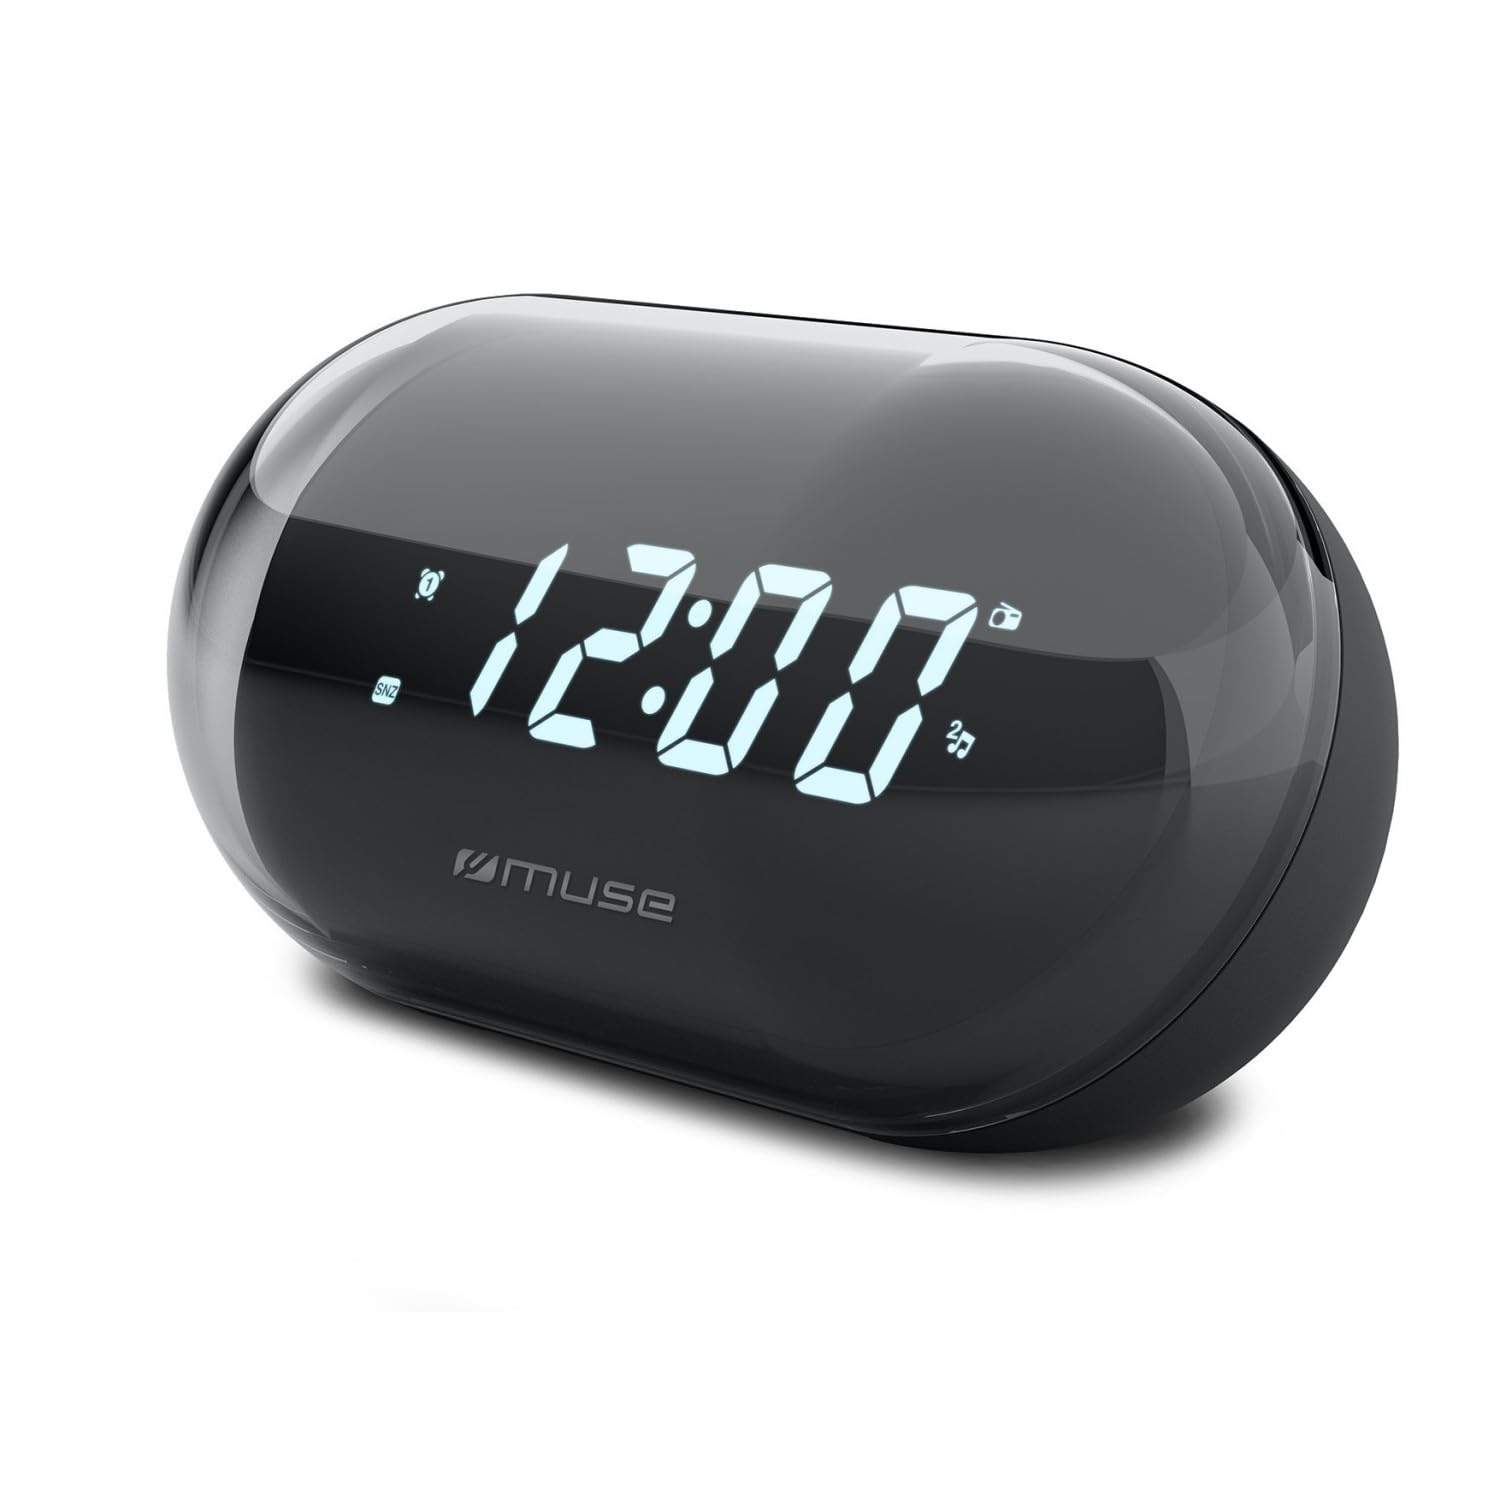
Figure 1: Front view of the Bmi Muse M-15-GL Dual Alarm Clock Radio. This image shows the main display, speaker grille, and control buttons on the top panel.
Key Features:
- PLL FM Radio with 20 preset stations
- Dual Alarm function (wake to radio or buzzer)
- 0.9-inch white LED display
- 24-hour clock display
- Adjustable display intensity (High / Low / Off)
- Snooze and Sleep functions
- Battery backup for time and alarm settings (2x AAA batteries, not included)
Controls and Indicators:
(Note: Specific button labels are assumed based on typical alarm clock radios. Refer to your unit for exact markings.)
- Display: Shows time, radio frequency, and alarm indicators.
- TIME SET button: Used to set the current time.
- ALARM 1 / ALARM 2 buttons: Used to set and activate Alarm 1 and Alarm 2.
- SNOOZE / SLEEP / DIMMER button: Activates snooze, sets sleep timer, and adjusts display brightness.
- TUNING +/- buttons: Adjusts radio frequency.
- VOLUME +/- buttons: Adjusts audio volume.
- PRESET / MEMORY button: Stores and recalls radio presets.
- ON/OFF / RADIO button: Turns the radio on/off and switches to radio mode.
- DC IN Jack: For connecting the power adapter.
- Battery Compartment: For backup batteries.
Setup
1. Power Connection
- Unpack the unit and place it on a stable, flat surface.
- Connect the AC power adapter to the DC IN jack on the back of the unit.
- Plug the AC power adapter into a standard 230V ~ 50Hz wall outlet. The display will light up.
2. Installing Backup Batteries
Backup batteries (not supplied) are essential to maintain time and alarm settings during a power outage.
- Open the battery compartment cover located on the bottom or back of the unit.
- Insert two (2) 1.5V AAA/R03/UM4 batteries, observing the correct polarity (+ and -) as indicated inside the compartment.
- Close the battery compartment cover securely.
Note: The backup batteries do not power the radio or display; they only preserve settings.
Operating Instructions
Setting the Time
- Press and hold the TIME SET button until the hour digits begin to flash.
- Press the HOUR (or TUNING +) button repeatedly to adjust the hour.
- Press the TIME SET button again. The minute digits will flash.
- Press the MINUTE (or TUNING -) button repeatedly to adjust the minutes.
- Press the TIME SET button once more to confirm and exit time setting mode.
Setting Alarms (Alarm 1 and Alarm 2)
The unit features two independent alarms.
- Press and hold the ALARM 1 (or ALARM 2) button until the alarm hour digits flash.
- Press the HOUR (or TUNING +) button to set the desired alarm hour.
- Press the ALARM 1 (or ALARM 2) button again. The alarm minute digits will flash.
- Press the MINUTE (or TUNING -) button to set the desired alarm minutes.
- Press the ALARM 1 (or ALARM 2) button again to select the alarm source: BUZZER or RADIO. The corresponding indicator will light up.
- Press the ALARM 1 (or ALARM 2) button one last time to confirm and activate the alarm. The alarm indicator (e.g., AL1 or AL2) will appear on the display.
To deactivate an alarm: Press the corresponding ALARM button once. The alarm indicator will disappear.
Radio Operation (FM)
- Press the ON/OFF / RADIO button to turn on the radio. The frequency will appear on the display.
- Manual Tuning: Press the TUNING + or TUNING - buttons briefly to adjust the frequency step by step.
- Automatic Scan: Press and hold the TUNING + or TUNING - buttons for a few seconds. The radio will automatically scan and stop at the next strong station.
Storing and Recalling Presets
You can store up to 20 FM stations.
- Tune to your desired FM station.
- Press the PRESET / MEMORY button. "P01" (or the next available preset number) will flash on the display.
- Use the TUNING + or TUNING - buttons to select the desired preset number (P01-P20).
- Press the PRESET / MEMORY button again to confirm and save the station.
- To recall a preset: In radio mode, press the PRESET / MEMORY button repeatedly to cycle through the stored stations.
Snooze Function
When an alarm sounds, press the SNOOZE / SLEEP / DIMMER button to temporarily silence the alarm for approximately 9 minutes. The alarm will sound again after this period.
Sleep Function
The sleep timer allows the radio to play for a set duration before automatically turning off.
- While the radio is playing, press the SNOOZE / SLEEP / DIMMER button repeatedly to cycle through sleep timer options (e.g., 90, 60, 30, 15 minutes, OFF).
- The display will show the selected sleep time. The radio will turn off automatically after the set time.
Display Intensity Adjustment
Press the SNOOZE / SLEEP / DIMMER button (when the radio is off and no alarm is sounding) to cycle through display brightness levels: High, Low, or Off.
Maintenance
- Cleaning: Wipe the unit with a soft, dry cloth. Do not use abrasive cleaners, waxes, or solvents.
- Battery Replacement: Replace backup batteries annually or when the battery indicator (if present) suggests low power, even if no power outages have occurred.
- Storage: If the unit will not be used for an extended period, disconnect it from the power outlet and remove the backup batteries.
Troubleshooting
| Problem | Possible Cause | Solution |
|---|---|---|
| Unit does not power on. | Power adapter not connected or faulty. | Ensure the power adapter is securely plugged into the unit and a working wall outlet. |
| Display is blank or dim. | Display intensity set to "Off" or "Low". | Press the SNOOZE / SLEEP / DIMMER button to adjust brightness. |
| Alarm does not sound. | Alarm not activated or set incorrectly. Volume too low (for radio alarm). | Verify alarm time and activation (alarm indicator on display). Increase volume if radio alarm is selected. |
| Radio reception is poor. | Antenna not extended or poor signal area. | Extend the FM wire antenna fully. Reposition the unit for better reception. |
| Time/alarm settings lost after power outage. | Backup batteries are dead or not installed. | Install new AAA batteries or replace existing ones. |
Specifications
| Model | Muse M-15-GL |
| Display | 0.9-inch White LED, 24-hour clock |
| Radio Type | PLL FM Radio |
| FM Presets | 20 stations |
| Alarm Functions | Dual Alarm (Radio or Buzzer), Snooze, Sleep |
| Power Source | AC 230V ~ 50Hz |
| Backup Battery | 2 x 1.5V AAA/R03/UM4 (not supplied) |
| Dimensions (H x D x L) | 80 mm x 80 mm x 146 mm |
| Net Weight | 0.32 kg |
Warranty and Support
For warranty information or technical support, please refer to the documentation provided at the point of purchase or contact your retailer. Keep your proof of purchase for warranty claims.