Introduction
This manual provides essential instructions for the proper installation, operation, and maintenance of your Power Stop SC1684 Front Brake Kit. This kit is designed for specific applications including Chrysler Sebring (2001-2006) and Dodge Stratus (2001-2006) vehicles. Please read all instructions carefully before beginning the installation process to ensure safety and optimal performance.
Safety Precautions
- Always wear appropriate personal protective equipment, including safety glasses and gloves.
- Ensure the vehicle is securely supported on jack stands on a level surface before working underneath it.
- Allow brake components to cool completely before handling.
- Consult a qualified mechanic if you are unsure about any step of the installation process.
- Keep children and pets away from the work area.
Components Included
Your Power Stop SC1684 Front Brake Kit includes the following components:
- Front Brake Rotors (Semi-Coated)
- Ceramic Brake Pads
- Stainless-Steel Installation Hardware
- High-Temperature Ceramic Brake Lubricant

Image: Complete Power Stop SC1684 Front Brake Kit showing all included components.

Image: Individual components of the brake kit, including rotors, pads, and hardware.
Setup (Installation)
The following steps outline a general procedure for front brake kit installation. Specific vehicle service manuals should be consulted for detailed torque specifications and vehicle-specific instructions.
- Prepare the Vehicle: Park the vehicle on a level surface, engage the parking brake, and loosen the front wheel lug nuts. Raise the front of the vehicle using a jack and secure it with jack stands. Remove the front wheels.
- Remove Old Components: Remove the caliper bolts and carefully slide the caliper off the rotor. Support the caliper to avoid stressing the brake hose. Remove the old brake pads and the caliper bracket. Remove the old brake rotor.
- Clean and Inspect: Thoroughly clean the hub assembly and inspect for any damage or wear. Ensure the mounting surfaces are free of rust and debris.
- Install New Rotor: Place the new Power Stop semi-coated rotor onto the hub. Ensure it sits flush against the hub face. The semi-coated finish provides corrosion resistance on the hat, outer edges, and vanes.
- Install Caliper Bracket and Hardware: Install the caliper bracket. Apply the provided high-temperature ceramic brake lubricant to the new stainless-steel hardware, including the guide pins and pad clips. Install the new hardware onto the caliper bracket.
- Install Brake Pads: Insert the new ceramic brake pads into the caliper bracket, ensuring they slide freely. The Z17 Evolution Plus pads feature multi-layer rubberized shims for noise insulation.
- Reinstall Caliper: Carefully slide the caliper over the new pads and rotor. Reinstall and tighten the caliper bolts to the manufacturer's specified torque.
- Bleed Brakes (if necessary): If the brake system was opened, or if the pedal feels spongy, bleed the brake system according to the vehicle manufacturer's instructions.
- Reinstall Wheels: Reinstall the wheels and hand-tighten the lug nuts. Lower the vehicle and torque the lug nuts to the manufacturer's specifications.
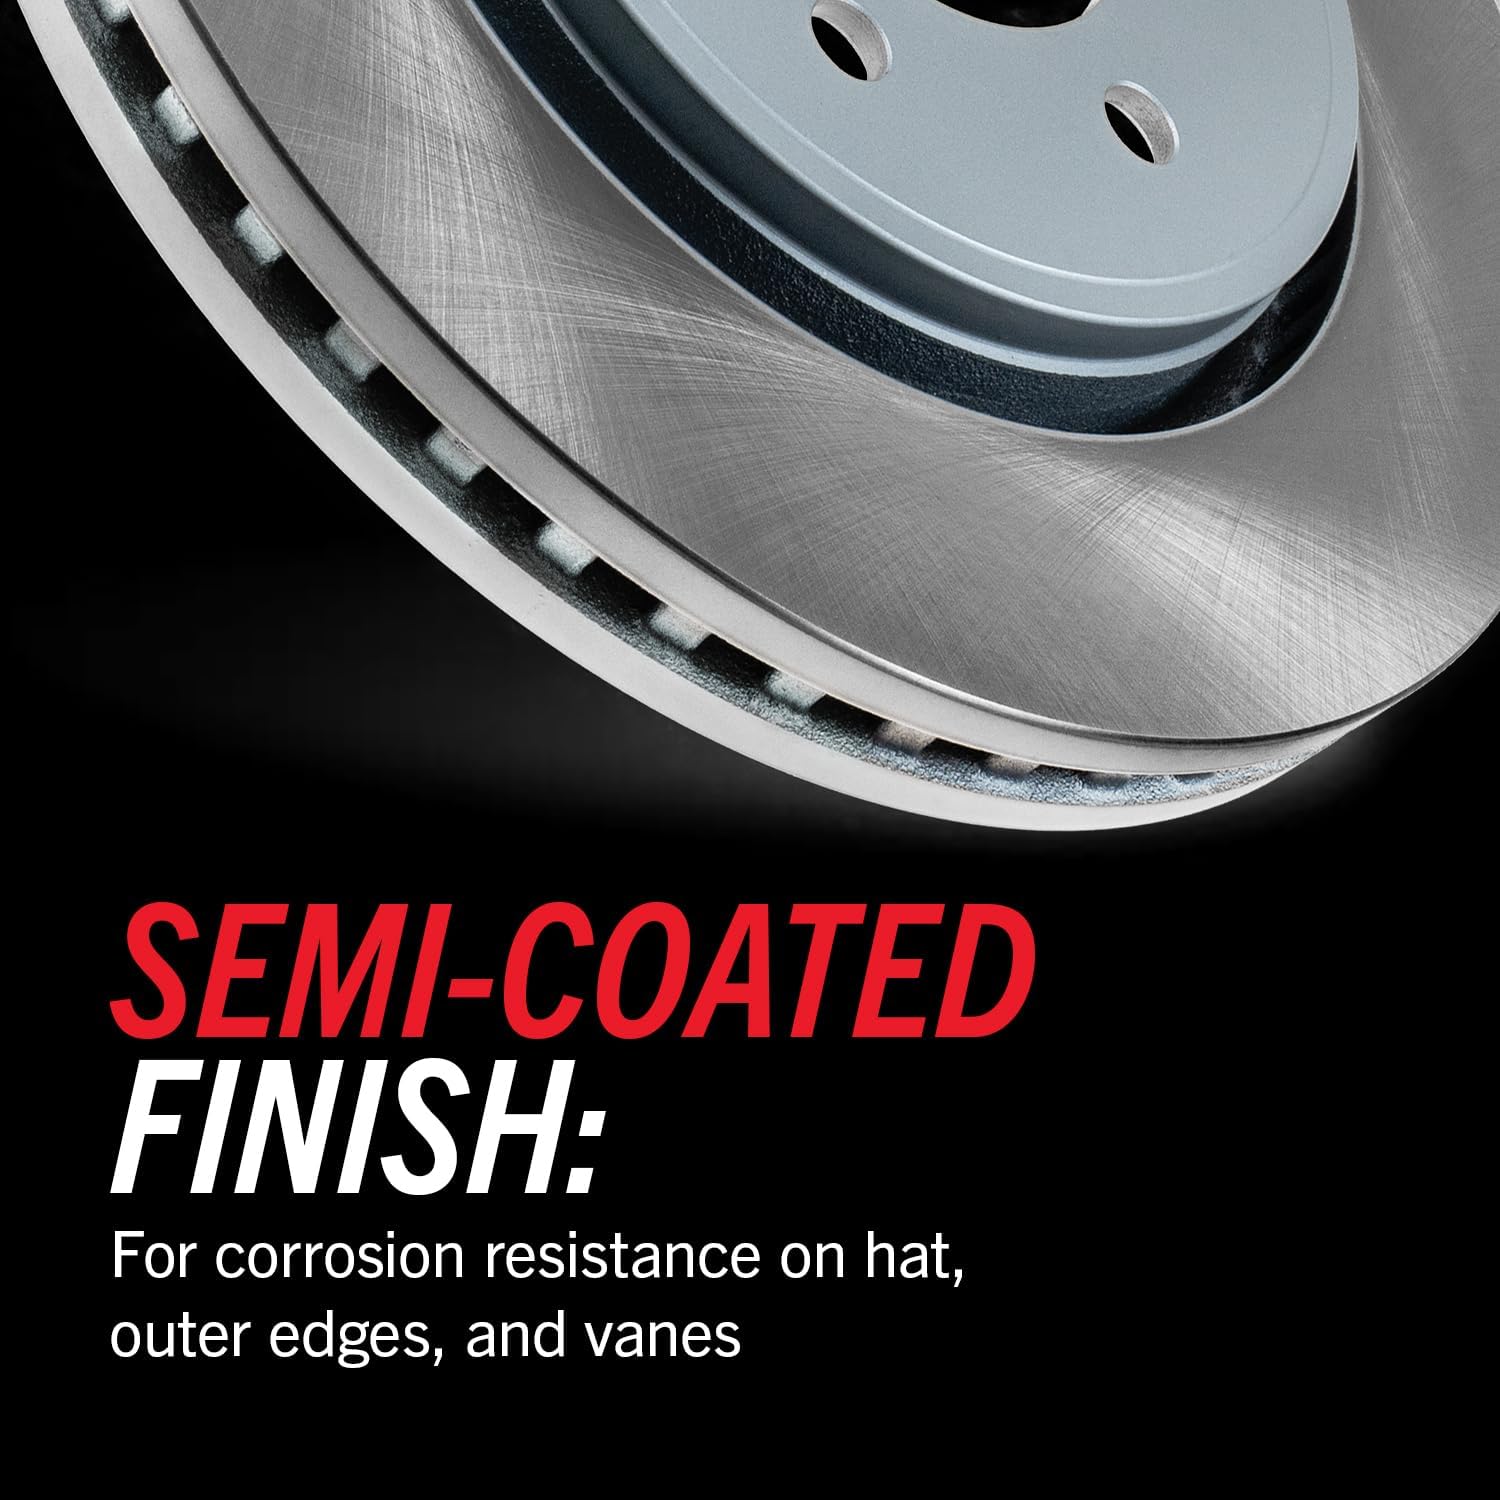
Image: Detail of the semi-coated finish on the brake rotor, designed for corrosion resistance.

Image: Installation of the premium stainless-steel hardware kit.

Image: Illustration of the dual-layer rubberized shims on the brake pads, designed for quiet operation.
Operating (Brake Break-in Procedure)
Proper break-in (bedding-in) of new brake pads and rotors is crucial for optimal performance and longevity. Follow these steps:
- Perform 5-6 moderate stops from 40 mph down to 10 mph. Allow for a brief cooling period between stops.
- Perform 2-3 hard stops from 40 mph down to 0 mph.
- Drive for several miles without heavy braking to allow the brakes to cool completely.
During the break-in period, avoid sudden, aggressive braking or prolonged heavy braking, which can overheat the components.
Maintenance
Regular inspection and maintenance will ensure the continued performance and safety of your Power Stop brake kit.
- Routine Inspection: Inspect brake pads and rotors every 10,000-12,000 miles or as recommended by your vehicle manufacturer. Check for pad wear, rotor condition (cracks, excessive scoring), and proper caliper function.
- Cleaning: The ceramic brake pads are designed to produce low dust, helping to keep your wheels cleaner. Regular washing of your wheels will further maintain their appearance.
- Brake Fluid: Check brake fluid level and condition regularly. Replace brake fluid according to your vehicle manufacturer's recommendations.

Image: Example of a clean wheel, demonstrating the benefit of low-dust ceramic brake pads.
Troubleshooting
| Symptom | Possible Cause | Solution |
|---|---|---|
| Brake Noise (Squealing/Grinding) | Improper break-in, worn pads, loose hardware, foreign material. | Re-perform break-in procedure. Inspect pads for wear. Check hardware for proper installation and lubrication. Clean brake components. |
| Vibration/Pulsation during Braking | Rotor runout, uneven pad transfer, warped rotor (less common with new rotors). | Ensure rotors are properly seated on the hub. Re-perform break-in. Inspect rotors for damage. |
| Reduced Braking Performance | Improper break-in, air in brake lines, contaminated pads, fluid leak. | Perform break-in procedure. Bleed brake system. Inspect for leaks. Replace contaminated pads. |
Specifications
| Feature | Detail |
|---|---|
| Model Number | SC1684 |
| Position | Front |
| Rotor Type | Semi-Coated |
| Pad Material | Ceramic |
| Vehicle Service Type | Car, Truck, Van |
| Compatible Years | 2001-2006 |
| Compatible Vehicles | Chrysler Sebring, Dodge Stratus |
| Item Weight | 33.4 pounds |
| UPC | 889906814412 |
Warranty Information
Power Stop products are manufactured to high-quality standards. For specific warranty details regarding your SC1684 Front Brake Kit, please refer to the warranty documentation included with your purchase or visit the official Power Stop website. Keep your proof of purchase for any warranty claims.
Support
For technical assistance, installation questions, or further product information, please contact Power Stop customer support. You can also visit the official Power Stop store on Amazon for additional resources and product offerings: Power Stop Store.